
One of those things I can control. I decided to polish the car and do a very mild "paint correction" to reduce the swirls and bring some luster back to the paint. Paint correction and detailing is a skill, and there is much written about it, so I'll keep it brief here. The idea is that all scuffs, swirls, and imperfections in your car's paint surface are essentially small cuts in your clear coat. The clear coat is the transparent layer above the base color coat that gives gloss and depth, as well as UV protection to the base color below. In paint correction, you are using abrasive liquids (polish or compound) to essentially sand down your clear coat to the level of the cuts so that they are no longer visible. If you are interested in learning way more and don't have anything on your plate for the next 400 hours, I encourage you to check out Larry Kosilla's videos.
Left side: one pass with compound and the random orbital. Right side: no treatment.
I am extremely amateur in the polishing world, and frankly it terrifies me. You are cutting down your clear coat. Done incorrectly, it can introduce new scratches to your clear coat or, in the worst case, burn through your clear coat entirely and expose your base color coat. The fix for that: respray the car. Yikes. Paint depth gauges can help you understand how much material you have to work with, but they're hundreds of dollars and I decided to proceed with trial-and-error instead. I use an extremely mild combination of products that doesn't get everything (see image above, there are still some deeper imperfections) but it pulls out probably 90% of all-over swirls.
Here is the process I followed:
- Wash the car completely.
- Clay bar the car. In this step, you literally use a piece of (designed-for-purpose) clay and a generous amount of liquid lubricant to pull small, stuck-on dirt particles off the paint. I use Griot's cleaning clay and their Speed Shine spray. You can use anything you like for this, I like how this stuff smells.
- Tape off trim, glass, anything that is near a painted surface you'll polish but doesn't want to get polished.
- Compound the car. You can do all of these steps by hand, but your arm might fall off. I use a Porter-Cable random orbital with a very soft foam pad. The compound I use is Meguiar's Ultimate Compound. There are so many choices for products to use in this space, I like to stick with things I can buy at O'Reilly's and the Meguiar's Ultimate line has always served me well. This compound is cool because the grit suspended in the fluid actually breaks down while you're polishing into smaller-size grit, acting as a rough abrasive at first and then breaking down into a finer abrasive. Pretty slick.
- Polish the car. The compound step does the heavy lifting, and that's where you pull out whatever imperfections are going to come out, but I found that another pass with the polish refined the smaller imperfections really nicely. I use Meguiar's Ultimate Polish.
- Wax the car. I use Meguiar's Ultimate Liquid Wax. I applied two coats.
It's challenging to get good before/after photos of the improvement, but it is night and day and I'm really pleased with the result! It's no longer a swirl-fest in the sun.

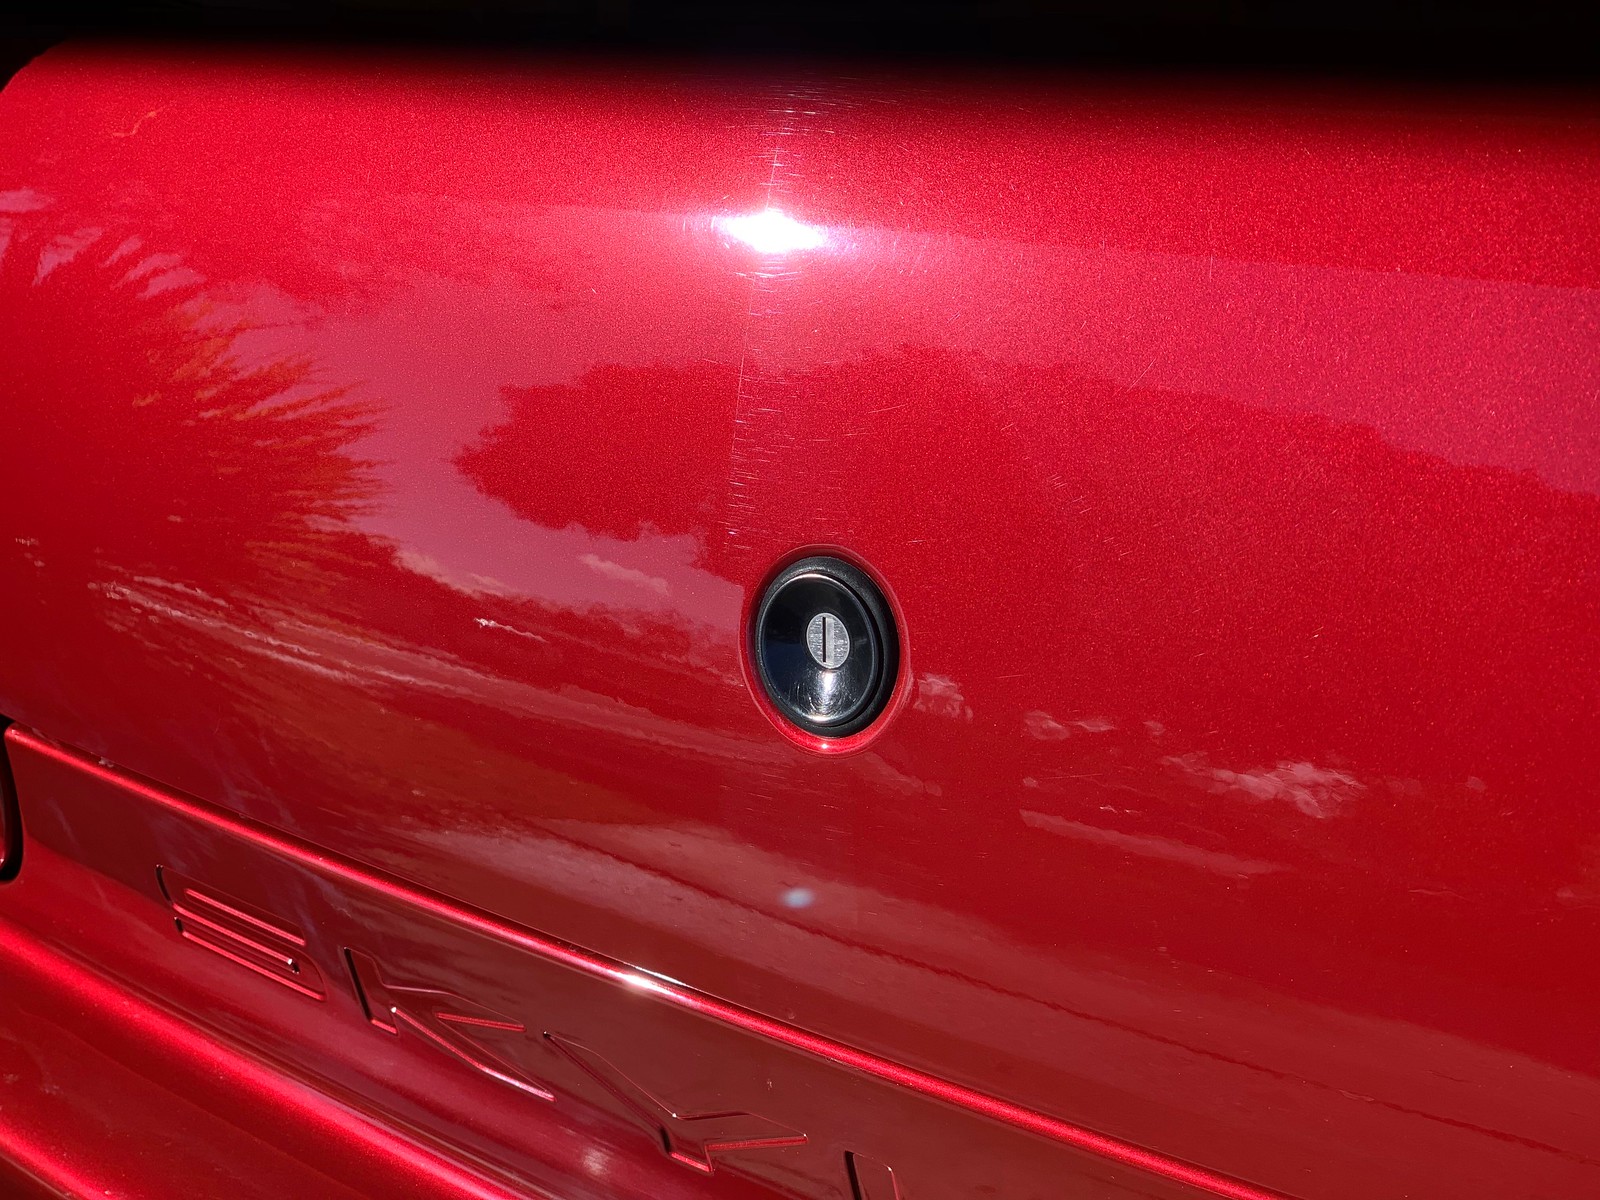
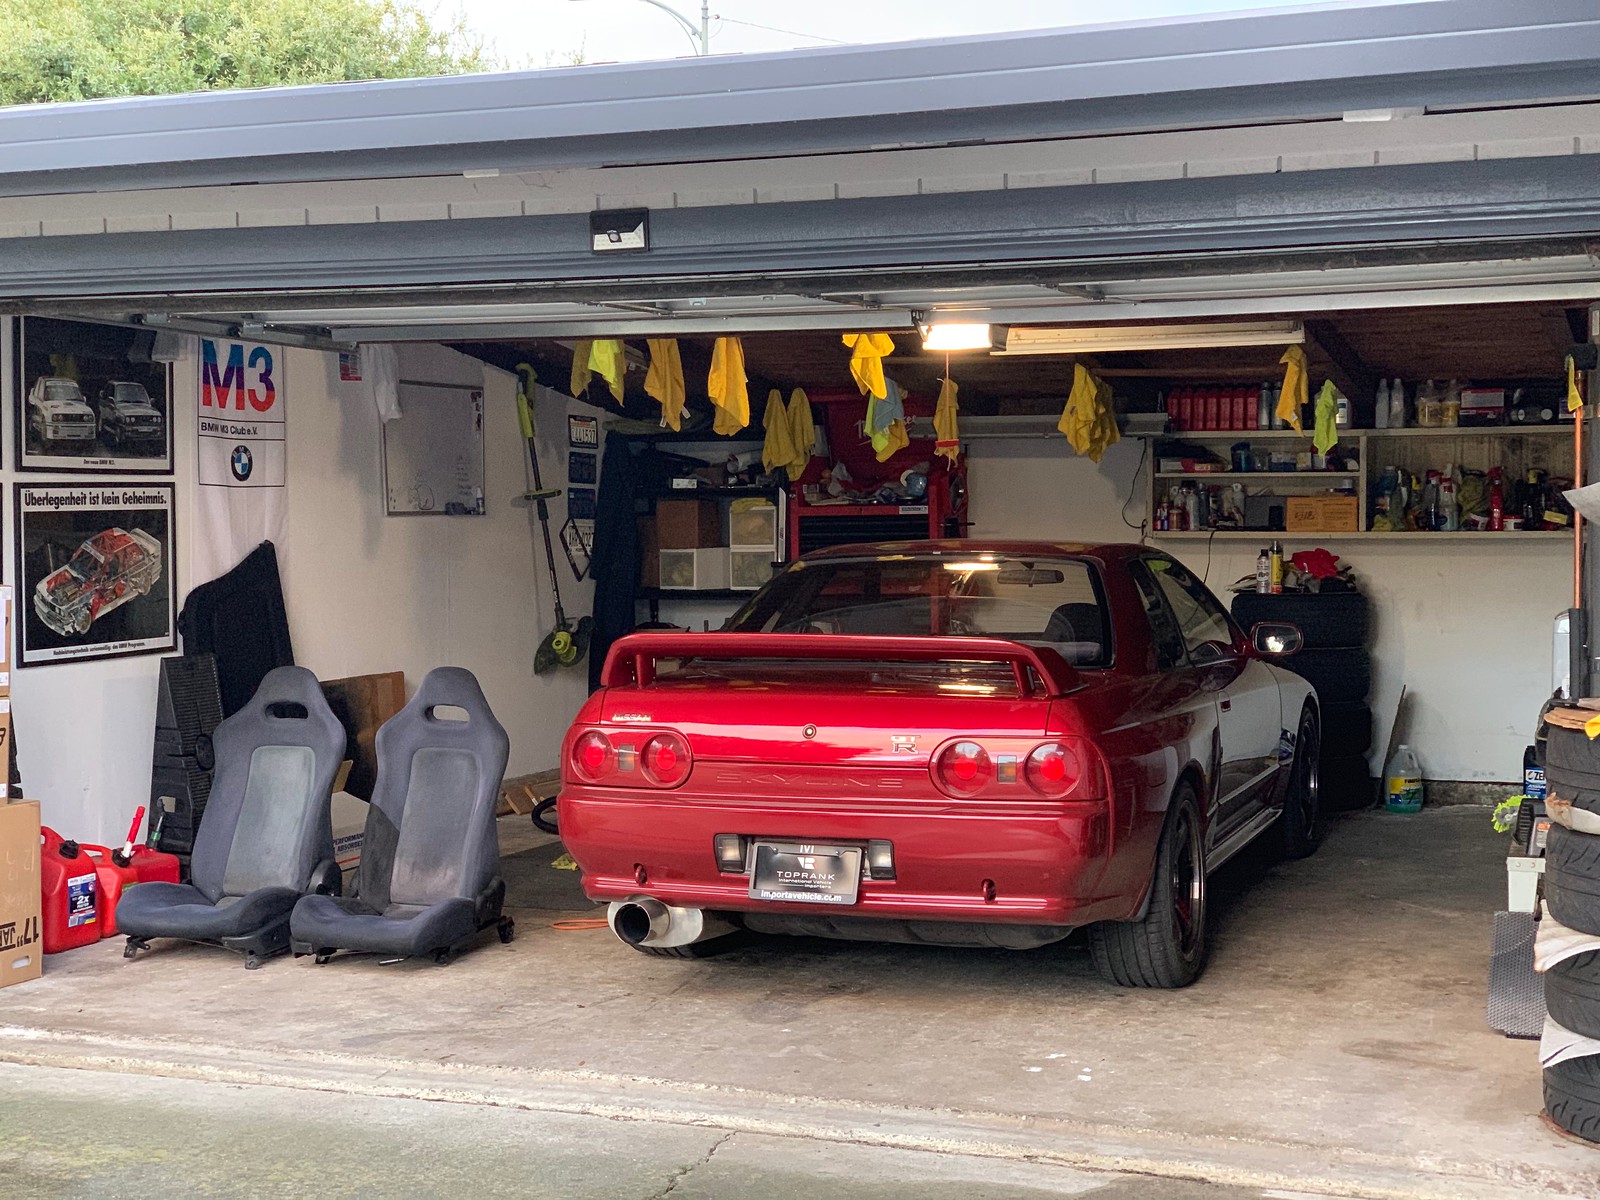
While this was all going on, I saw that my spoiler gaskets were absolutely fried and decided to replace them. There are four nuts that hold the spoiler to the trunk. In theory, this job is a cinch.
This was once rubber

New with old. The larger outboard gaskets weren't installed in my car when I bought it.
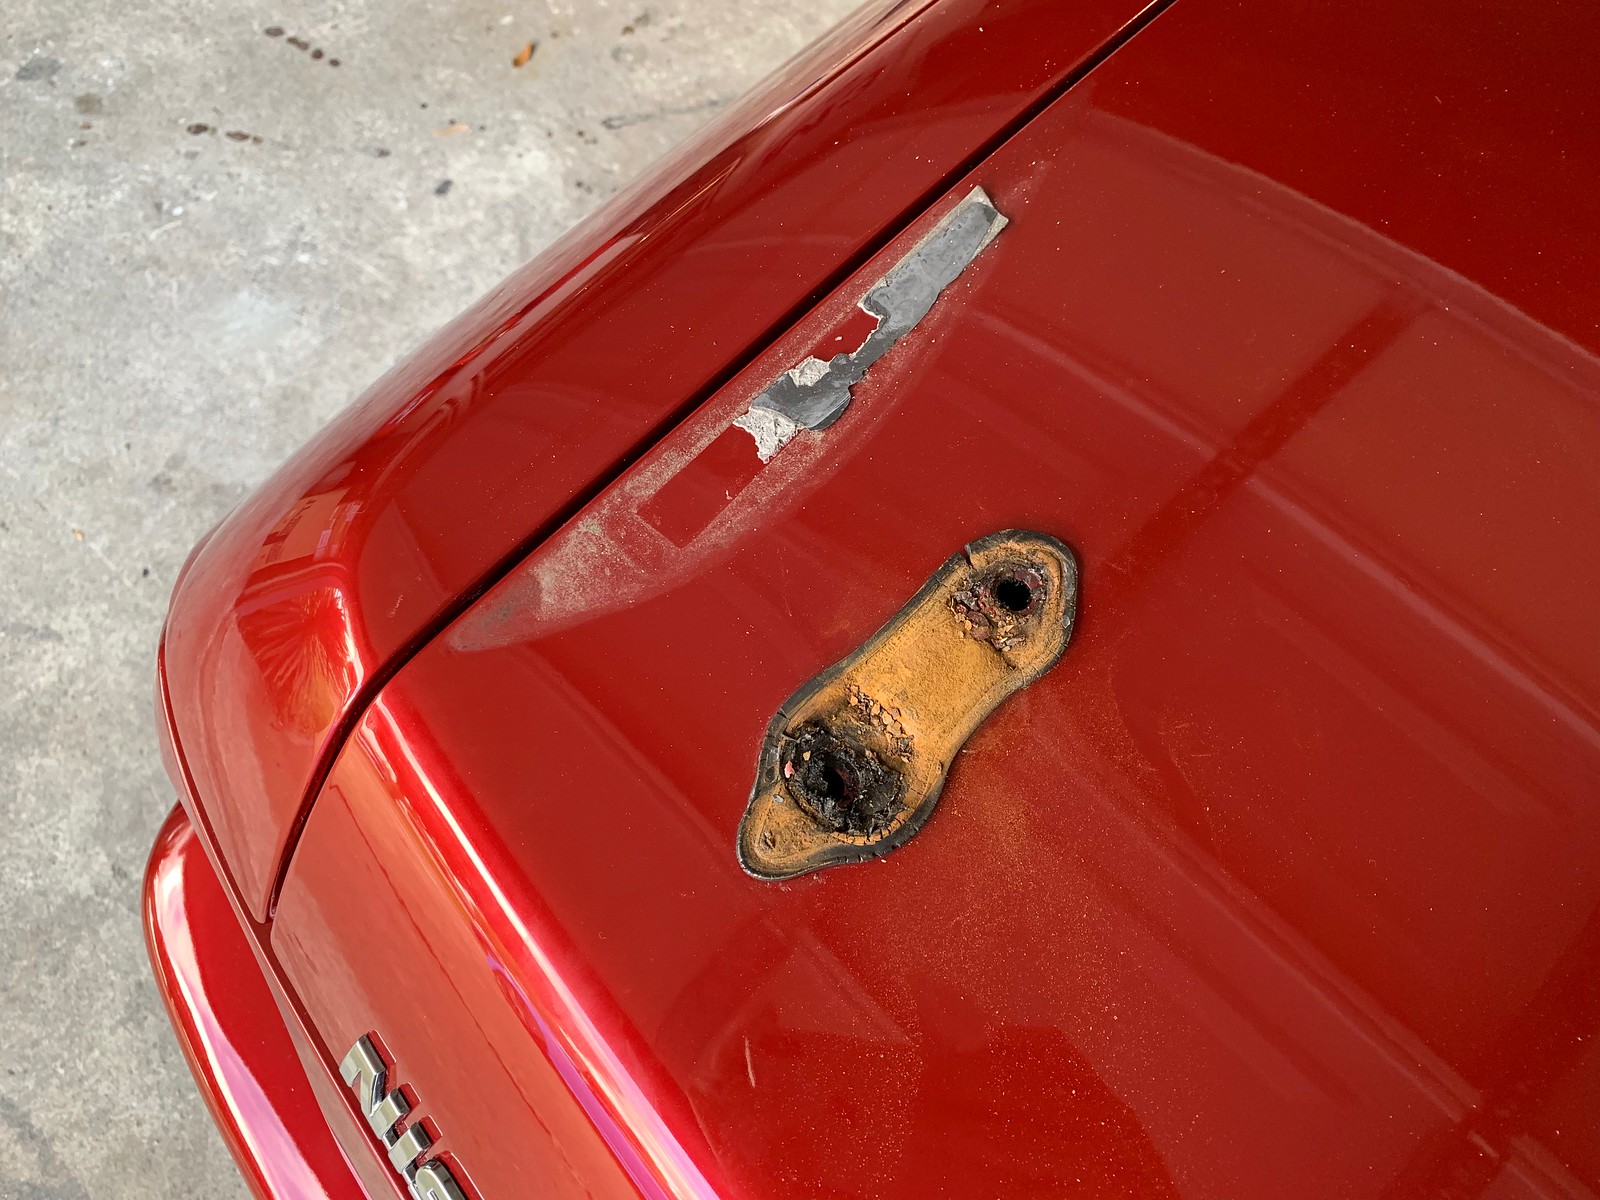
Of course, nothing is easy with these old cars... every venture into a long-untouched corner brings about new problems, and it's always apparent juuuuust after you've removed that fastener that is impossible to replace. First, I found that a previous owner thought that $40 for the correct gaskets was just too much money, and that the old rubber-petrified-into-plastic gaskets could still do well with some gasket maker slathered all over them. This made all of the joints gooey, and I had to spend many minutes with my friend Goo Gone cleaning everything up.

This is how the stock GT-R wing goes together. There are three main pieces: the wing, and the left and right risers. On the wing, at the top on the grey face, there is a captured nut. Is is presumably welded to a steel backing plate, which is riveted into the wing (in two places, you can see above and below the hole) when the wing is fabricated. The riser slips over this portion of the wing. Two studs are screwed into the risers, in a style not unlike dry-wall anchors, and these studs are what poke through the trunk lid and actually attach the whole assembly to the car. To reinforce the bolted joint between the wing and the riser, there is a steel bent U-shape bracket that slips over the two studs and drops down into the section.

The first issue: removing the wing from the trunk, one of the nuts jammed up on the stud and starting spinning the entire stud out. Thankfully there is an 8mm nut in the middle of the stud that is just barely accessible between the wing and trunk surface, so I was able to hold that and get the nut off. This fix was easy: clean out the hole and the fastener, and apply JB weld.

#*&$&!!!
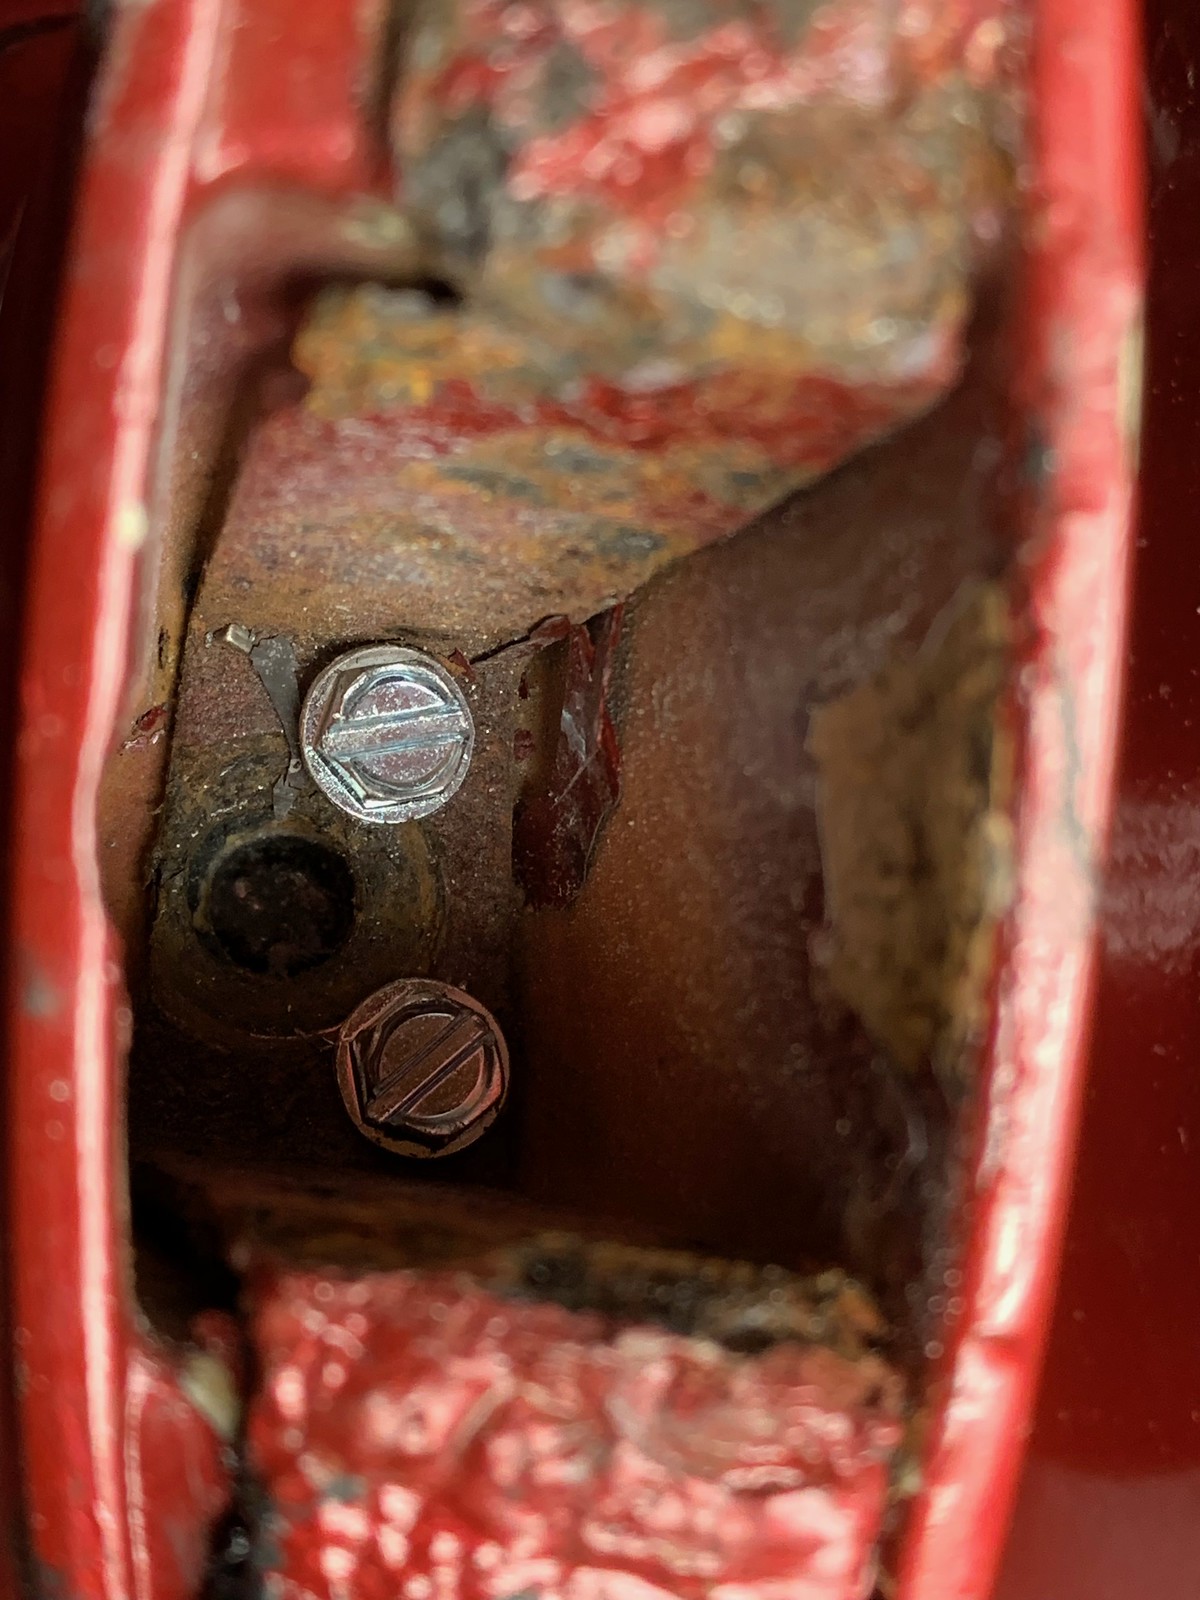
The big issue: I wanted to remove the risers from the wing for general clean-up of the aforementioned slathered-on gasket maker. The right side was fine. The left side had other ideas. The bolt was corroded and broke, with its threads seized in the captured nut on the wing side. This is no bueno. The nut on the wing is not accessible - there is no way to get to it after the wing has been fabricated. I went through my favorite expletives and reached for my bolt extractor kit. I put a small pilot hole in the middle of the stud, starting to thread in the extractor bit, and... broke the bit. Yes, the hardened extractor bit steel tip broke off in the bolt. I recited again my favorite expletives and some of my less-favorite, but still useful ones.
At this point I stepped away for a few days to weigh my options, and also drive the car without a wing.


I'm a fan of running cars-with-wings without their wings, but it looked a bit awkward and too much like an S14. Speaking of S14s, here's my M3 when I ran it a couple weeks sans wing. Eventually you get tired of the trunk firing at your face at a hundred miles an hour because it's tuned for 5lbs of wing that's not there.

Awk
Back to my conundrum. Options:
- Drill a new hole for a new extractor bit, or to tap and JB-weld a bolt in: not possible with the hardened steel bit from the old extractor in the way. Drill bit wants to walk to another part of the tiny M6 cross-section. Also, even if I somehow get a great grip on the broken stud, it's clearly seized/rusted to the nut in the section and I would potentially break that nut loose rather than thread the stud out, and that would be poo
- Leave as-is and glue the riser to the wing with structural adhesive: riser and wing are now joined forever, have no idea how much part-part bond area there actually is when they're fitted together. Not sure that adhesive would be strong enough.
- Cut a hole in the side of the wing to access the section with the nut in it: not sure what that would do to the structure of the wing, or if it could be done usefully with the space available
- Get another wing: expensive and paint-matching a repainted car is the very last thing I want to do
In the end, I picked a solution that is not particularly elegant but is the best of a bad situation.

There is just barely enough room at the 'bottom' of the U-bracket to drill two self-tapping screws through the riser and into the wing.
It ain't pretty. The U-bracket, as you can see, is corroded. I'd have replaced it, except that it is discontinued. But in the end, I drilled two of these fasteners through the steel U-bracket, through the plastic surfaces of the riser and the wing, and into the steel nut plate in the wing section. I didn't have to hack open the wing, and these can be removed to separate the riser and the wing if I ever want to attempt a more legitimate fix in the future. I don't think the wing on this car sees any big loads, and if it does, it's not loading this joint in a way that wants to pull it apart. So far it's been fine.

I noticed that my fender badges were looking a bit pink, and when one of them surrendered its finish to the 3M masking tape I knew it was time to replace. That's all-new badges for the entire exterior!

The California DMV titling office decided that my VIN verification was not completed by the correct authority, so this week I went by the Santa Clara DMV to try again. I want to make jokes, but the two ladies I worked with were friendly, patient, and got everything signed off in about 15 minutes. The biggest hurdle was confirming the model year against the VIN. The license test line is right next to the VIN sign-off line. When I pulled up, the 16 year-old kid sitting with his mom got pretty excited. "Brooo!!! Gee-tee-arr!!! Bro are you getting it registered???" ("hopefully") "Bro is it cool if I take a video?!!"
I tell him of course, go right ahead, and before I have finished shuffling my papers together this dude is out of his car, phone stretched out in front of him, launching straight into it: "ALRIGHT EVERYONE so I'm here at the DMV waiting for my driver test, and this GEE-TEE-ARR pulls up, SO sick..."
Not a car for the shy. Hopefully the DMV has all it needs now, because I've been running around on paper plates for two months at this point and my vanity plates are already waiting for me. Can't pick them up until I have a standard-issue plate to exchange.
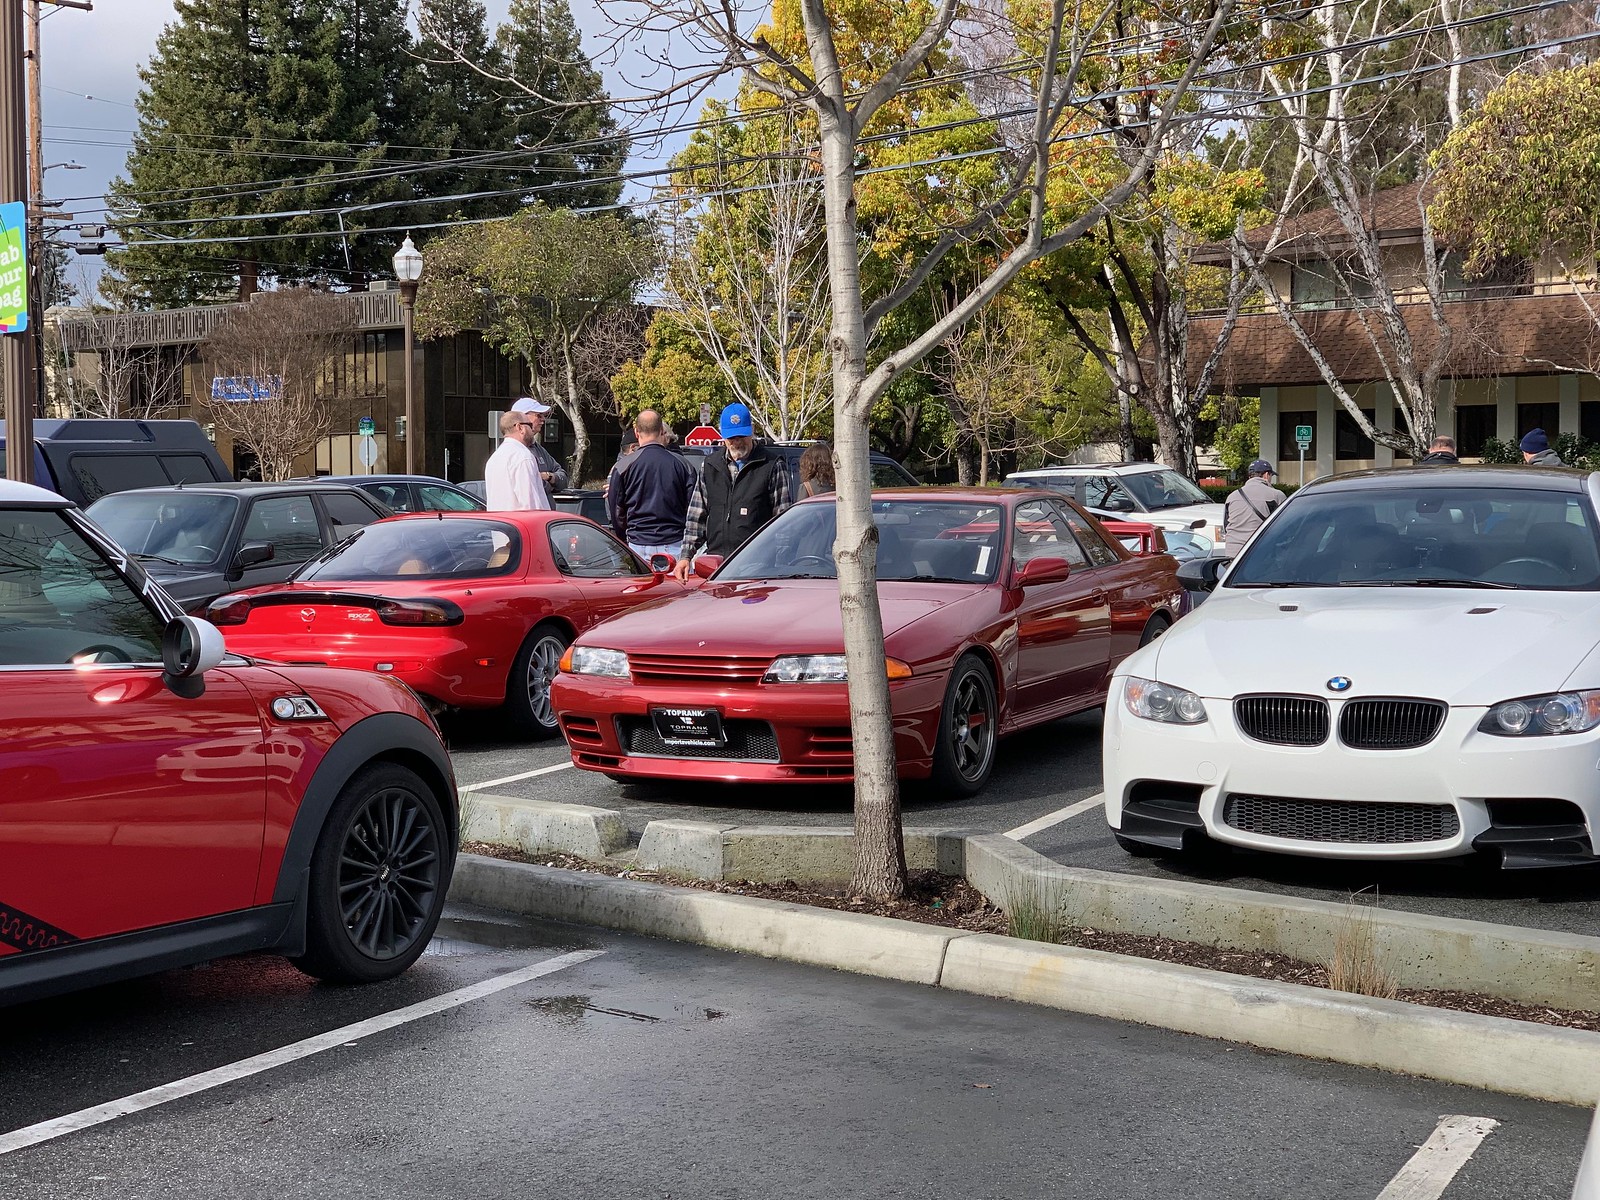
The weather cleared up a bit today so I snuck out to Menlo Park for a small Cars and Coffee gathering. The GT-R is a big hit in California and I'm meeting some really nice people. I'm also just jazzed to drive it.

Today the GT-R met its distant cousin, my '04 Mazdaspeed Miata. I've been a bad car dad and left the MSM languishing in the parking deck at work because of an issue with the boost solenoid that is causing a rough idle. I think I've diagnosed the issue (solenoid ain't working) so I hope that after installation of a replacement I'll have TWO red Japanese sports cars rocking and rolling.
This is an exciting entry because I am finally caught up on the GT-R story, and henceforth entries will be as-they-happen! What's coming up for the GT-R: an alignment this week; a visit to Z Car Garage for a checkup and some small jobs next week; and a new steering wheel and R35 coil conversion in the mail.
No comments:
Post a Comment