Tuesday, January 29, 2019

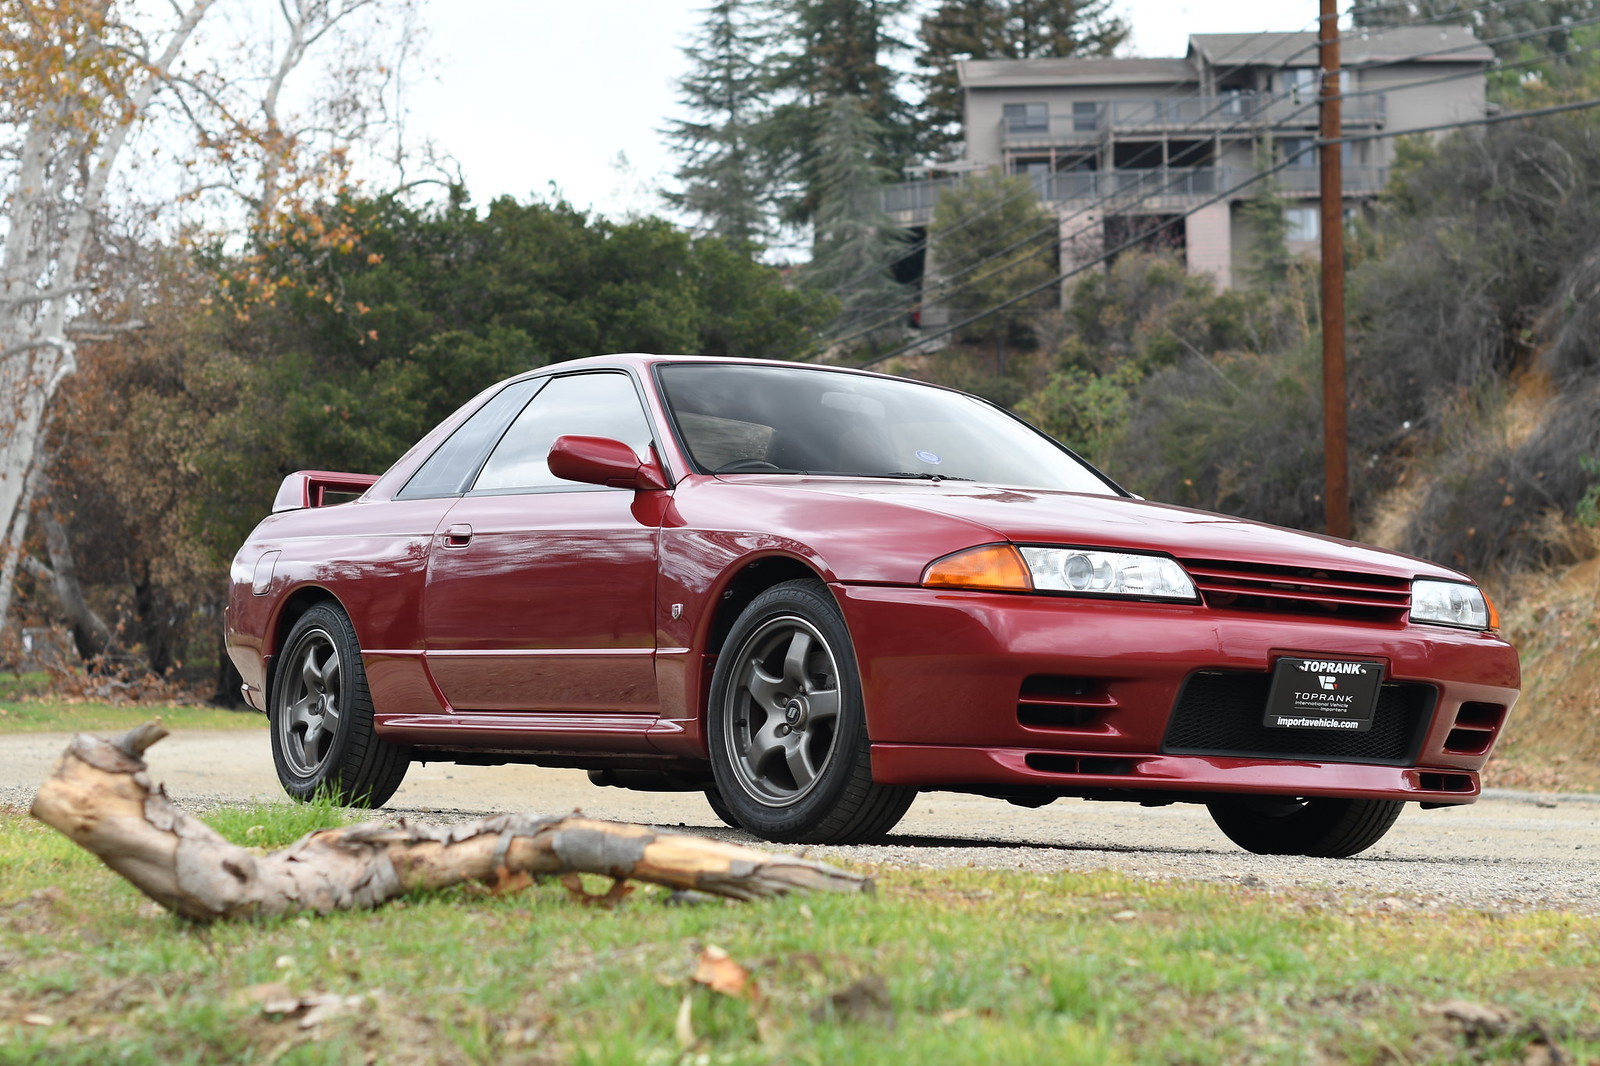
[Skyline] TE37SLs, N1 headlamps, Nismo strut bar

Aw yiss.

With a variety of firsts out of the way, it was time to move to seconds and thirds. Today's post will cover the main cosmetic changes I made to my car, starting with my dream wheels.


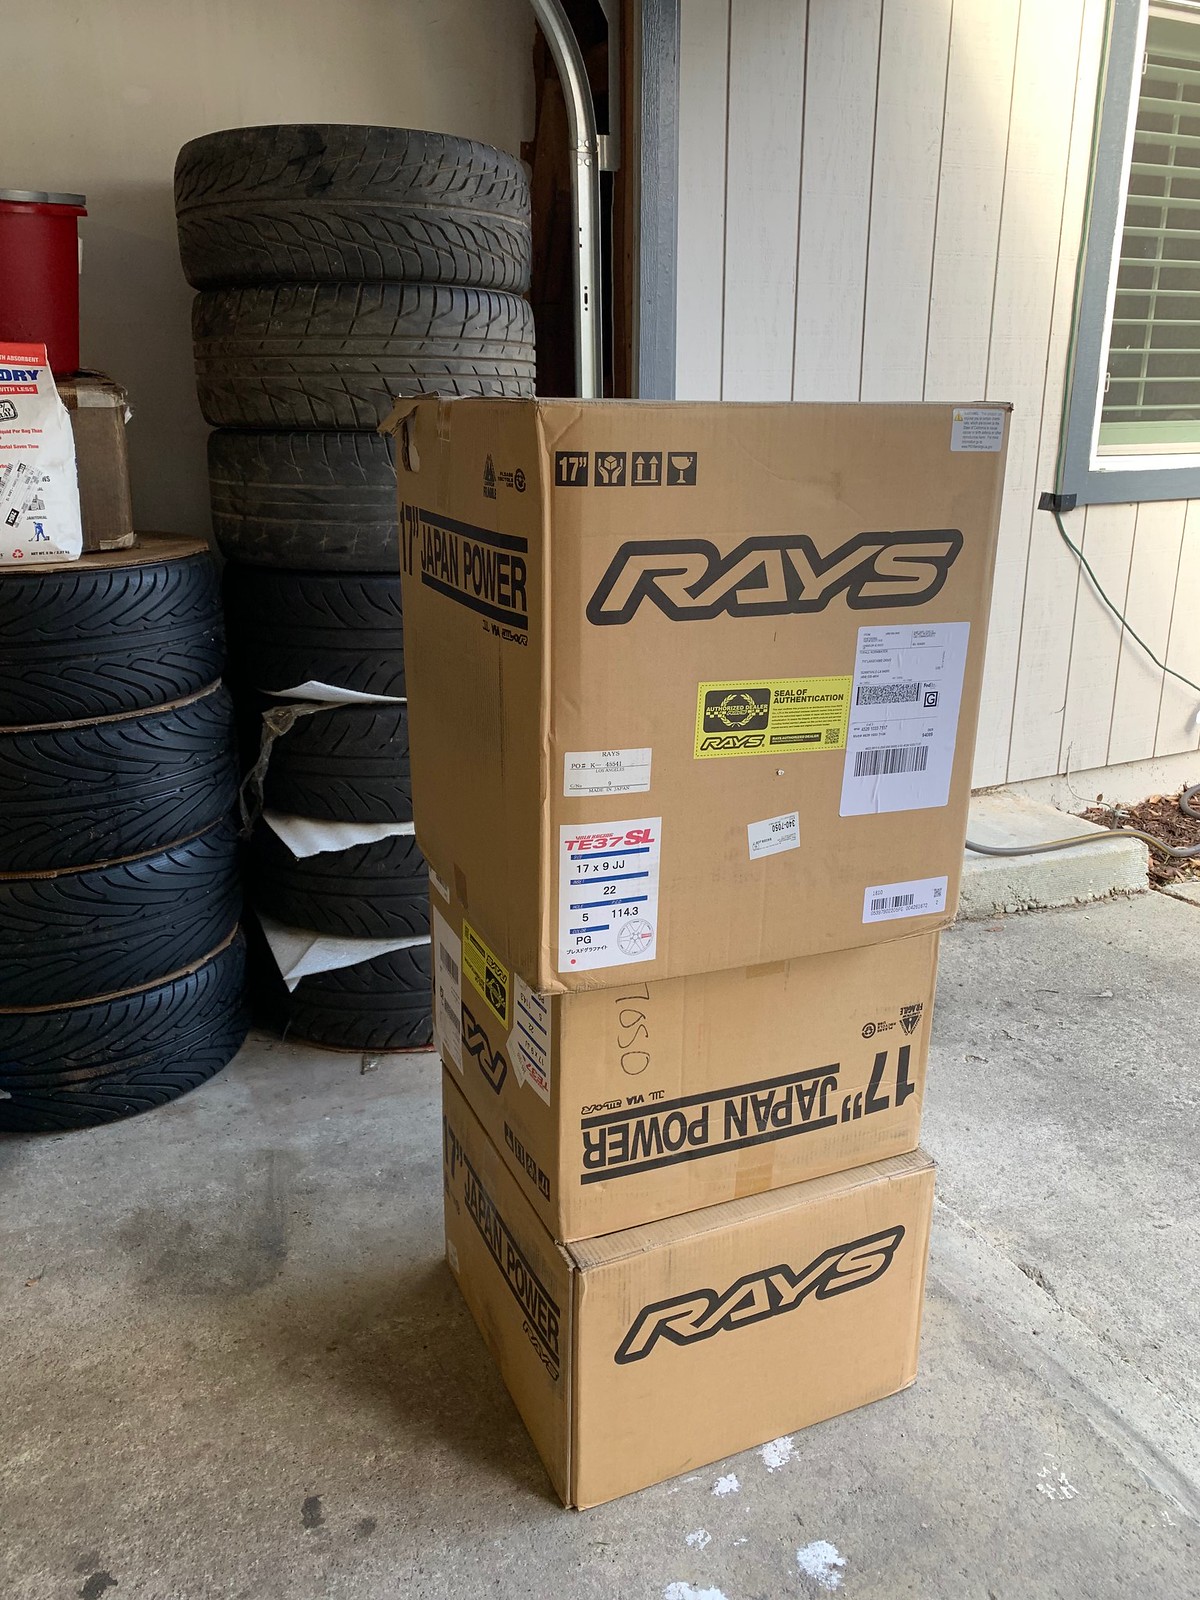
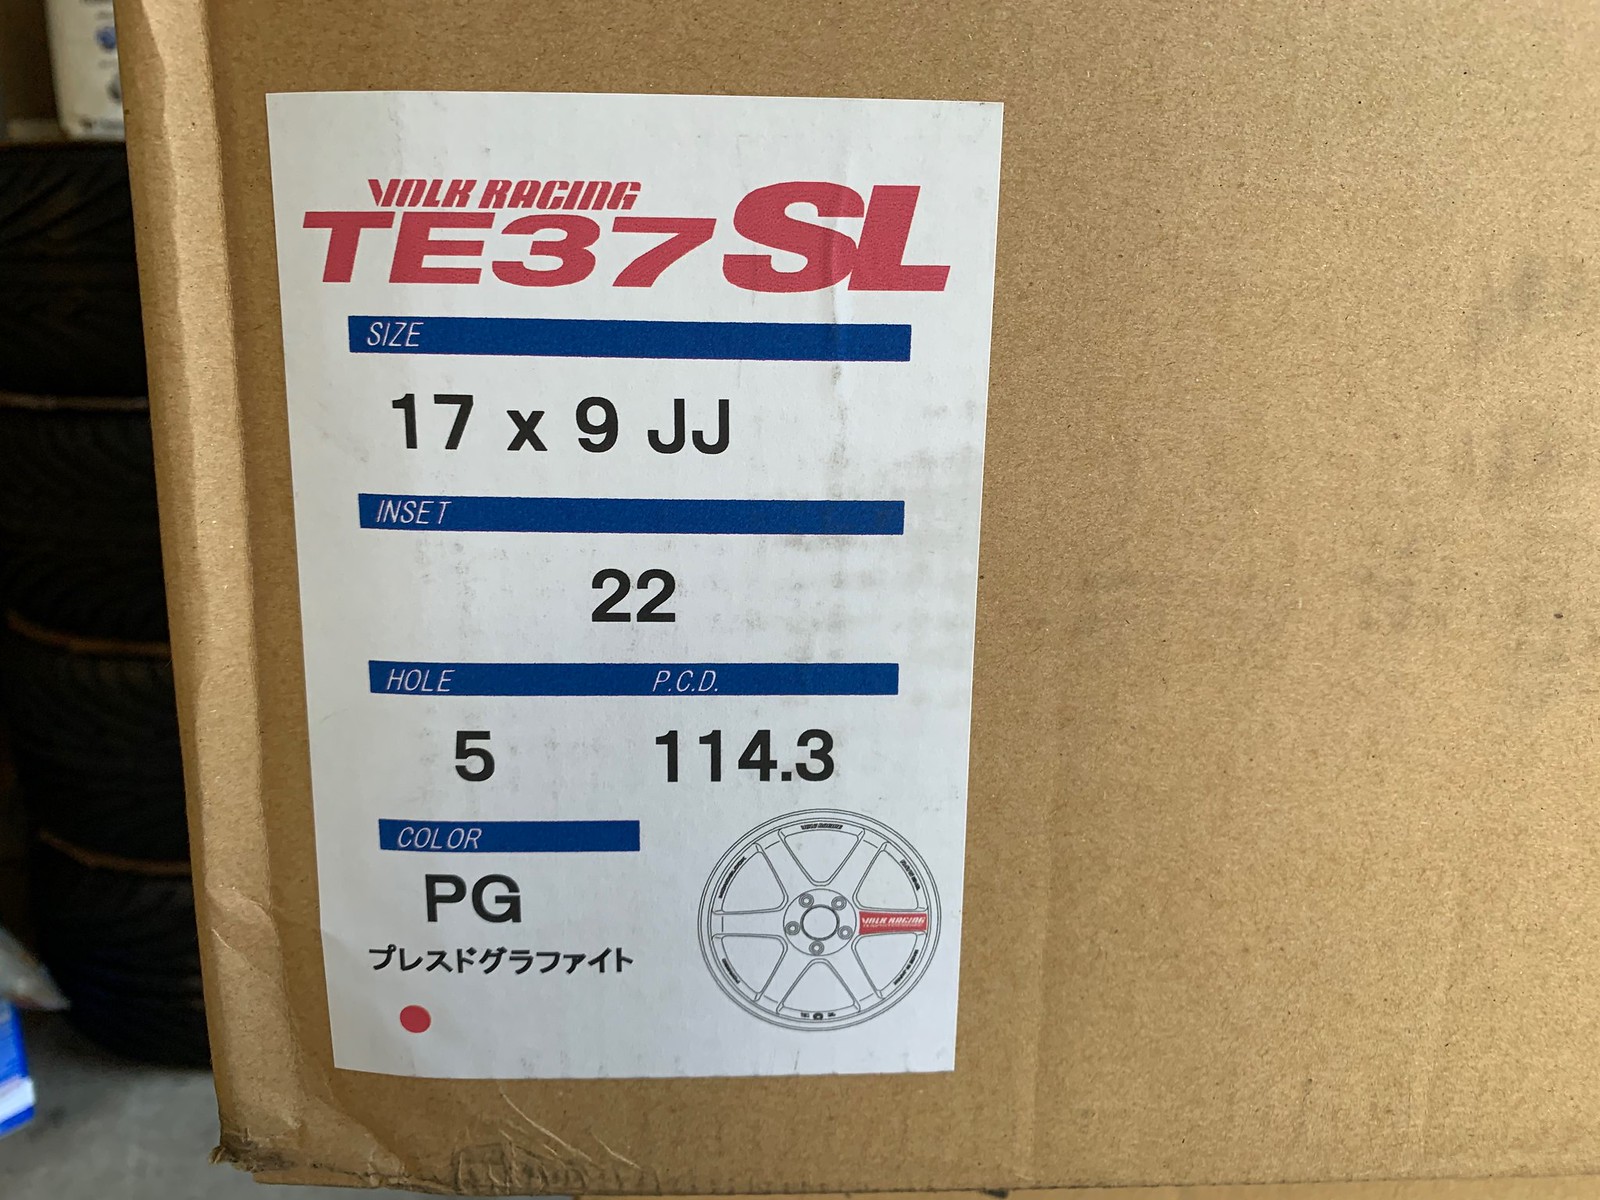
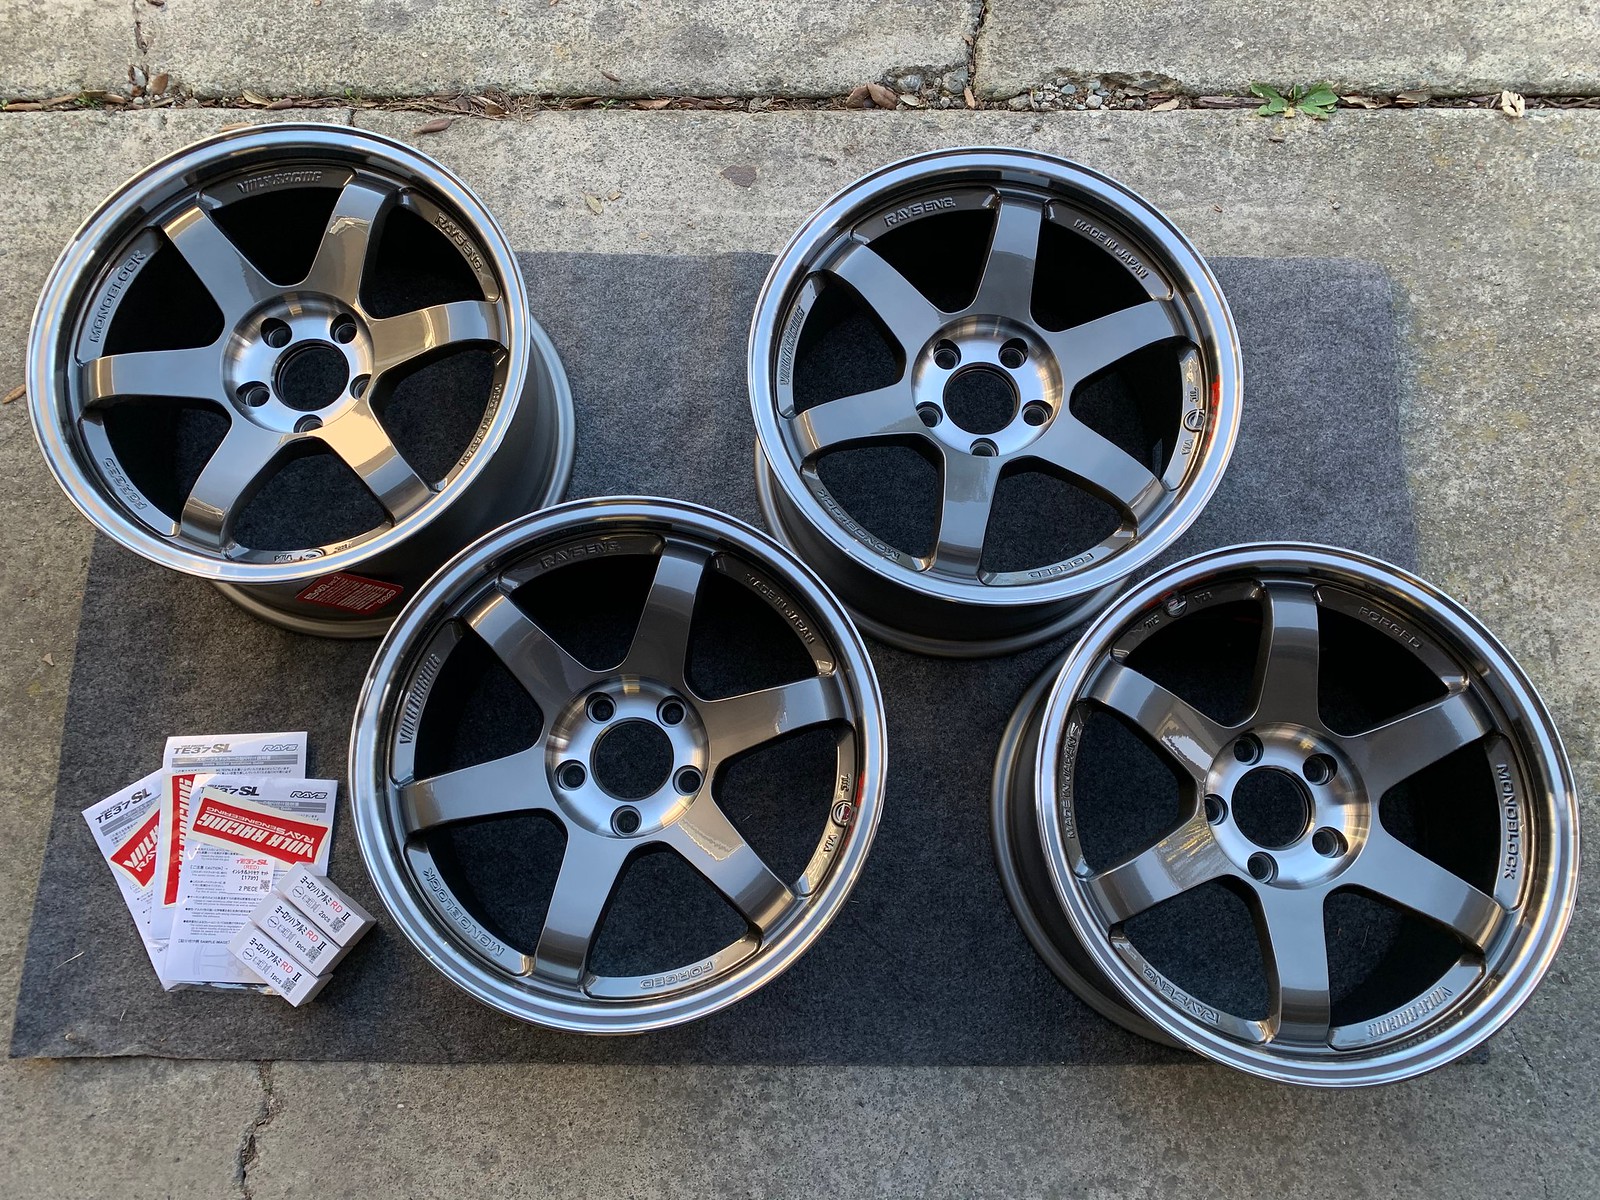
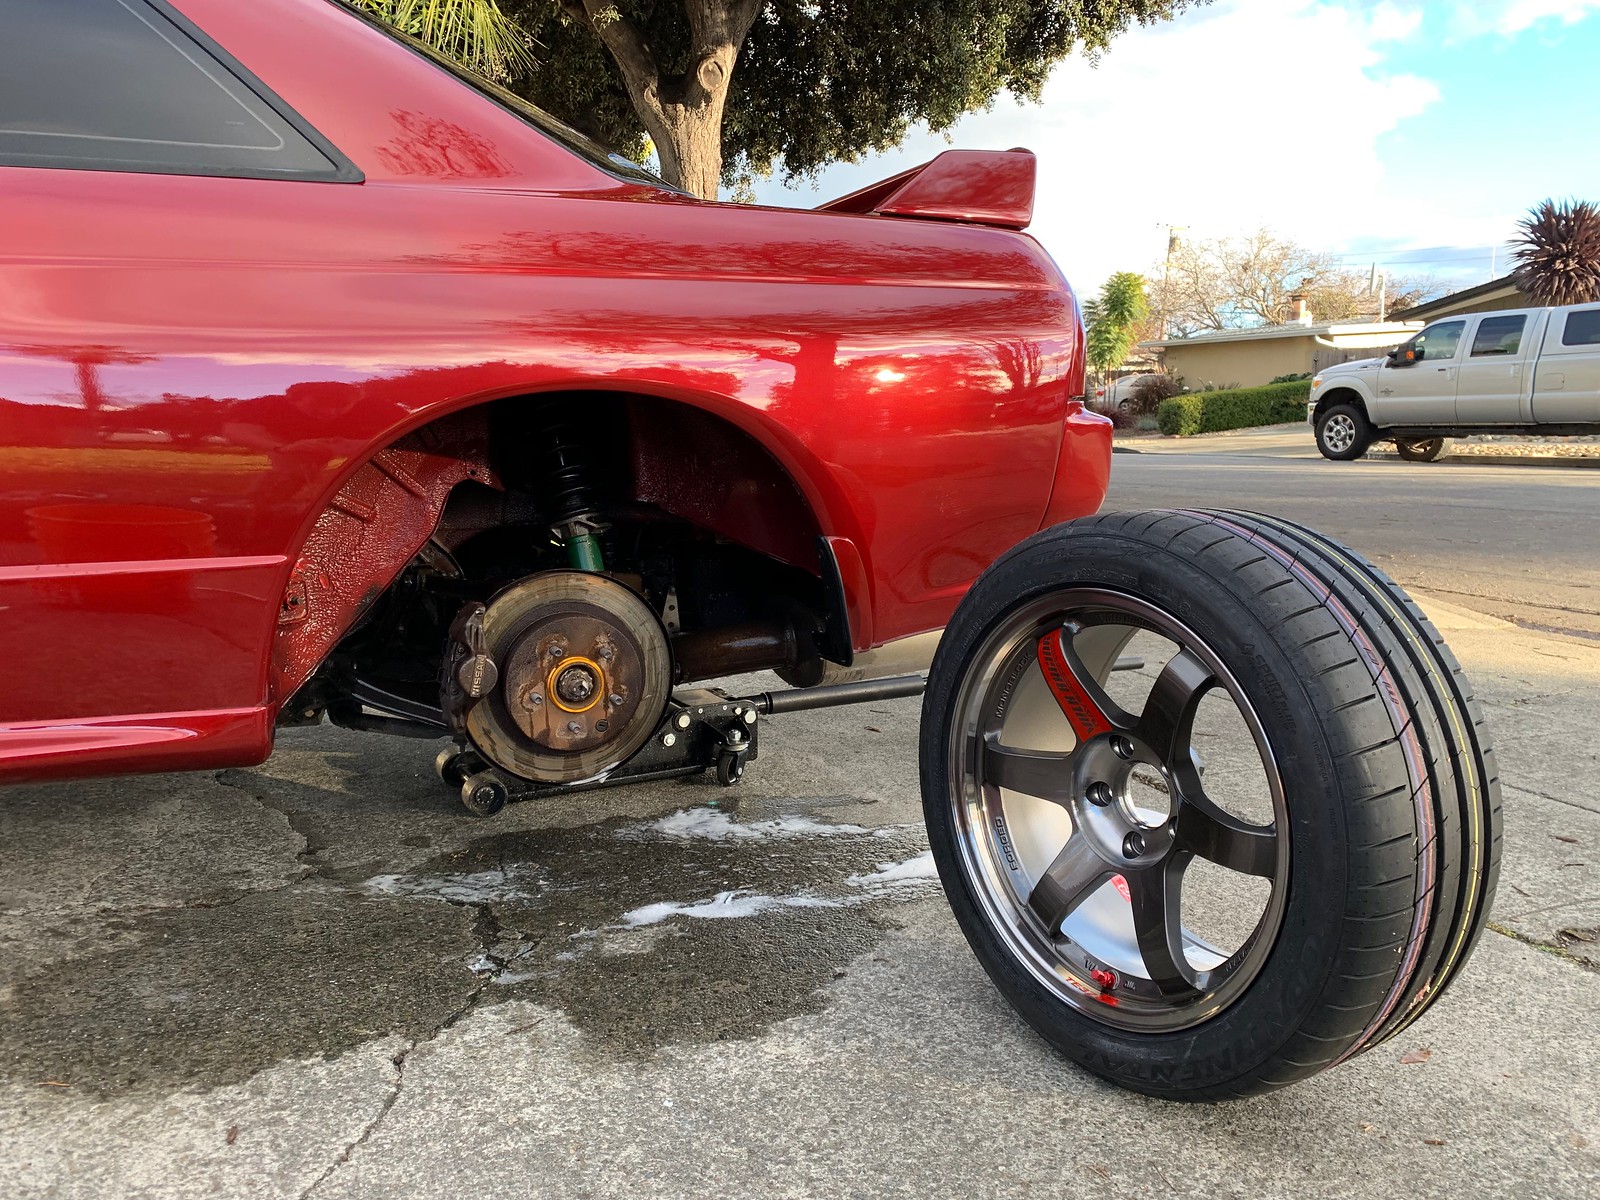
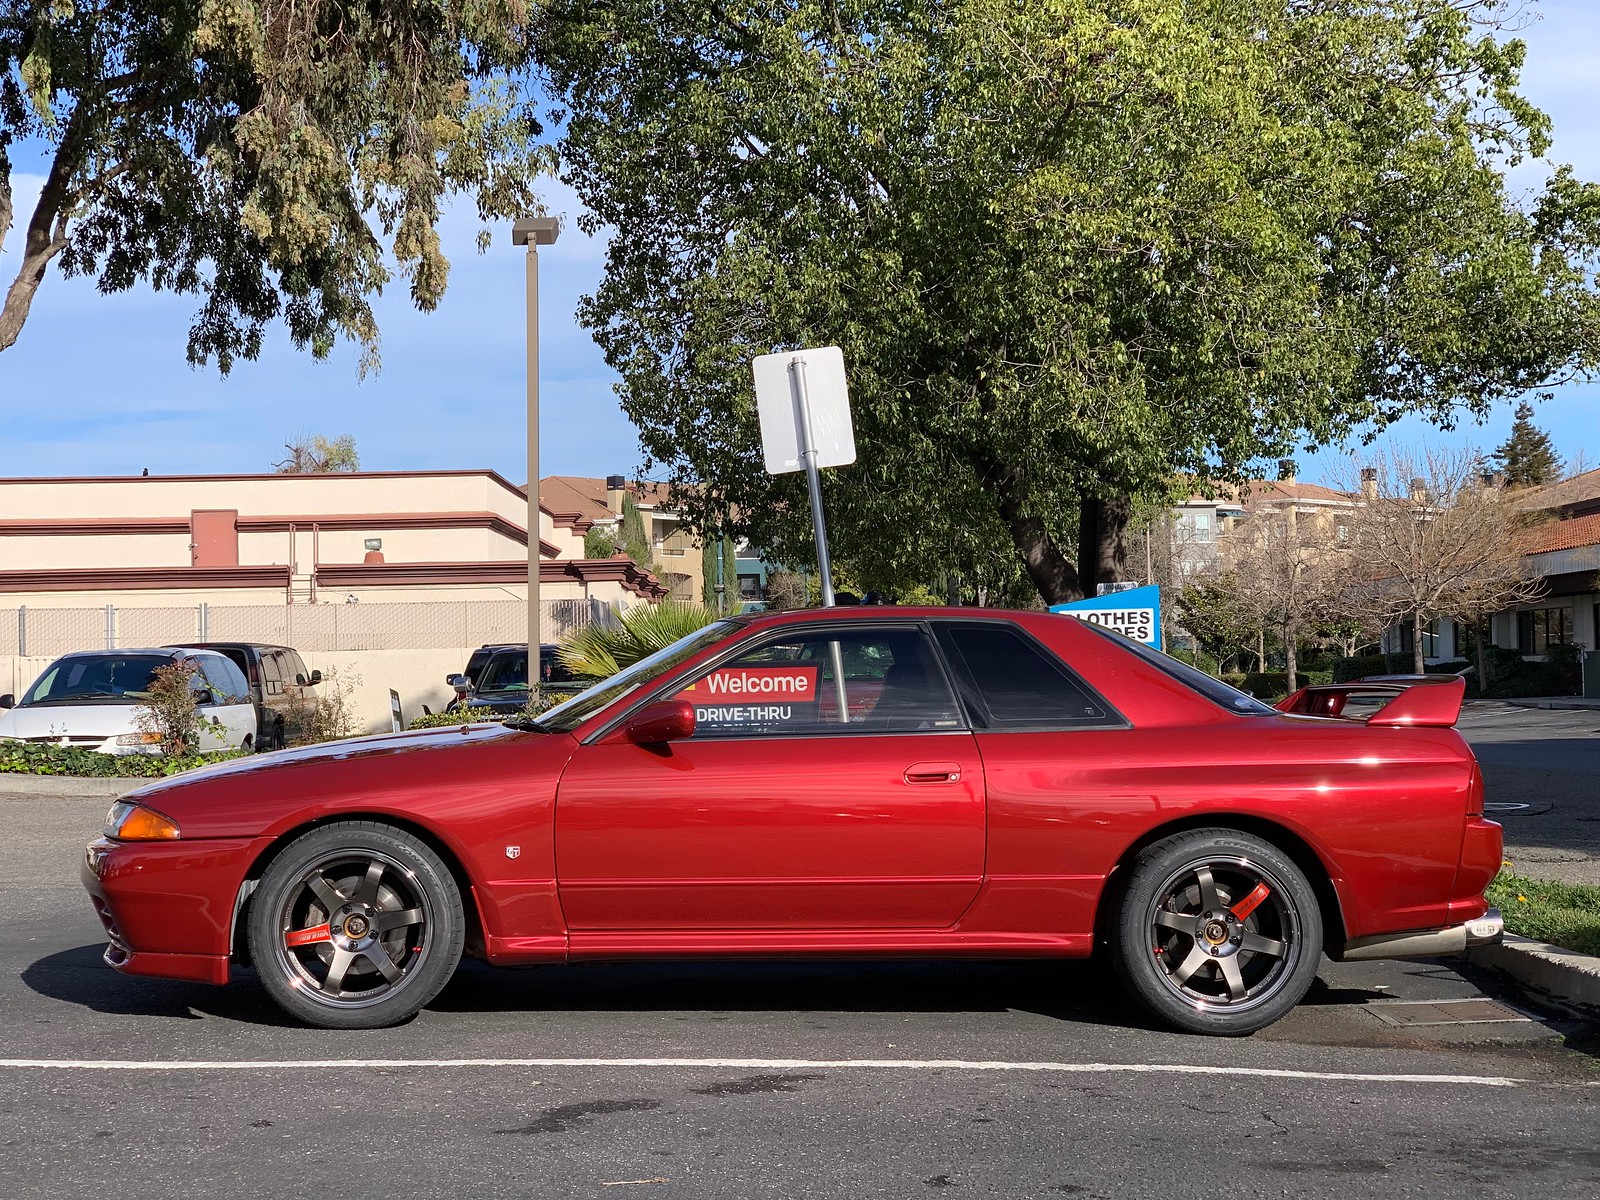
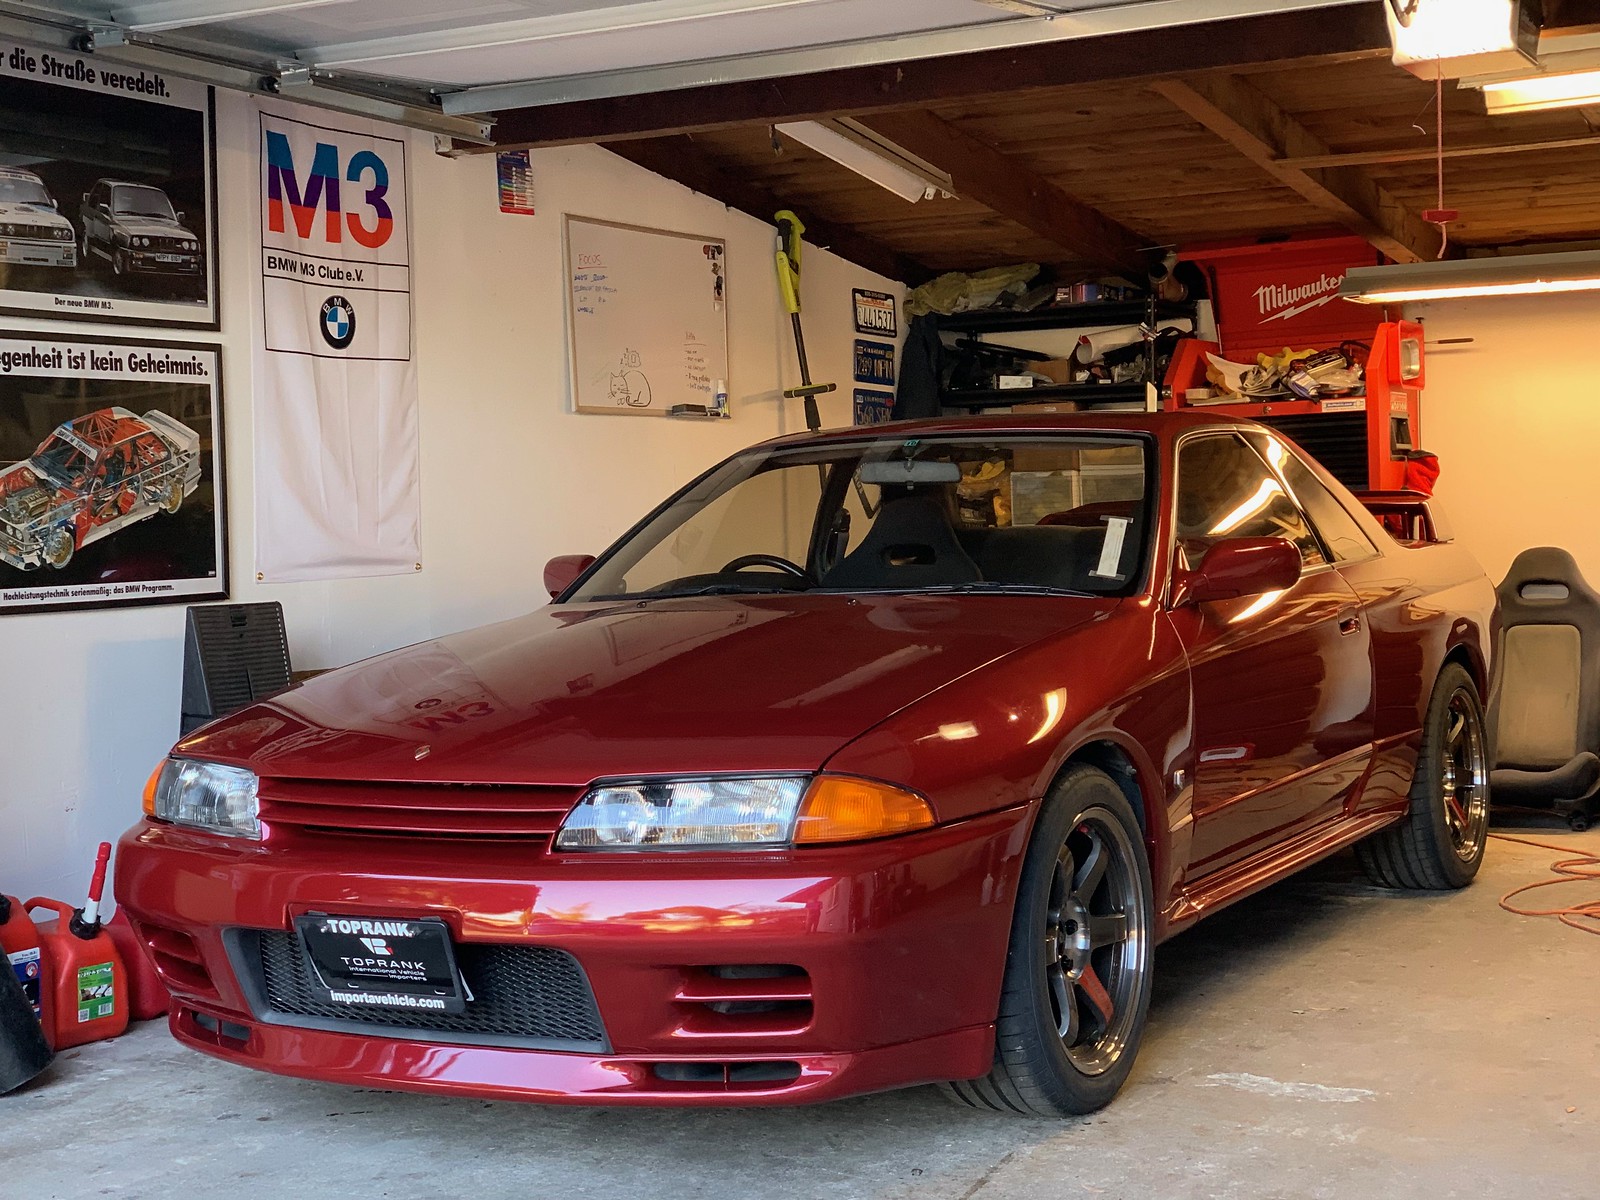
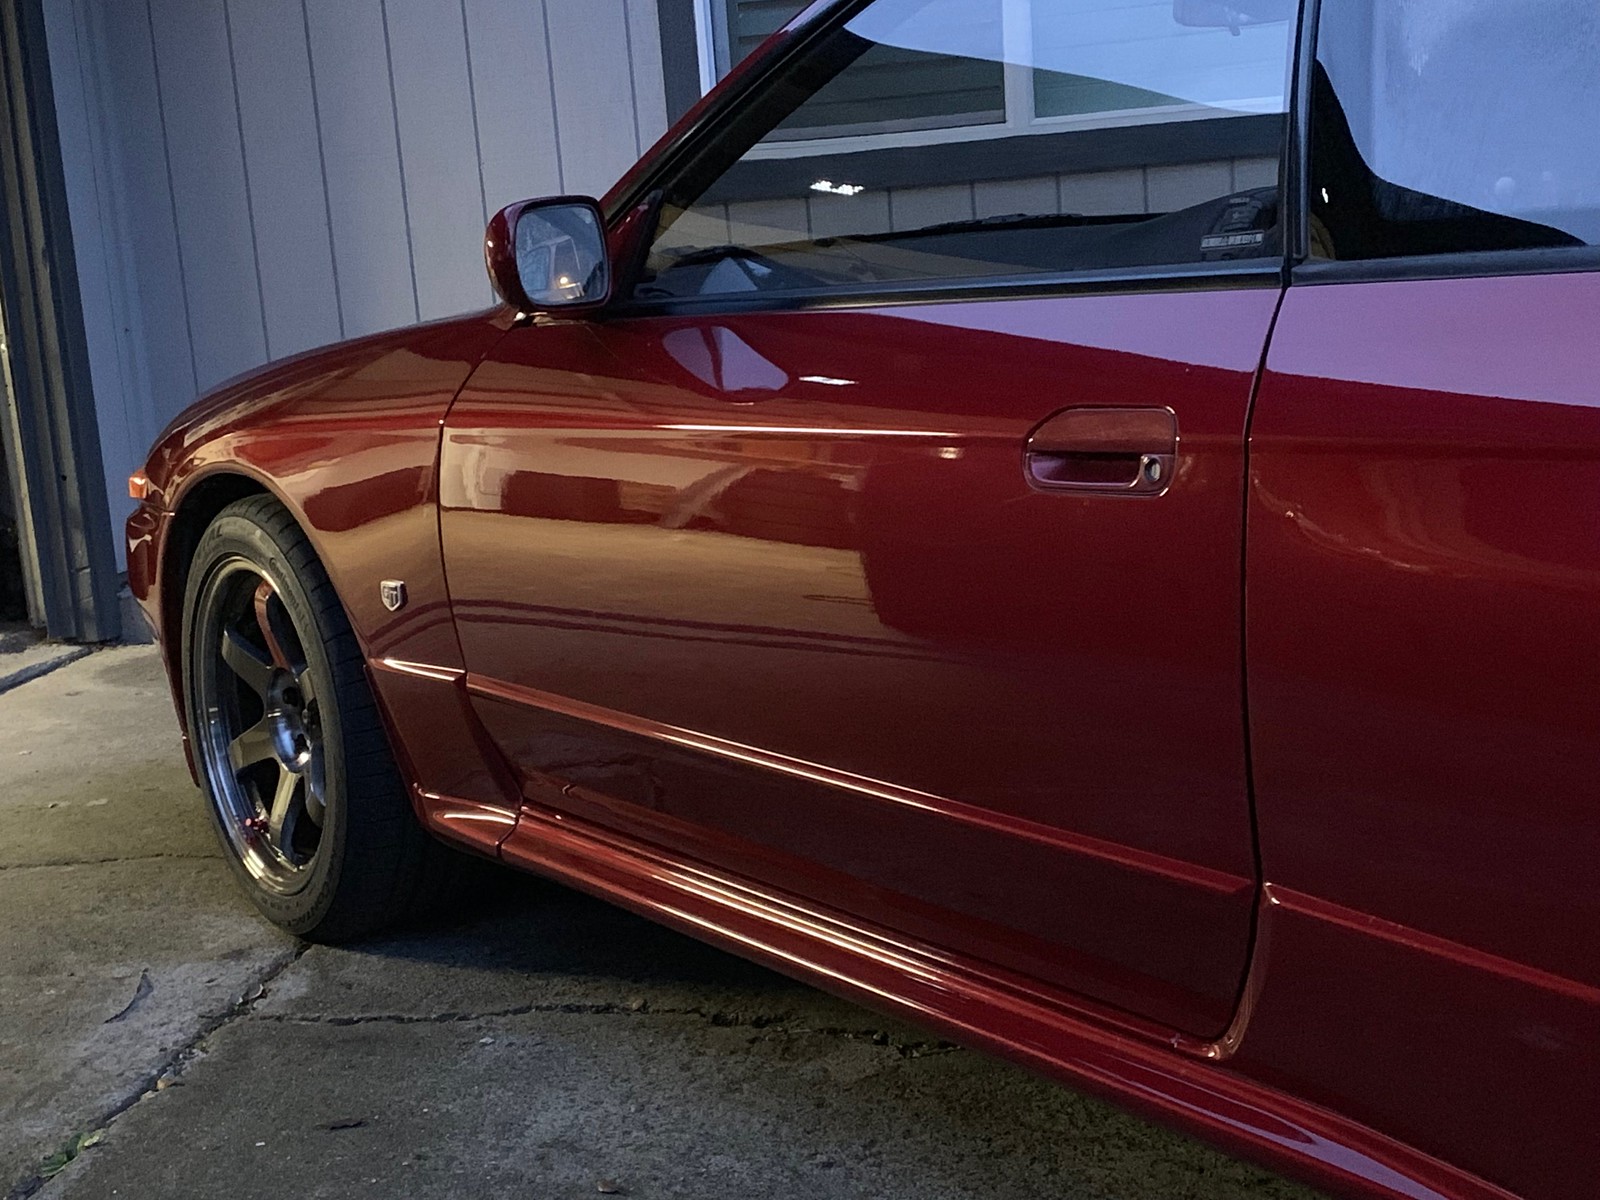
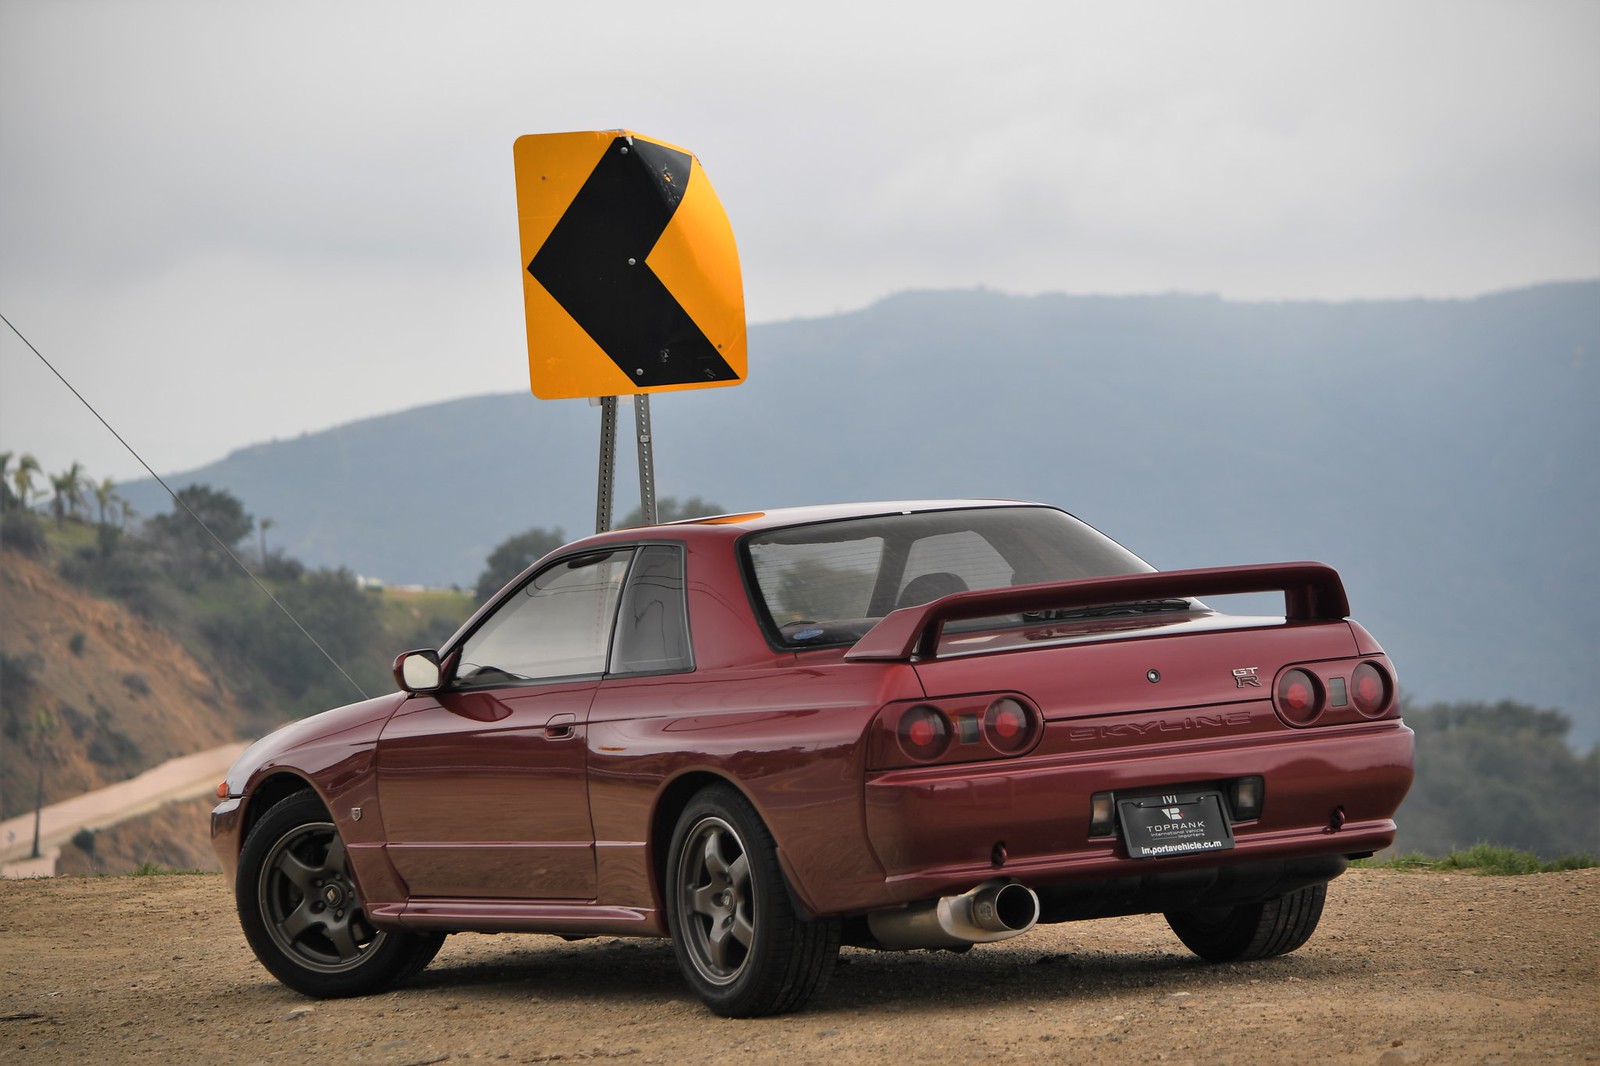
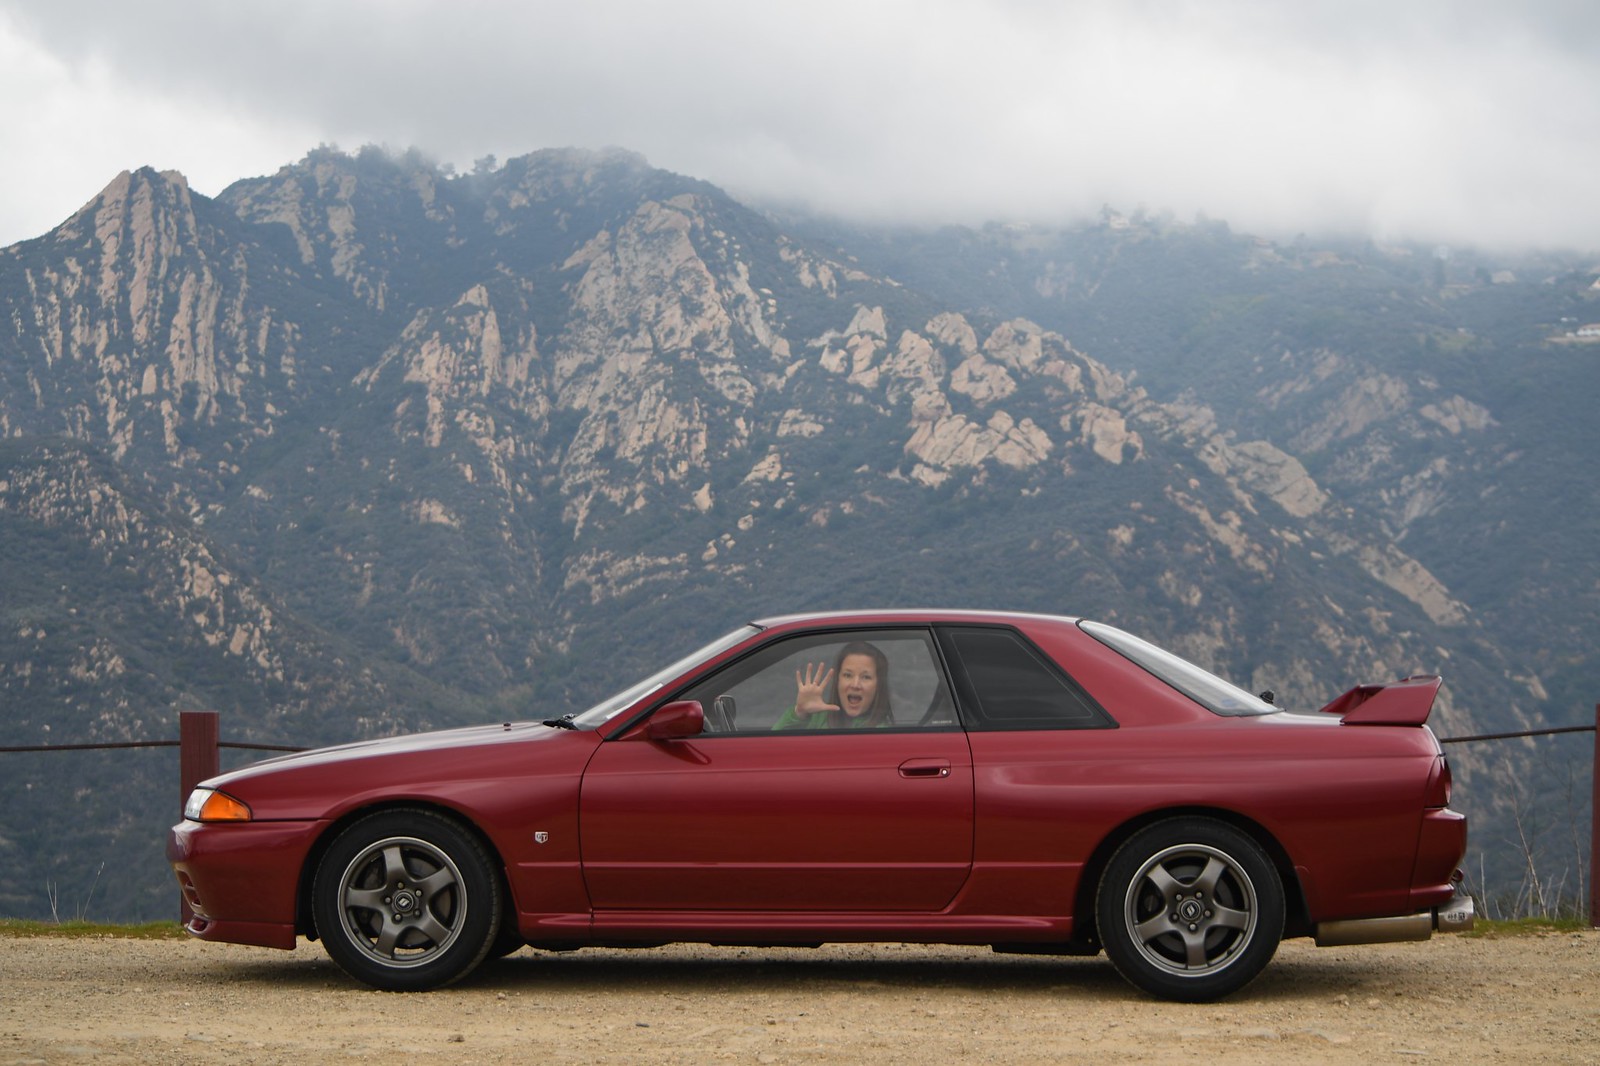
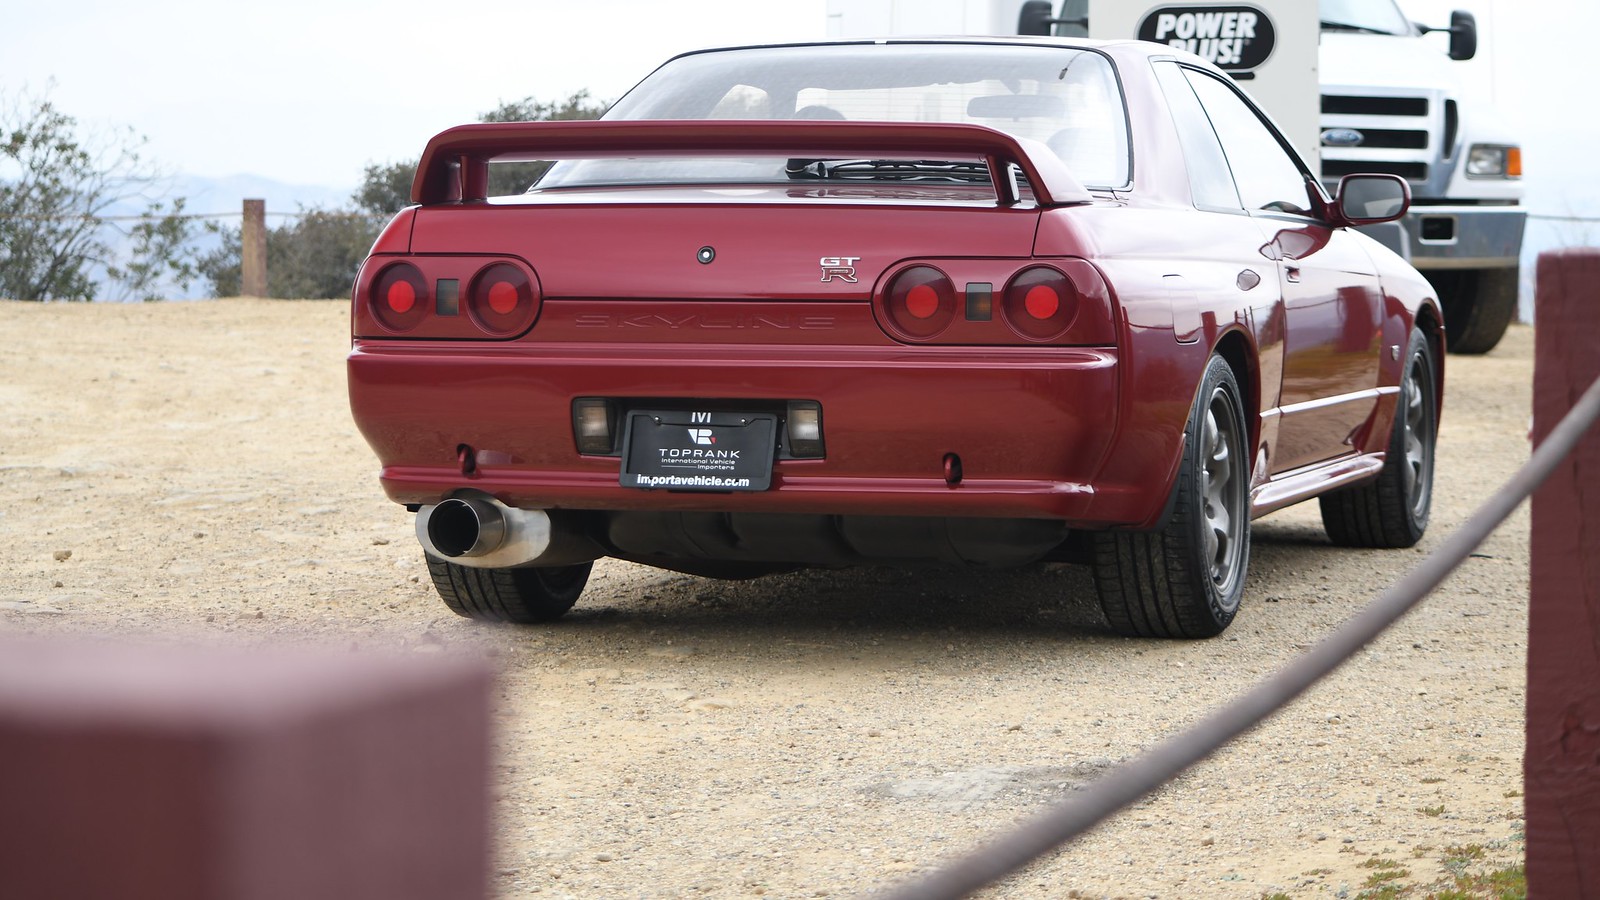
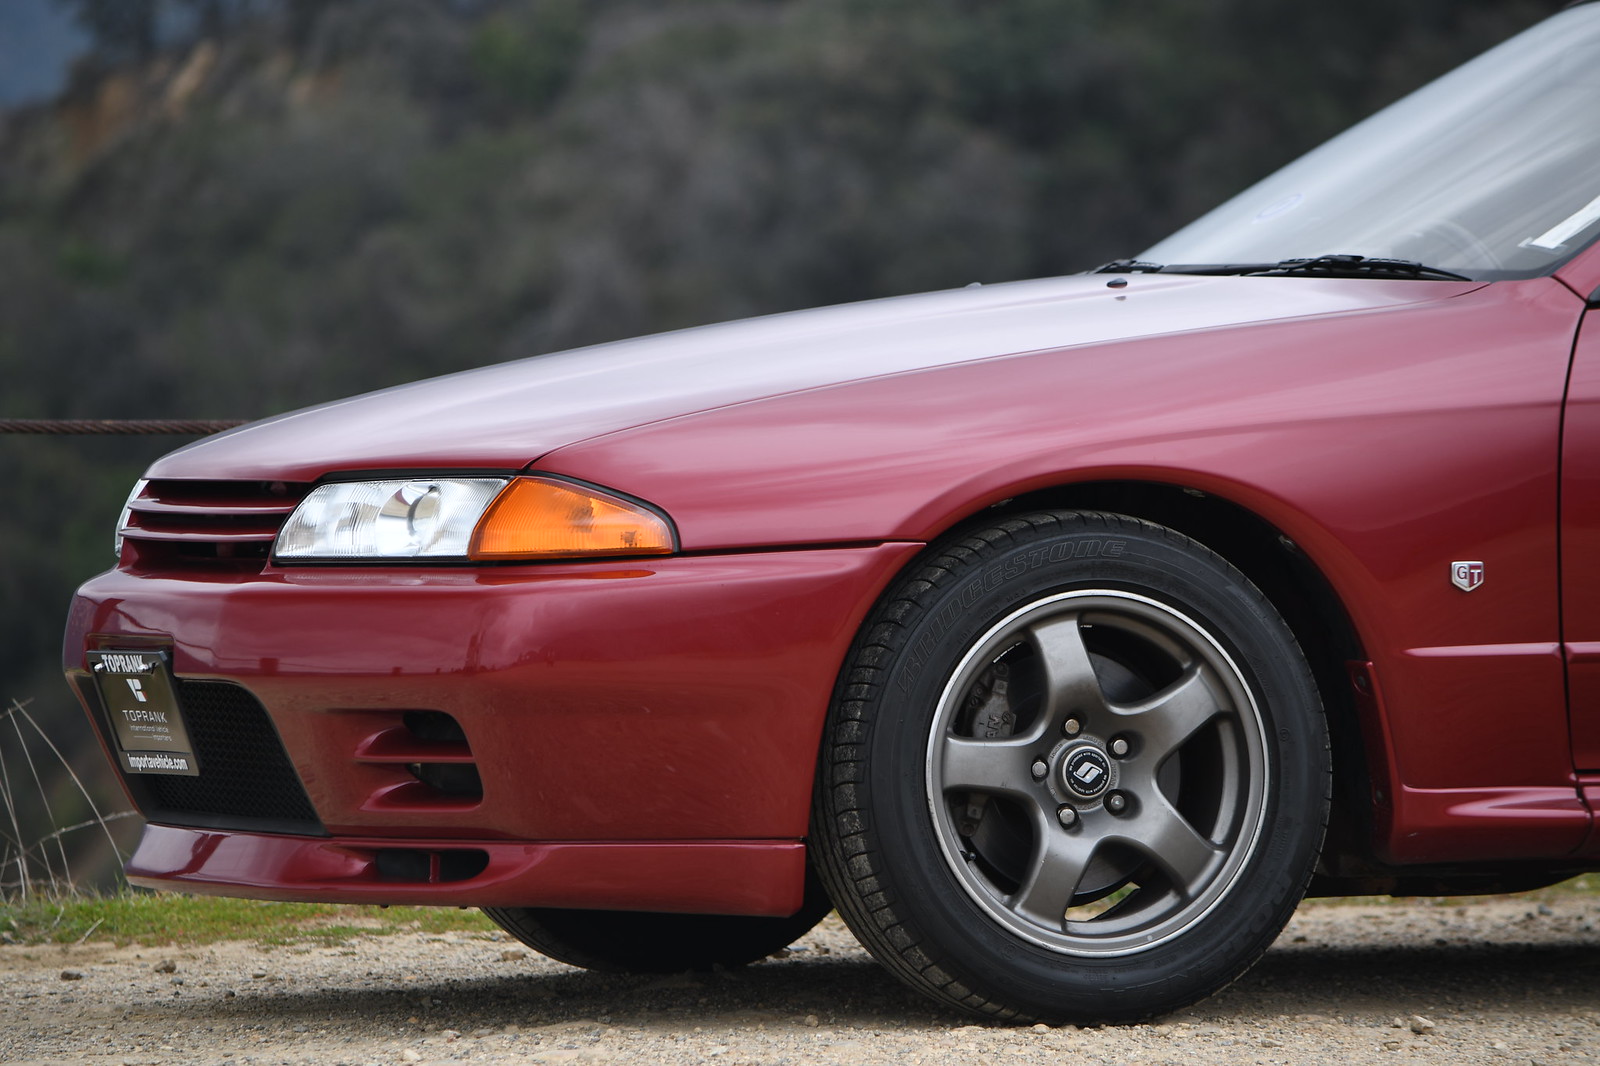
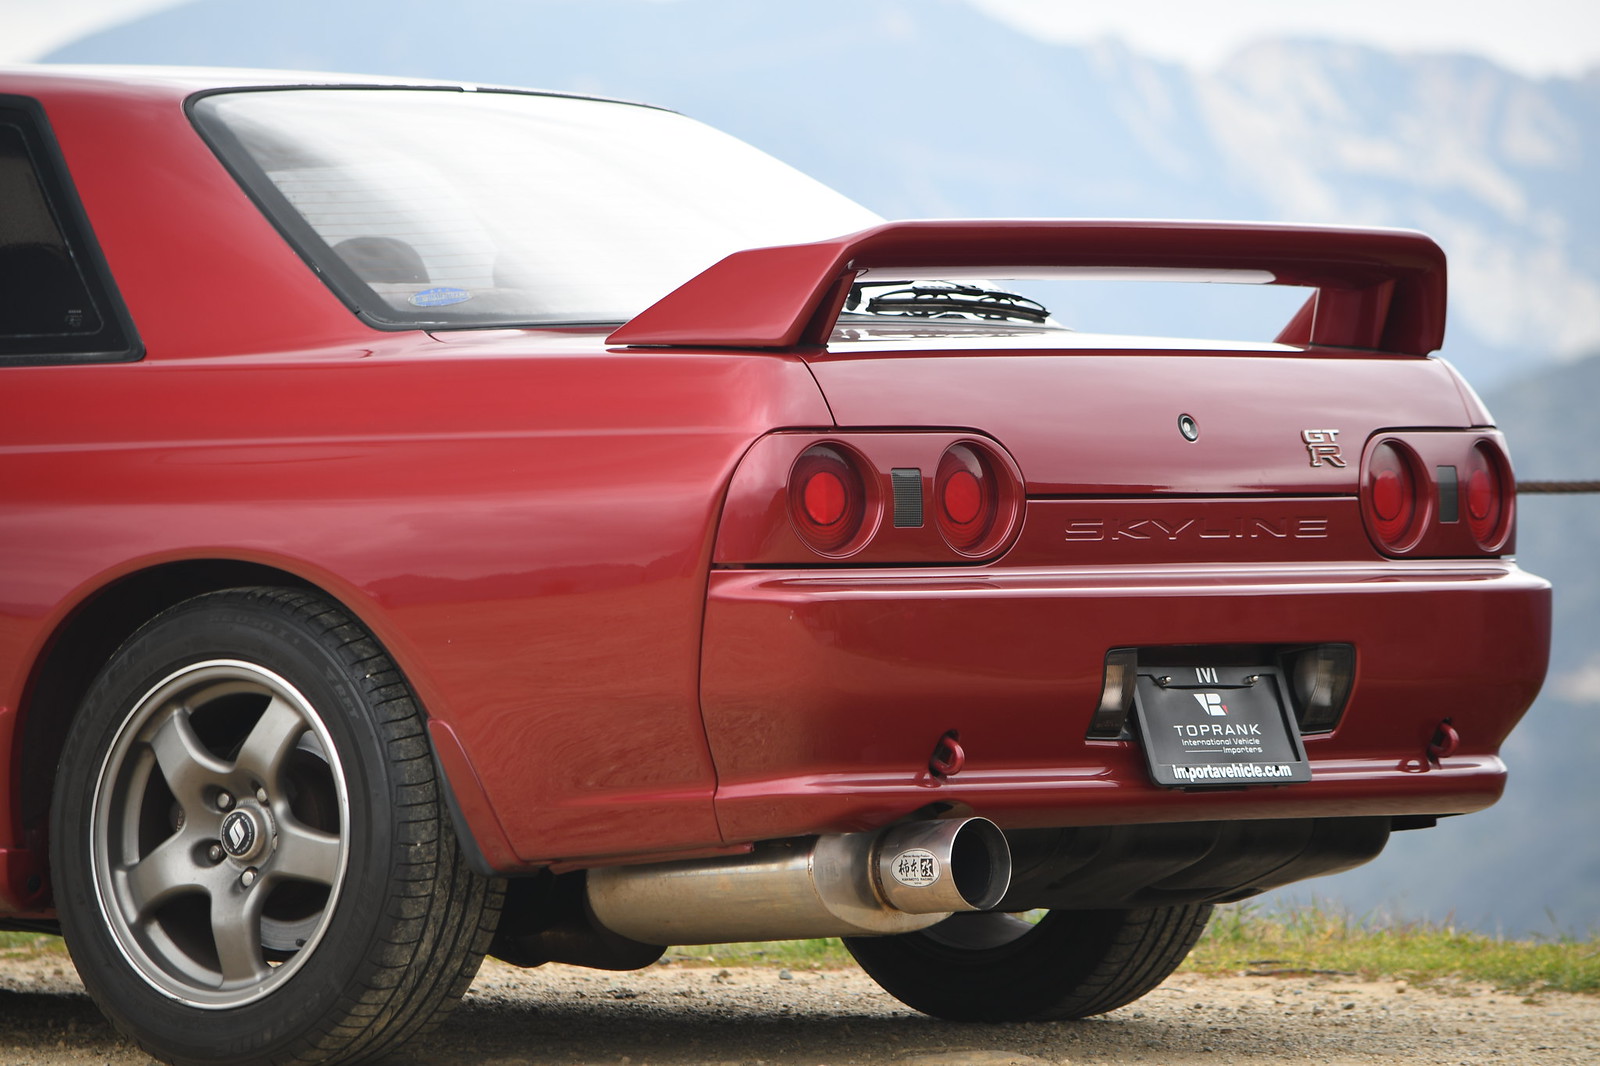
I didn't have to think hard about what wheels to fit to my GT-R. I certainly won't win points for originality, obscurity, period-correctness, or aggressive fitment. These are the famous Volk TE37 wheels, in Super Lap (SL) variation. The stock wheels are 16x8; these are 17x9, and et22 is the "go-to" offset for the GT-R. The Skyline can fit 18" wheels, but I like the meaty-tire look and ride quality of a taller sidewall. I wanted to fit these wheels and run without issues or compromises - that means no fender rolling, no crazy camber, no spacers or adapters, no steering lock limiters.


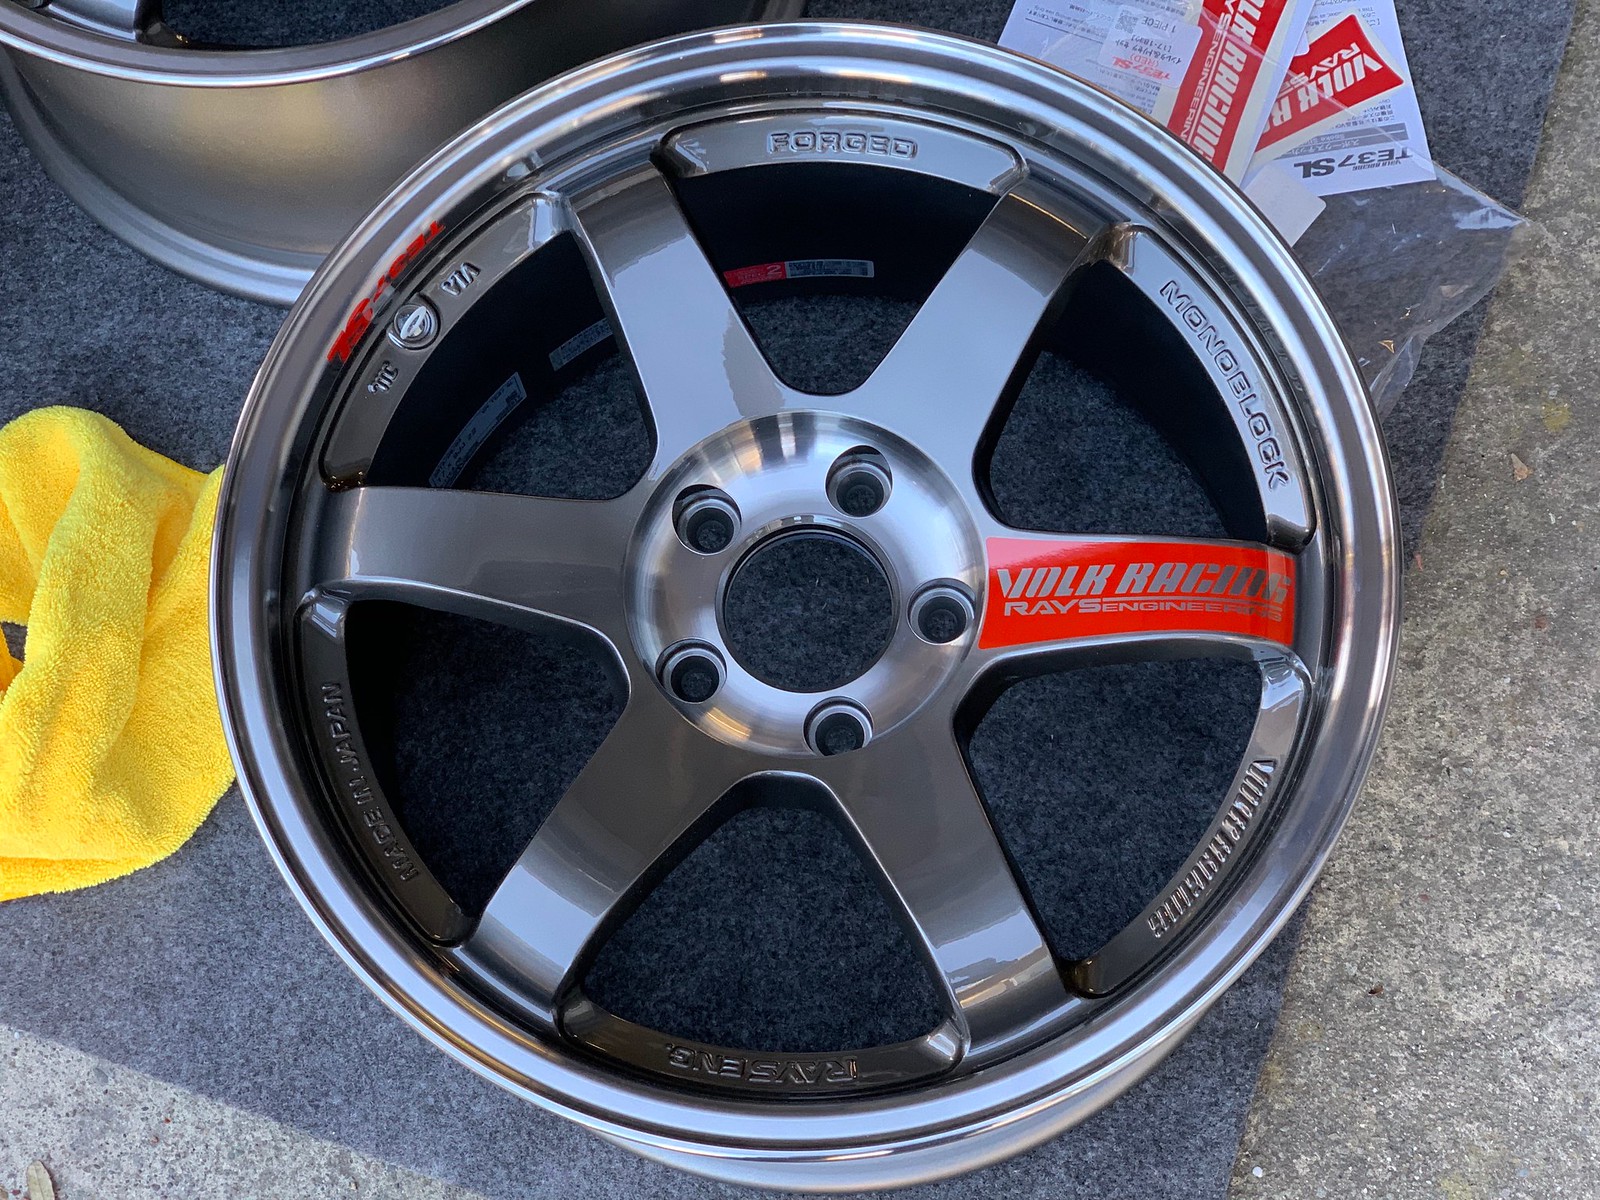
The wheels are forged aluminum. The color on the SLs is "pressed graphite," and the lips and center bolt areas are polished for a nice contrast. I ordered them shortly after purchasing my car and starting the CA emissions wait, and in the end the timing could not have been better - the wheels arrived a week before I picked up the car.

Here's some interesting reading on the TE37:

Speedhunters article, circa 2013: http://www.speedhunters.com/2013/05/touring-evolution-the-volk-racing-te37/
Speedhunters article, with the modern variations: http://www.speedhunters.com/2018/09/a-crash-course-on-volk-racing/
Volk's product page: https://www.rayswheels.co.jp/products/wheel.php?lang=en&wheel=TE37SL

Image credit: rayswheels.co.jp. Illustration highlighting where material is hogged out to reduce mass by up to 400 grams over the standard TE37.

The iconic six-spoke design of the TE37 looks good on nearly everything. One of my favorite features of the SL in pressed graphite is the red spoke. I'm a sucker for asymmetric wheel looks, with one spoke spinning in a different color from the rest, so this is right up my alley. These come as stickers, so before sending the wheels off for tires I laid the decals down slooooowly and carefully.

Mock up, step back, eyeball, nudge slightly, stare, rub chin, lose nerve, peel backing off, go for it.

Straight, consistent, no trapped dirt, and no air bubbles. Hallelujah.


When it came time to select tires, I wanted a very high performance summer tire that could handle bad weather when it came up. I had my heart set on the new hotness of the moment - Michelin's lauded Pilot Sport 4S - but unfortunately they were not available in 255/40R17. So, I went with the next-best thing, Continental's ExtremeContact Sport. These have very similar ratings as the Michelins, and I chose them over other options because they received high marks for wet-surface performance. This is important not because I go for spirited drives in the rain, but because it is common for the roads of the Santa Cruz mountains to be damp in the mornings, even in dry weather.

"Wait a sec, let me make it look like I'm doing something."

Worth noting: the Contis are non-directional, and therefore can be rotated all around.

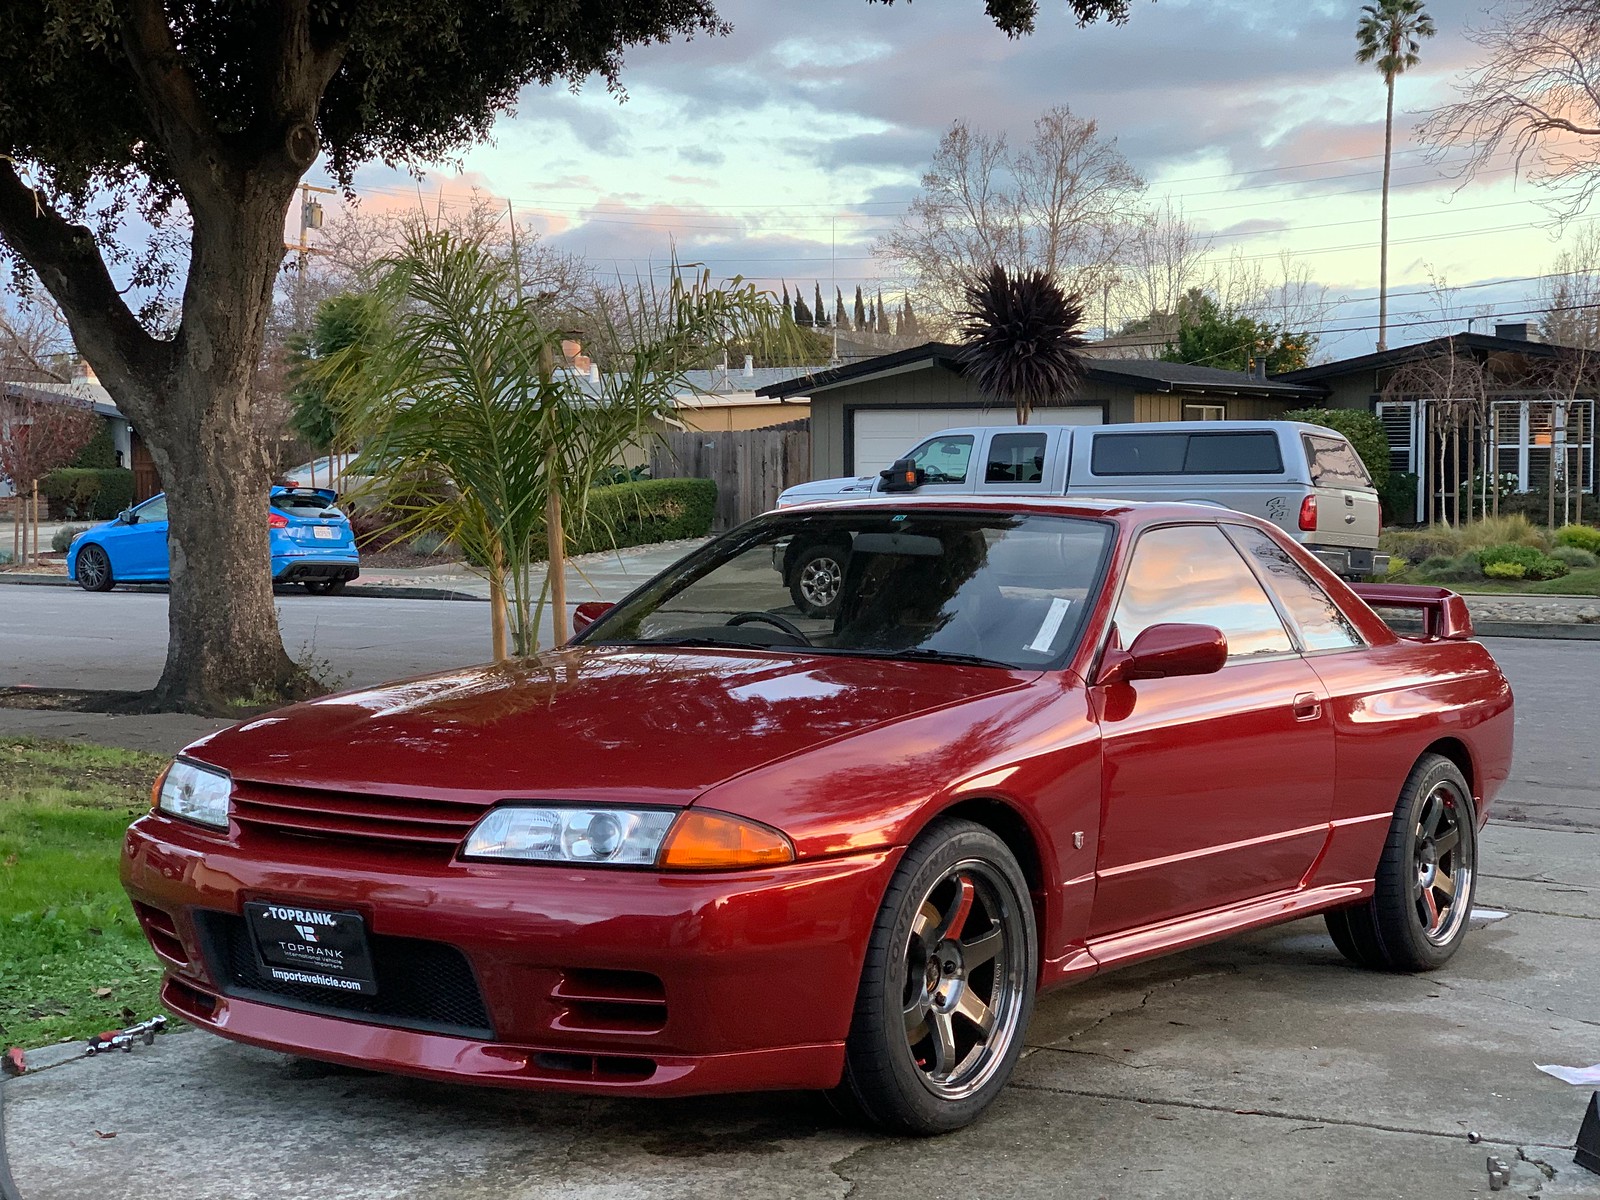
I held off on fitting the wheels for about two weeks. I told myself that I should experience the car in stock tune for a while and not fit all my exciting parts right away and be left without anything to look forward to. I was doing well until I saw Michael's car (blue, previous post) on 17x9s and how good it looked. The wheels were installed a couple hours later...

First look.

Ride height needs some work but the fitment of the wheels and tires is bang-on.

Could not be more pleased with how the wheels came out.

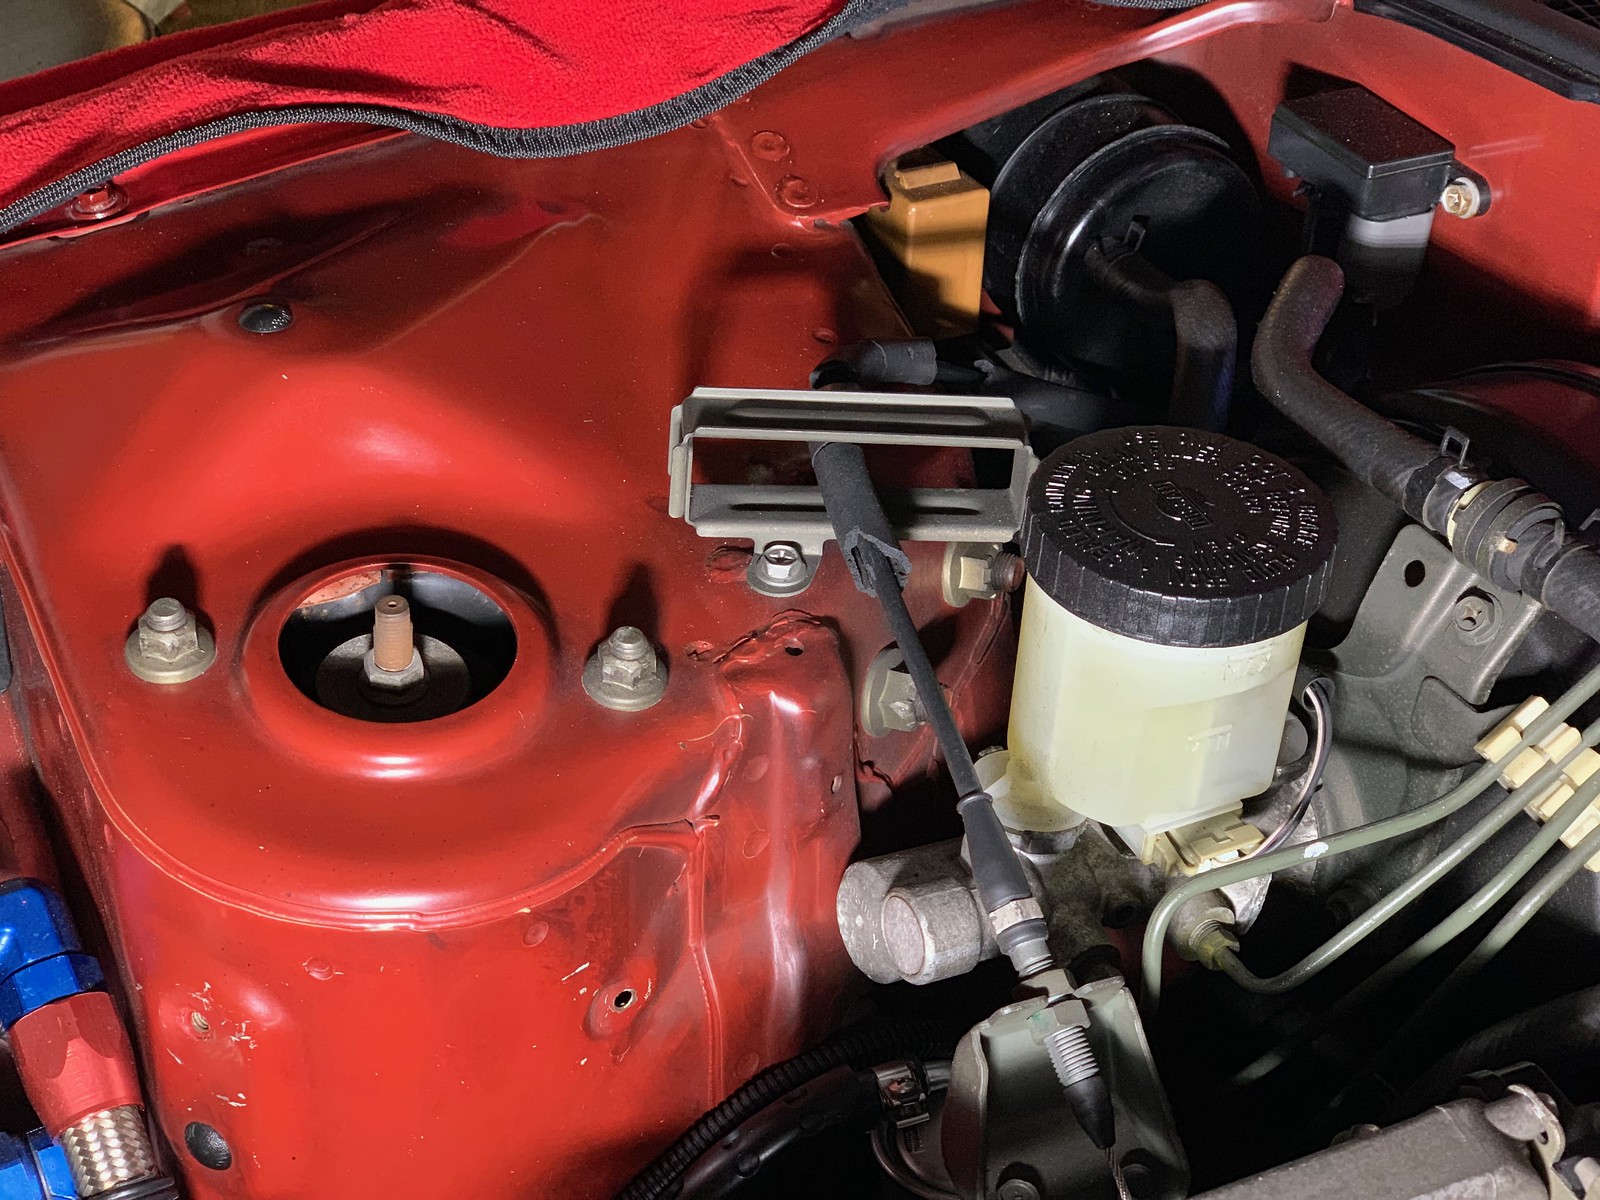
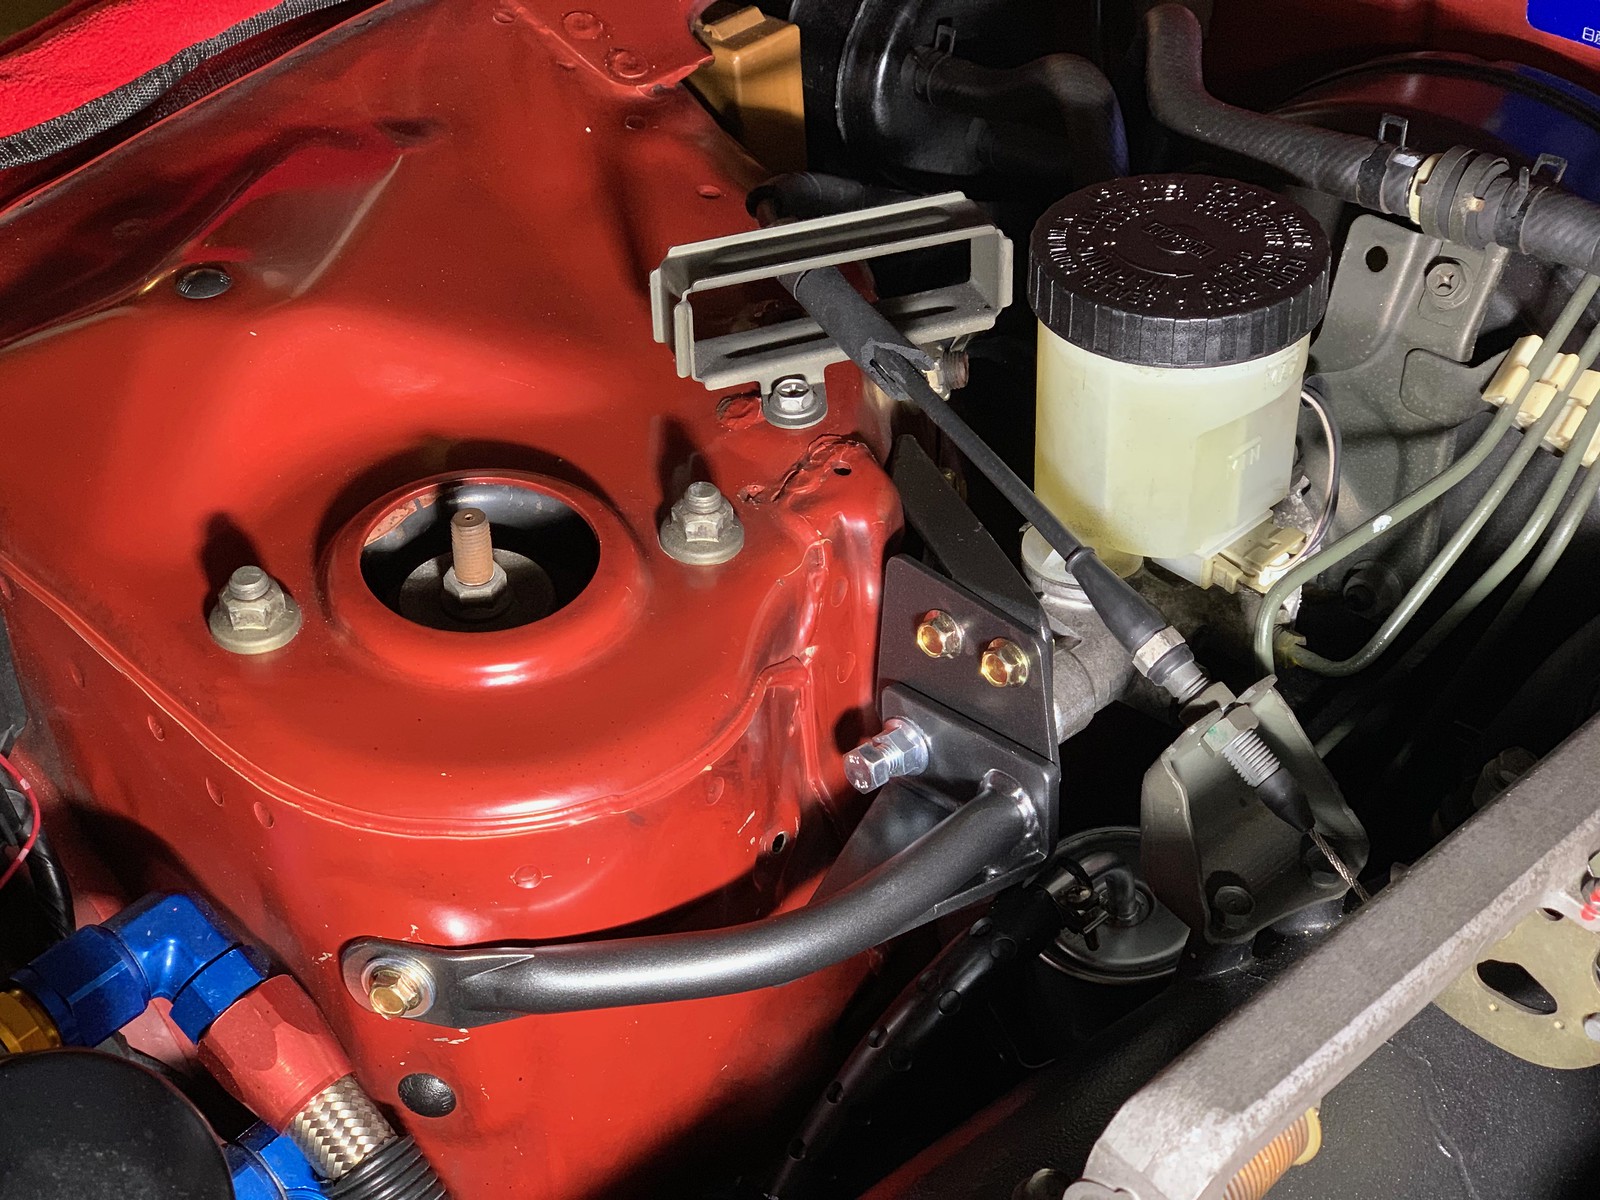
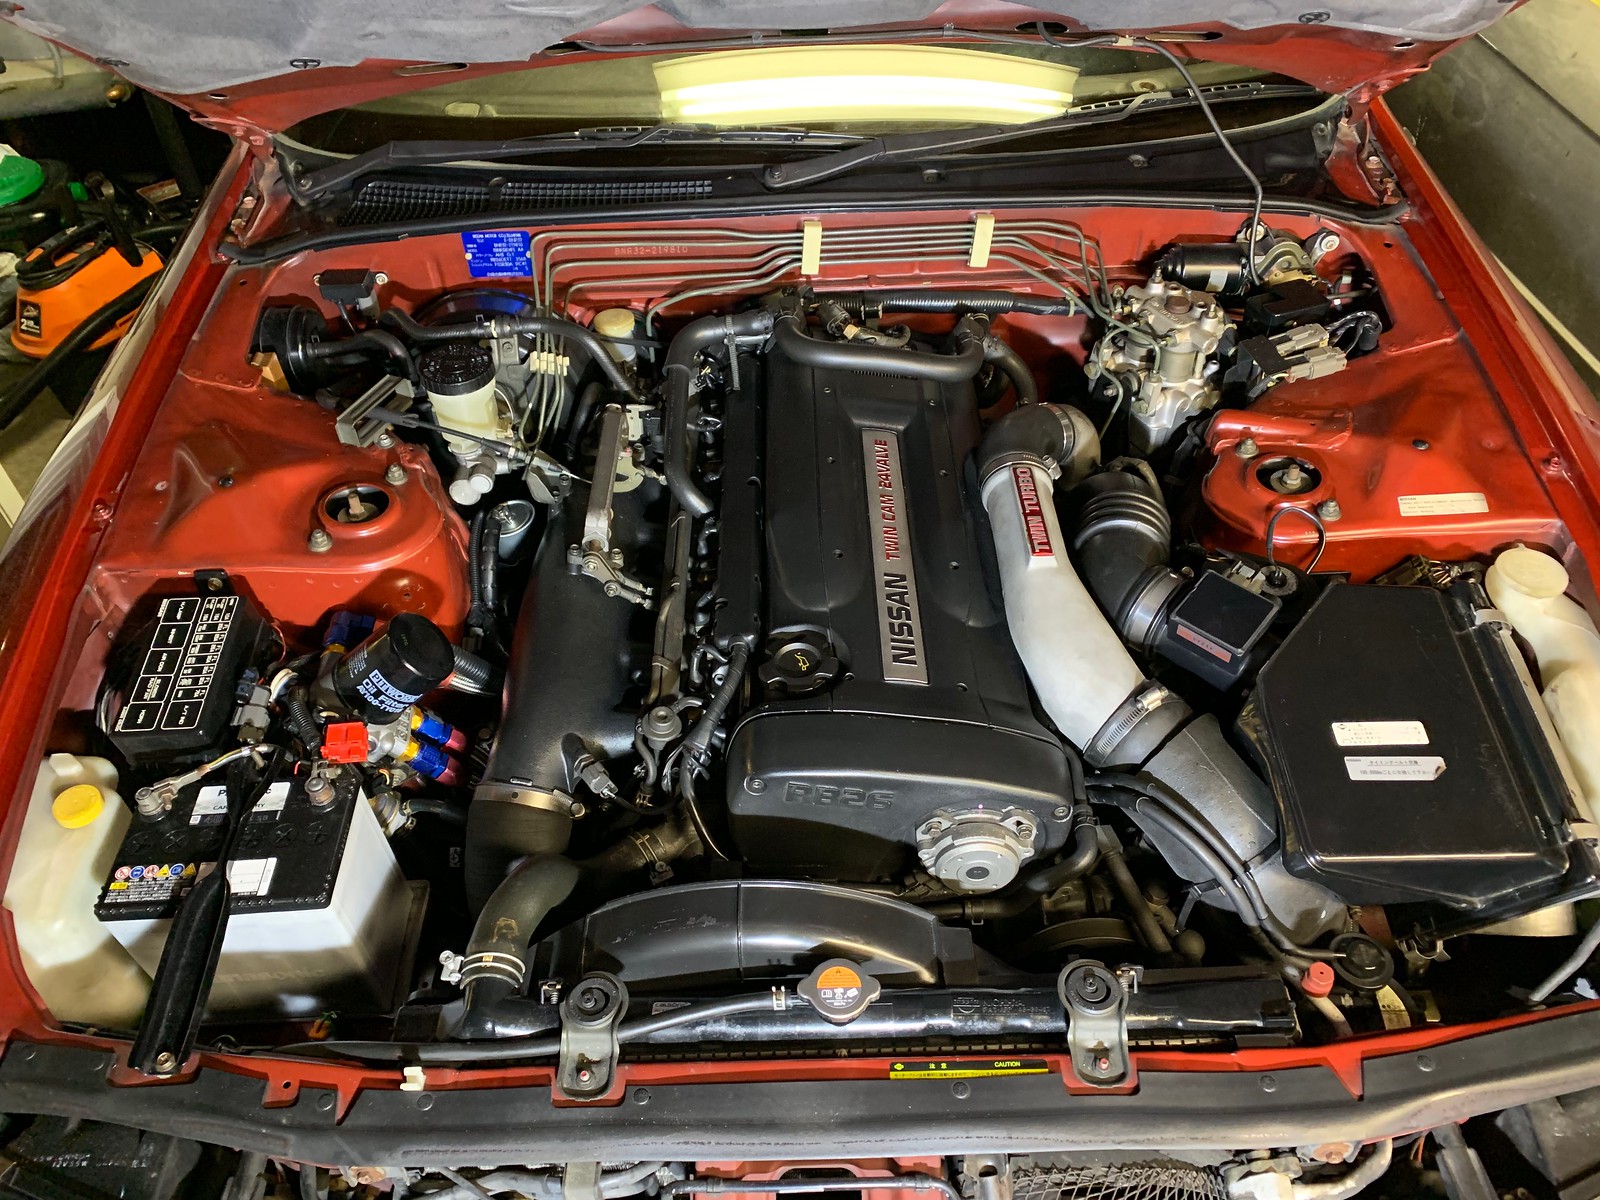
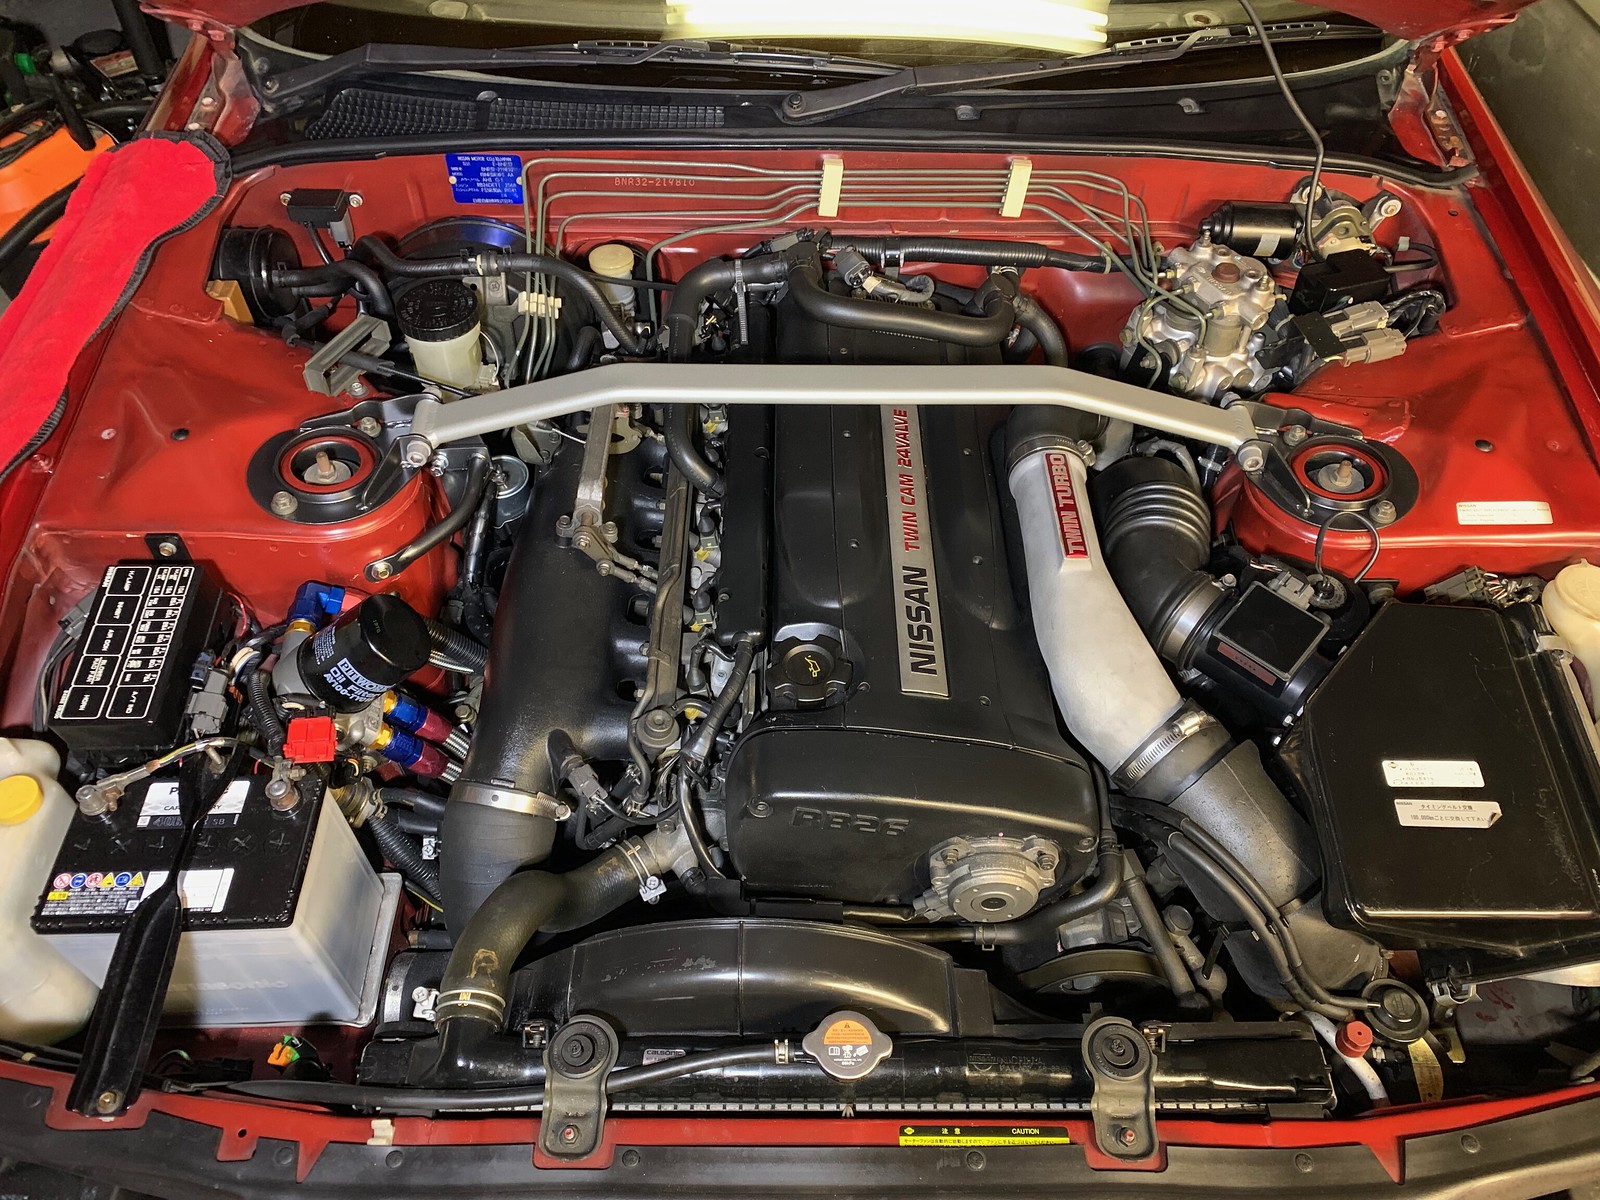
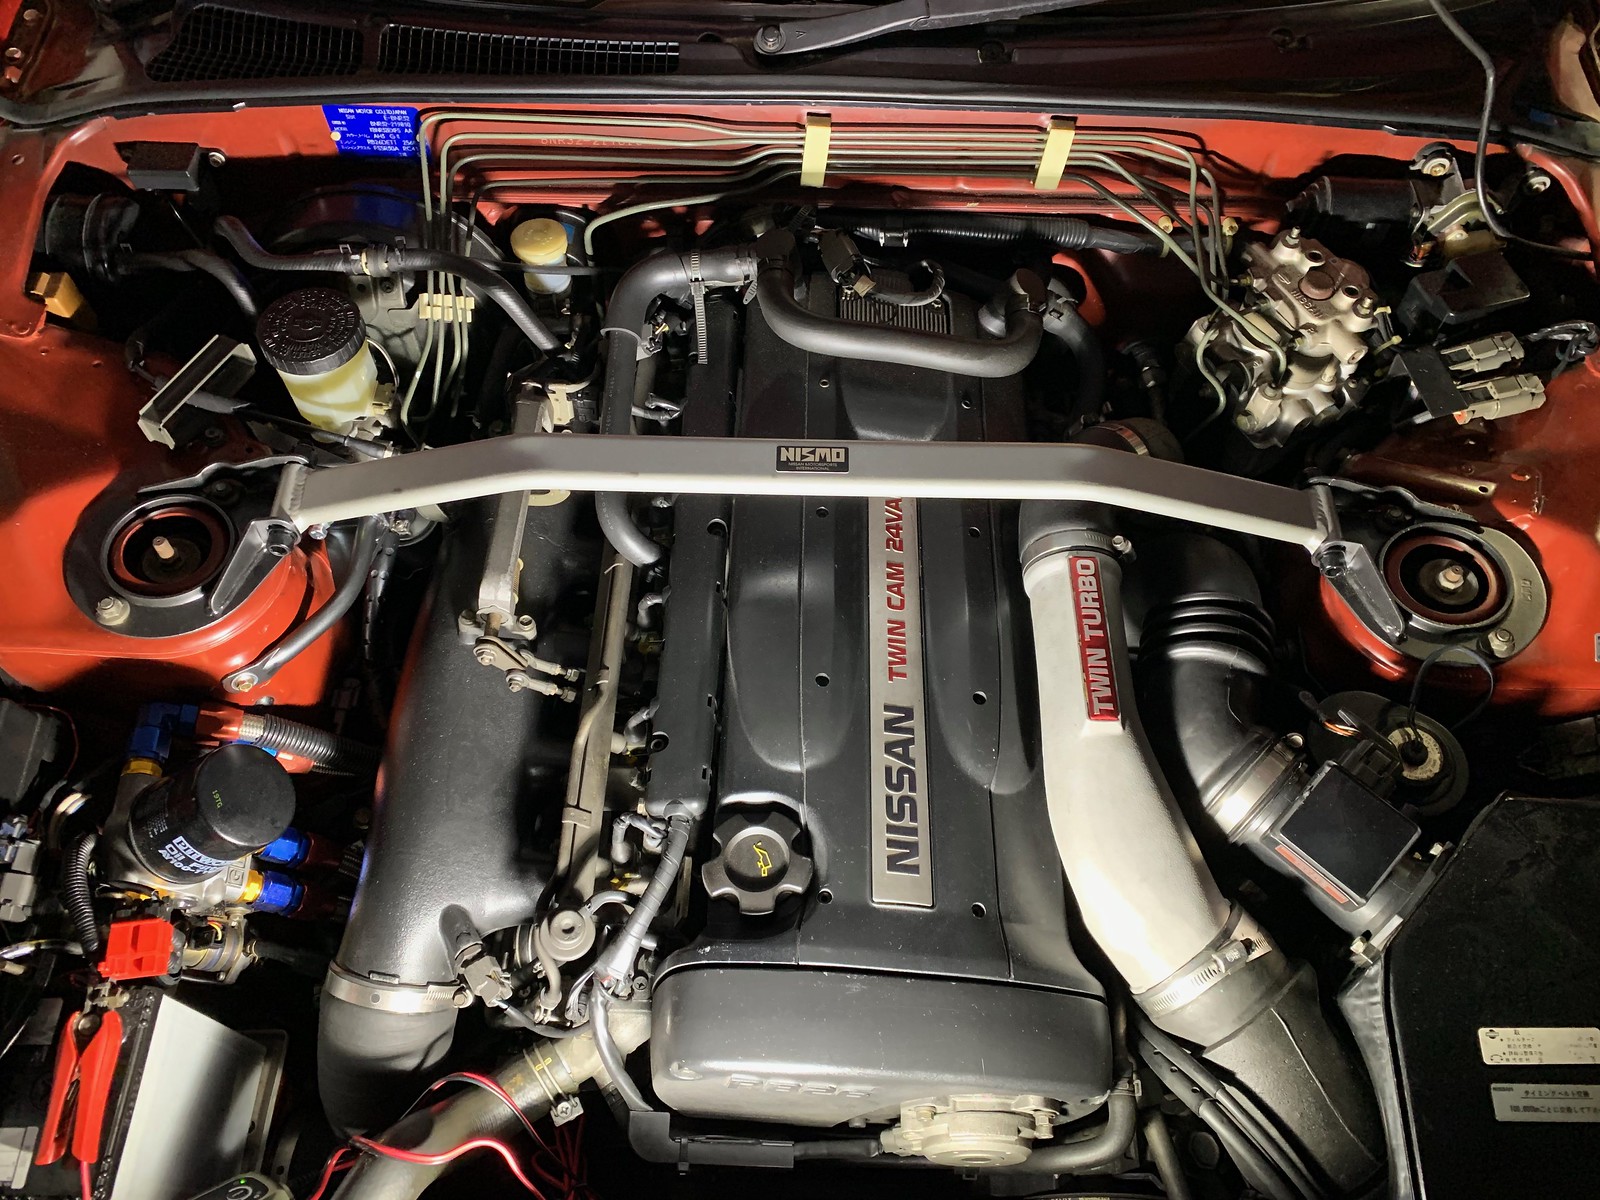
While the GT-R was in a lab somewhere in Orange County getting sorted out, I purchased a tired Nismo strut bar and also a Cusco master brake cylinder brace set. The bar needed to be refinished, and I was not digging the idea of the anodized blue Cusco bits in an otherwise stock engine bay, so I had them all powdercoated at the same time. The bar was done in a silver as close to the original finish as possible, and all the other bits were done in dark graphite to blend in and look OEM.

Before

After.

The brake master cylinder brace is an interesting piece. In stock form, the Skyline's firewall, which mounts the brake pedal assembly, is not quite up to the task when the driver really leans on the pedal. The firewall flexes locally, which the driver experiences as soft pedal feel. The Cusco brace ties into the factory strut tower and butts right up against the end of the brake master cylinder, providing a backstop when you lay into the pedal. The improvement can immediately be observed from the engine bay, and it is also immediately apparent from the driver's seat. A great, inexpensive modification.

Here's Sean Morris's relevant page with some video to see what I mean:
https://www.gtrusablog.com/2017/11/nissan-skyline-gt-r-r32-brake-master.html

Before

After.

The strut brace is... a strut brace. It ties the top mounts of the struts together across the engine bay. There is no shortage of options out there, from the OE R33 unit up to a $2000 titanium Omori Factory piece. I'd rather spend that money elsewhere, and I like the Nismo piece because the center section is removable, which is very handy for wrenching. I lost the original Nismo sticker when the bar was refinished, but sourced a reproduction replacement from JL Design and Fab in Australia.

https://jl-design-fab.myshopify.com/collections/stickers/products/vintage-nismo-strut-brace-sticker

Before

After.

After + replacement Nismo decal.


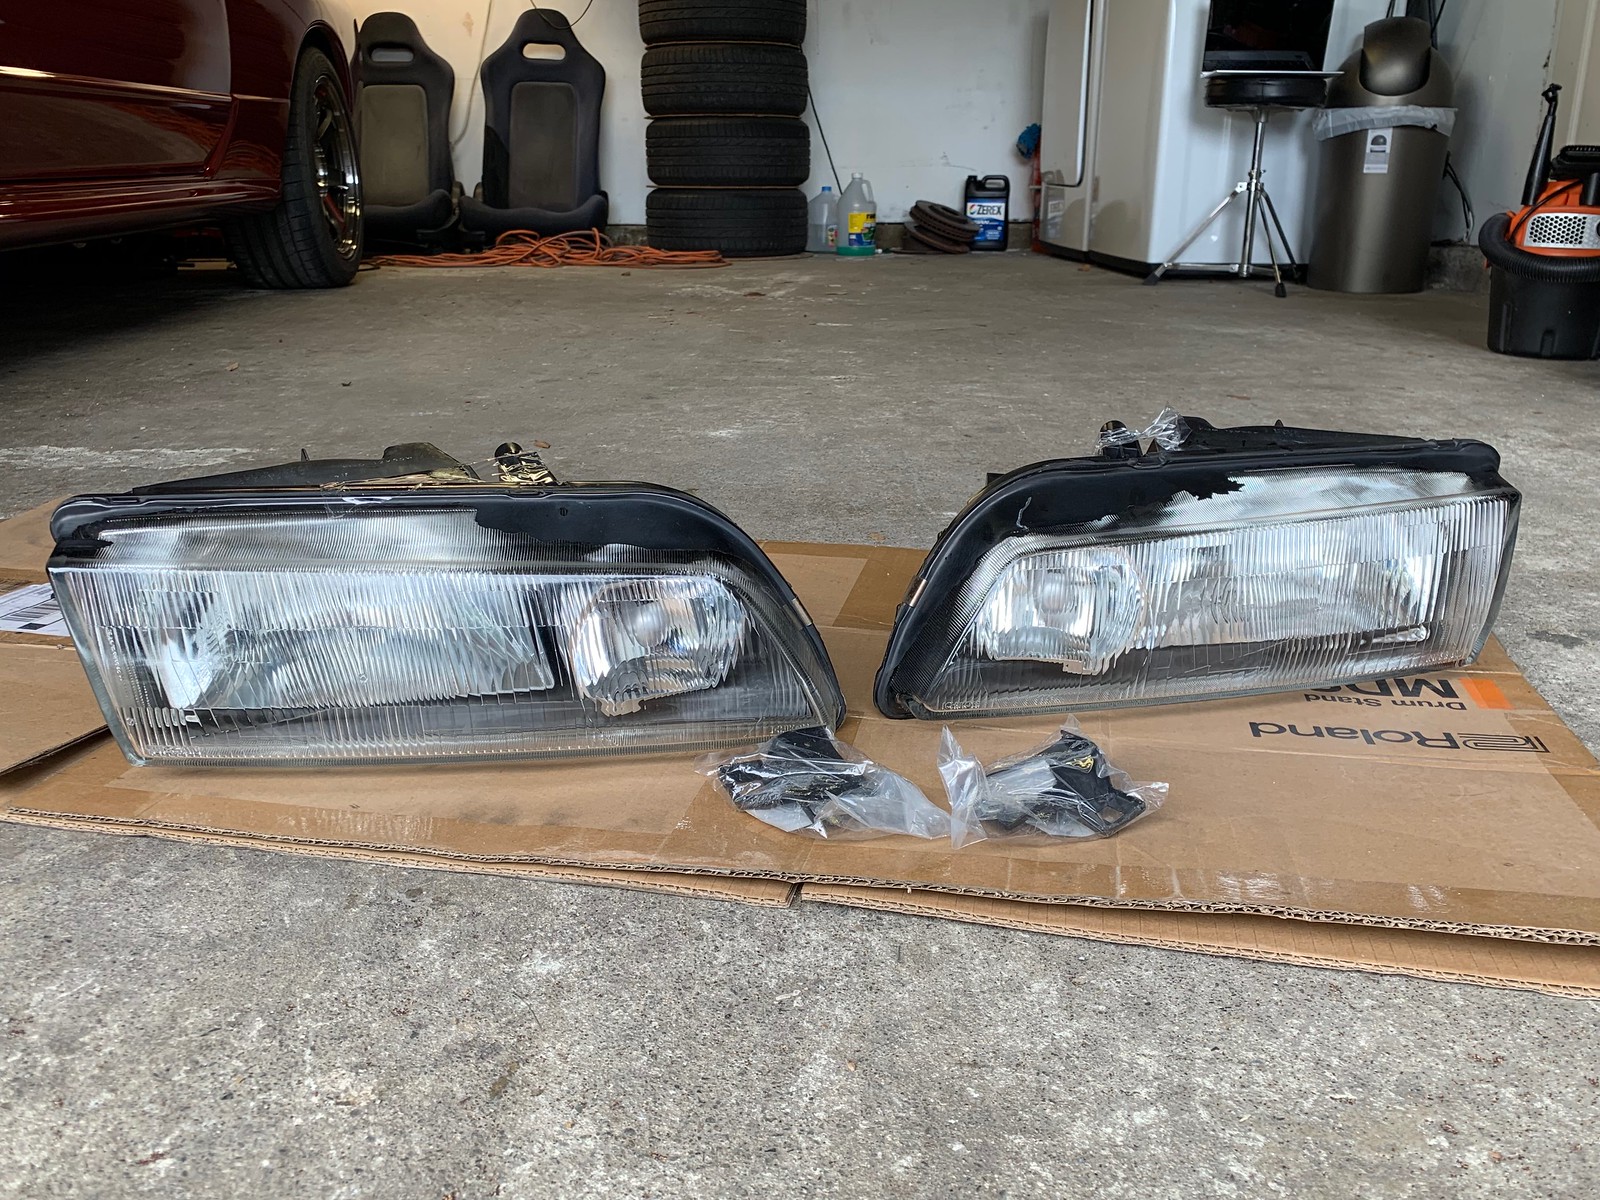
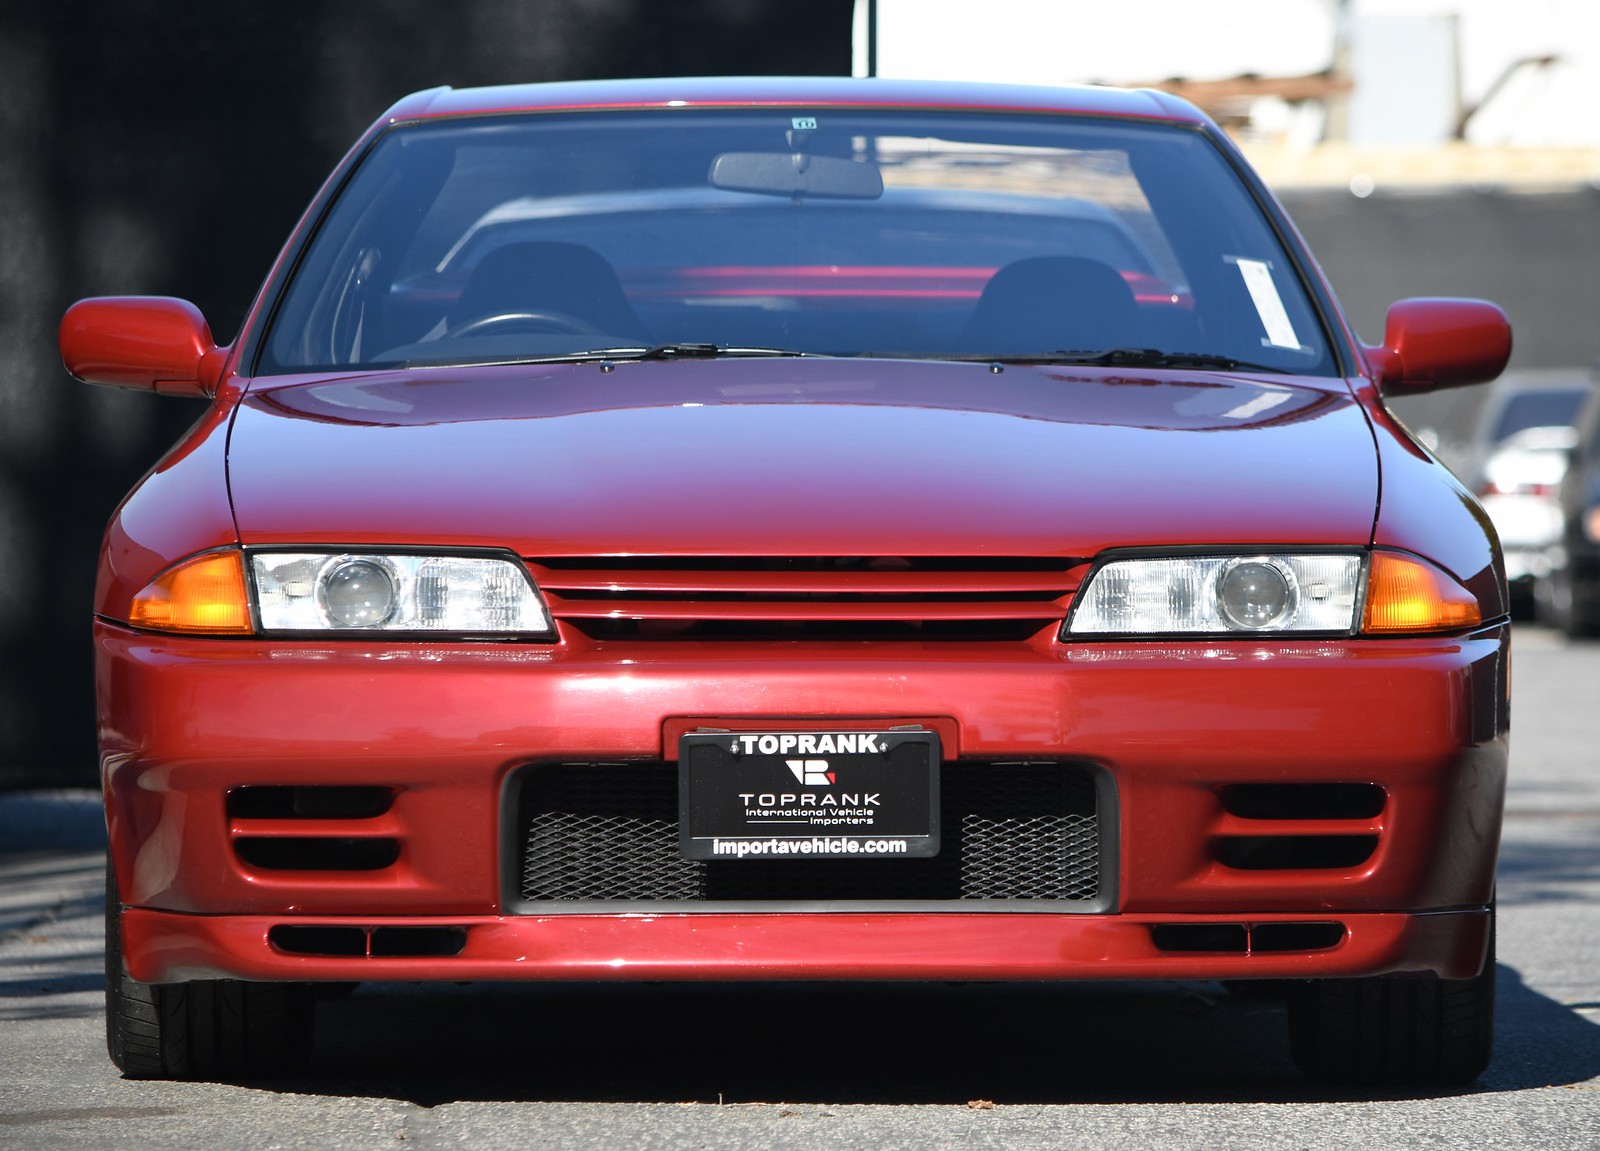
There were three varieties of headlight offered on various trim levels of the R32 Skyline. The GT-R came with projector headlamps, an early style and a later style. The early style had a pronounced ring around the projector, the later did not. My car came equipped with the later style, and they worked just fine. The third style that was used was the reflector housing type, as seen above. These were used on the lower trims of the Skyline, but were brought back into action for the N1 variant of the GT-R. For this reason, "N1" headlamps are a popular modification for GT-Rs.

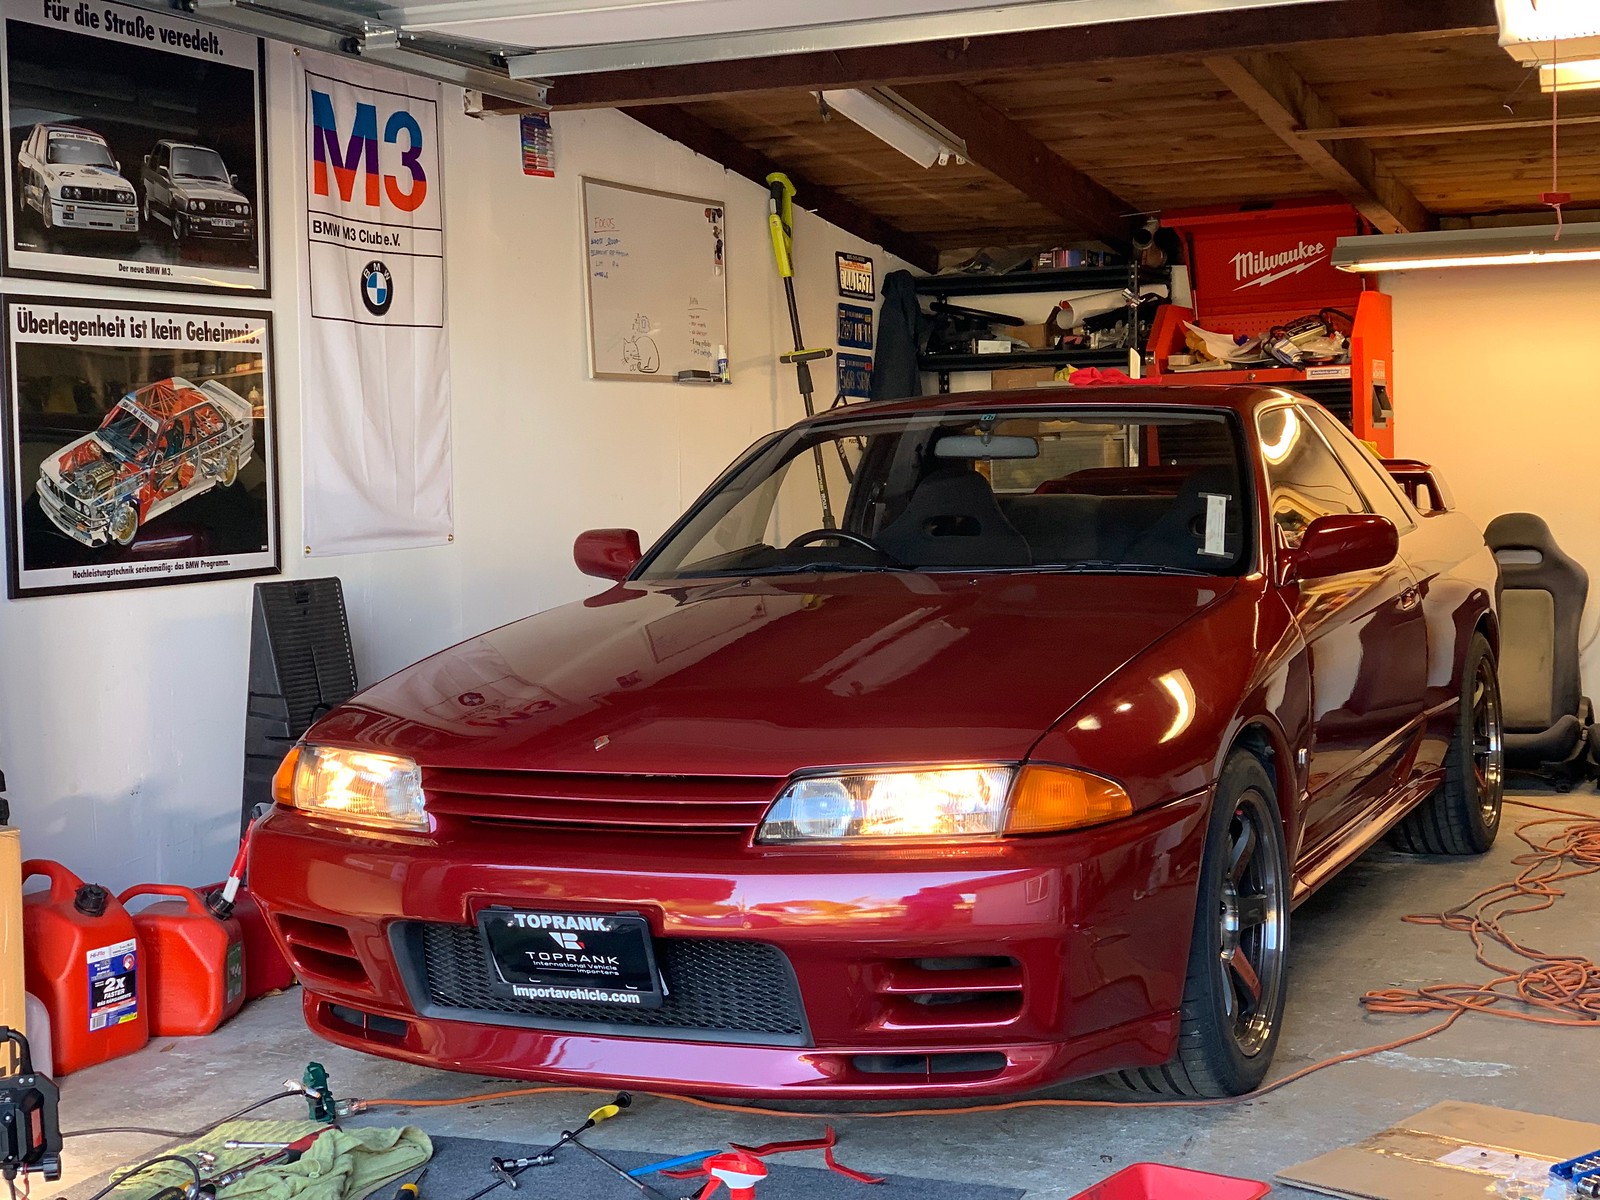
I prefer the look of the N1 housing, so in late 2018 I sourced a set from Russia by way of eBay. For GT-R use, they require two stamped metal brackets that fasten to the inboard side of the lights and pick up the grille.


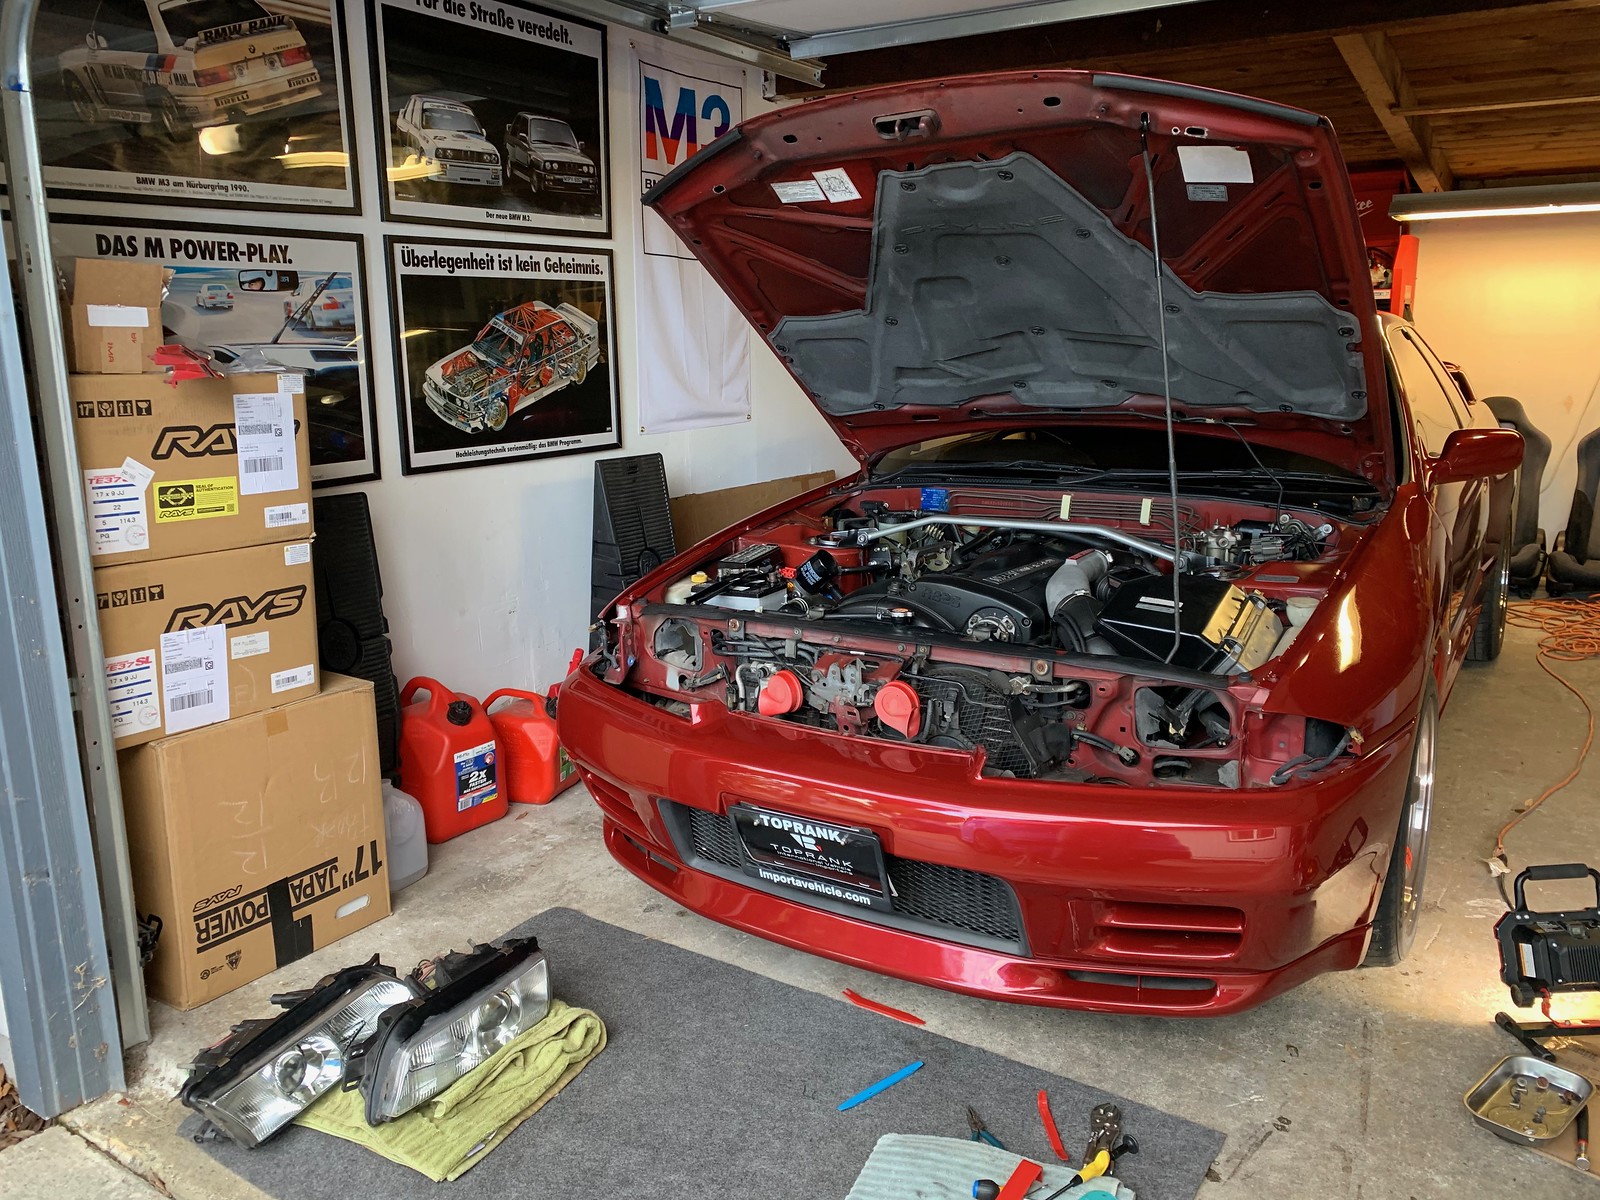
Installation was straightforward, but challenging due to tool access. To remove the headlamps:

  1. Remove the amber turn signal lamps. There is a small Philips-head screw on the top at the fender; remove that, and pull the lamps toward the front of the car to pop them free at the ball-socket joint to the outer edge of the headlamp housing. This exposes two of the four bolts holding the headlamps in place.
  2. Remove the grille. It's clipped to the headlamp housings, so massage the (old, brittle) plastic clips carefully to release their hold. Don't forget the clip in the middle, between the horns. 
  3. Remove the two remaining nuts holding each headlamp in place. This sounds easier than it is. You can see the nuts, but due to the presence of A/C hardlines and various harnesses getting a tool on them is a real challenge. I ended up using a combination of extensions and wobbles to get the job done. 
  4. [optional] Drop various fasteners into the abyss of the engine bay. Remove the lower plastic screening and punch it until the lost fasteners fall out.
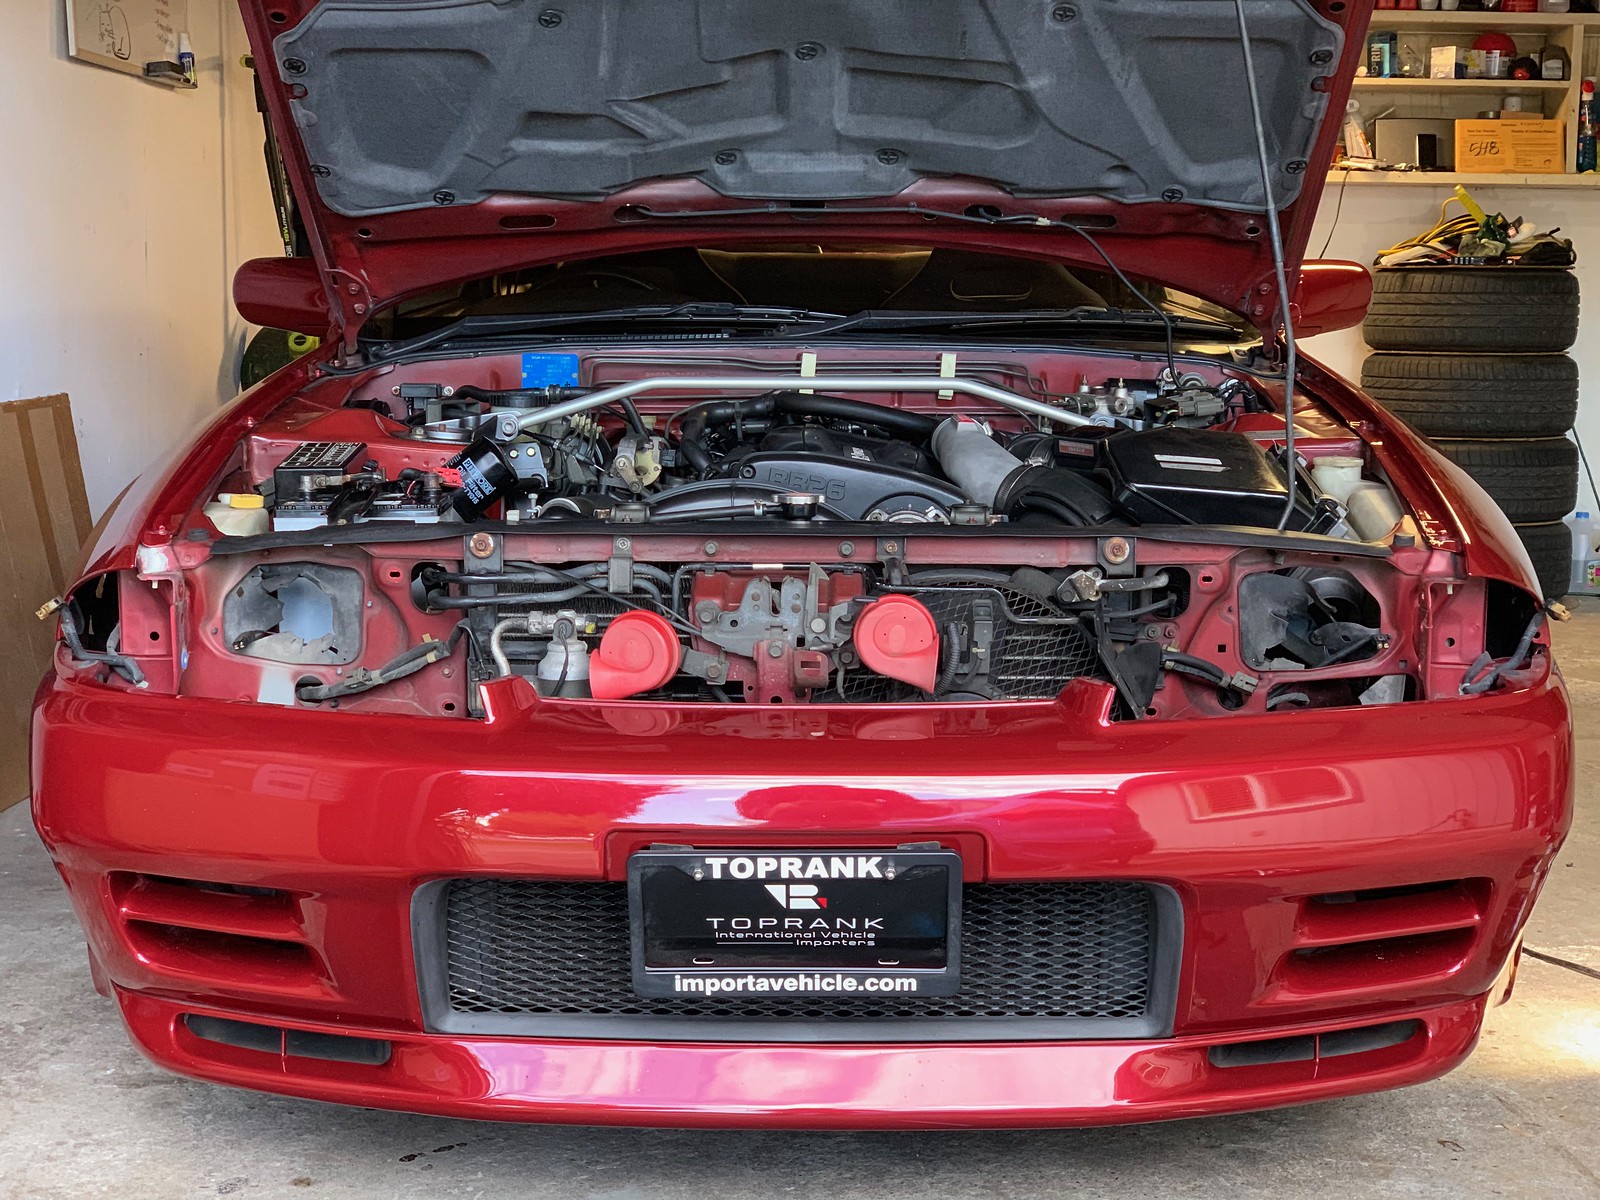
  5. The inner corners of the bumper cover, where the grille sits, 'trap' the headlamps and prevent you from being able to pull them straight out toward the front of the car. The mounting studs and side attachments require you to pull in this direction. So, before you drive yourself crazy, remove the three (I think?) plastic clip fasteners holding the bumper cover down in the grille area. This operation is specified in the workshop manual and is essential to successful removal. With the bumper cover freed up, you can flex it out of your way enough to pull the lamps.
  6. Disconnect wiring and they're out.


GIVE ME BACK MY FACE

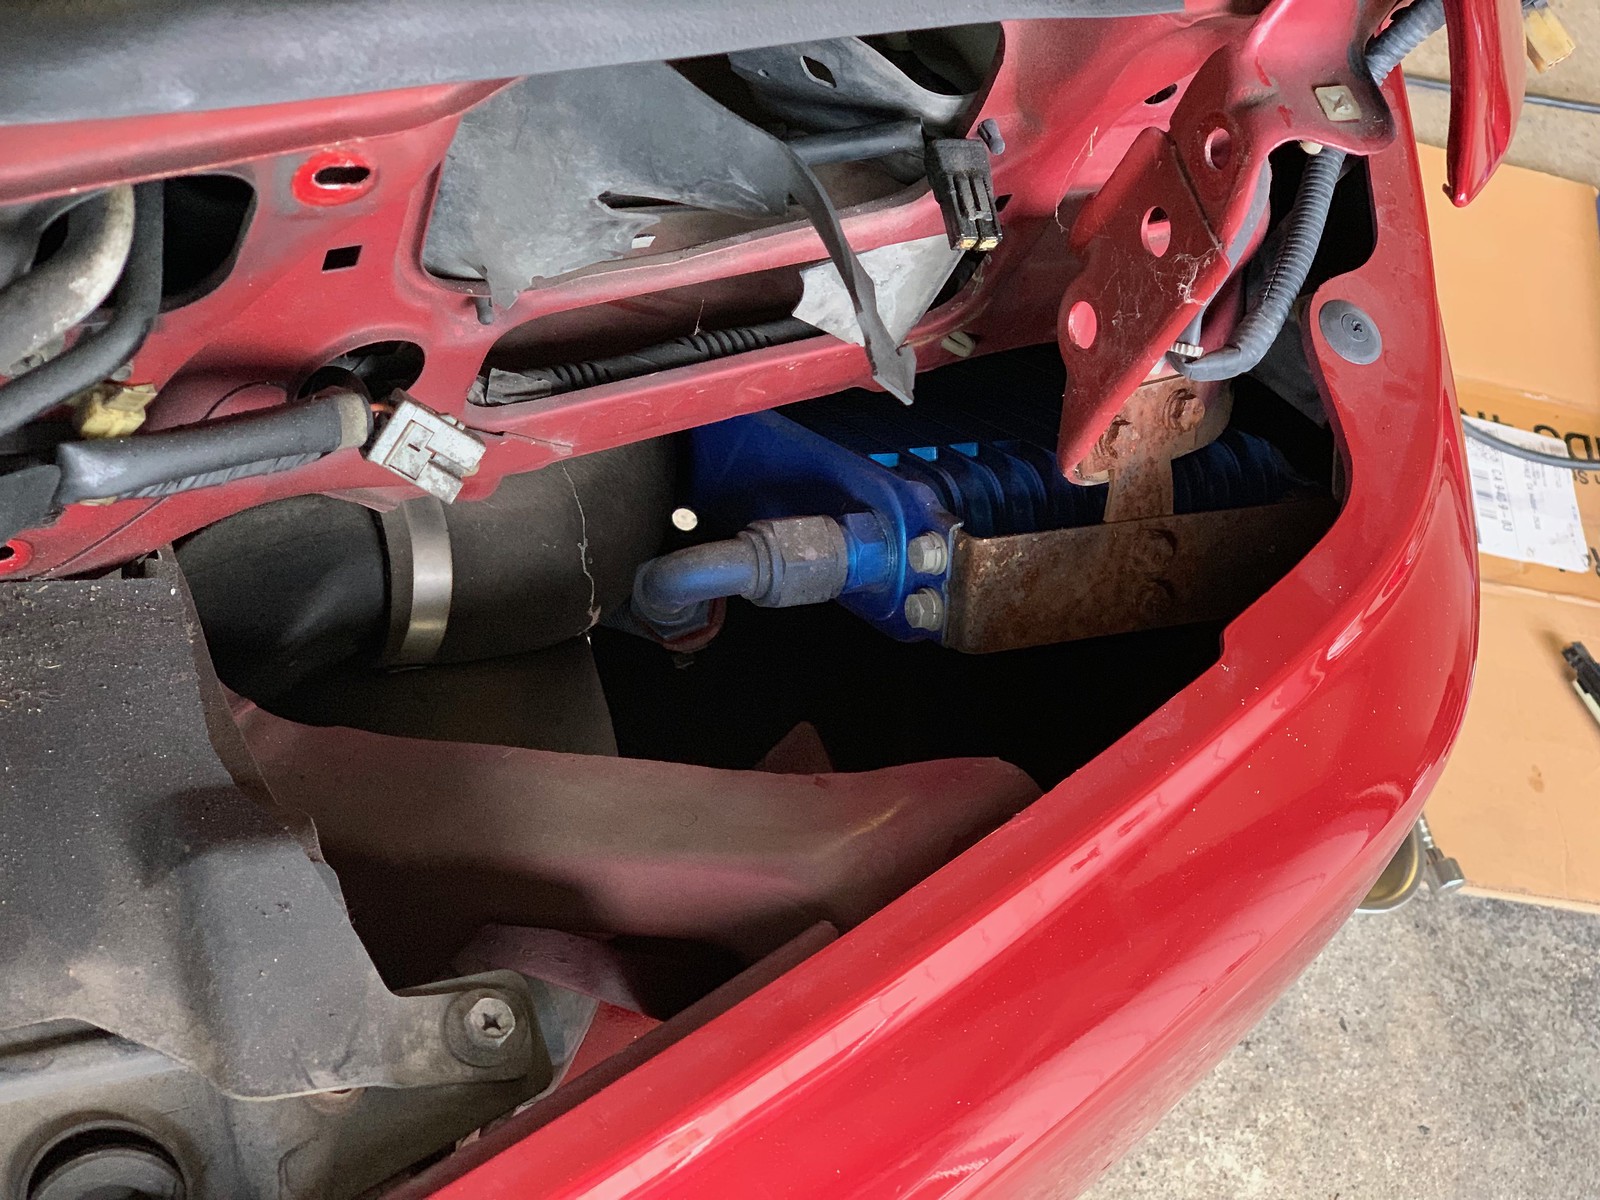
Oil cooler: yay! Corrision: boo!

The inner, smaller section of the N1 / reflector headlamps is actually a fog lamp. The GT-R does not come with fog lights unless optioned that way from the factory, but fear not - Nissan wisely wanted one headlight wiring harness to keep it simple, and therefore a fog lamp hookup is right where you need it, taped to the harness. You can see it in the photo above, on the left side with the grey connector. That little guy was taped up for nearly 30 years, waiting for somebody like me to put it to use. The larger area of the reflector headlamps contains the running light, and the low/high beam duties are shared in that area and executed by a dual-filament bulb.

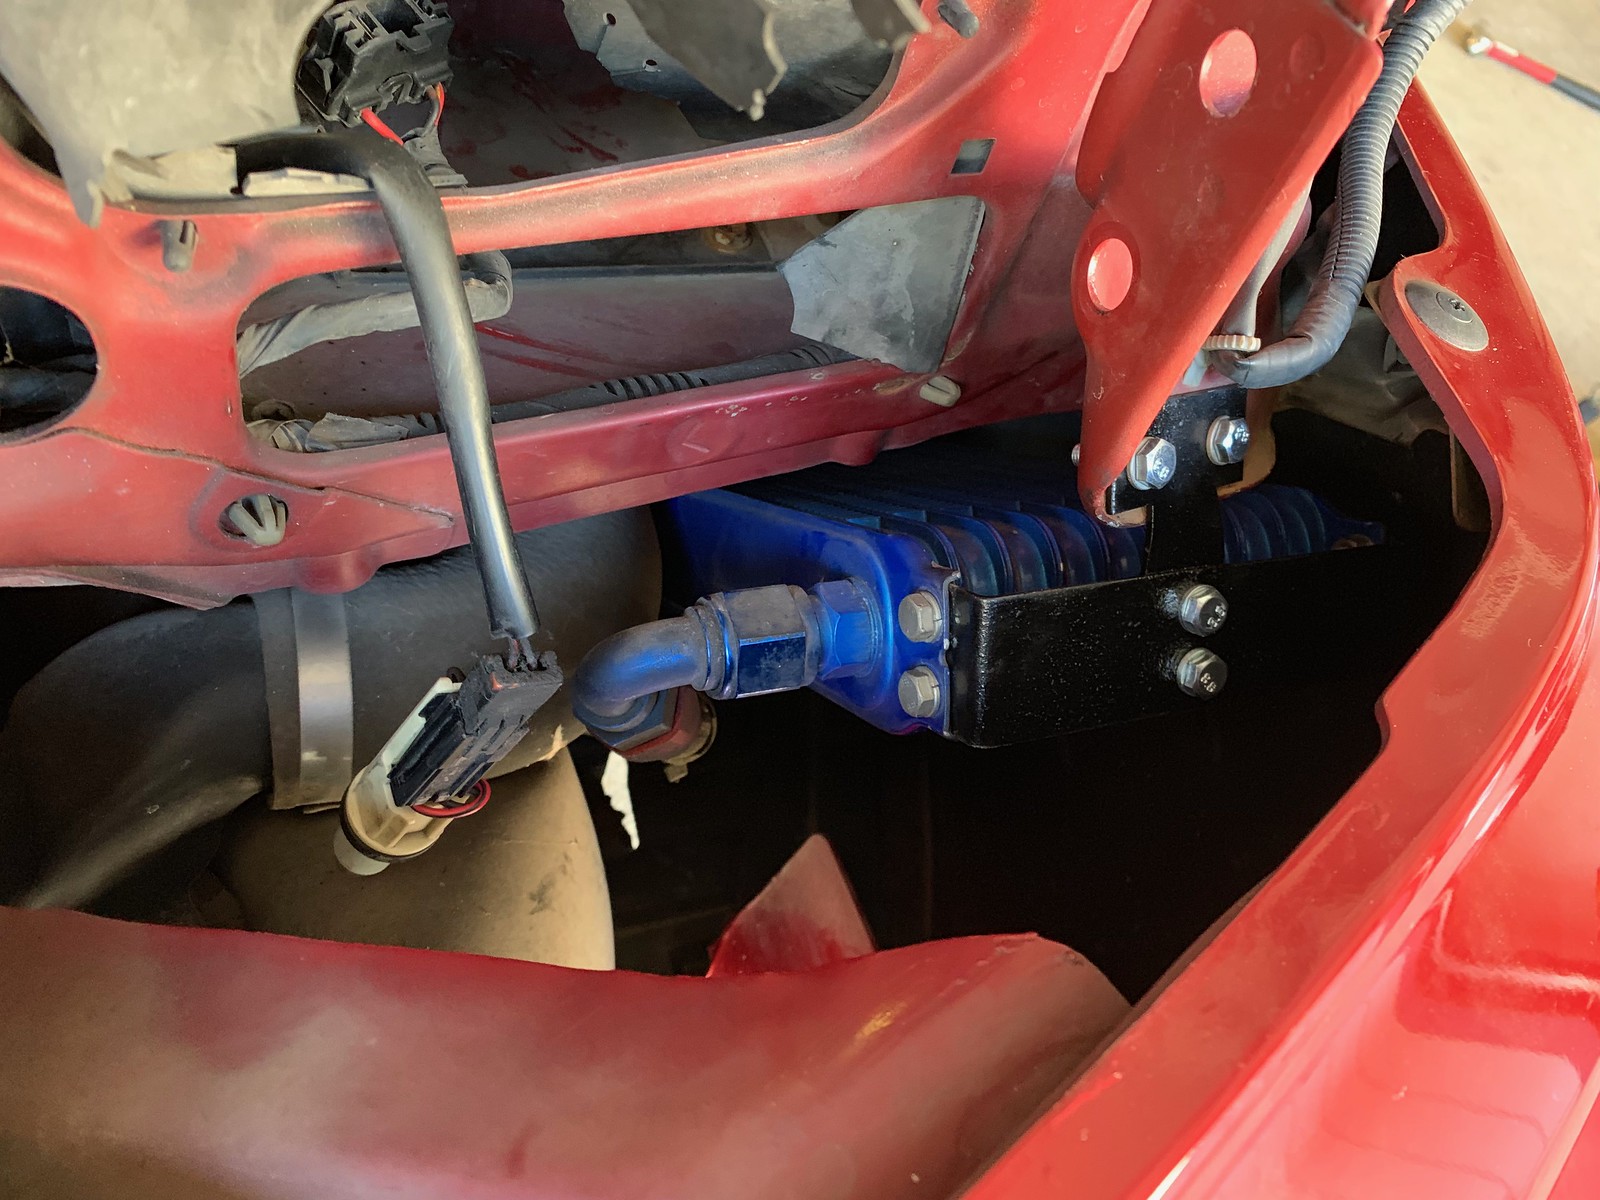
When I pulled the headlamp, I confirmed the presence of an aftermarket oil cooler. This appears to reside right under the factory intake box, which explains why I don't have all the factory pre-filter ducting. My setup is probably really good at pulling hot oil-temperature air right off this heat exchanger, oh well. I was not thrilled to see that the mounting bracket was crusty, so since pulling the lamps was such a hassle I decided to paint it and try to stop the corrosion.

After.

I also took the opportunity to paint the horns, which were a faded-red-plastic kind of color, satin black.

It is worth noting that, at this state of disassembly, you have access to the two rubber grommets securing the top of your intercooler. They are probably toast at this age, so I'd recommend buying those before starting this job and replacing while you're in the neighborhood. I hadn't thought of this, so with the horns and bracket refinished, and the new headlamps hooked up and confirmed to be fully functional, I put everything back together. Installation is, of course, the reverse of disassembly.

Oh right, one more thing you probably want to inspect and be ready to replace: the rubber 'skirts' around the headlamps that guide wiring and seal off a dirt path into the motor bay.

Black horns, painted oil cooler bracket, and 50% of N1 headlamps installed.

Perfect 90s yellow light. 

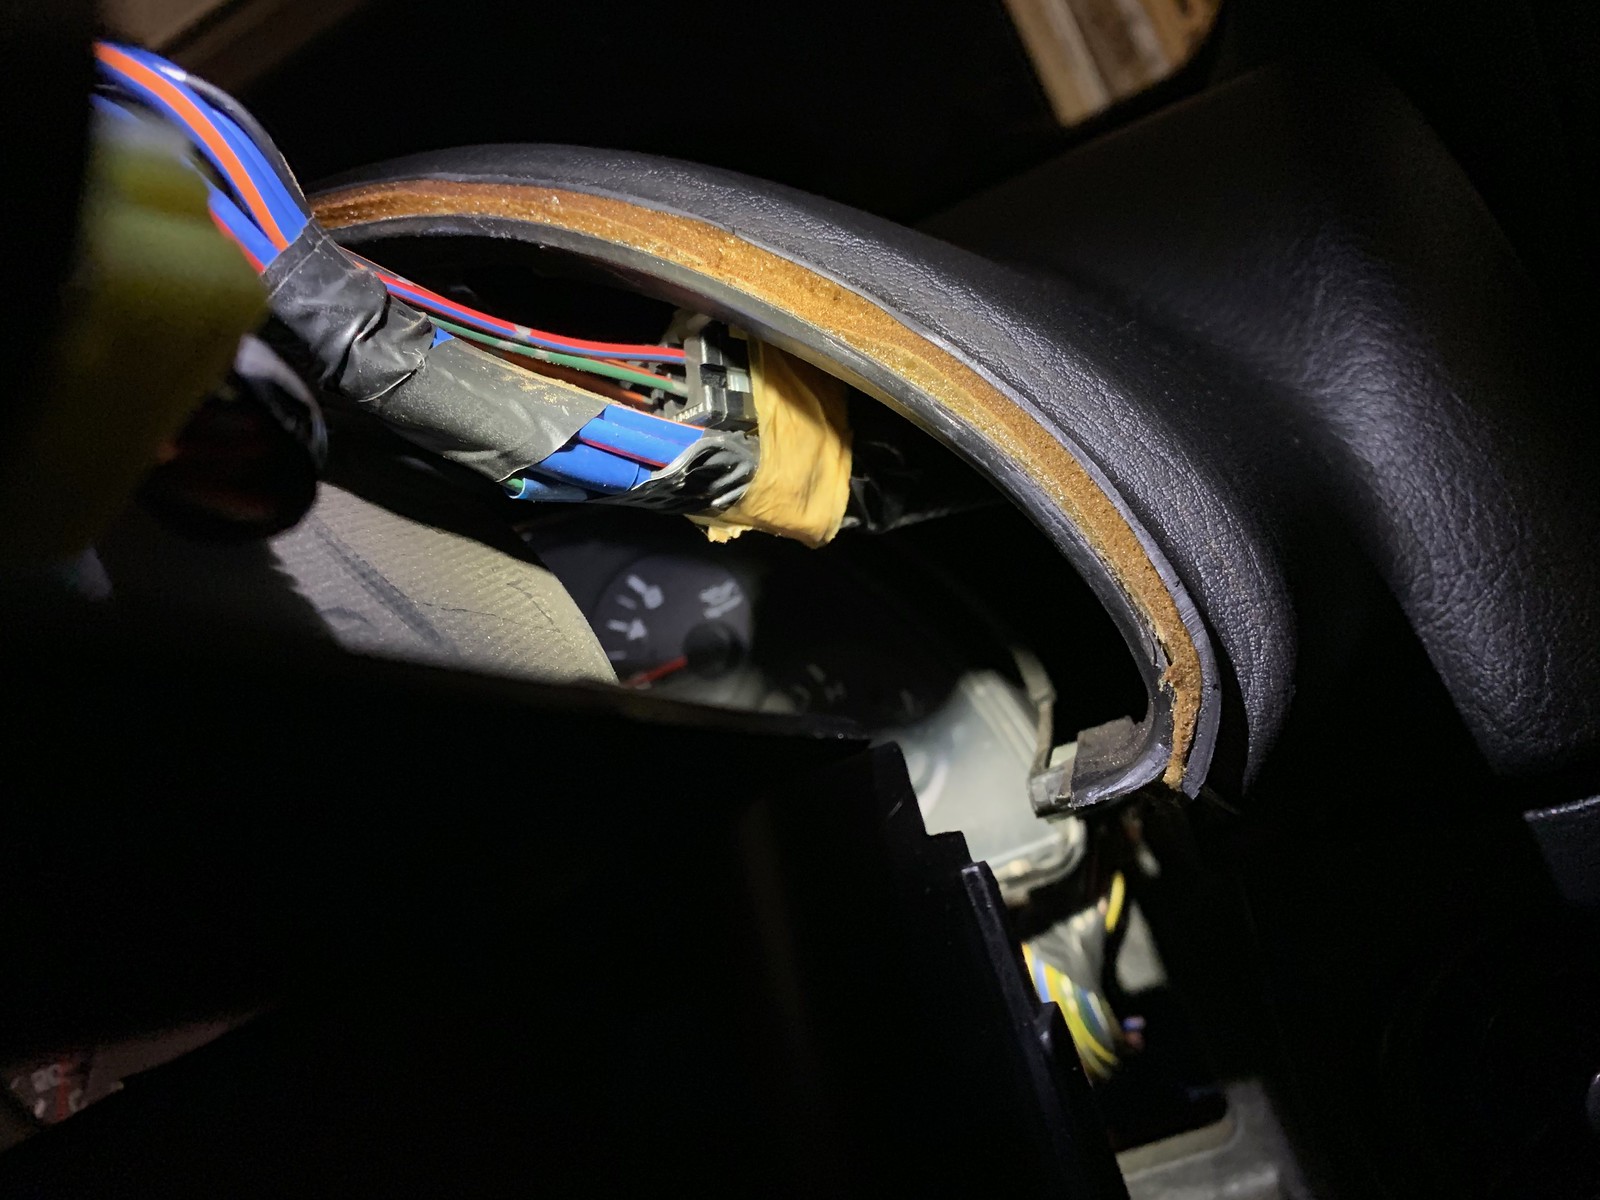
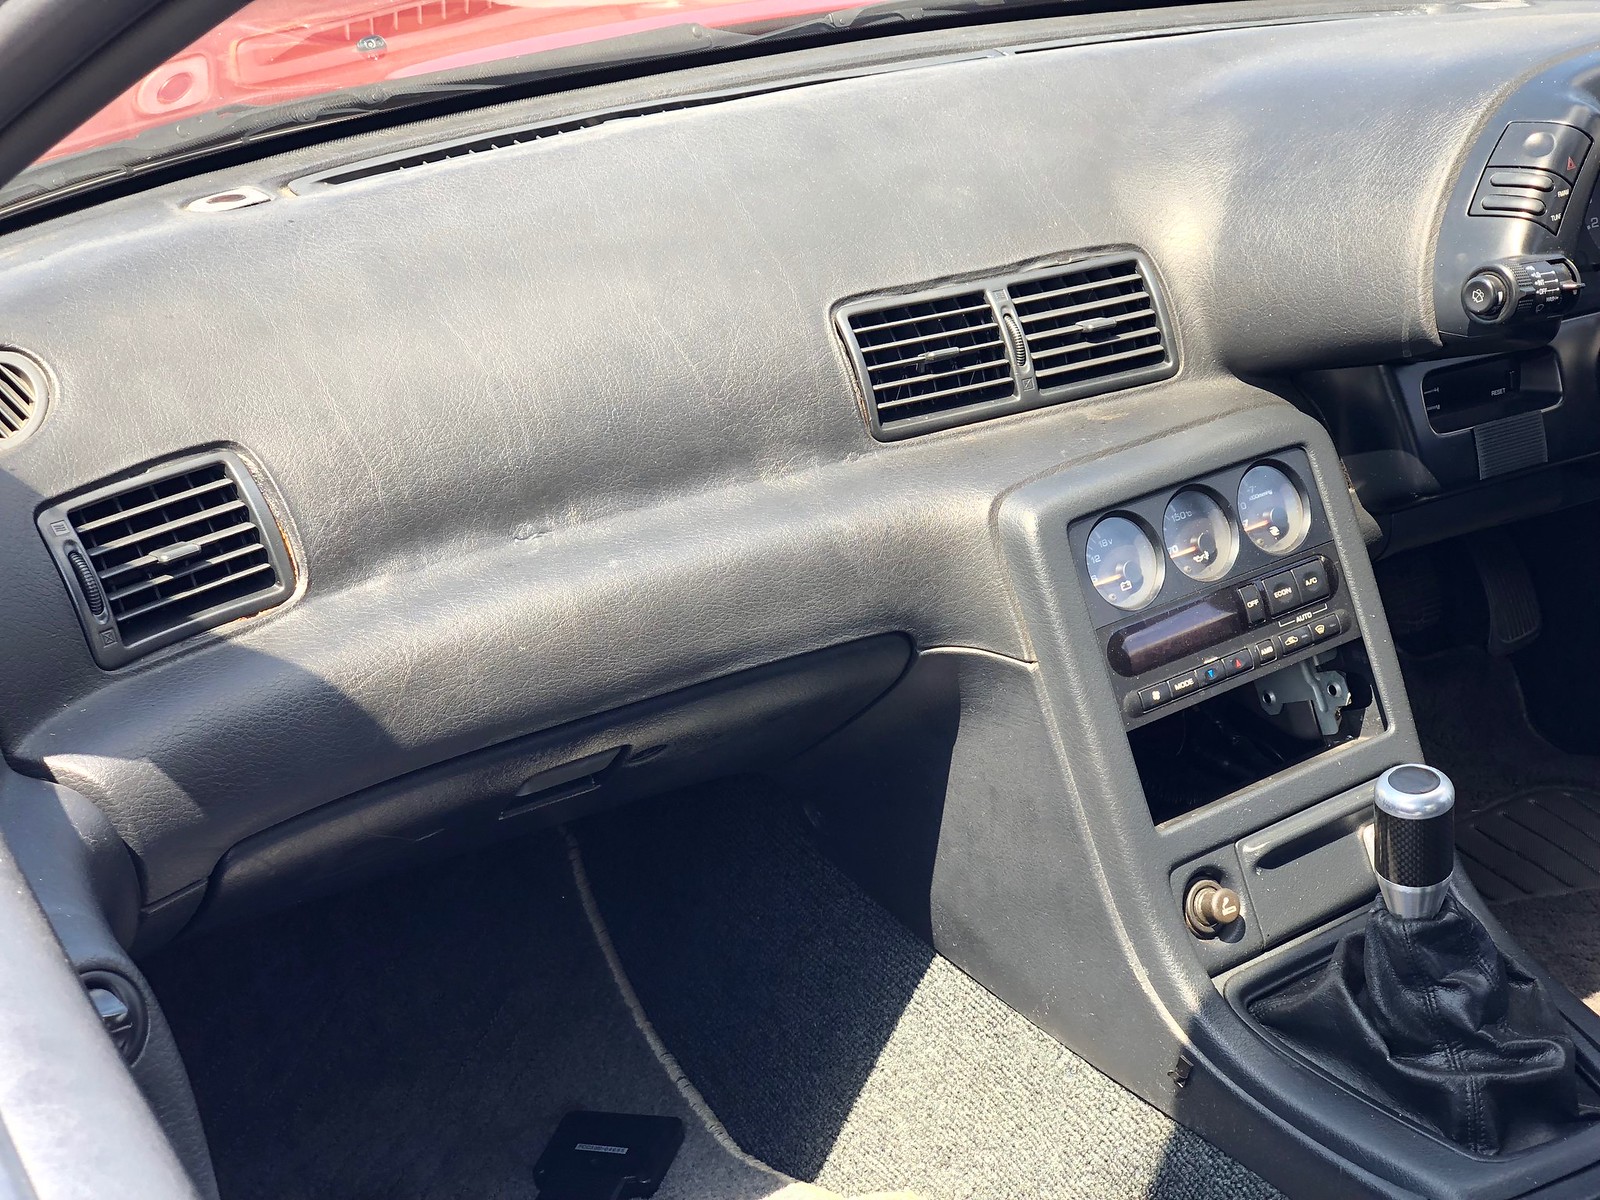
I mentioned before that the foglight connections are present on the headlamp harness. To enable functionality, you also need to connect the switch in the instrument cluster bezel. To pull this bezel is straightforward and requires a Philips-head screwdriver, interior trim removal tools, and patience for brittle plastic. That piece is not cheap. When you get it out of the way, you'll be greeted with the sight below - again, the fog light connector is just taped up (yellow) on the original harness and only needs to be clipped to the back of the button.


If you've done it correctly, you've got foglights! I'm very satisfied with how the new headlights look, and the performance is comparable to, if not better than, the projector units. The truth is, this is old headlight technology and both variations are pretty dim compared to modern headlamps. Not to mention that I'm partially blinding everyone with lights set up for RHD markets used in LHD streets...


In the next entry - resolving the 4x4 ride height and harsh ride.

Sunday, January 27, 2019

[Skyline] First changes and visiting Skyline Boulevard

With the car home, the honeymoon period began in earnest. I alluded in an earlier entry that I'd been collecting parts. It was time to start turning wrenches and making the car how I want it.

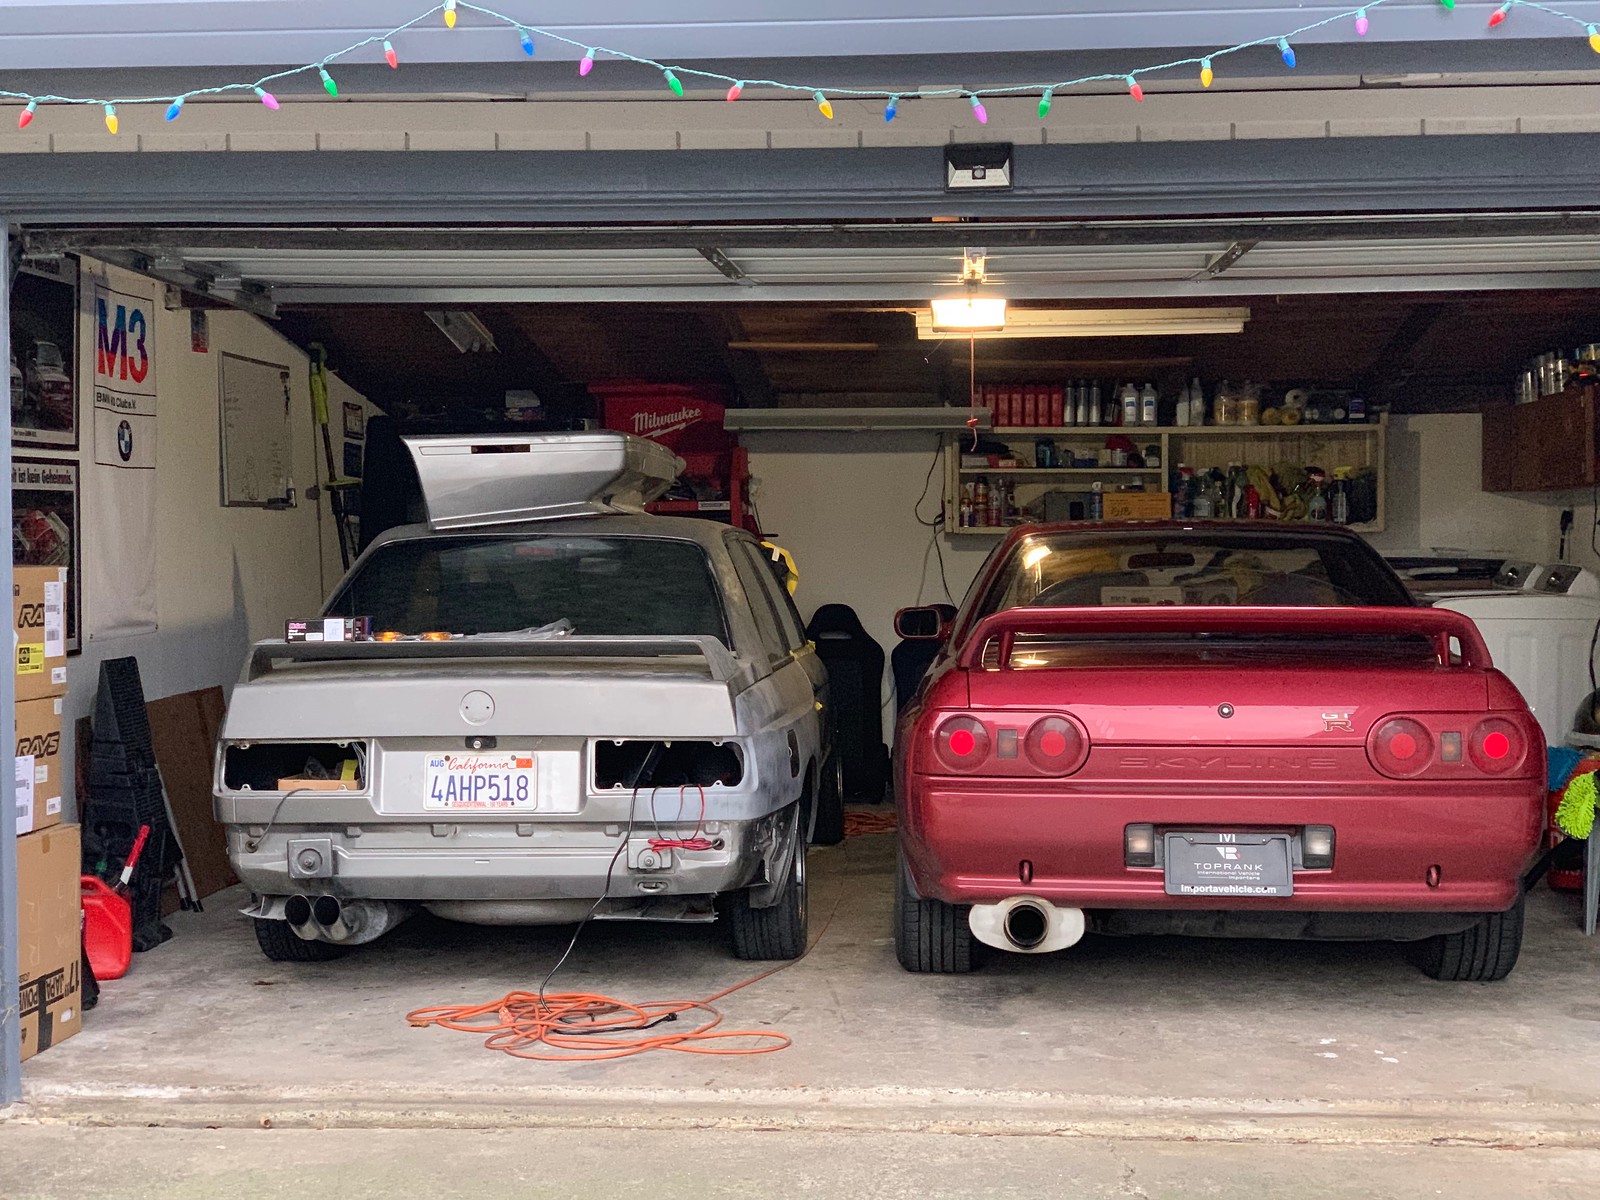
First time in the garage, sharing space with my soon-to-be-gone M3 project.

Feeling like a kid on Christmas morning when I peek out the window.

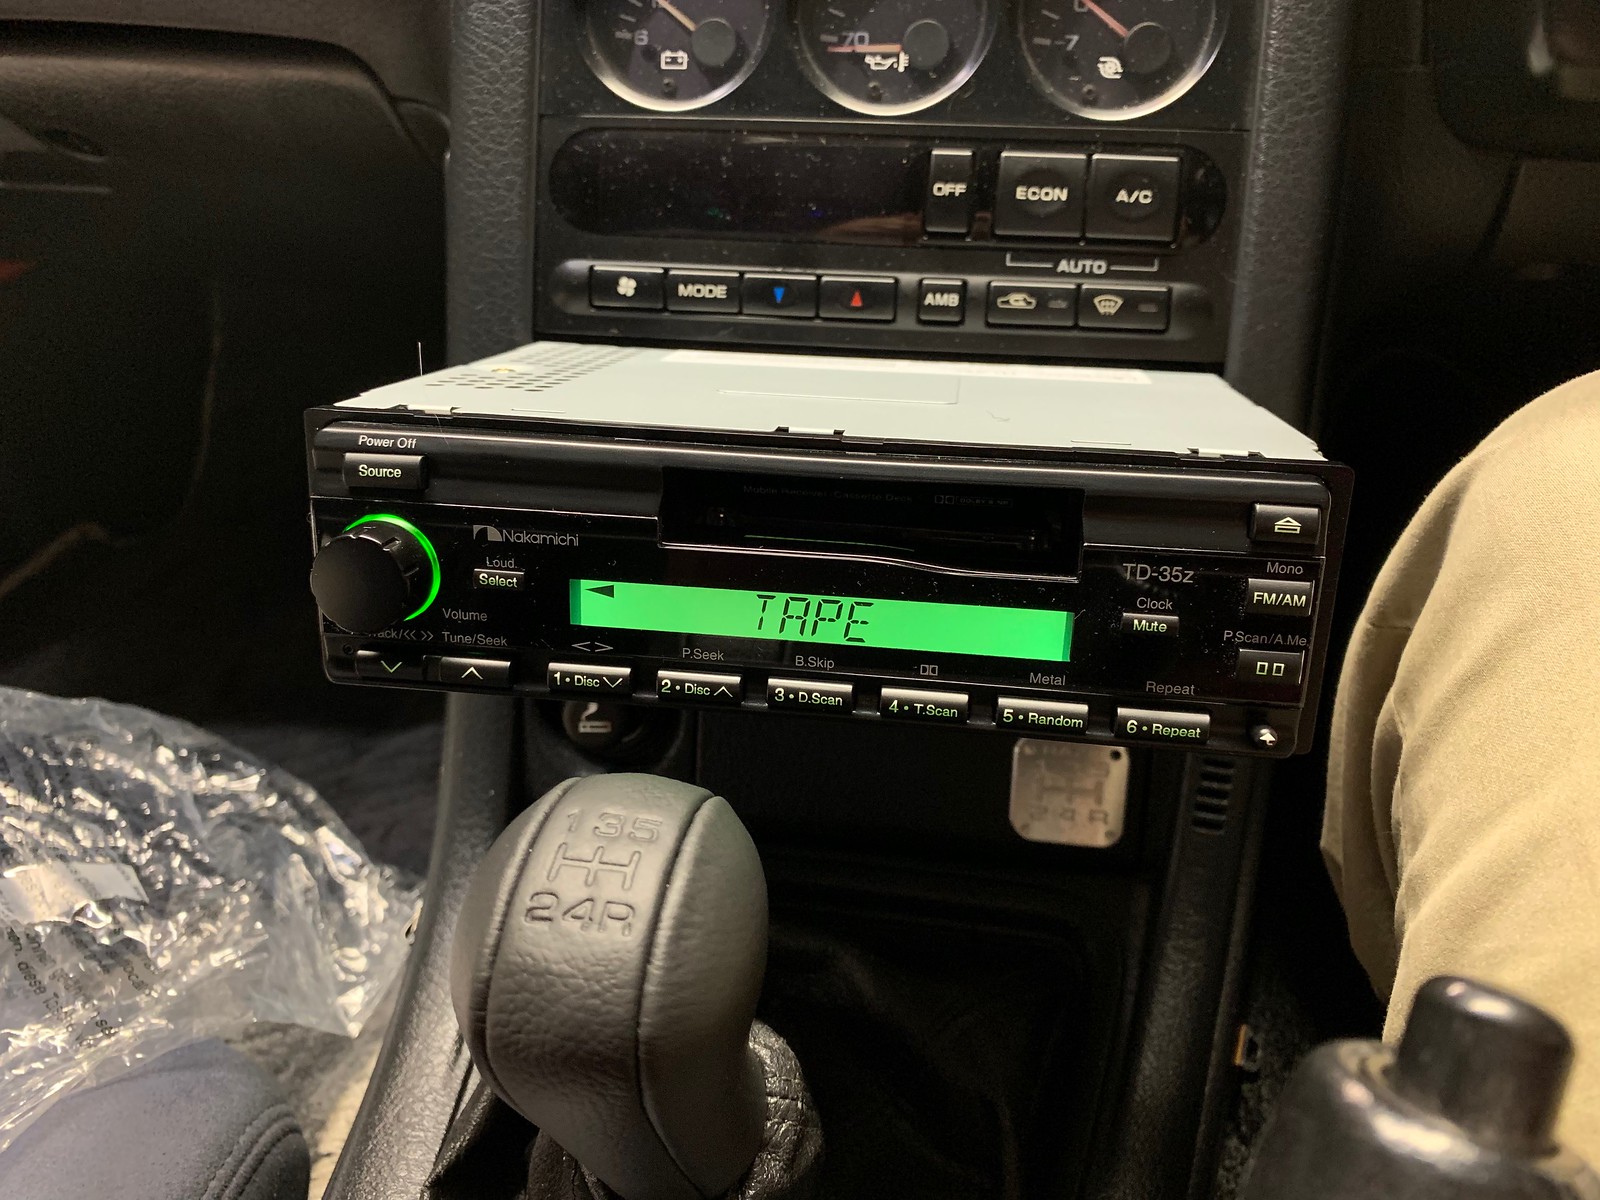
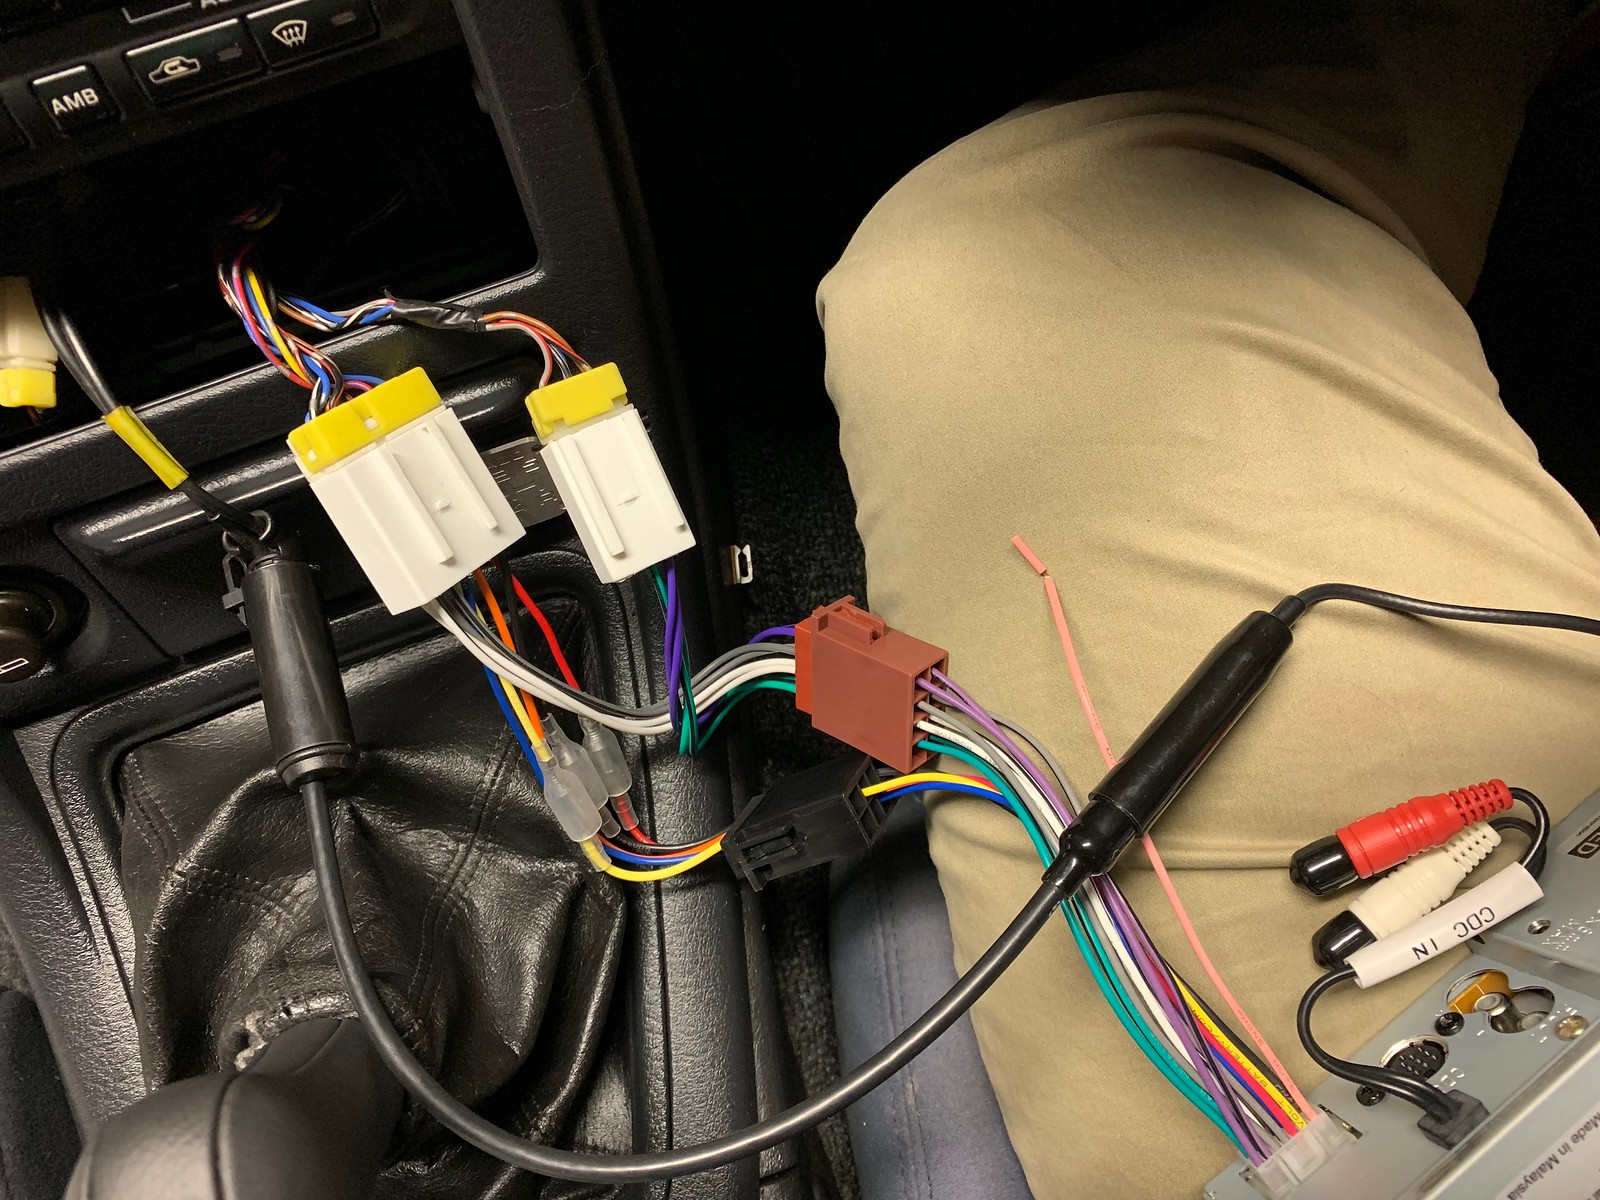
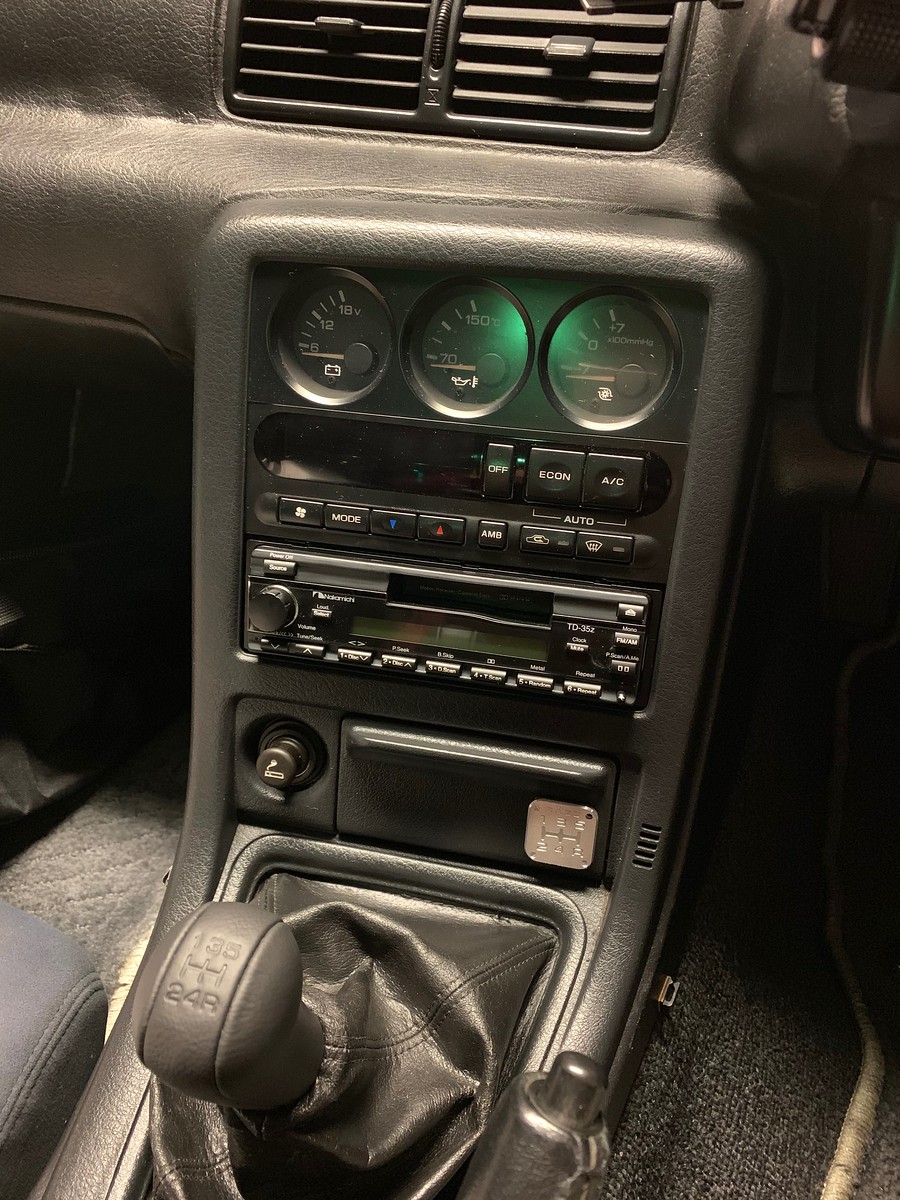
Within minutes of arriving home from LA, I fitted a stock shift knob and a stock radiator cap, replacing Razo and Apexi' parts respectively. The car didn't come with a head unit, so the next day I installed a Nakamichi TD35Z unit I'd found on eBay a couple months prior.


My M3s both had tape decks, and I'd spent a fair amount of time finding my preferred albums on that format, so I had to stay with the theme. The other important factor was to pick something that matches the original interior - too-modern head units tend to look out of place. The sound system is not high on my list of requirements, so I'm satisfied with the sound quality of this unit and the ability to use a cassette adapter for music off my phone.


I needed a harness adapter for the vehicle side, and I needed one for the Nakamichi side. I expected to wire two adapters together and put the ol' soldering iron to use, but while perusing the options on eBay I found that I could get each of the adapters with a common ISO plug and meet in the middle. One came from the UK, the other from Australia, but what do you know... perfect fitment. Didn't have to wire a single thing, entirely plug-and-play and worked immediately. Easiest install ever.
These are the adapters I used:
Nissan harness to ISO: https://www.ebay.com/itm/180846223030
Nakamichi 14-pin harness to ISO: https://www.ebay.com/itm/141826659555
Antenna adapter: https://www.ebay.com/itm/162692608685

Stock shift knob and stock-looking Nakamichi deck. Job done.


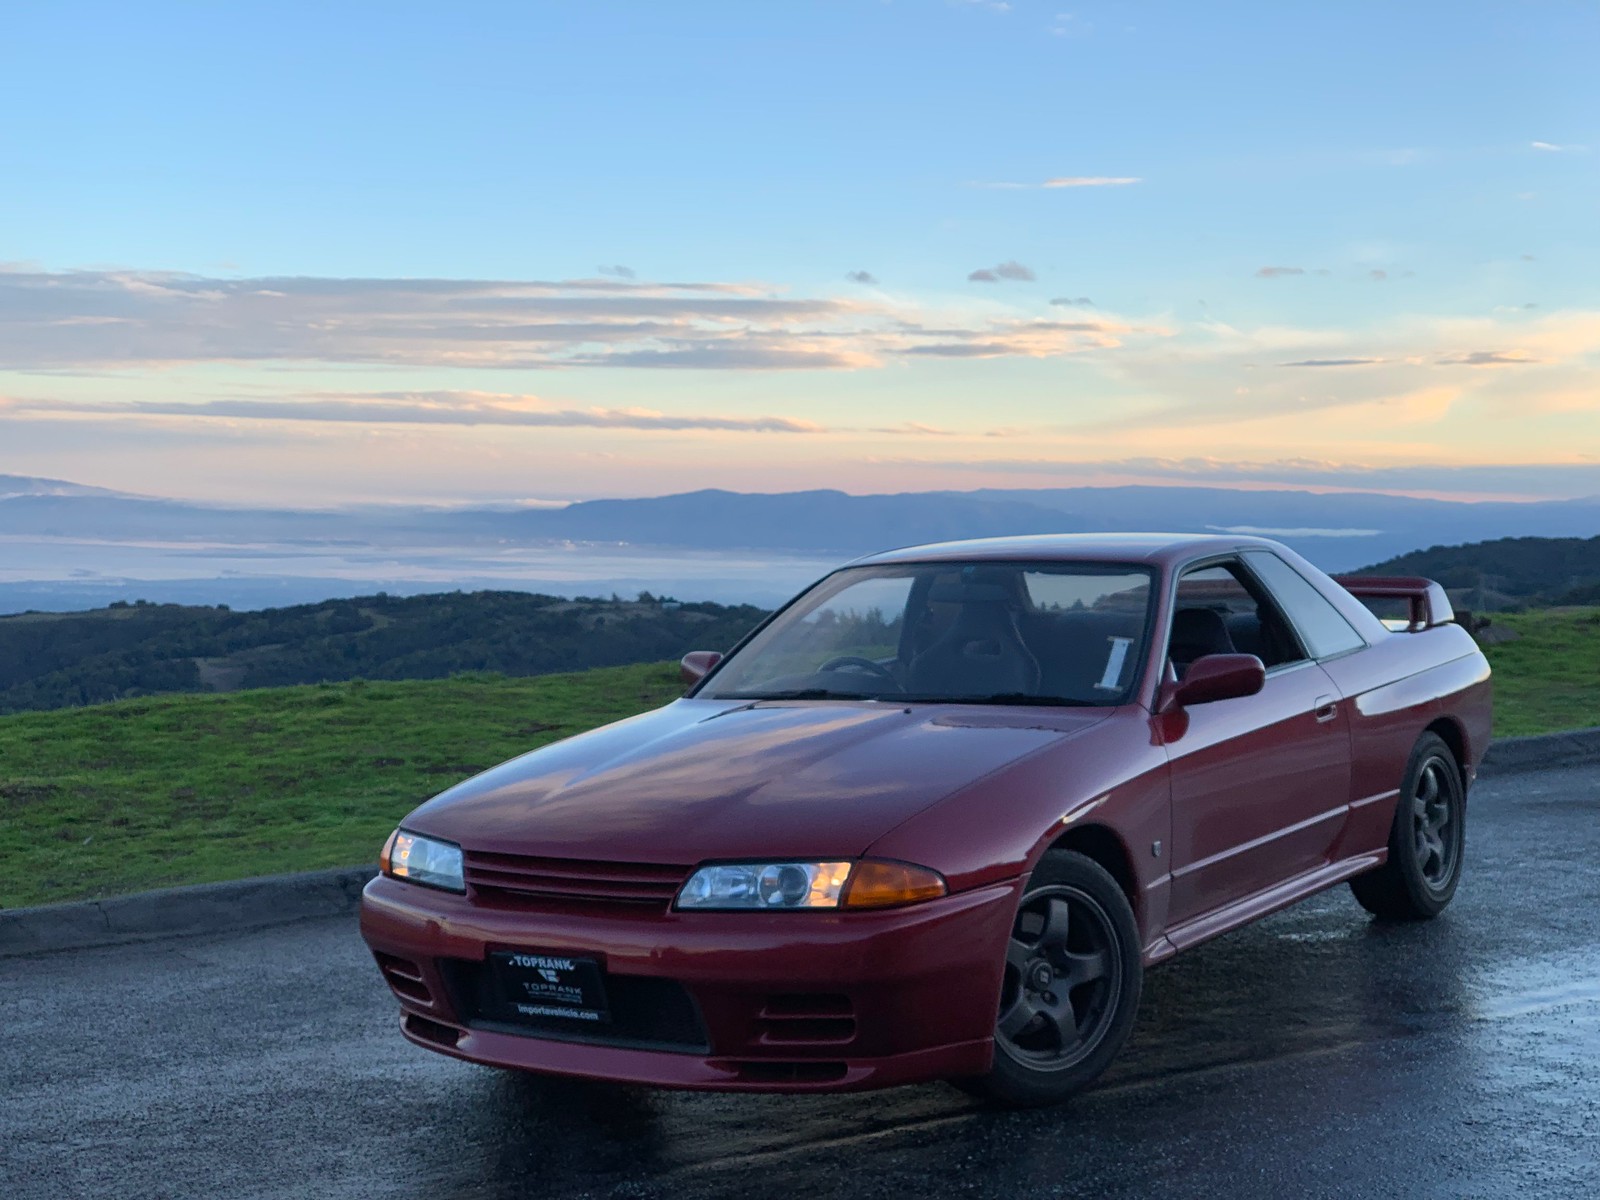
The first weekend home with the car, I had to baptize it with a drive on my go-to roads above Silicon Valley. It is worth noting that Highway CA35 is Skyline Boulevard. So there you have it - Nissan Skyline on Skyline Boulevard.

A bit damp, but otherwise lovely. The first fun drive.


All of that wet road made for a filthy car. This red is lovely when it's clean, but boy does it show dirt. So...

First wash! AKA when you find all the paint/body issues you didn't see before.

You missed a spot.

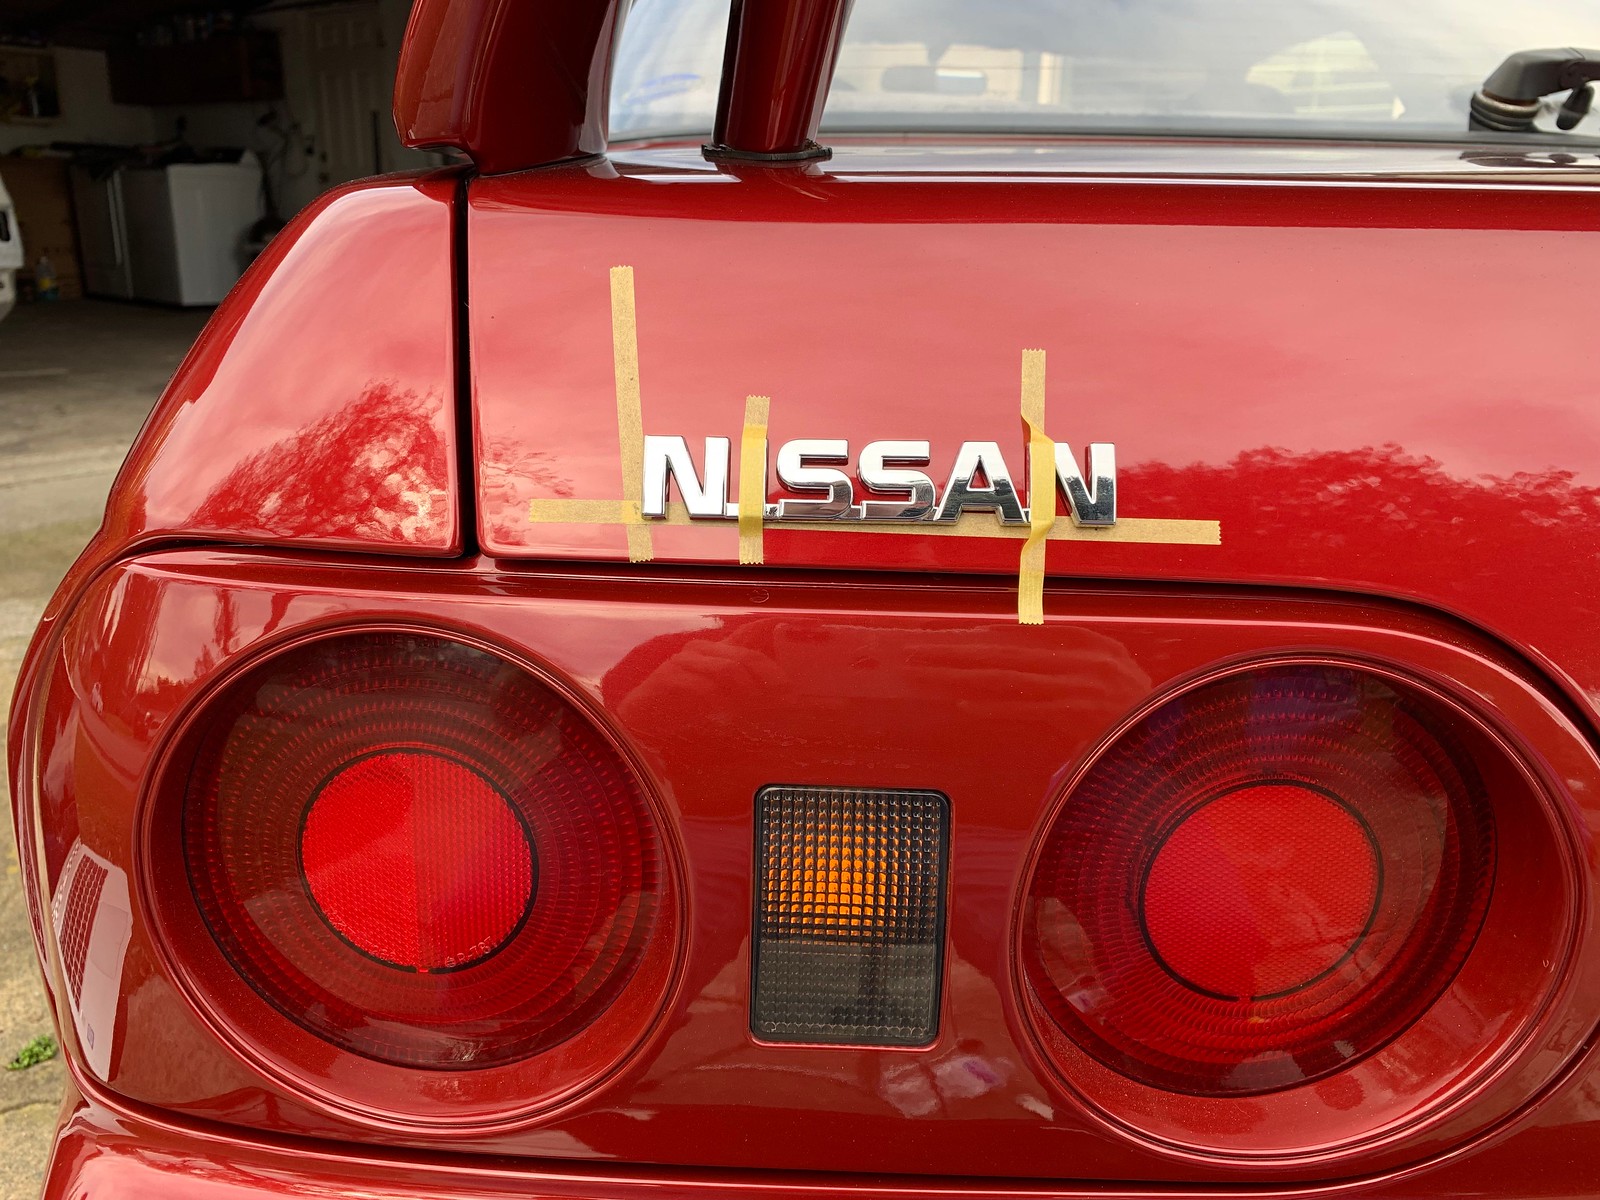
Measure, check, measure again, measure, check again, check once more... place.

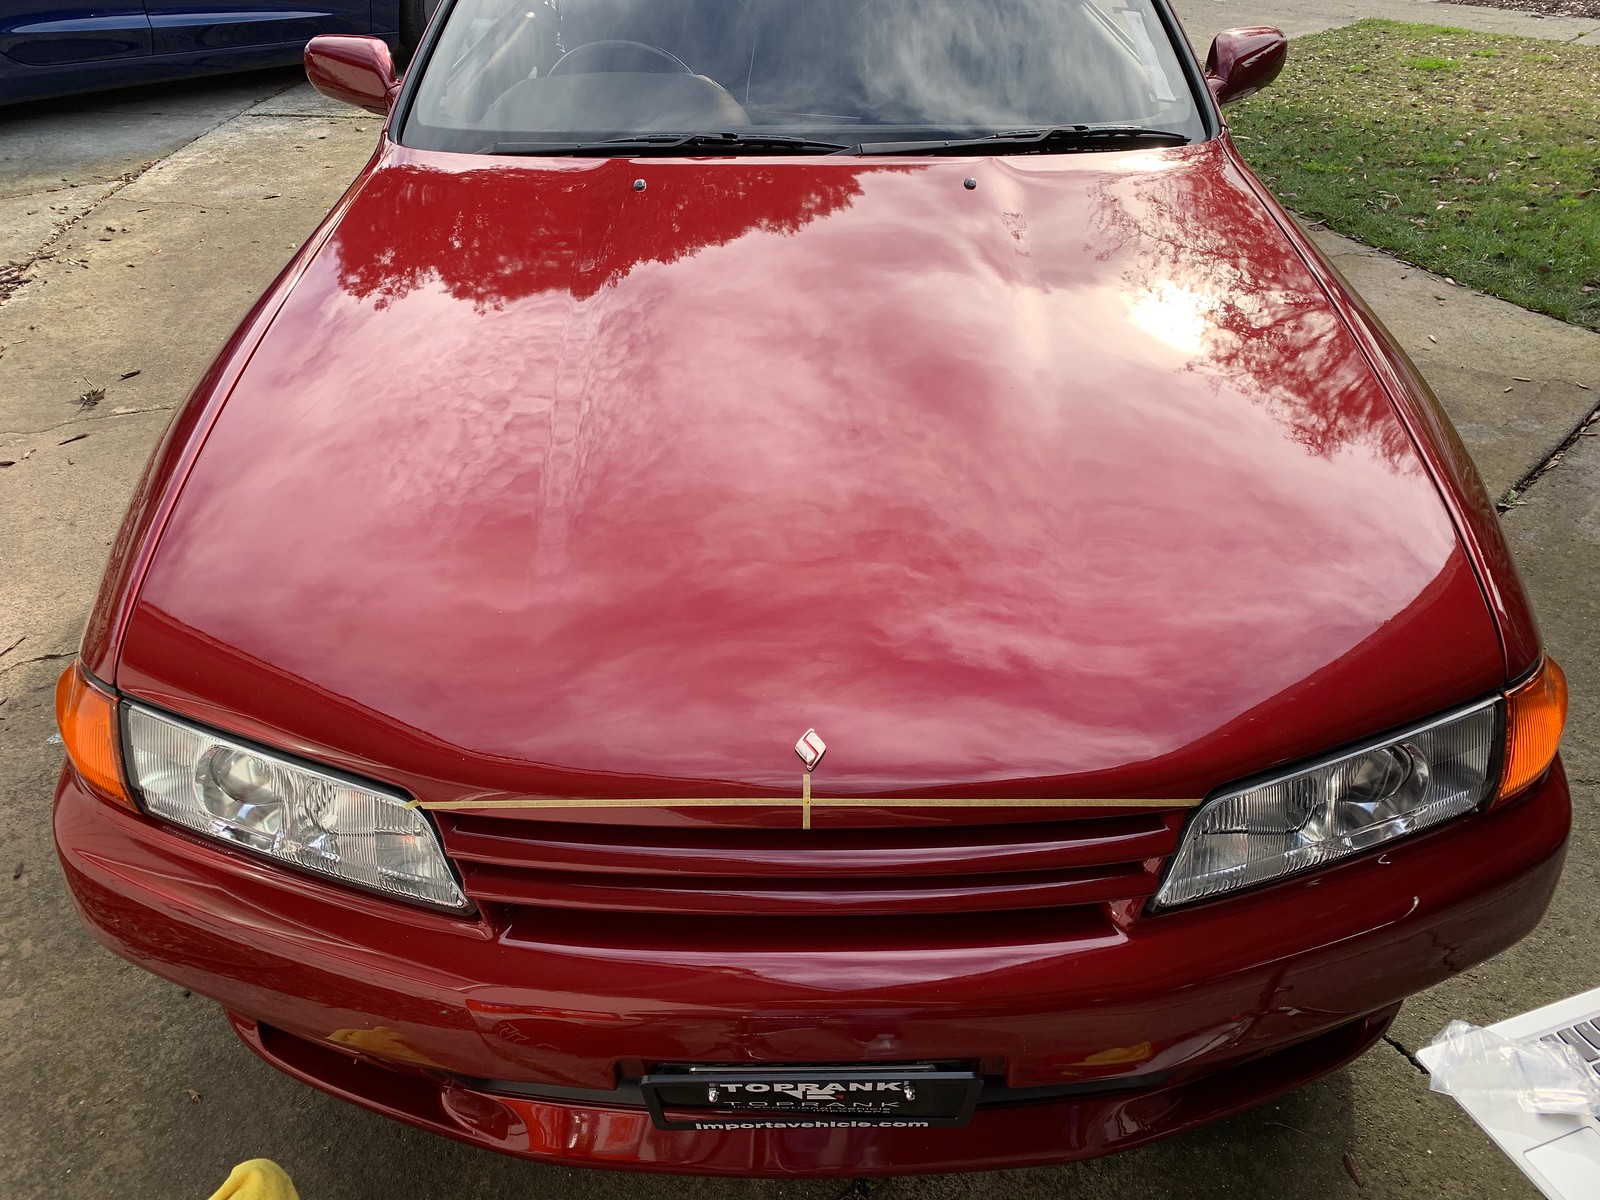
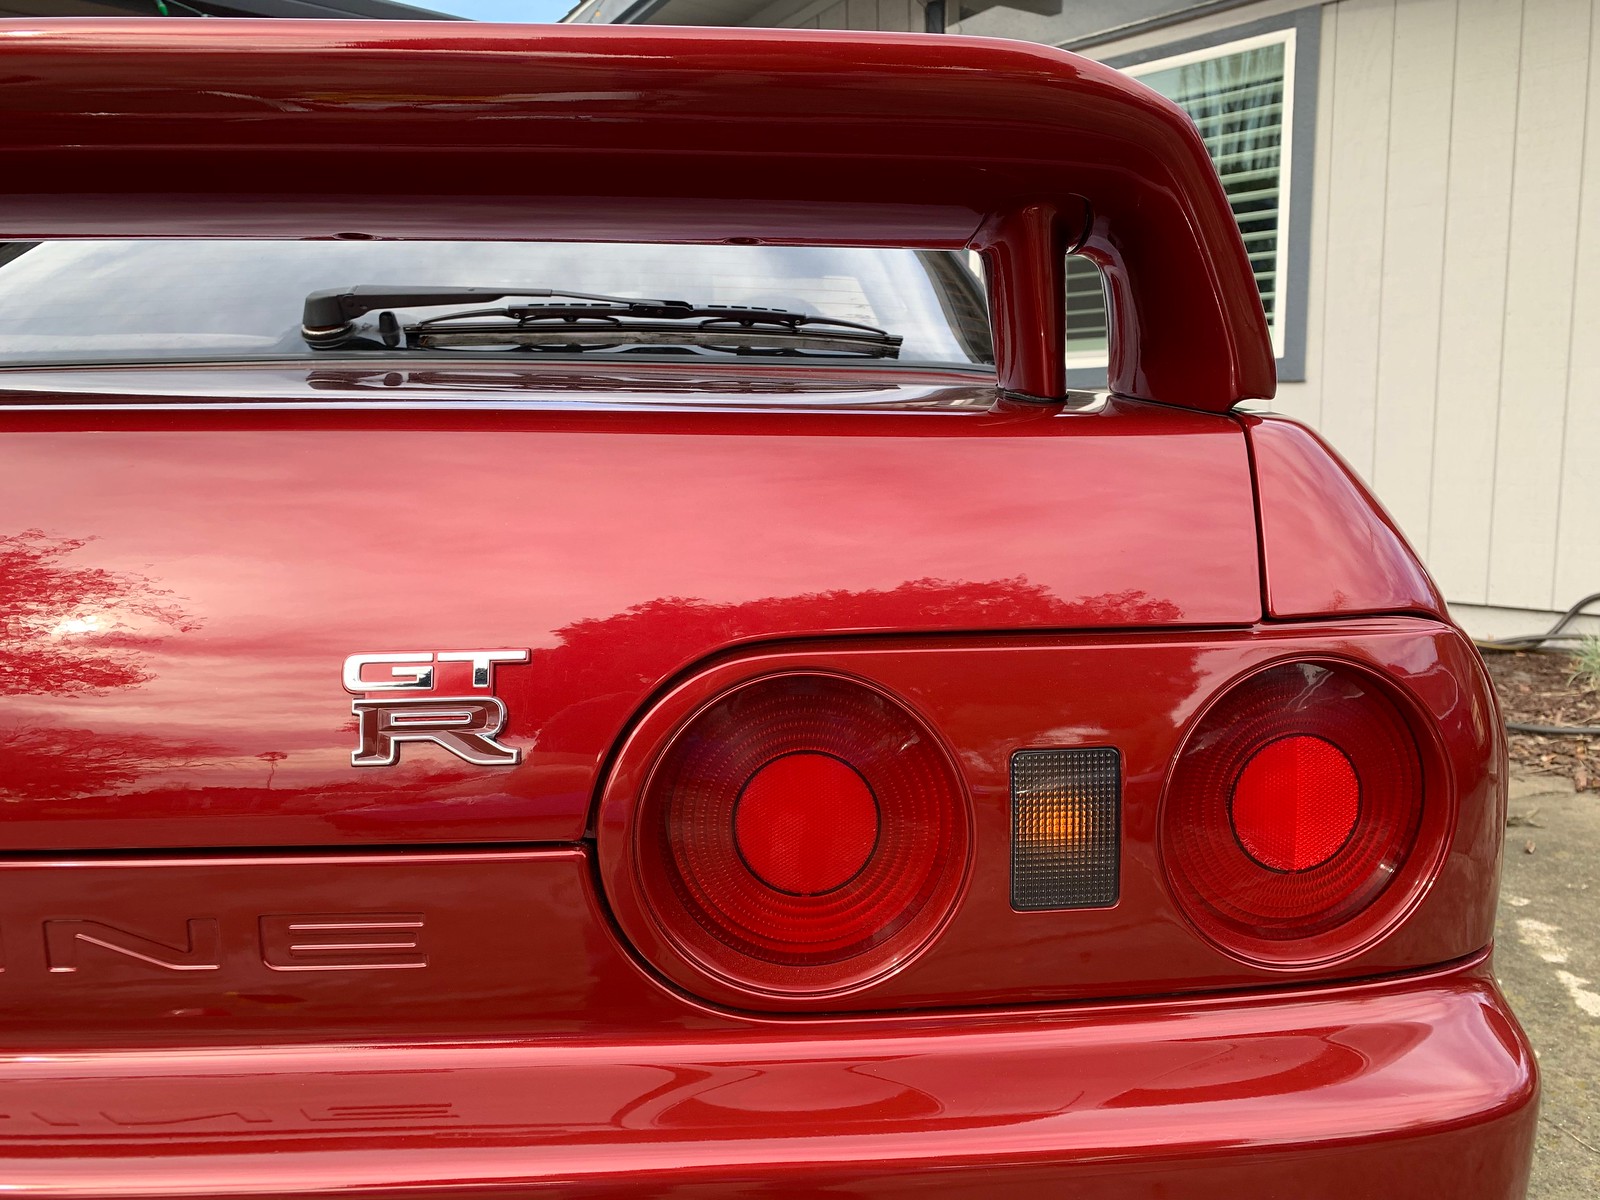
The car had been debadged at some point, so I installed the hood "S" and the "NISSAN" script on the left side of the decklid. The GT-R badge was also looking pretty sad, so I replaced it too.

Putting Tamiya thin masking tape to use.

Interesting: the GT-R badge is color-coded to your paint. Wonder how they got buy-in from the beancounters for that.

Not-so-fun fact: this badge costs $150. Ouch. Much much nicer though.

To guide badge placement, I used this:
https://www.sau.com.au/forums/topic/466209-gtr-badge-placement/

On the hood, it was 2" from leading edge of hood to bottom of the "S."


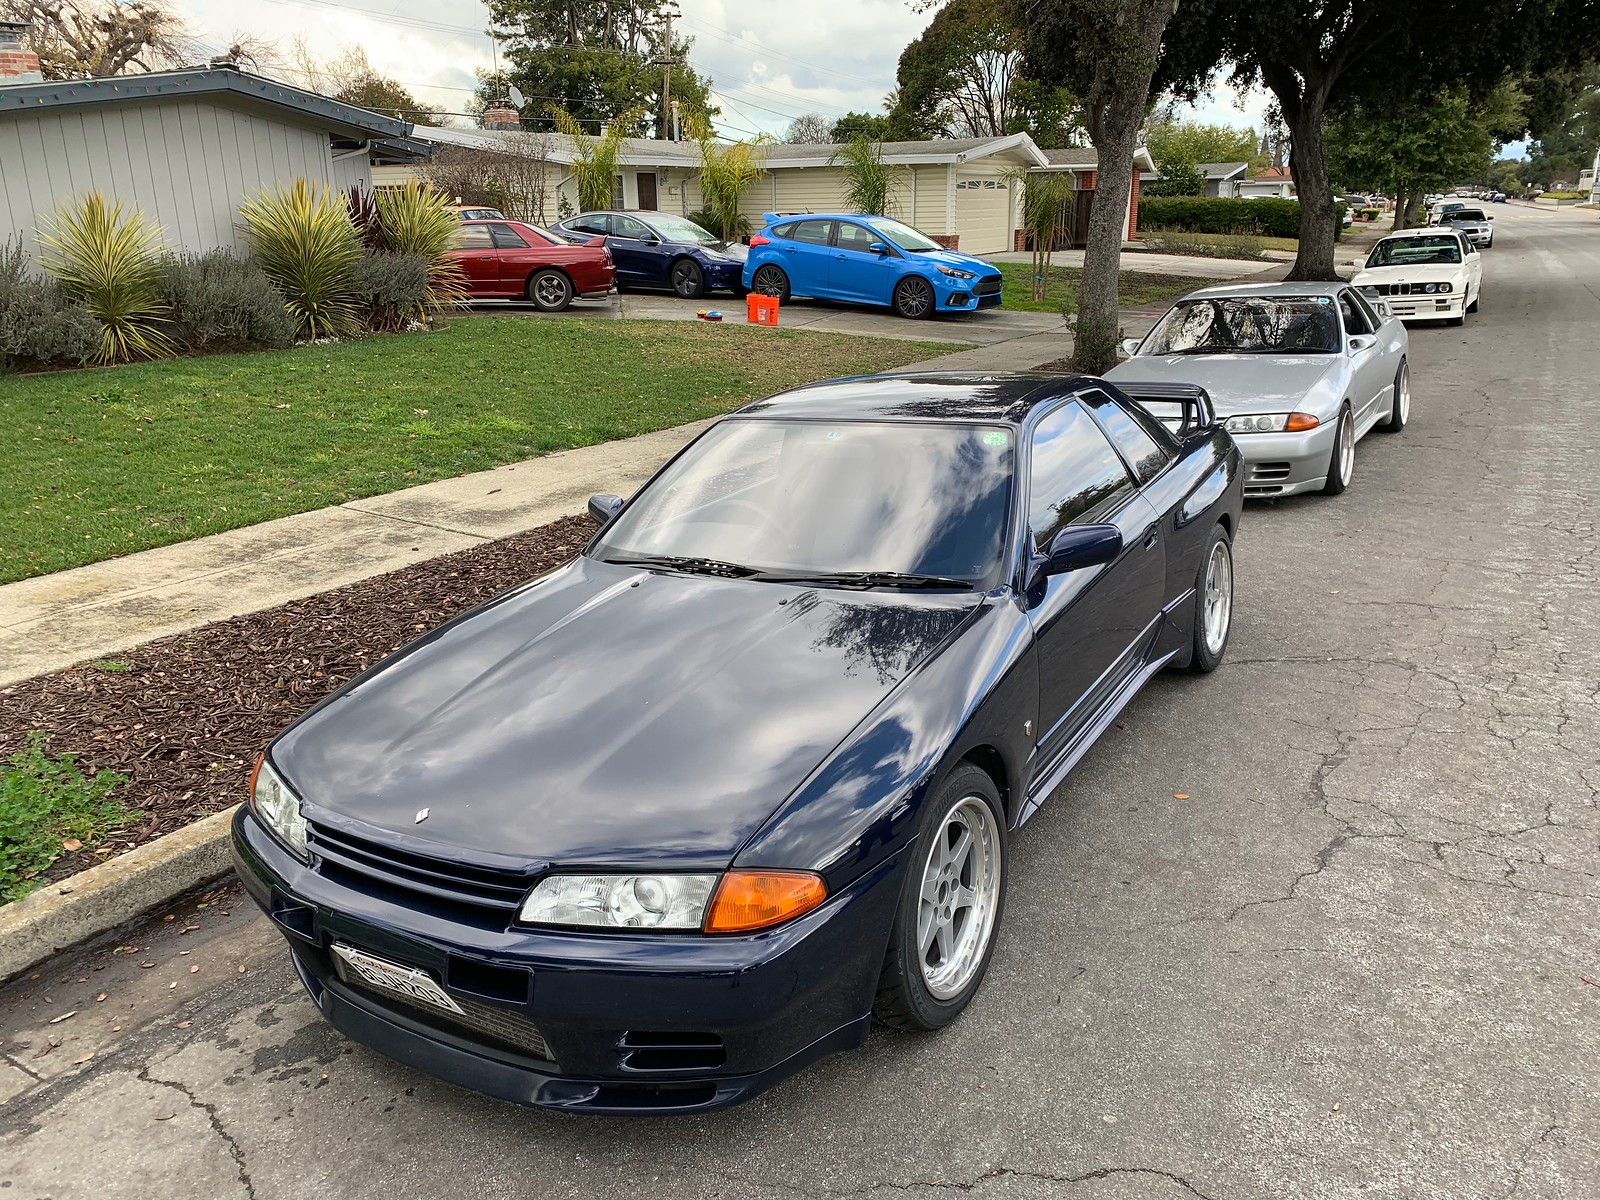
The next first: first time meeting the NorCal Skyline crew. I told them I was going to be wrenching and hanging out at home, so they came over to say hello and have a look at my car. I was lucky to get to check out their extremely nice CA-legal GT-Rs as well. My friend Jon was also at my place with his fresh-from-paint M3.

Before

After.

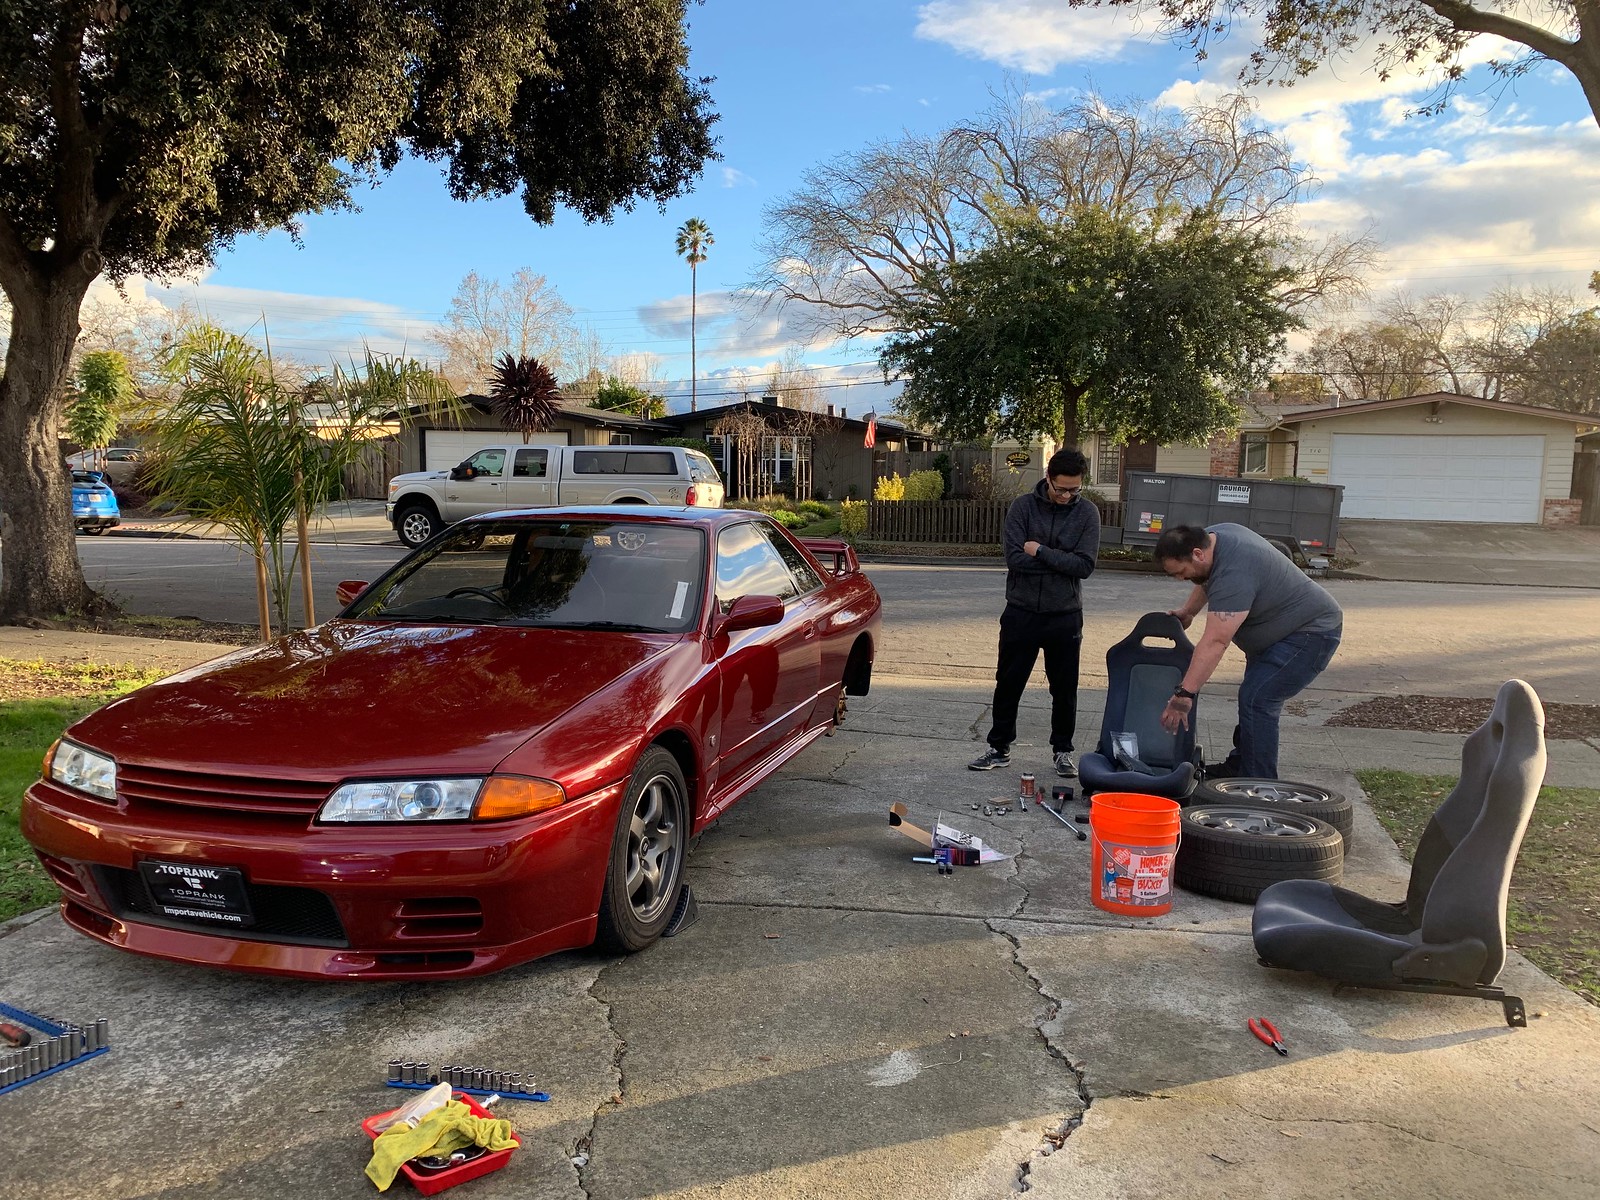
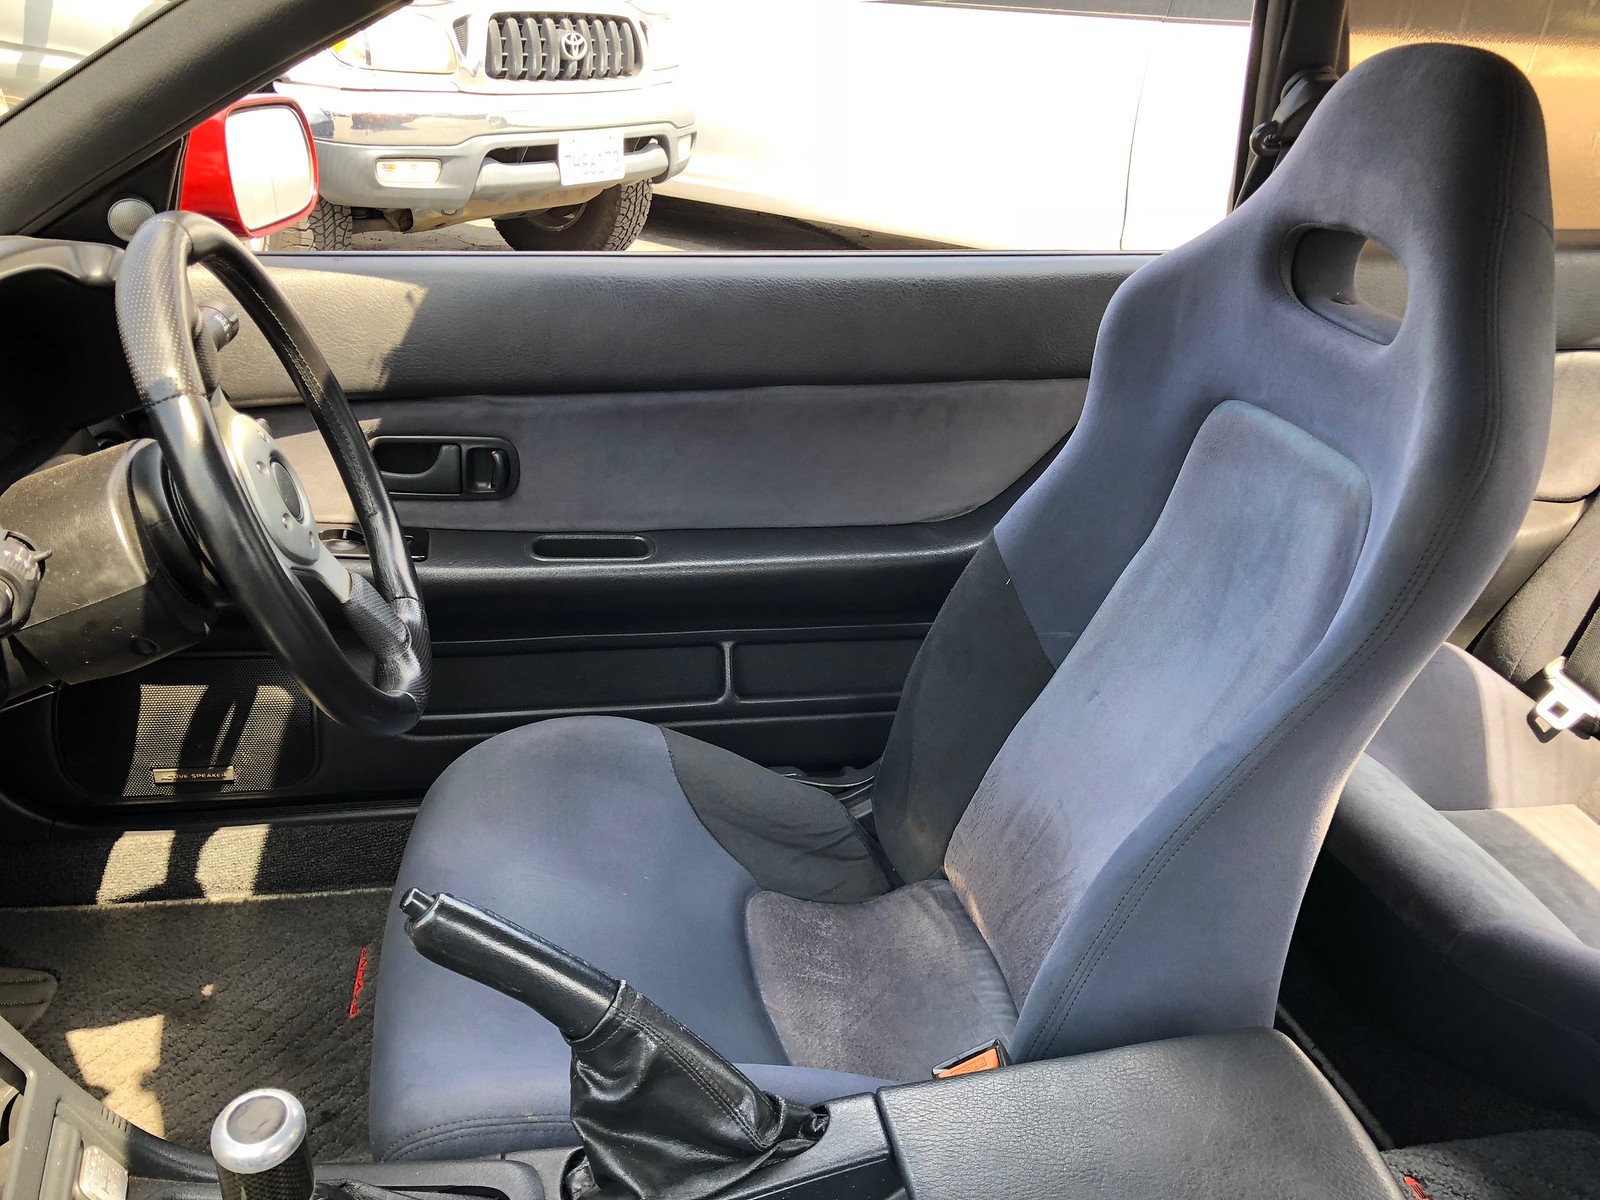
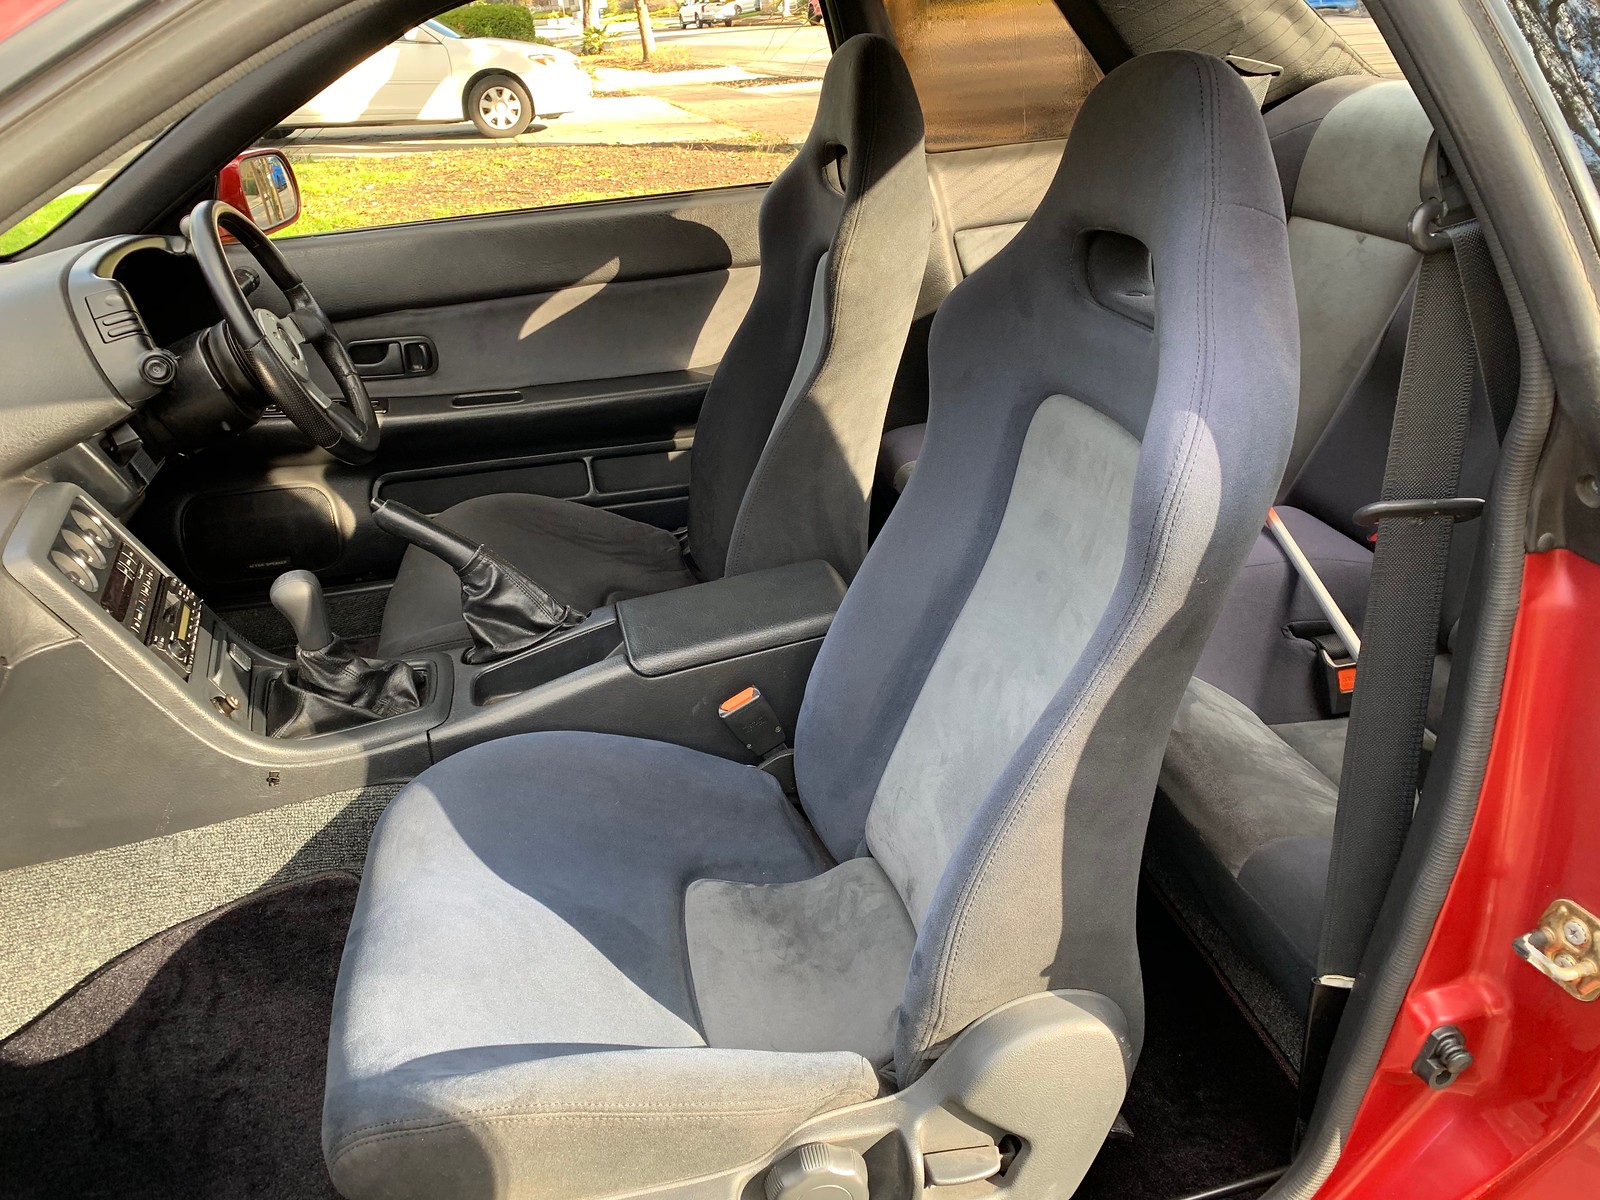
Installation of parts I'd collected continued. First order of business was to replace the front seats with a pair of much cleaner stock seats. I also pulled the original floor mats out and replaced them with new units. I'll clean the stockers and tuck them away.

Before

After. The R32 GT-R fabric seats were originally black over grey. Over time, they fade to an interesting blue. Nearly every GT-R you see has the 'blue' fabric today.

In the shade you can see where the dividing plate was welded into the stock cast turbo piping.

The final modification for this day was the installation of a divided intake pipe. This pipe collects the charged intake air coming off of each of the two turbochargers, combining two streams into one on the way to the intercooler. The orientation of this junction in the stock pipe creates turbulent air flow, with the turbos sometimes fighting one another as they try to push out pressurized air. The specifics are above my understanding of fluid dynamics, but fitting a simple dividing plate improves flow and, as a result, power and power delivery.

More information here:
http://www.skylife4ever.com/2011/01/modified-twin-turbo-pipe.html

In the span of maybe four days, so many firsts: first wash, first spirited drive, first mods, and first impromptu GT-R meet at my house. Coming up next: aesthetic improvements.

Wednesday, January 23, 2019

[Skyline] Road trip!!


I'm a fan of the classic American road trip. It's amazing that we have a vast network of roads and the ability to travel freely along them, across state lines if we wish. I didn't consider once shipping the car home from LA when it was ready; a relaxed run up the Highway 1 is achievable in a weekend, and the roads north of Los Angeles are so amazing that it would be a shame to miss them. I can't think of a better way to bond with a new vehicle. We'd done the same trip a few years before when I bought my 1971 BMW 2002. (or nearly, as the alternator died early on and the battery finally gave up 5 miles from home)


My wife and I met when we worked in Orange County, and we enjoy the beaches and the South Bay. So we made a plan: fly down Friday morning and retrieve the car; meets friends, visit the beach, and stay in the South Bay the first night; get up Saturday and run around the roads of Malibu, then make the ~3-hour run up PCH to Pismo Beach for the night; wake up late Sunday and take PCH all the way home through Big Sur.

The first night - parked under the Quality Inn & Suites Hermosa Beach.

In preparation for a ~400-mile drive with a 30 year-old JDM sports car, I brought and/or purchased the following upon arrival:

  • Duct tape
  • Zip ties
  • Flashlights
  • Basic screwdrivers and wrenches (7" is the maximum length for carry-ons with the TSA)
  • 12v USB charger
  • Bose Sound dock (you'll see)
  • Spare oil
  • Coolant
  • MAF cleaner
  • Rags
  • Fix-a-flat
  • The most important single item: AAA card.
The weather was excellent on Friday, if a bit cool for the beach, but Saturday and Sunday were looking pretty dicey. With rain in the cards starting around noon Saturday, I cajoled my wife into waking up early to get up to Malibu before it got wet.

Piuma Road.


David M. Brown Scenic Overlook


Original wheels. Hood 'S' badge removed, lower lip painted body color.

"Nissan" badge removed; slight drop on Tein coilovers. Kakimoto exhaust.

The roads were empty, pretty bizarre for mid-morning on a Saturday. The only other sports cars we encountered were three different 991 GT3s - and that was all. I guess no one was interested in driving the canyons with the threat of rain looming. We had a good run up and down Piuma road from the cost inland, but as soon as we turned onto Mulholland Highway things started looking very... charred.

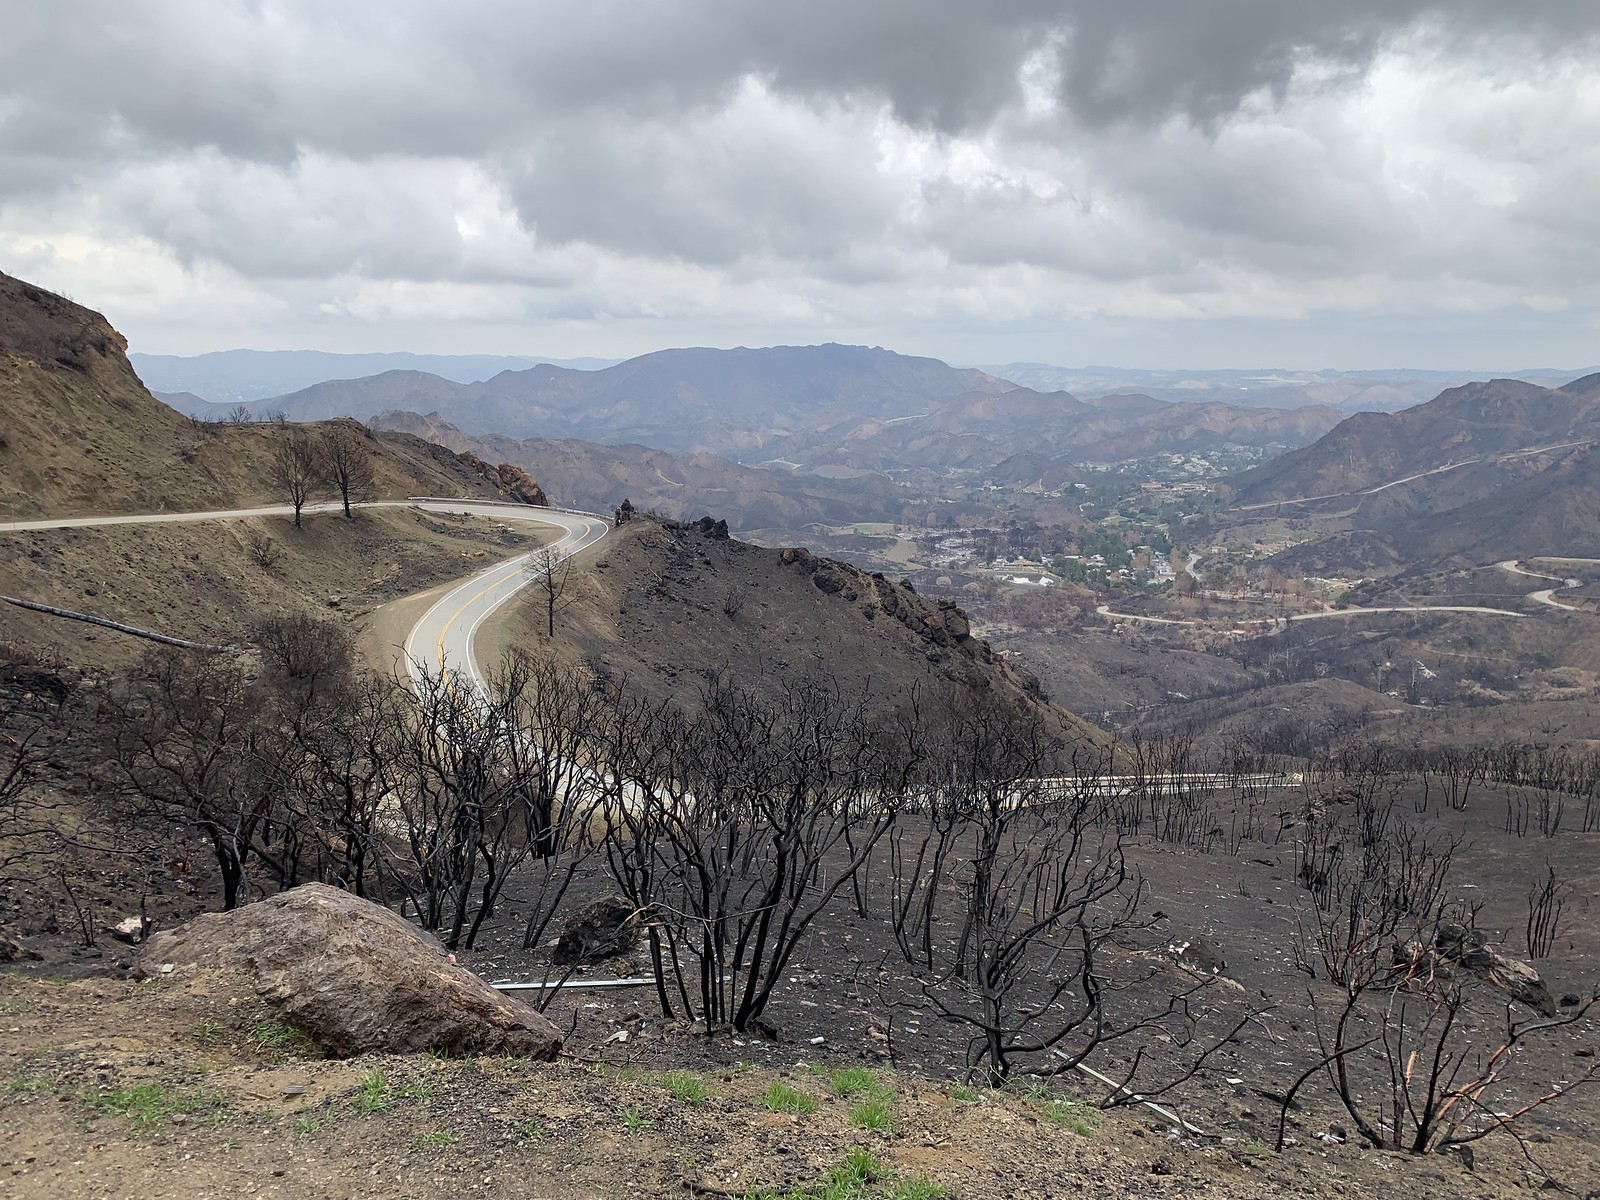
The view from the top of "the Snake" on Mulholland.

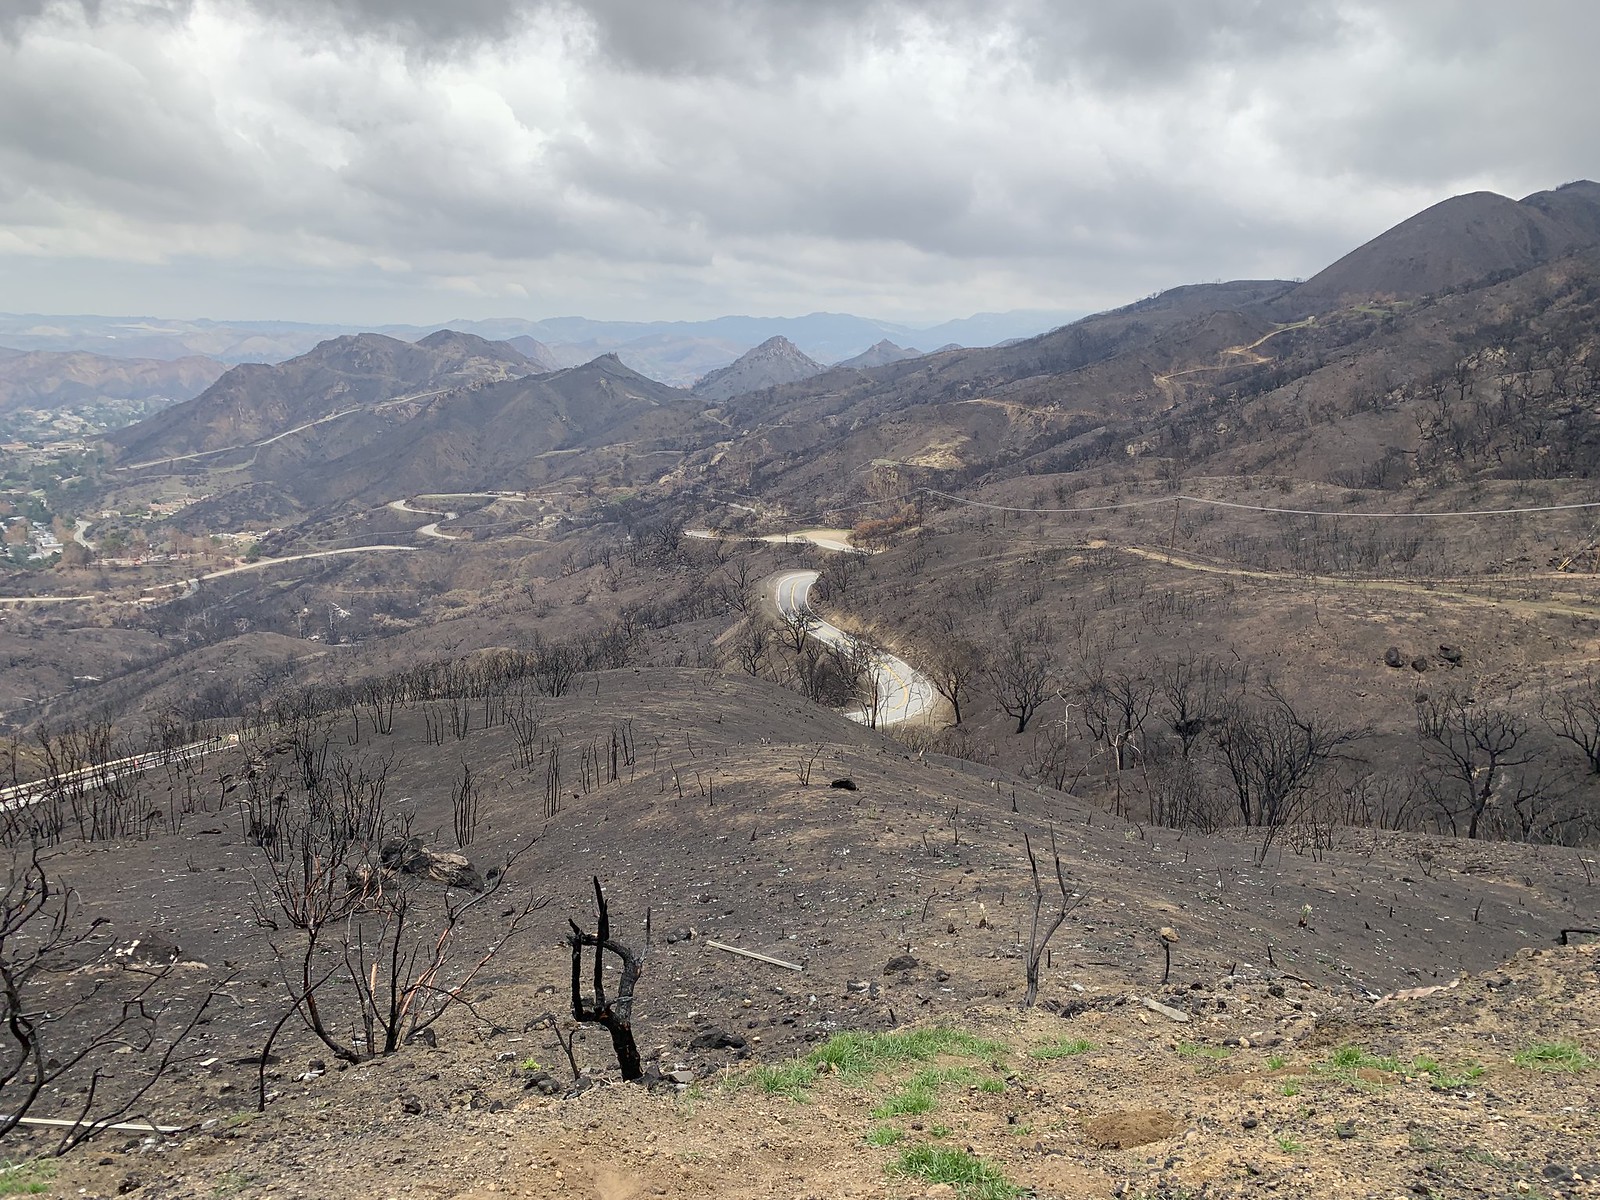
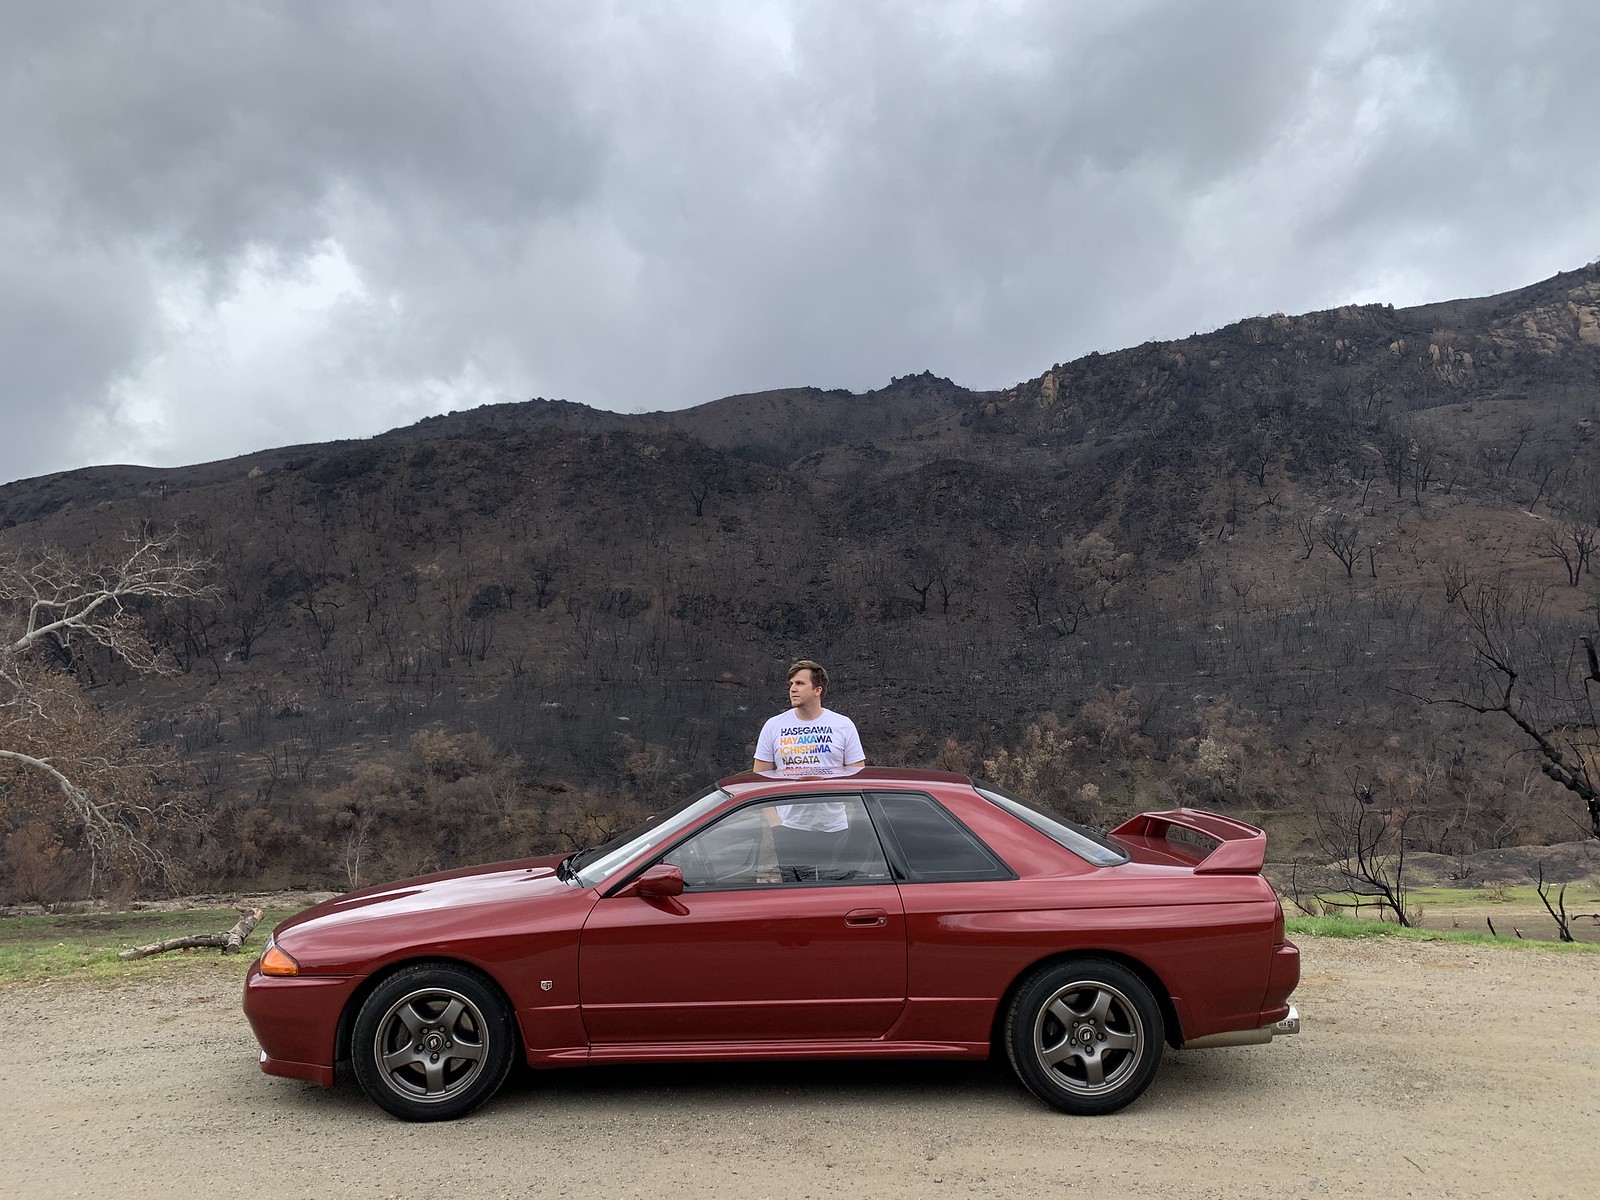
Another angle from the top of the Snake. Utter destruction.


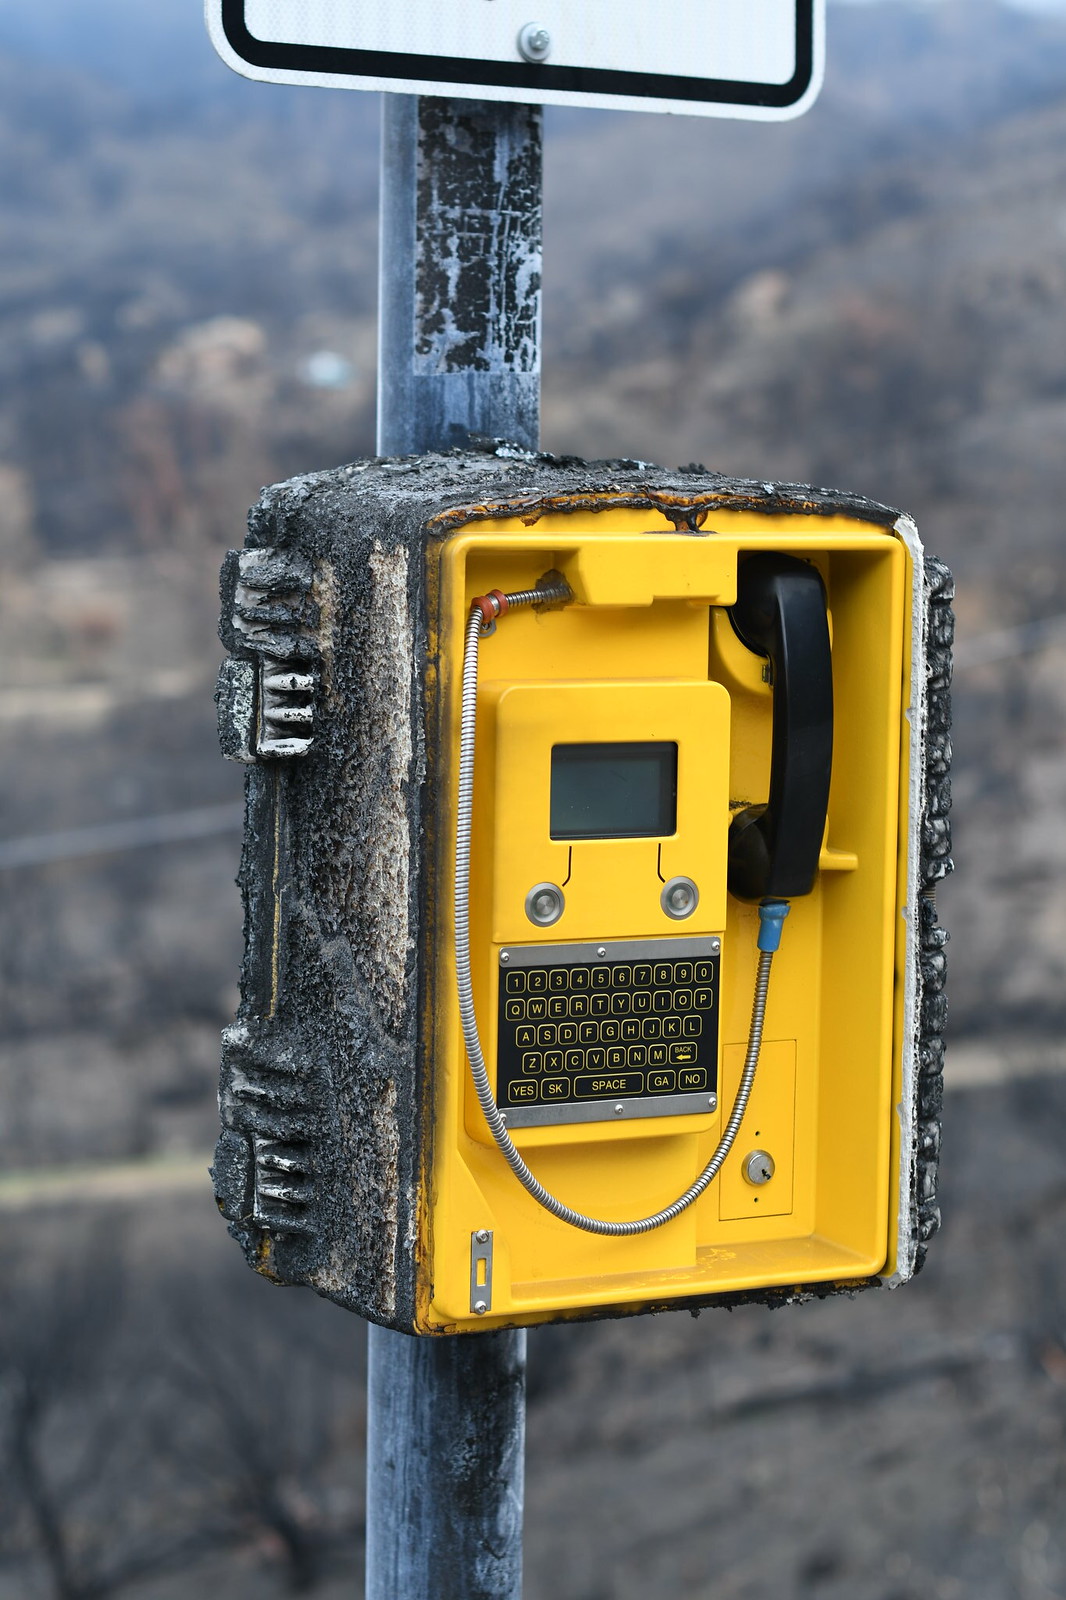
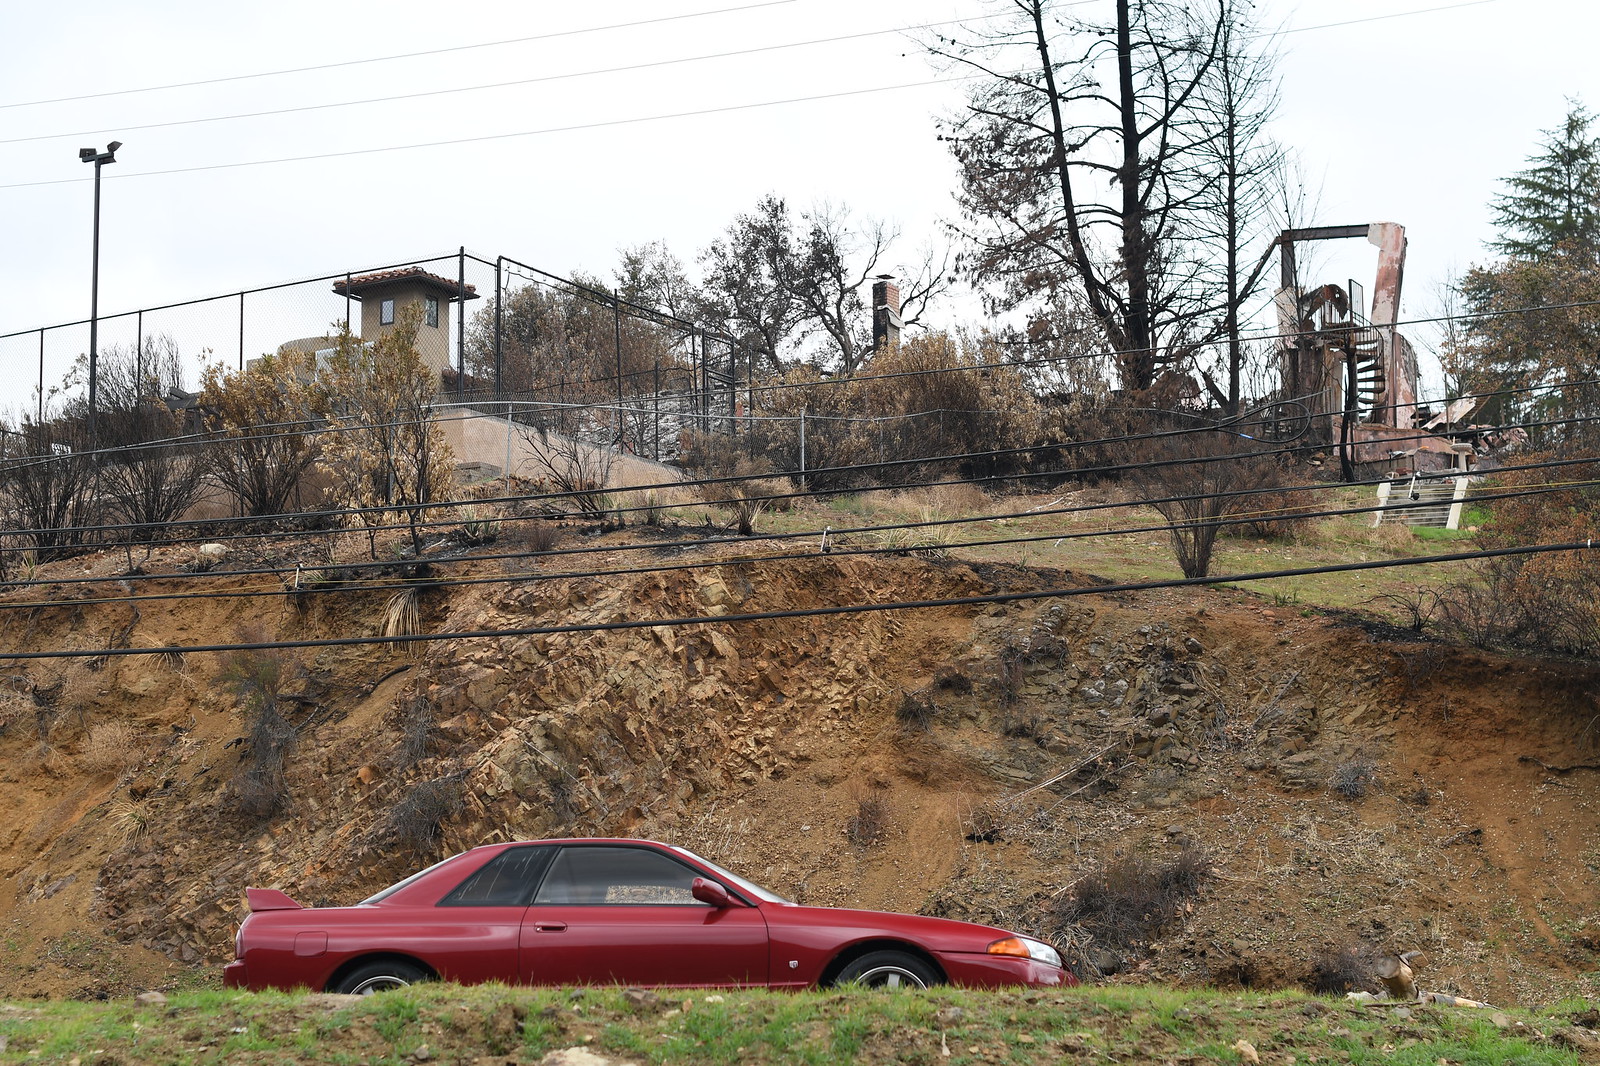
Malibu was absolutely destroyed. It felt like driving through a moonscape, with entire hillsides blackened and, in many places, nothing left of homes but a chimney. In some areas it still smelled as if a campfire were burning. As amazing as the extent of the damage was the seeming inconsistency of it; one home sat untouched 50 yards from a burned-out foundation. The photos above are from the top of the Snake, a famous and popular car hangout on Mulholland Highway. The bridge at the bottom of the hill, just past the Rock Store, was out, so the overlook was only accessible from the Kanan Road side.

Dang.

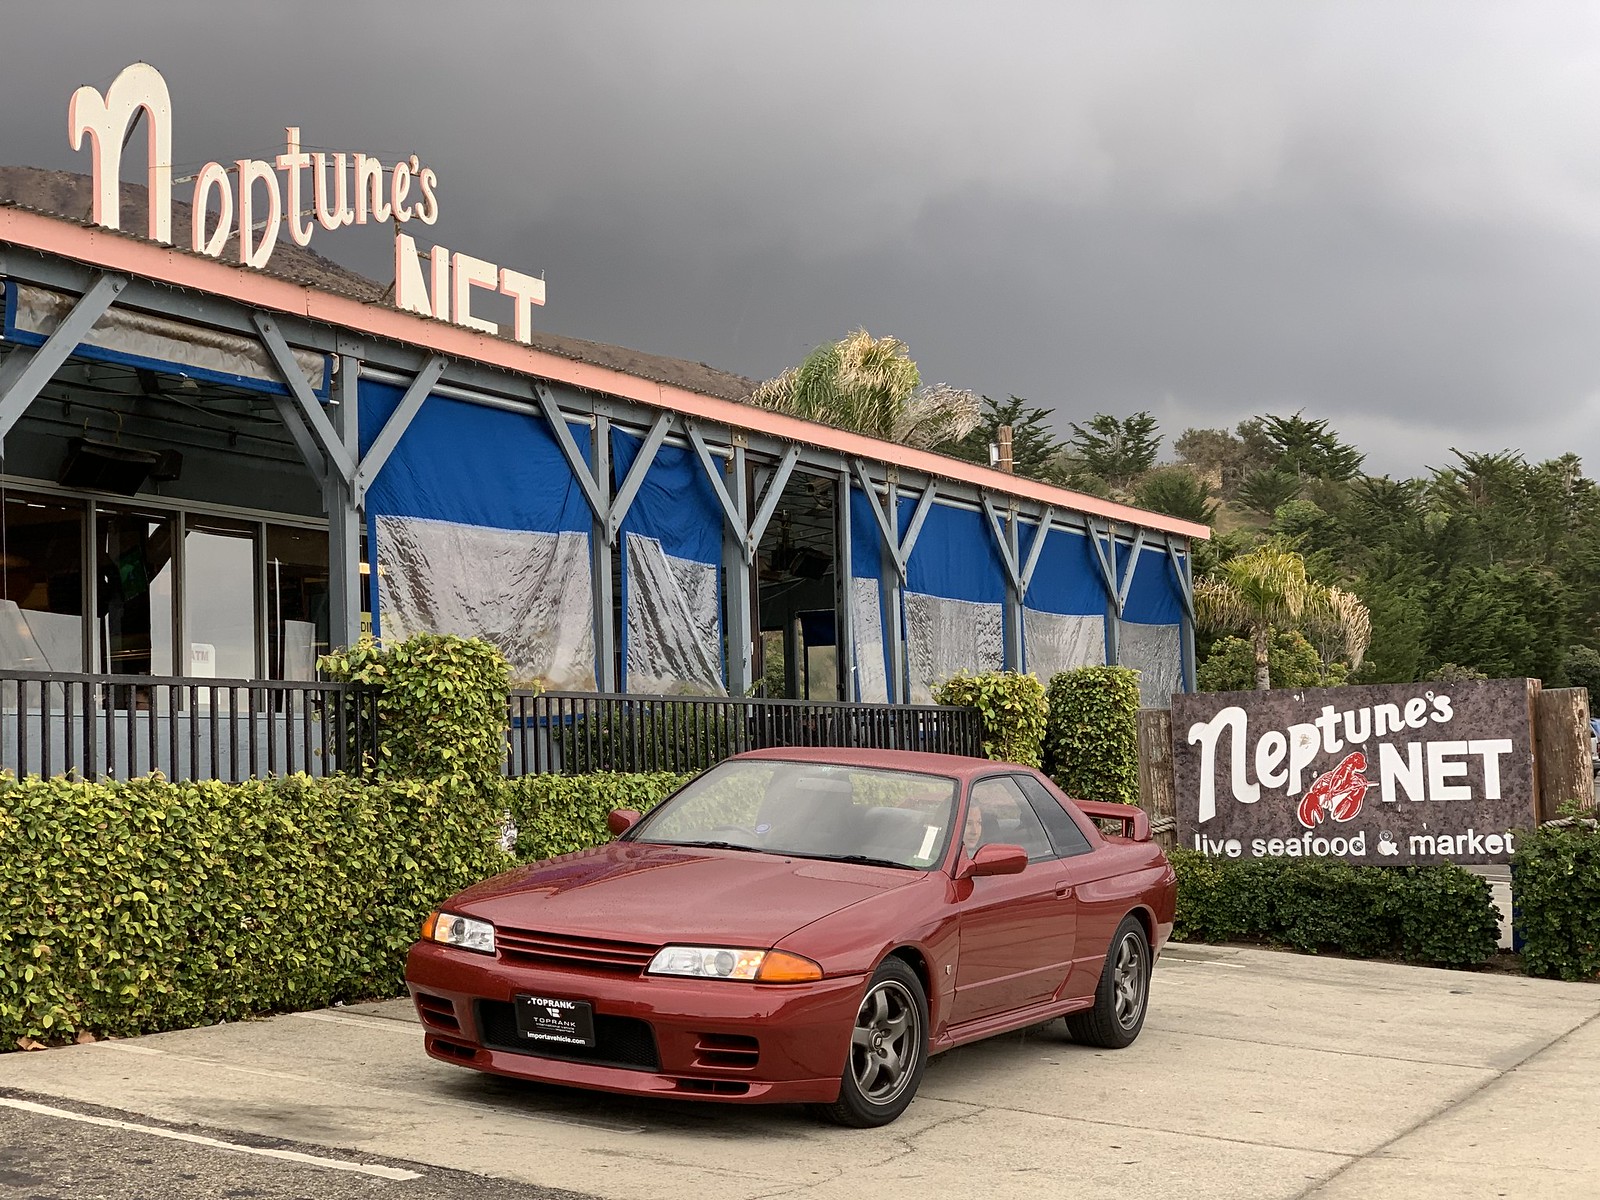
As we set off from the Snake, as if on cue, the rain began to fall. This was the physical damper to go along with the spiritual damper of seeing the fire damage. We followed Mulholland down to Highway 1, where I'd planned a special lunch stop before we got out of Malibu. The fish and chips was excellent.

To be honest, I don't even remember this scene from the movie.


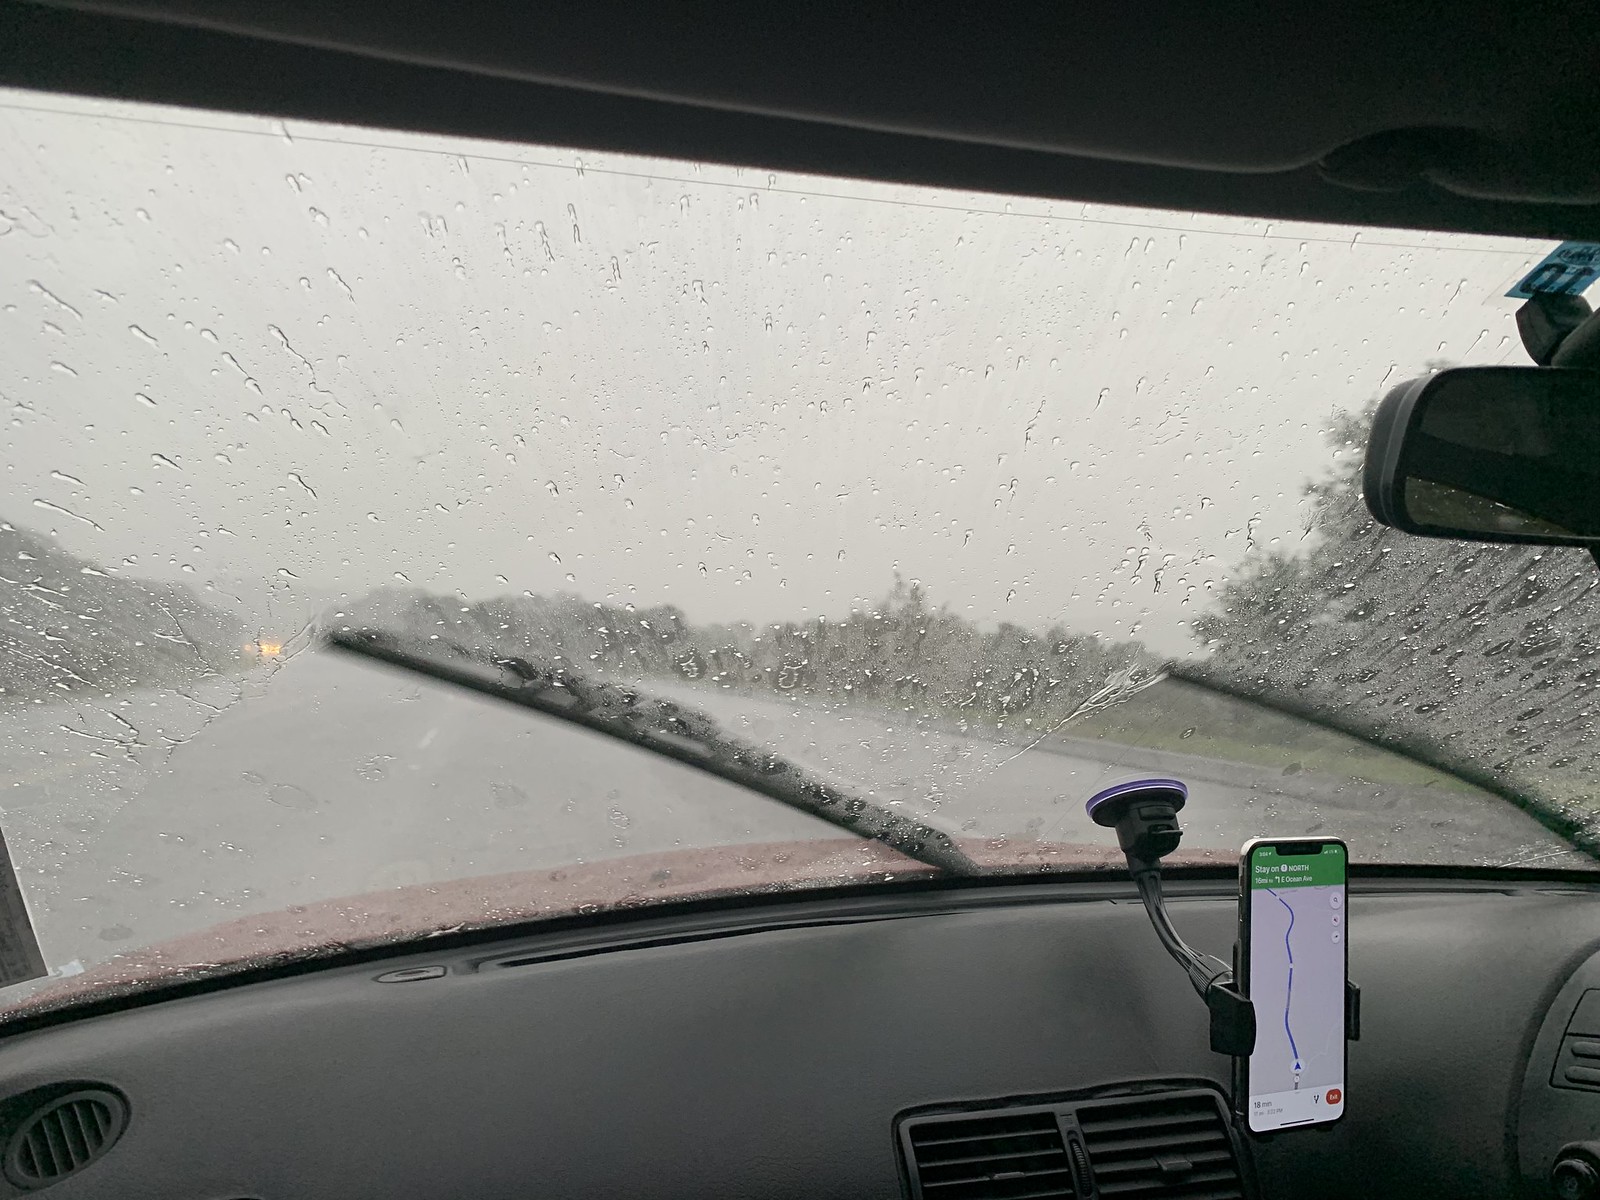
It was a trial by fire for the lights, wipers, and HVAC systems as we started our drive up to Pismo Beach. It was absolutely chucking down and there was standing water on the road and generally terrible visibility. I am happy to report that the car did not miss a beat, and I was thankful that Top Rank had fitted new wipers to the car. 

Our command center, with the very latest in in-car entertainment.


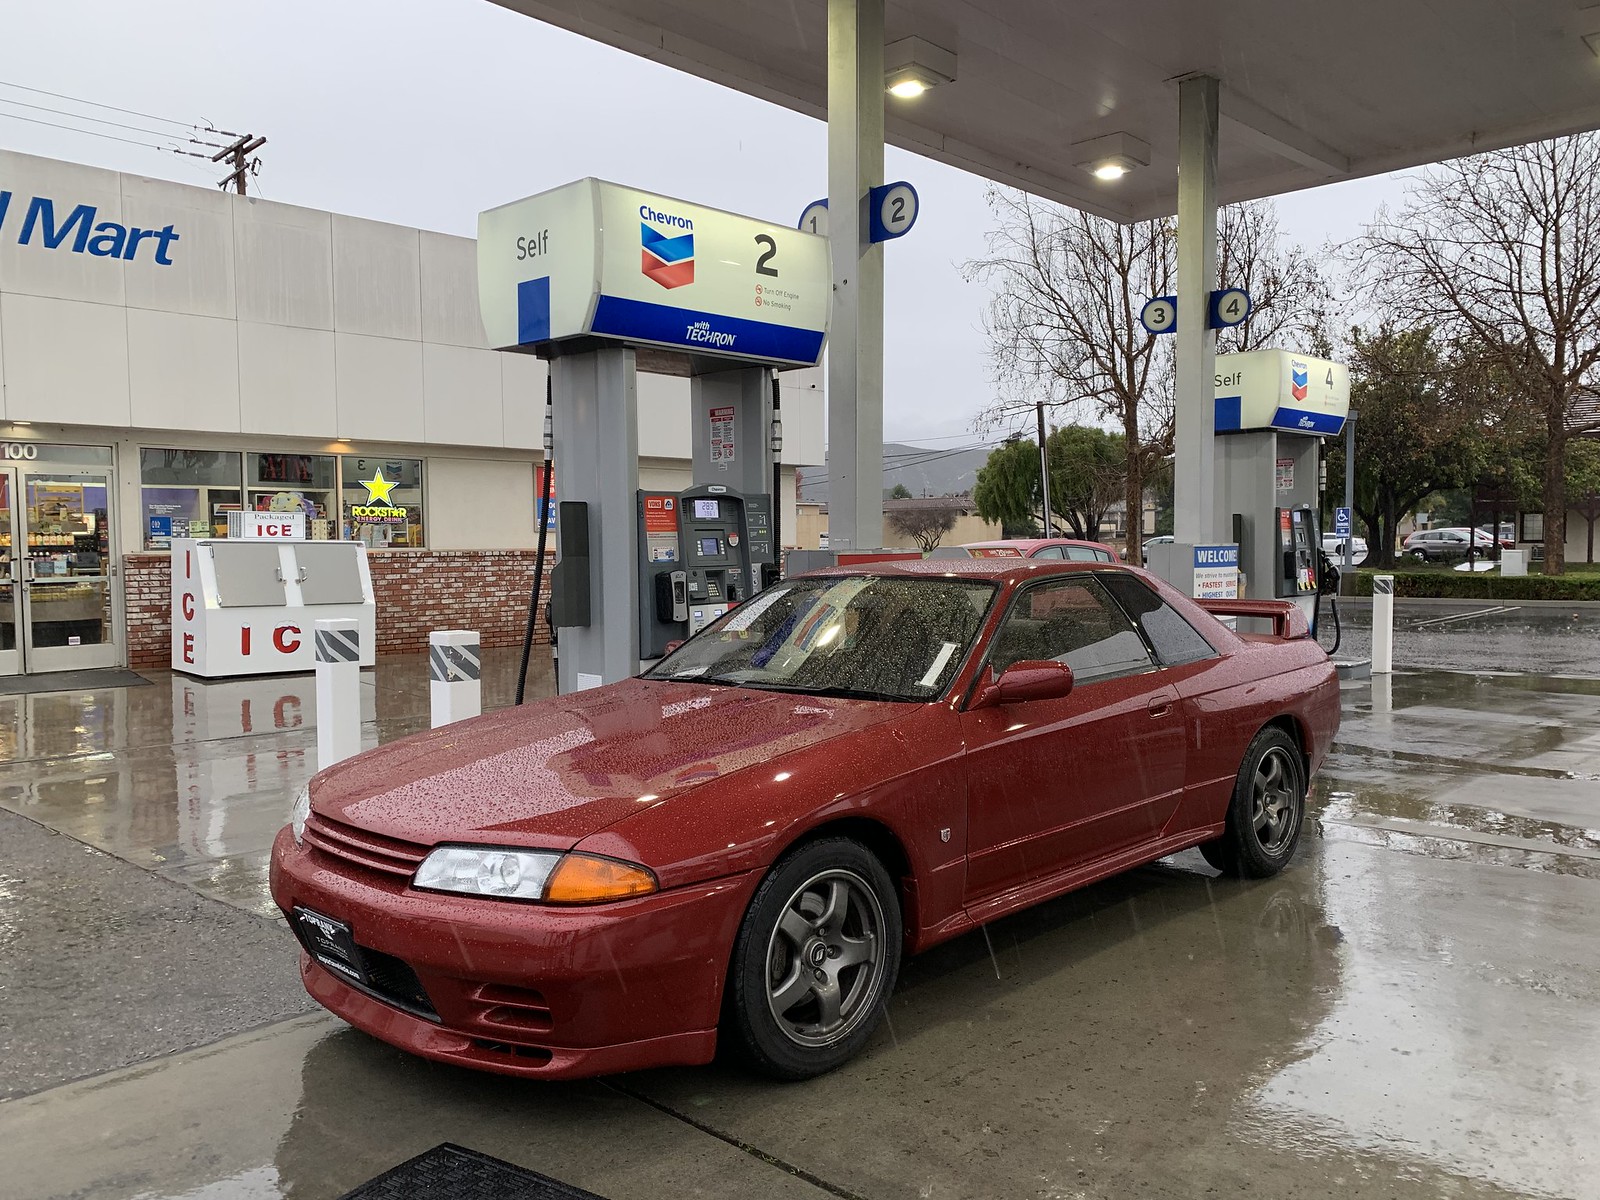
Fuel stop #1 in Lompoc. This is where I learned that G&K fits a weird pump nozzle adapter into the fuel filler neck. We achieved 350km on 14 gallons of fuel, which figures to an unimpressive 15.5mpg. We'll just chalk that up to the canyon driving. I'm also just happy to have a car with a fuel capacity greater than 12 gallons...


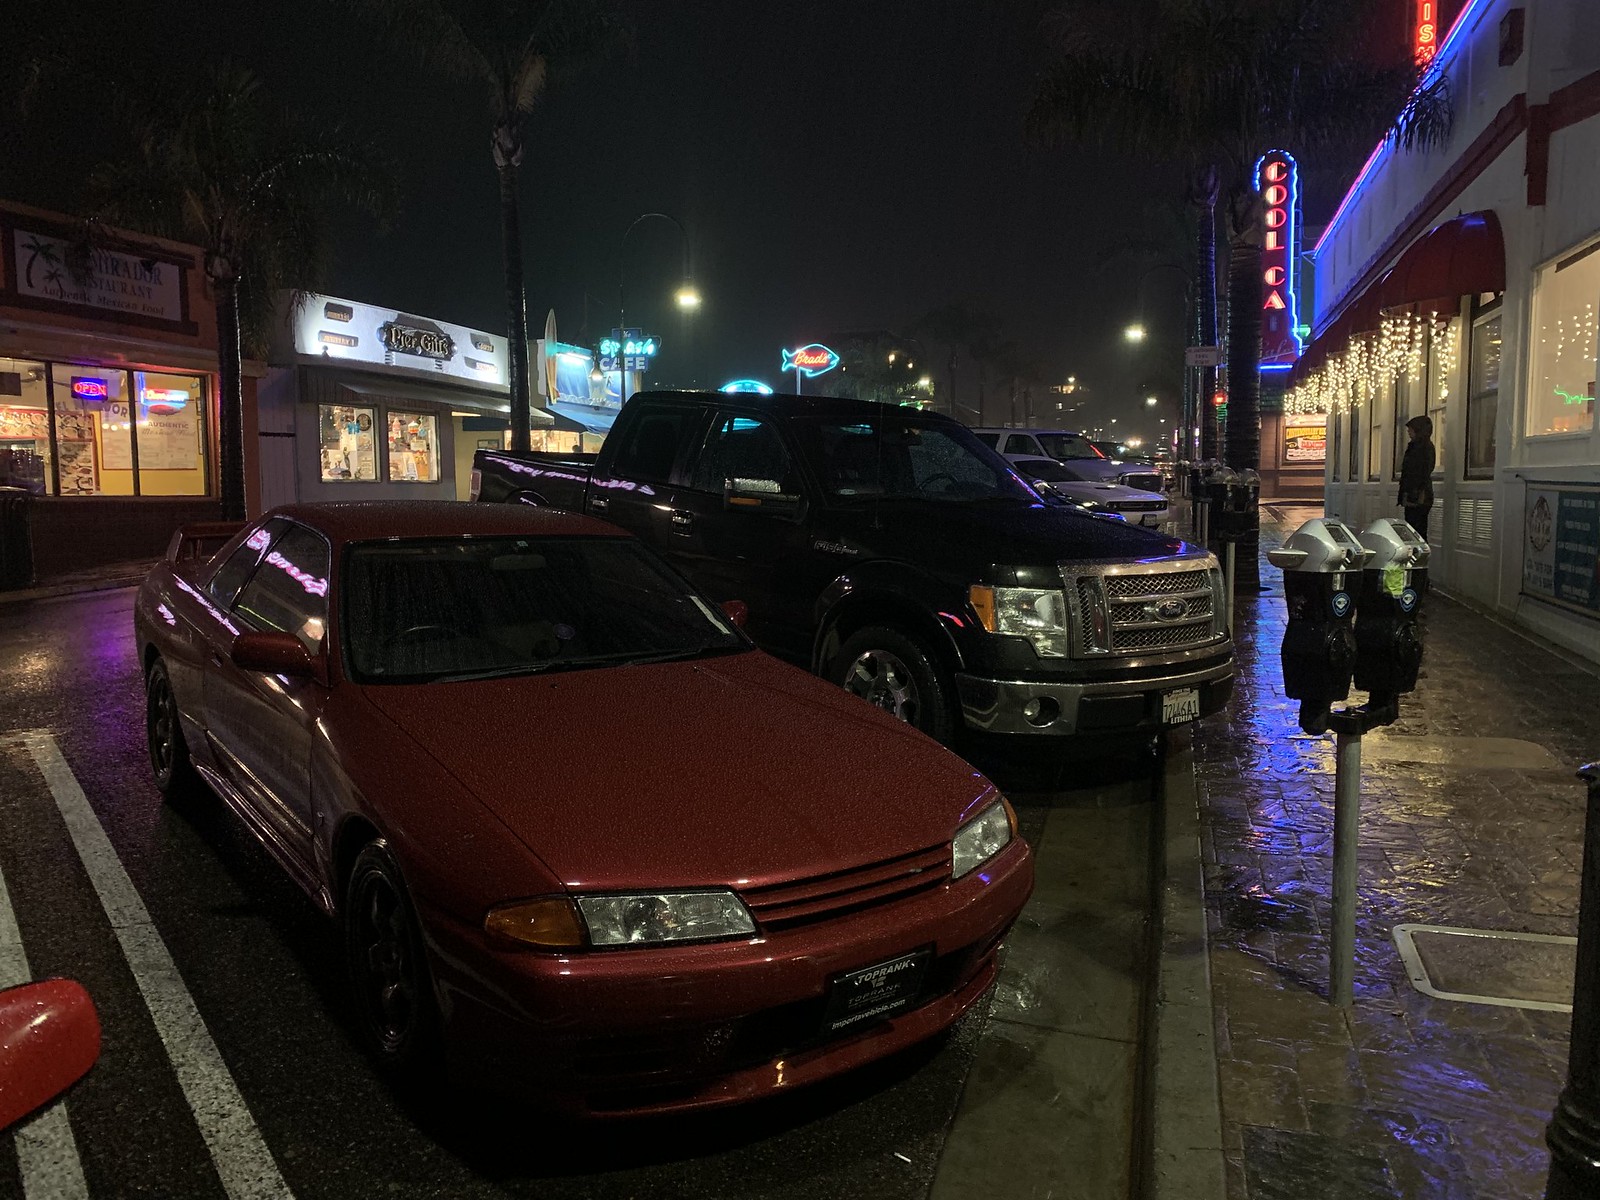
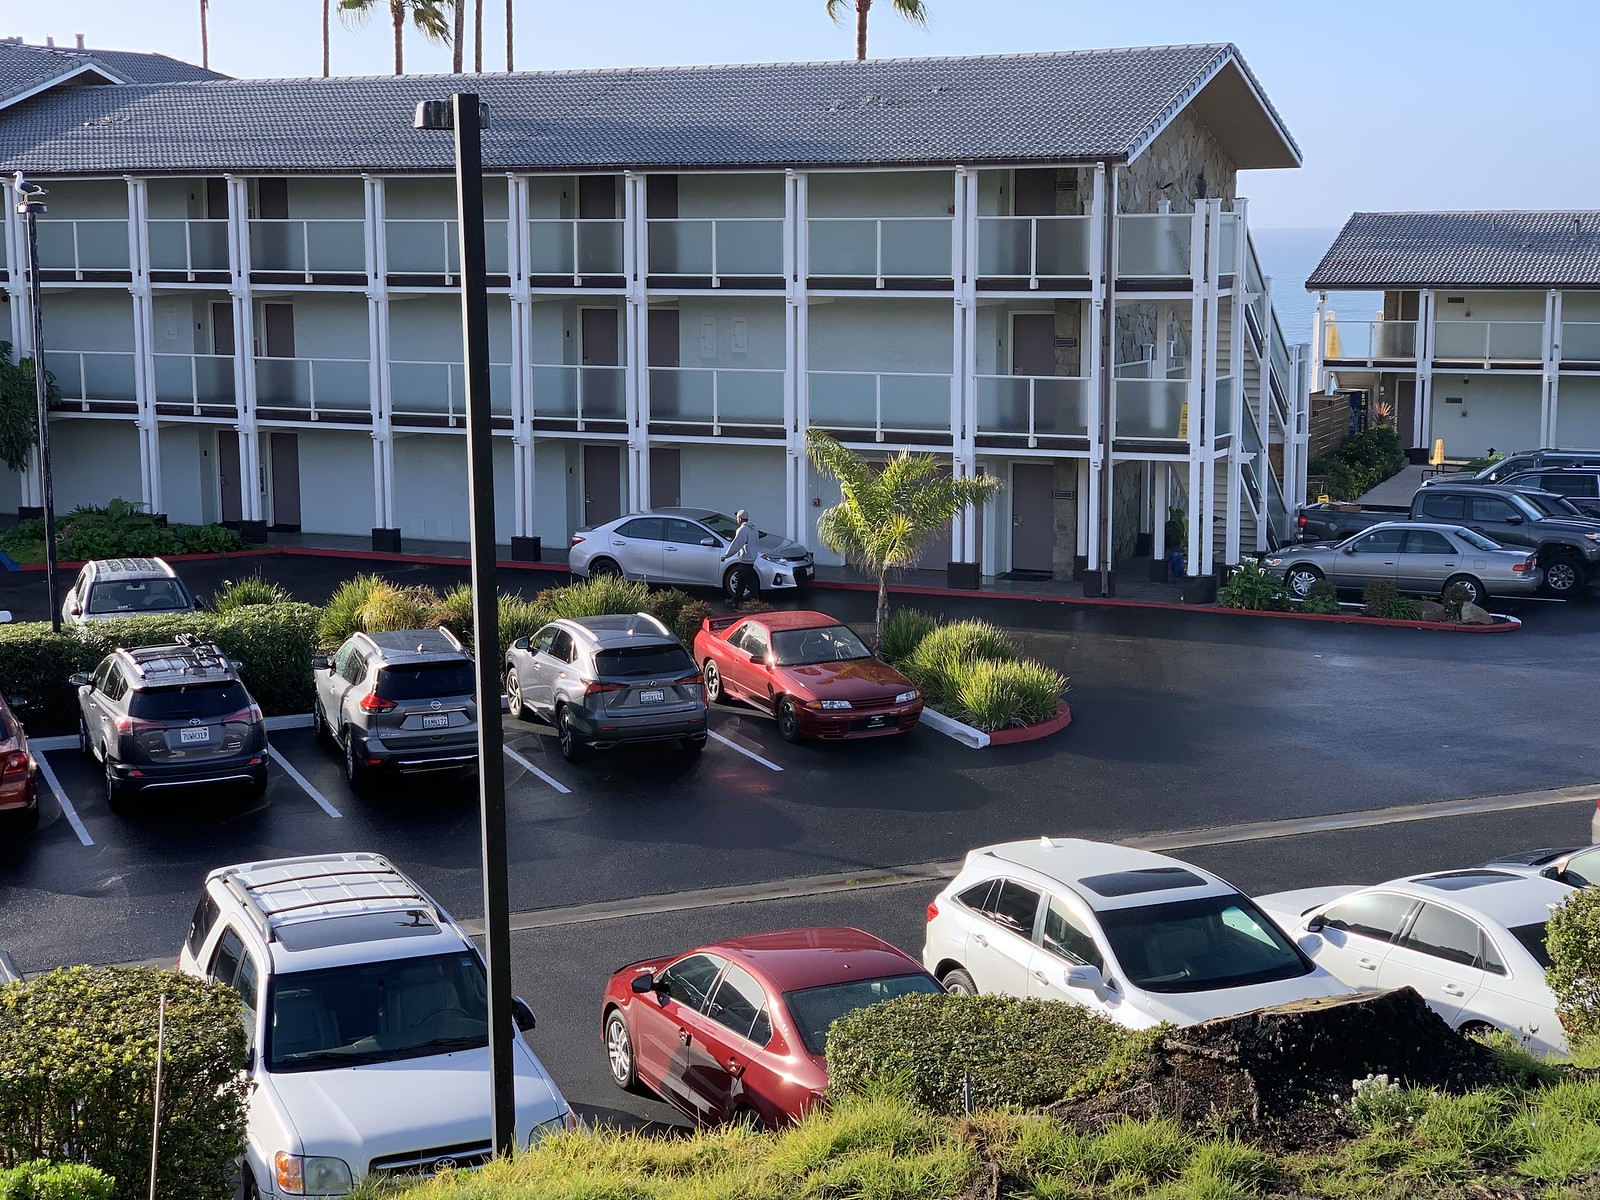
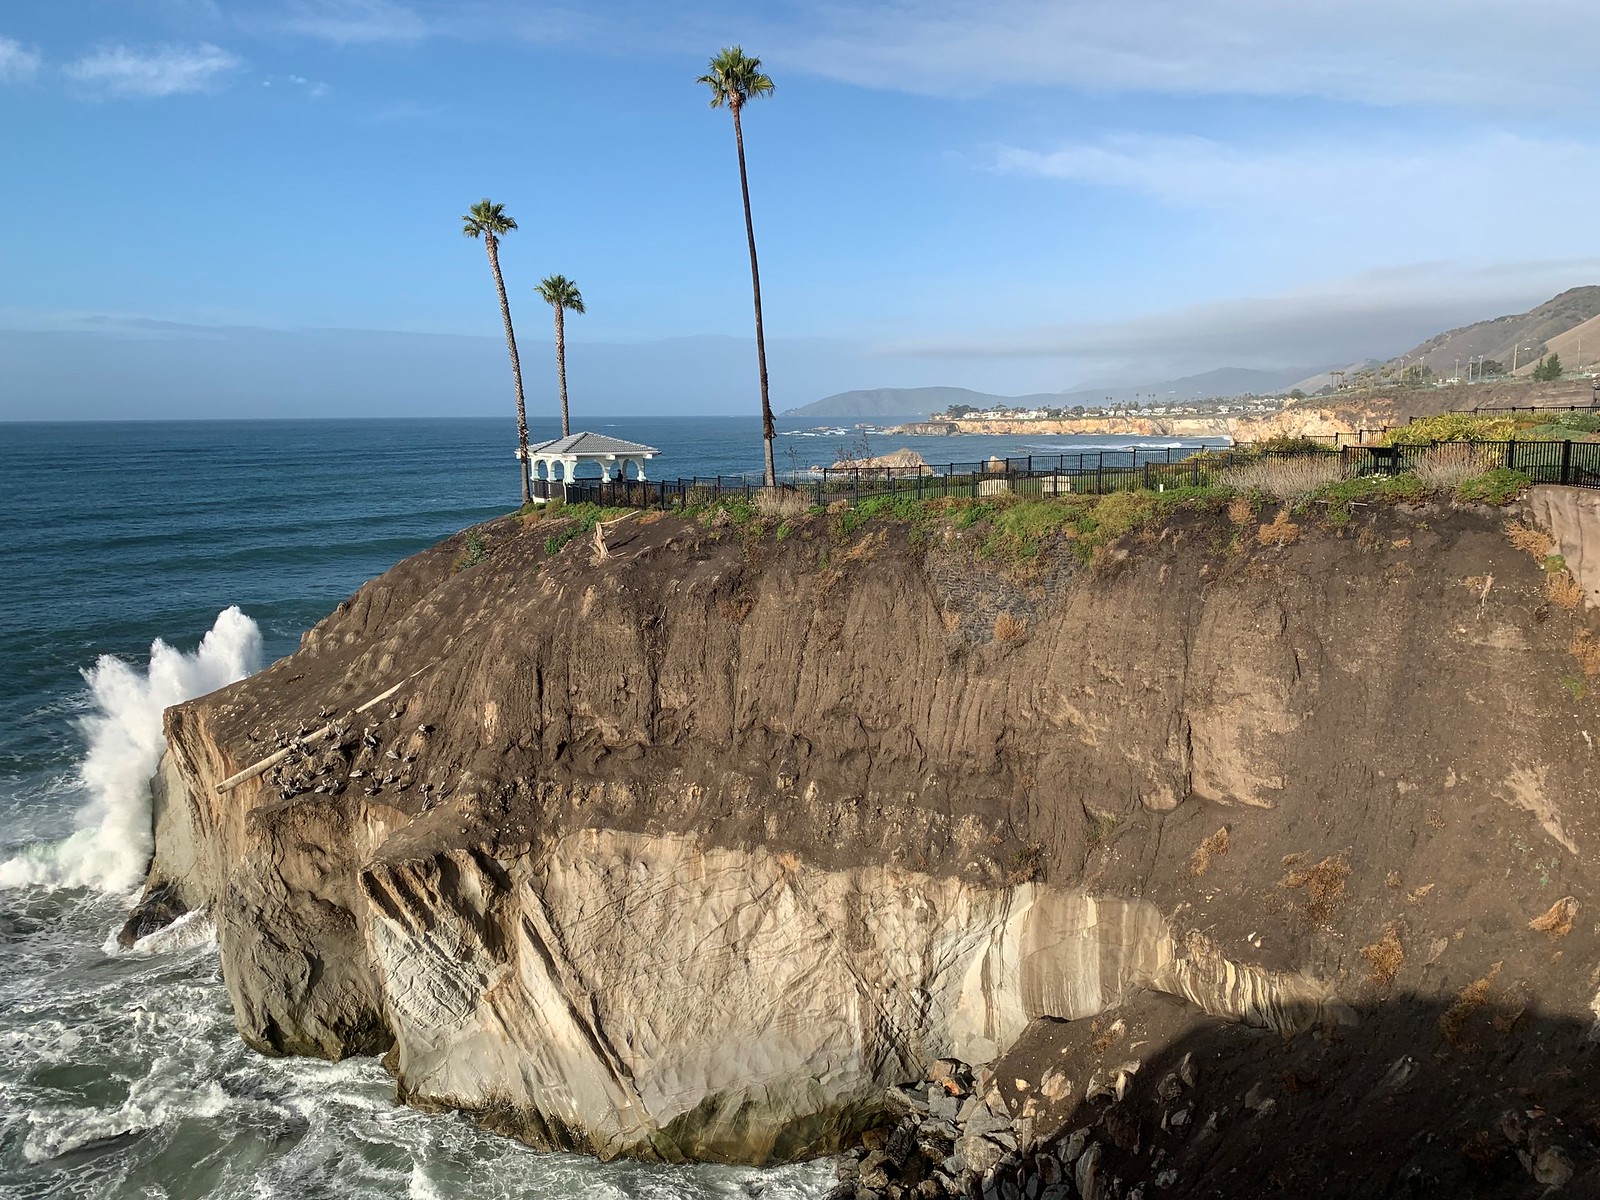
The rest of the drive was soggy and uneventful, and we eventually found ourselves in a damp Pismo Beach. I had the best chowder of my life at the Splash Cafe, and then we closed things out with a milkshake at the Cool Cat Cafe.


Sunday morning brought in some sunny skies, and we were able to check out downtown Pismo and enjoy the famous cinnamon rolls for breakfast.


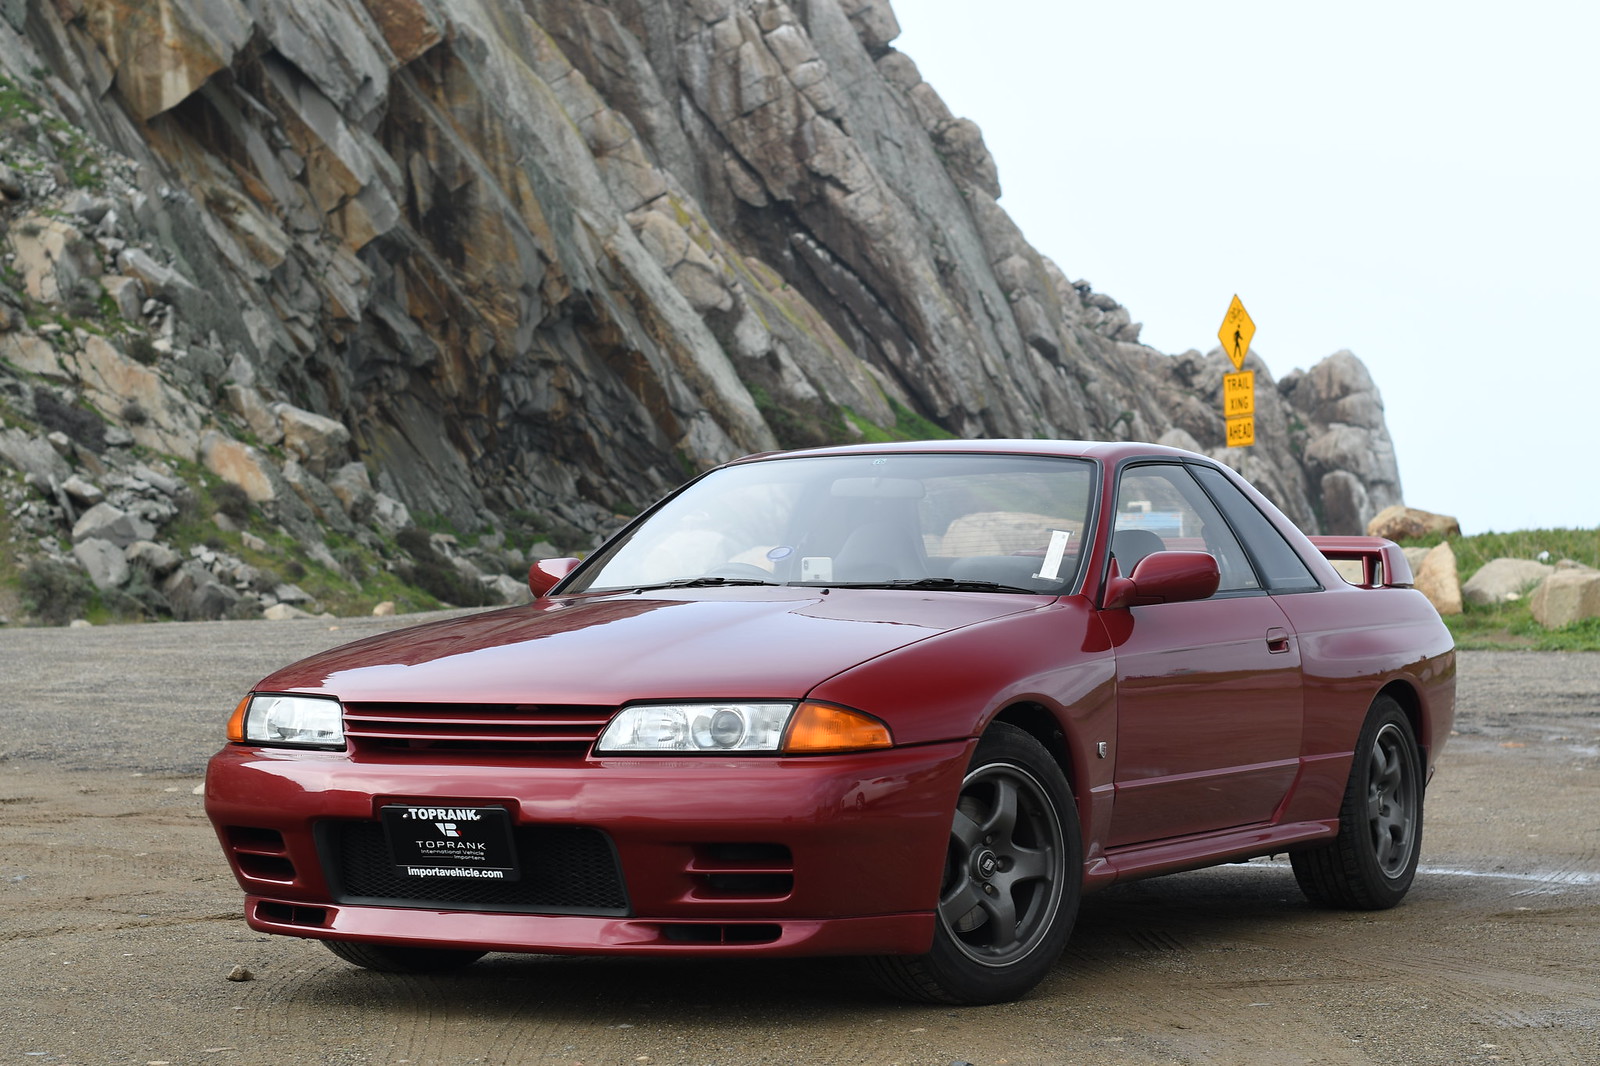
We ventured up highway 1 just a little bit further to Morro Bay, and stopped for a quick set of photos in front of their big rock.

Still searching for the bad angle on this car.


Unfortunately the weather to the north was nothing but rain, rain, and more rain. At this point I decided to call off the original plan, and not continue up PCH through the wonderful Big Sur. It's a shame to miss that ribbon of road, but I knew that it would end up being much worse to crawl along those cliffs in the rain behind a timid rental Mustang convertible than to cut our losses and zip up the 101. This was the "must choose" junction, as PCH north of Morro Bay doesn't have an inland escape route back to the 101 until you get all the way to Monterey.

Après moi, le déluge.

The next 4 hours or so were not glamorous, but we made good time in spite of the lousy weather and we were well ahead of the "return from LA" weekend traffic. We arrived home safely, and in daylight to boot.


So what of all my worries? As it turns out, none of them came to fruition. We didn't once have to reach for the bag of tools or spares that I'd packed. The car didn't miss a beat: we made great time, saw and ate some lovely things, and didn't have to speak with anyone from CHP or AAA! 


The car sat untouched in the driveway for the better part of an hour before I started swapping parts. More on that next time.