[note: this post, like an air-cooled 911, is back-dated to when these events occurred]
Very successful day spent in the garage.

First, knocked out easy stuff:
- Tightened the alternator belt. It was squealing. Before diving in, I expected to find that awfully-designed, insanely-expensive mounting/adjusting bracket stripped or in need of replacement. No, I just adjusted the tension and it was fixed. OK!
- Put the car up in the air and pored over the suspension rubber front and rear to see what needs fixing. I had it in my mind that all of the rubber was shot, in reality it's just a few things. Good: engine and transmission mounts; steering coupler; guibo; tie rods and boots; front sway bar end links; rear subframe bushings (phew); rear trailing arm bushings (phew); CV boots (phew); diff bushing. Bad: front control arms (crusty, ball joint boots torn); front sway bar bushings to body; rear sway bar bushings to body; rear sway bar end links. Great result in my book! All pretty straightforward DIY, no subframe dropping ordeals.
- Correct the turn signal mounting scheme
- Open up the oil cooler airflow flap all the way
- Extend the splitter from "Normal" to "Nurburgring" setting
- Install Evo bumper gasket
- Clean up/fasten the trailing edge of the Evo plastic undertray
https://s14net.vbulletin.net/forum/s...57#post1285457
Parts diagram
https://www.realoem.com/bmw/enUS/sho...diagId=51_2005
This is a bill of materials to fasten your Sport Evo lip and undertray with notes for a US-spec car. Parts marked if NLA. I've done my best to make this accurate, please use it as a guide and do your own confirmation work.
https://www.realoem.com/bmw/enUS/sho...diagId=51_2005
This is a bill of materials to fasten your Sport Evo lip and undertray with notes for a US-spec car. Parts marked if NLA. I've done my best to make this accurate, please use it as a guide and do your own confirmation work.
| Quantity | Part number | Description | Notes |
| 19 | 51481905599 | ~8mm plastic expanding rivet | 12 to secure undertray to fascia; 7 to secure oil cooler airflow panel to undertray |
| 6 | 07129904225 07119901295 07119936439 | Edge biter clip ("body nut") Sheetmetal screw Washer | Secure undertray to rear trim edge of fascia. In US cars, the center 4 of these do not fit due to a different trim edge on the fascia. Substitute 4 M6x20 bolts with nuts and washers in these locations. |
| 12 | 07119913579 07119932099 07119936408 07119932663 51142233031 (NLA) | M6x35 bolt M6 wave washer M6 washer Shim M6 rubber nut thing ("plug") | Secure splitter to undertray/fascia. The NLA fastener is interesting, I think its form factor is driven by tight tool access. If you tried to use a standard M6 nut in some locations you may need a bigger hole in your fascia to get a socket in to keep the nut from spinning when bolting the joint up. |
| 7 | 07119913016 07119932099 07119936408 07129926512 | M6x20 bolt M6 wave washer M6 washer M6 cage nut (square, allows float) | Secure the trailing edge of the undertray to the engine plastic undertray. The Evo engine undertray has square holes to accept the cage nuts, the US undertray has no holes. Match-drill and substitute normal M6 nuts and washers to secure the plastics. |
Apologies for the copy-paste formatting slaughter.

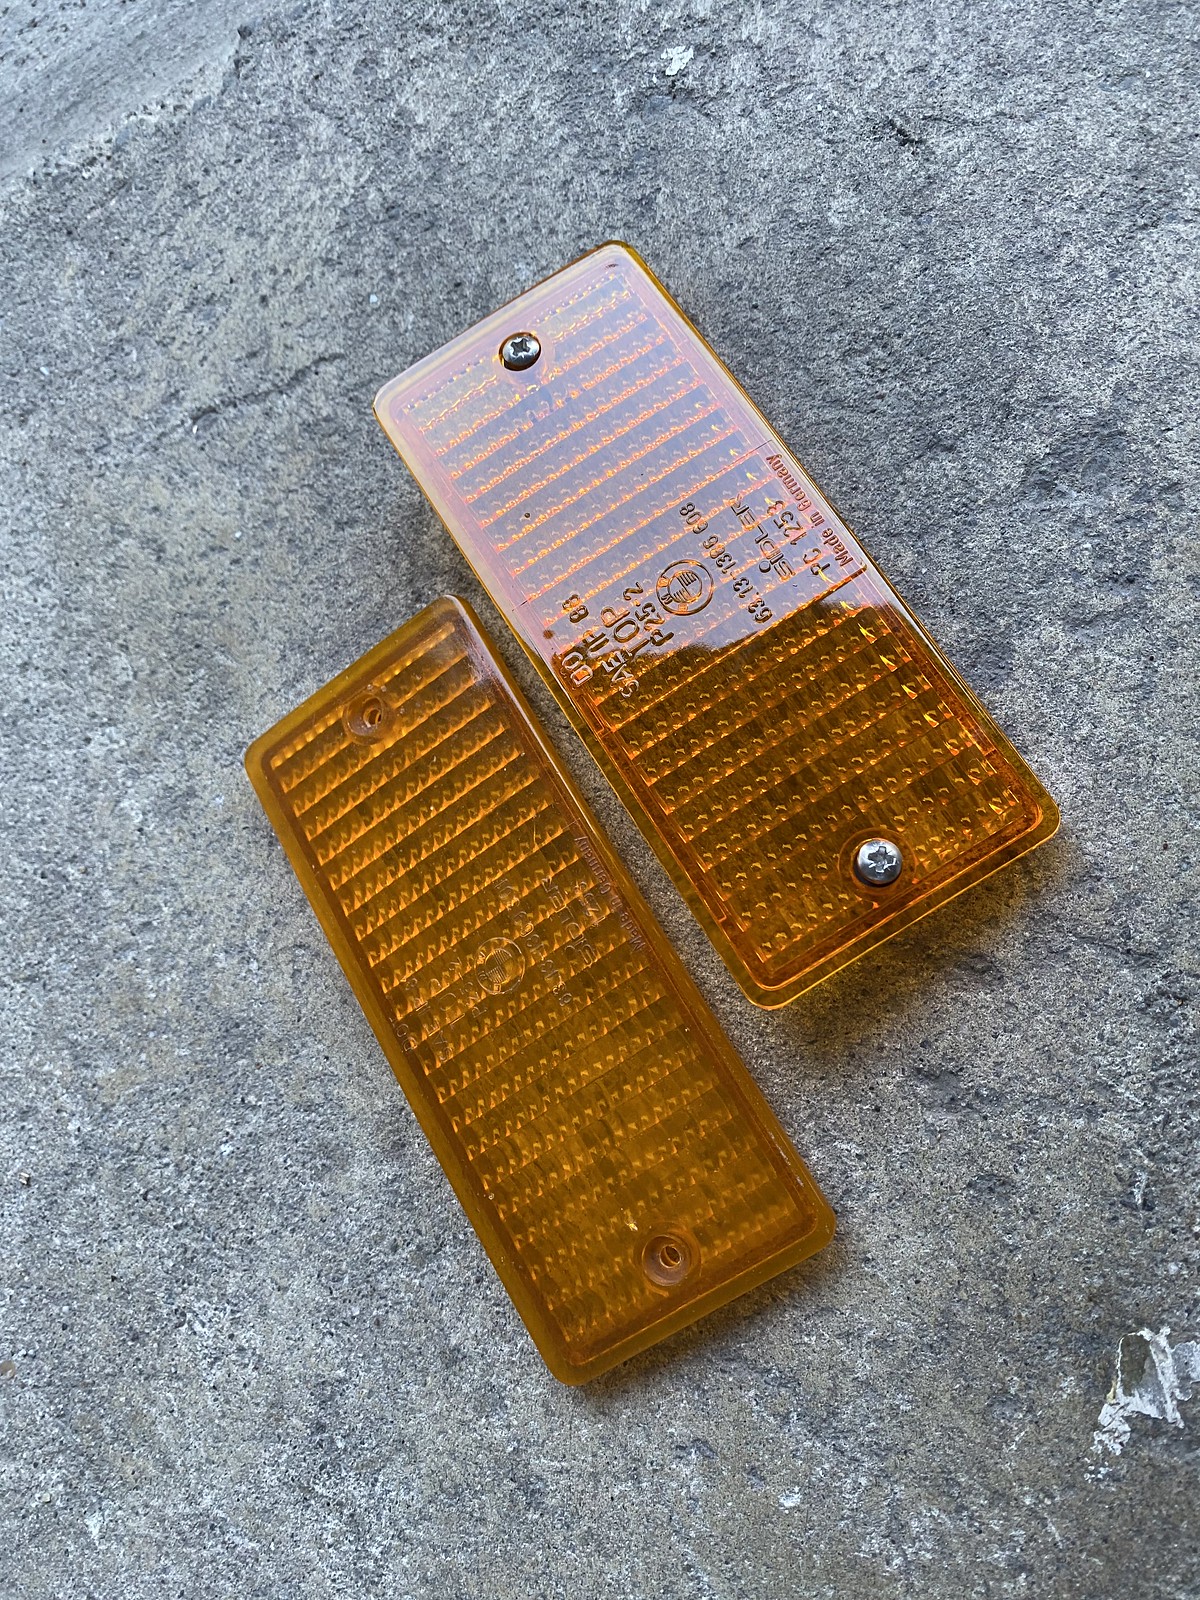
The front fascia assembly comes off very easily. I find removing the front wheels really helps finagle the plastic engine undertray into and out of position. First up: correcting the turn signal mounting. When I got the car, the turn signals were sunk way into the fascia. On my first trip into the area I found that the turn signals had been wood-screwed into the bumper insert in some insane way. Without the right parts or the ability to leave the car like that and wait for them to arrive, I improvised and did a band-aid solution using edge clips and a lot of washers:

Of course the whole mount design relies on this crazy clip-on stud fastener that is NLA. The rubber spacer is still available, and in place of the long-NLA fastener I decided to use an ultra-low-profile screw from McMaster. The part number is 91223A445. The head is low-profile enough to slot into the fascia, and fits well. The trick is that you don't have access to the hex head to keep the screw from spinning. I found that I was able to wedge a plastic trim tool between the head of the fastener and the adjacent plastic to keep the screw from rotating. I applied blue threadlock liberally to help counter vibrations and found that, with the wedging strategy, I was able to get the situation "hand tight" and feeling pretty secure. It's not a solution for a ground-up restoration, but it might work for you if you just want to get your car back together.


Next up was to open up the oil cooler airflow control flap deal. For some reason, the first time, I decided to put it in the middle position... all this does is obscure access and line of sight to things. As it turns out, it was blocking the visuals I needed to understand why the engine undertray and the evo undertray were not getting along. I was pleased to find that the plastic rivets can be hammered out as easily as they are hammered in. Shifted over, no problems, 2/2 so far.
Extending the splitter was easy, just unbolt, move, bolt it back down. 3/3! I pulled the Evo bumper gasket out of its packaging and noticed that it didn't look too similar to the US bumper gaskets. I dug in on some old threads and decided that this was not a battle I wanted to fight on this day. It looks like fitment requires some trial and error and still might not look great or stick well, so I said F it and left it for another day when I ran out of other things to do. 3/4.

Fascia going back on.
The last task was to find a way to fasten down the rear of the Evo plastic undertray. Last time, I ended up with two big plastic undertray pieces that did not seem to want to work together. I believed that I was going to have to trim the US engine screen piece to fit, but with the oil cooler passage opened all the way up, and useful images from Markus earlier in my thread, I realized that I just didn't have things sitting in the right place. With everything shingled and fitting correctly, I looked for a way to fasten the trailing edge of the Evo undertray to the engine screen piece. The Sport Evo engine screen, in addition to holes for the brake ducts and a different trim under the engine, has square holes for M6 cage nuts. These line up with the Evo undertray and you can secure it. The US engine screen does not have these square holes, so I ended up match-drilling and securing with standard M6 fasteners. I'm really pleased with how it turned out. 4/5!

Splitter more splitty than ever. Coming soon: the sad day when I find my first too-sharp driveway.


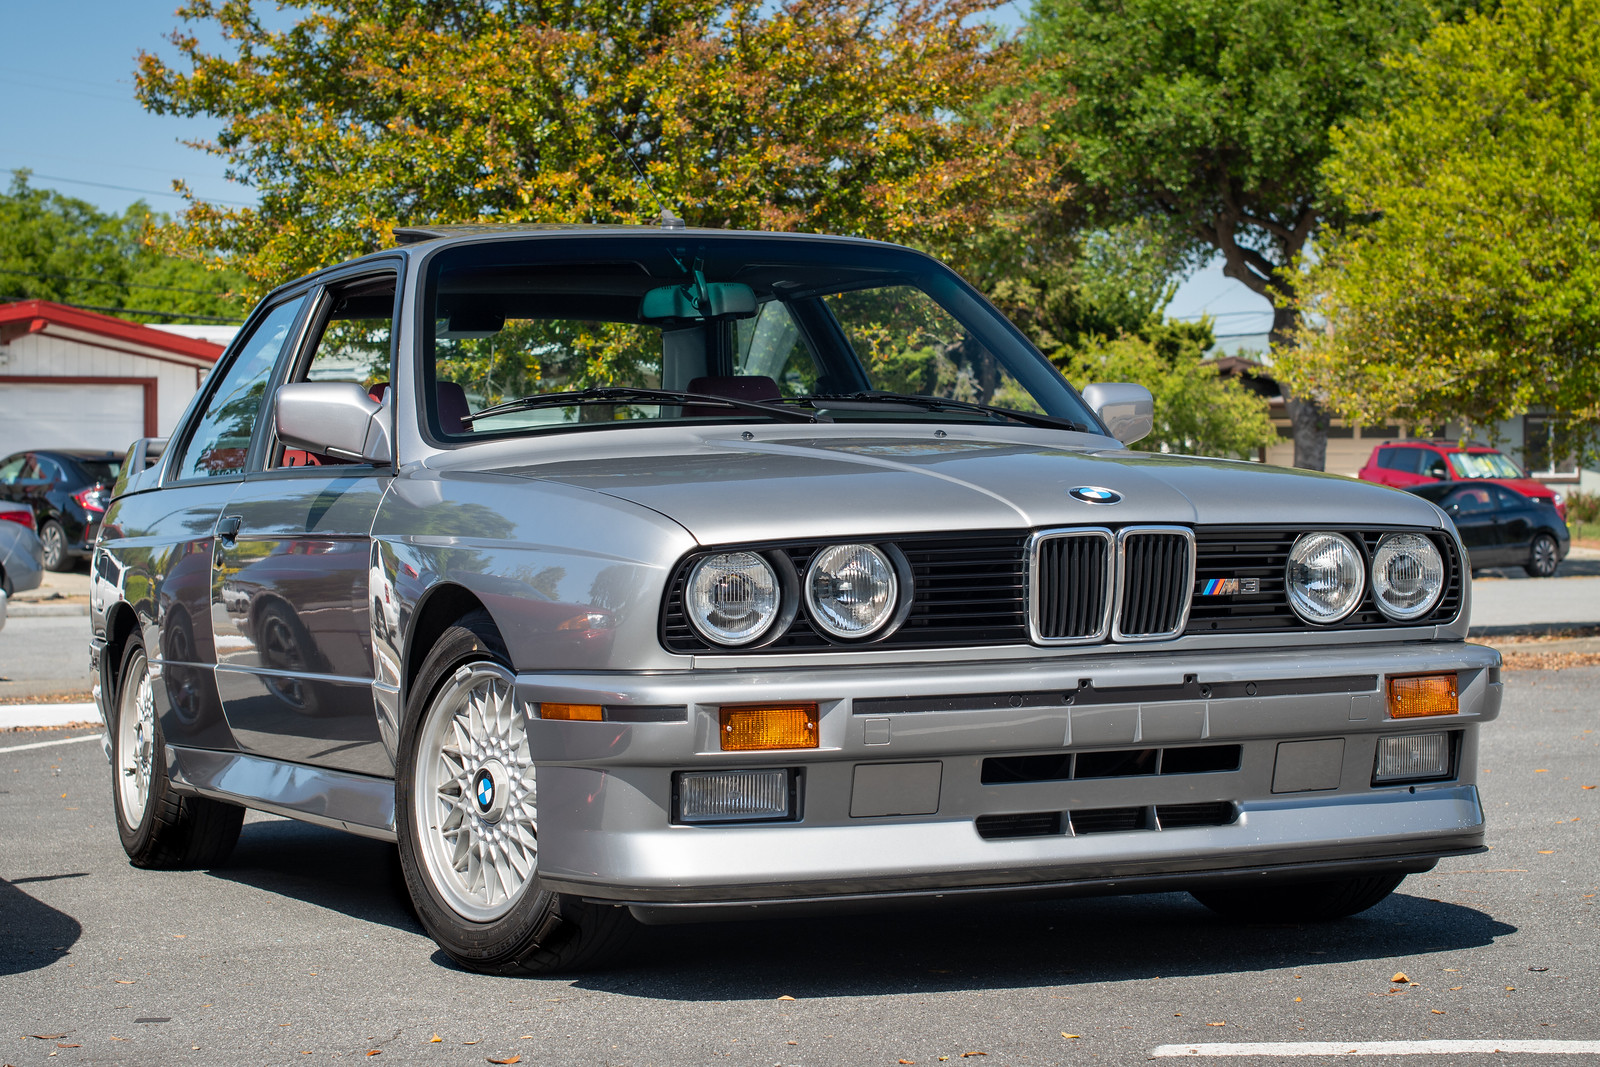
High front downforce for the fuel run... and turn signals sitting at the proper depth!

And that was the end of the day. It's rare to have a day of wrenching where you get nearly everything you'd planned on done, it feels great! Next up: I have something coming in the mail from Germany; and I will order the rubber/suspension parts I identified at the start of the day.
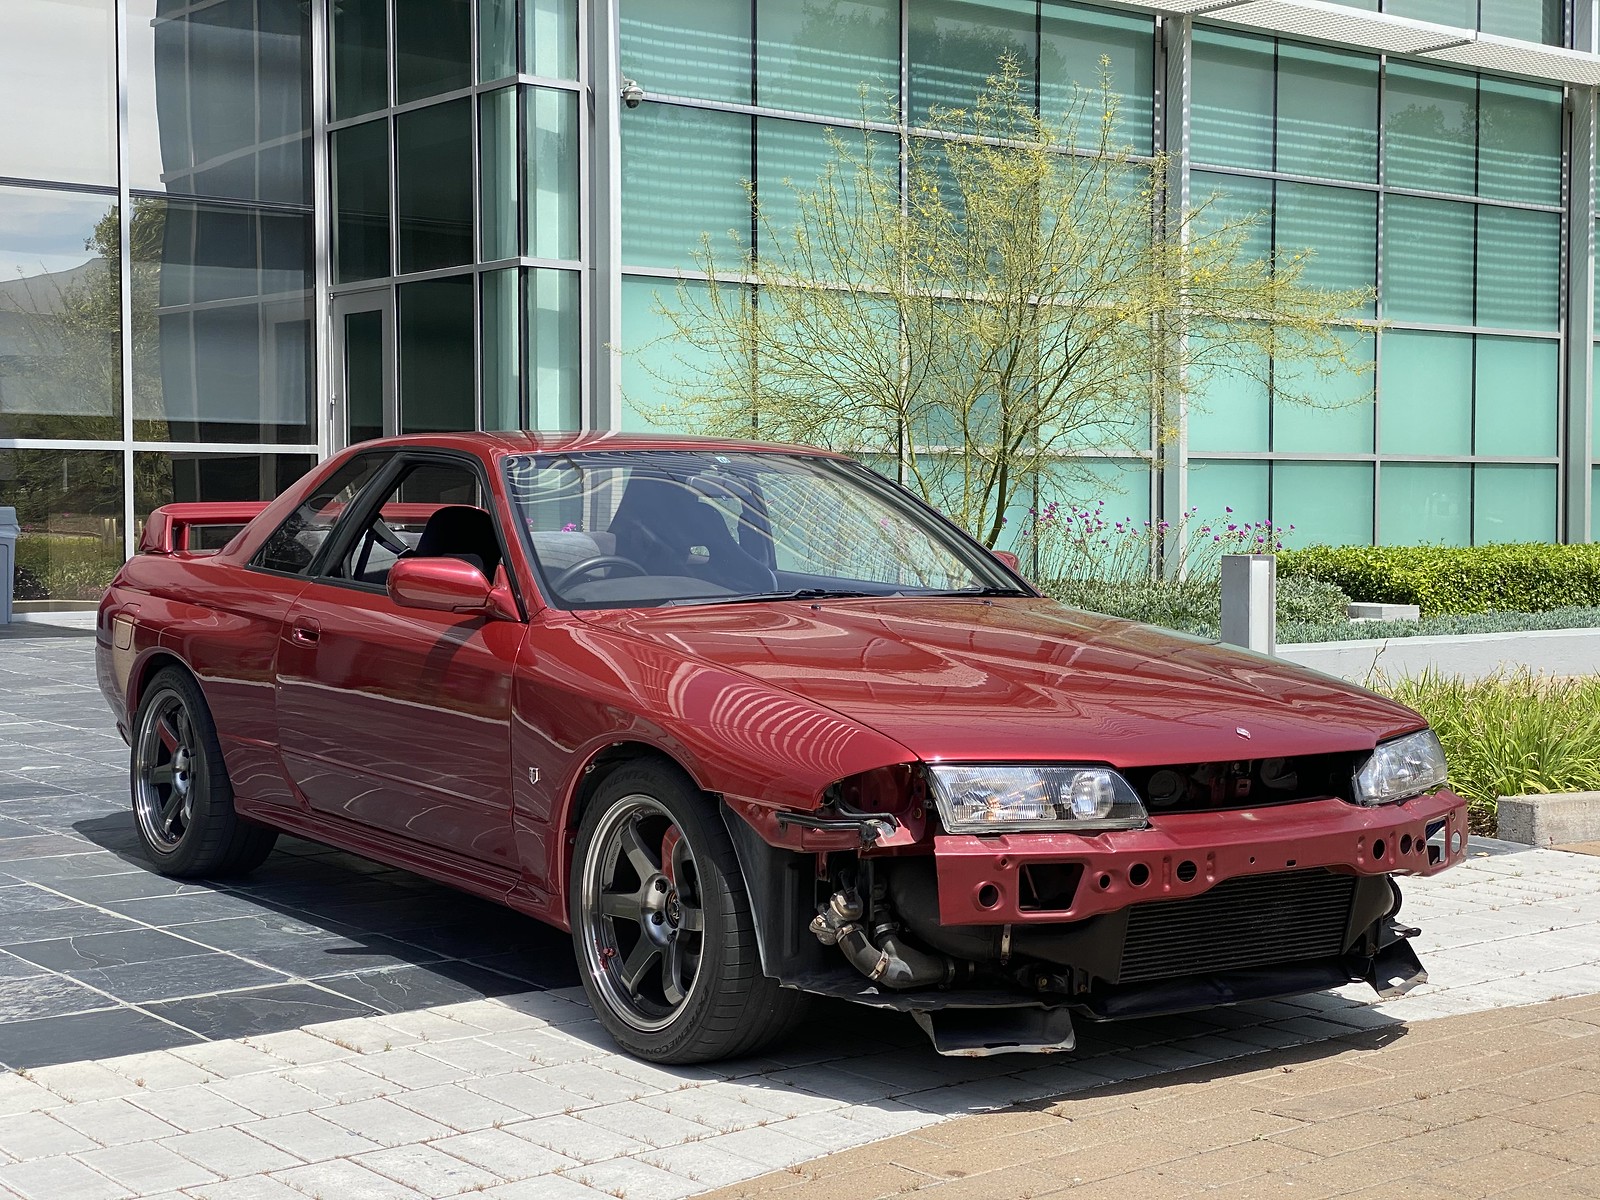
On Saturday I had the fascia off the GT-R to fix a clamp that had come loose on the intercooler, stealing all my boost. Fixed that without issues and back to full power.