Showing posts with label splitter. Show all posts

Monday, April 27, 2020

[M3, Skyline] Face/off

[note: this post, like an air-cooled 911, is back-dated to when these events occurred] 

Very successful day spent in the garage.


First, knocked out easy stuff:
  • Tightened the alternator belt. It was squealing. Before diving in, I expected to find that awfully-designed, insanely-expensive mounting/adjusting bracket stripped or in need of replacement. No, I just adjusted the tension and it was fixed. OK!
  • Put the car up in the air and pored over the suspension rubber front and rear to see what needs fixing. I had it in my mind that all of the rubber was shot, in reality it's just a few things. Good: engine and transmission mounts; steering coupler; guibo; tie rods and boots; front sway bar end links; rear subframe bushings (phew); rear trailing arm bushings (phew); CV boots (phew); diff bushing. Bad: front control arms (crusty, ball joint boots torn); front sway bar bushings to body; rear sway bar bushings to body; rear sway bar end links. Great result in my book! All pretty straightforward DIY, no subframe dropping ordeals.
With the car up in the air and new parts in pocket it was time to pull the fascia and correct some things. My goals:
  • Correct the turn signal mounting scheme
  • Open up the oil cooler airflow flap all the way
  • Extend the splitter from "Normal" to "Nurburgring" setting
  • Install Evo bumper gasket
  • Clean up/fasten the trailing edge of the Evo plastic undertray
This is basically the sequel to my Sport Evo splitter install post. Refresh yourself:
https://s14net.vbulletin.net/forum/s...57#post1285457

Parts diagram
https://www.realoem.com/bmw/enUS/sho...diagId=51_2005

This is a bill of materials to fasten your Sport Evo lip and undertray with notes for a US-spec car. Parts marked if NLA. I've done my best to make this accurate, please use it as a guide and do your own confirmation work.

QuantityPart numberDescriptionNotes
1951481905599~8mm plastic expanding rivet12 to secure undertray to fascia; 7 to secure oil cooler airflow panel to undertray
607129904225
07119901295
07119936439
Edge biter clip ("body nut")
Sheetmetal screw
Washer
Secure undertray to rear trim edge of fascia. In US cars, the center 4 of these
do not fit due to a different trim edge on the fascia. Substitute 4 M6x20 bolts with
nuts and washers in these locations.
1207119913579
07119932099
07119936408
07119932663
51142233031 (NLA)
M6x35 bolt
M6 wave washer
M6 washer
Shim
M6 rubber nut thing ("plug")
Secure splitter to undertray/fascia. The NLA fastener is interesting, I think its form
factor is driven by tight tool access. If you tried to use a standard M6 nut in some
locations you may need a bigger hole in your fascia to get a socket in to keep the nut
from spinning when bolting the joint up.
707119913016
07119932099
07119936408
07129926512
M6x20 bolt
M6 wave washer
M6 washer
M6 cage nut (square, allows float)
Secure the trailing edge of the undertray to the engine plastic undertray. The Evo
engine undertray has square holes to accept the cage nuts, the US undertray has no
holes. Match-drill and substitute normal M6 nuts and washers to secure the plastics.

Apologies for the copy-paste formatting slaughter.


The front fascia assembly comes off very easily. I find removing the front wheels really helps finagle the plastic engine undertray into and out of position. First up: correcting the turn signal mounting. When I got the car, the turn signals were sunk way into the fascia. On my first trip into the area I found that the turn signals had been wood-screwed into the bumper insert in some insane way. Without the right parts or the ability to leave the car like that and wait for them to arrive, I improvised and did a band-aid solution using edge clips and a lot of washers:


Of course the whole mount design relies on this crazy clip-on stud fastener that is NLA. The rubber spacer is still available, and in place of the long-NLA fastener I decided to use an ultra-low-profile screw from McMaster. The part number is 91223A445. The head is low-profile enough to slot into the fascia, and fits well. The trick is that you don't have access to the hex head to keep the screw from spinning. I found that I was able to wedge a plastic trim tool between the head of the fastener and the adjacent plastic to keep the screw from rotating. I applied blue threadlock liberally to help counter vibrations and found that, with the wedging strategy, I was able to get the situation "hand tight" and feeling pretty secure. It's not a solution for a ground-up restoration, but it might work for you if you just want to get your car back together.


Next up was to open up the oil cooler airflow control flap deal. For some reason, the first time, I decided to put it in the middle position... all this does is obscure access and line of sight to things. As it turns out, it was blocking the visuals I needed to understand why the engine undertray and the evo undertray were not getting along. I was pleased to find that the plastic rivets can be hammered out as easily as they are hammered in. Shifted over, no problems, 2/2 so far.

Extending the splitter was easy, just unbolt, move, bolt it back down. 3/3! I pulled the Evo bumper gasket out of its packaging and noticed that it didn't look too similar to the US bumper gaskets. I dug in on some old threads and decided that this was not a battle I wanted to fight on this day. It looks like fitment requires some trial and error and still might not look great or stick well, so I said F it and left it for another day when I ran out of other things to do. 3/4.


Fascia going back on.

The last task was to find a way to fasten down the rear of the Evo plastic undertray. Last time, I ended up with two big plastic undertray pieces that did not seem to want to work together. I believed that I was going to have to trim the US engine screen piece to fit, but with the oil cooler passage opened all the way up, and useful images from Markus earlier in my thread, I realized that I just didn't have things sitting in the right place. With everything shingled and fitting correctly, I looked for a way to fasten the trailing edge of the Evo undertray to the engine screen piece. The Sport Evo engine screen, in addition to holes for the brake ducts and a different trim under the engine, has square holes for M6 cage nuts. These line up with the Evo undertray and you can secure it. The US engine screen does not have these square holes, so I ended up match-drilling and securing with standard M6 fasteners. I'm really pleased with how it turned out. 4/5!


Splitter more splitty than ever. Coming soon: the sad day when I find my first too-sharp driveway.


High front downforce for the fuel run... and turn signals sitting at the proper depth!


And that was the end of the day. It's rare to have a day of wrenching where you get nearly everything you'd planned on done, it feels great! Next up: I have something coming in the mail from Germany; and I will order the rubber/suspension parts I identified at the start of the day.

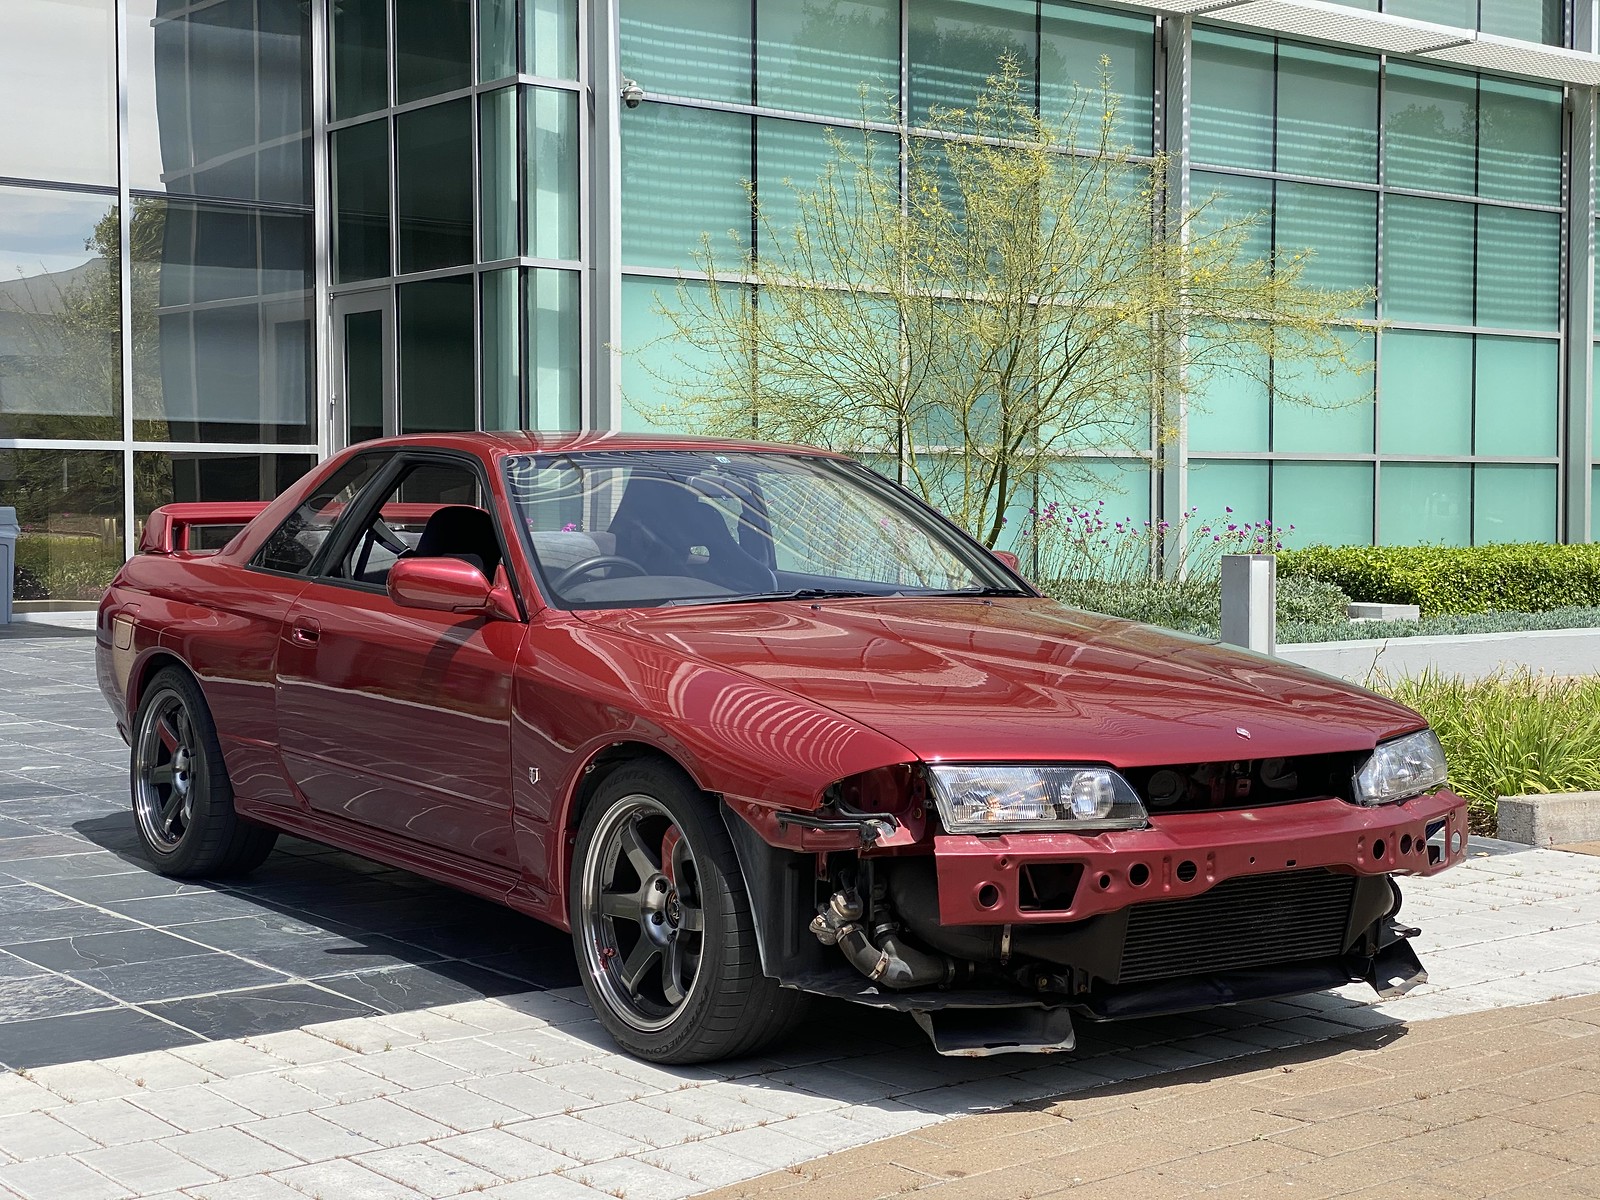
On Saturday I had the fascia off the GT-R to fix a clamp that had come loose on the intercooler, stealing all my boost. Fixed that without issues and back to full power.


Saturday, January 25, 2020

[M3] Sport Evo front splitter

[note: this post, like an air-cooled 911, is back-dated to when these events occurred] 

Five years ago, shortly after I bought my first M3, I bought a Sport Evo splitter setup from Markus. And for five years, I didn't install it. My enthusiasm for Sport Evo parts waned as I realized the extensive refurb work that the car required. I didn't want to put a bunch of hot shot parts on a car that wasn't up on basic maintenance, and I never felt like it was the right time with the DS car. So the splitter parts lived in the shed, then the garage, then moved house with me, into a new shed, back into the garage. The DS car went but I held on to the splitter, along with the other parts that had taken me a while to collect.

As soon as I brought the Lachs home I was making plans to finally install the splitter. I had plans to take care of a few other things that involved removing the front bumper, and I was trying to work up the nerve to drill dozens of holes in my front fascia. Last night I was poking around with my fog lights when I noticed something.


Well well well. I'd be upset if it wasn't the perfect situation for me. So today was splitter day!


I was relieved to see that all of the bits and fasteners and gasket parts had survived through the years and stayed together. All of the kit parts are OE except for the lip, which is a CF replica piece. The OE lip is NLA/expensive and I know that, despite my best efforts, I will at some point smack a curb or parking block.


This is my first time pulling an E30 bumper and it was very simple. I wanted to do four things while I had the fascia off: install the splitter; remove the front license plate bracket; remove overspray from my A/C fan; and correct whatever is going on with my front turn signals. The eagle-eyed among you might have spotted in previous photos that the turn signals are way sub-flush in the front fascia, and I wanted to see what was going on. The front end has been repainted and some shortcuts were taken, so I wanted to dig in.


The first item in splitter install was to press the small seal into the plastic undertray. Next, I offered the undertray up to the fascia to confirm that this mysterious past modifier actually drilled the holes in the right place. Thankfully, they had. Markus's CF replica lip comes without any fastening holes, so the next task was to mock up the lip and mark the holes for drilling.


If you plan to run the least-aggressive ("Monza") setting, you will need to remove additional material on Markus's lip to clear fasteners that hold the plastic undertray to your fascia. You can see slots in the OE plastic lip for this purpose. I set my car up for the middle "Normal" setting, so there was no clash and I didn't need to make additional cuts. The image below shows where you'd need to make clearance holes in the lip (silver Sharpie pointing at the hole).


So with all holes drilled, it was time to make sense of the bags of fasteners. I had a tough time finding really clear images of the assembly process so here are my contributions to the story. To get started, the Evo undertray is secured to your bumper with 12 plastic rivets. These are quite stout and need to be hammered home once you get your fitment set up.


The same plastic rivets are used to secure the smaller panel that supports the oil cooler. You can fit this in one of three positions so that the slot is fully open, half-open, or closed. According to Markus's old posts, these different settings allow you to tune airflow through the oil cooler. I don't think I'm doing any driving that will stress my oil cooler so I opted to go with the half-open setting because it looks cool. If you are debating which way to go, I think it is worth mentioning that the entire Sport Evo splitter setup obscures radiator-area access from under the car compared to the OE US arrangement. I already wish I'd just kept the aperture full-open to ease future work.


Because the rivets require so much force to install, I'd recommend doing the oil cooler panel before the whole thing is on your bumper. But if you're like me and no one told you that, try to back up the rivet while you hammer on it. A 10mm deep socket does a nice job supporting the backside and is large enough to let the rivet expand to installed position.
These 6 screw fasteners are intended to support the 'center' of the plastic undertray into your fascia. Interestingly, the trim on the US bumper seems to be different from Sport Evo and these edge-grabbing clips only fit in the two most outboard locations. So four of them went unused and were replaced by some M6 nuts and bolts I had available.


The completes the installation of the plastic undertray and oil cooler panel to the bumper. Bolt up your splitter in 12 places.


With splitter installation complete, I went after the other bumper-related items. I drilled out the plastic rivets retaining the front plate bracket and used acetone to remove overspray from my A/C fan. I pulled off the bumper reinforcement to understand why my turn signals were askew.
The turn signal assemblies are supposed to bolt up to the fascia. The back side of the fascia has thin doghouses that receive a very peculiar, thin, clip-on-M6-stud deal that is long NLA. It was probably NLA when this bumper was painted. Rather than try to think of something clever, the body shop doofus decided to fix the turn signals to the bumper reinforcement with big long self-tapping screws. Ew. Now, the joy of old car fixin' is that you don't know what parts you need to order to fix a problem until you're already in there. And I have plans to use this car tomorrow, so leaving it in pieces while I waited for parts was not an option. Putting those self-tapping screws back in there was also not an option. What to do? I can't fit an M6 bolt with a normal head on it because the doghouse is so thin. Well... remember how 4 of those 6 edge-biter clips didn't work earlier?


Yeehaw. It's not pretty, and it's not permanent, but it will hold while I get the correct parts to fix the problem. The edge-biter clips fit well on the doghouses, and I stacked washers to get decently close to the right offset with the screws available. It will be annoying to pull the fascia again, but it is going to come off again anyway when I install my Evo bumper gasket. In theory I could have done the gasket today but I didn't want to introduce too many variables in a single project that needed to wrap by tonight. From what I read, getting that gasket to play nice can be an ordeal.


First look with the bumper back in place. Yeah! And then came... the wrangling. The final important part of the splitter install is how the rear of the plastic splitter undertray interfaces with your original undertray piece that slots in with the wheel liners. It seems that the Evo version of that piece with the brake duct holes has a different trim that meshes more harmoniously with the splitter piece. Wish I'd known, would have grabbed one back when they weren't NLA. In any case, the original undertray can be reinstalled above the new piece. I had to pull the wheels off to get enough space to jam it in there. It's sort of an uneasy truce of who's supposed to be where between the two undertrays. I need to come back with a good strategy to fasten the trailing edge of the splitter undertray to the original undertray. I am interested to hear ideas on the best way to do that.


I wrestled with undertrays all through dusk and finally got the car back on its feet to see the results. Big thumbs up. I'll find some plugs for the license plate holes but otherwise it's all looking sharp! Only took five years.


The front end will continue to improve next week, when I should get all of the parts I need to install euro grilles and my NOS Hella ellipsoids. Stay tuned...