Tuesday, February 25, 2020

[M3] Instrument cluster

[note: this post, like an air-cooled 911, is back-dated to when these events occurred] 

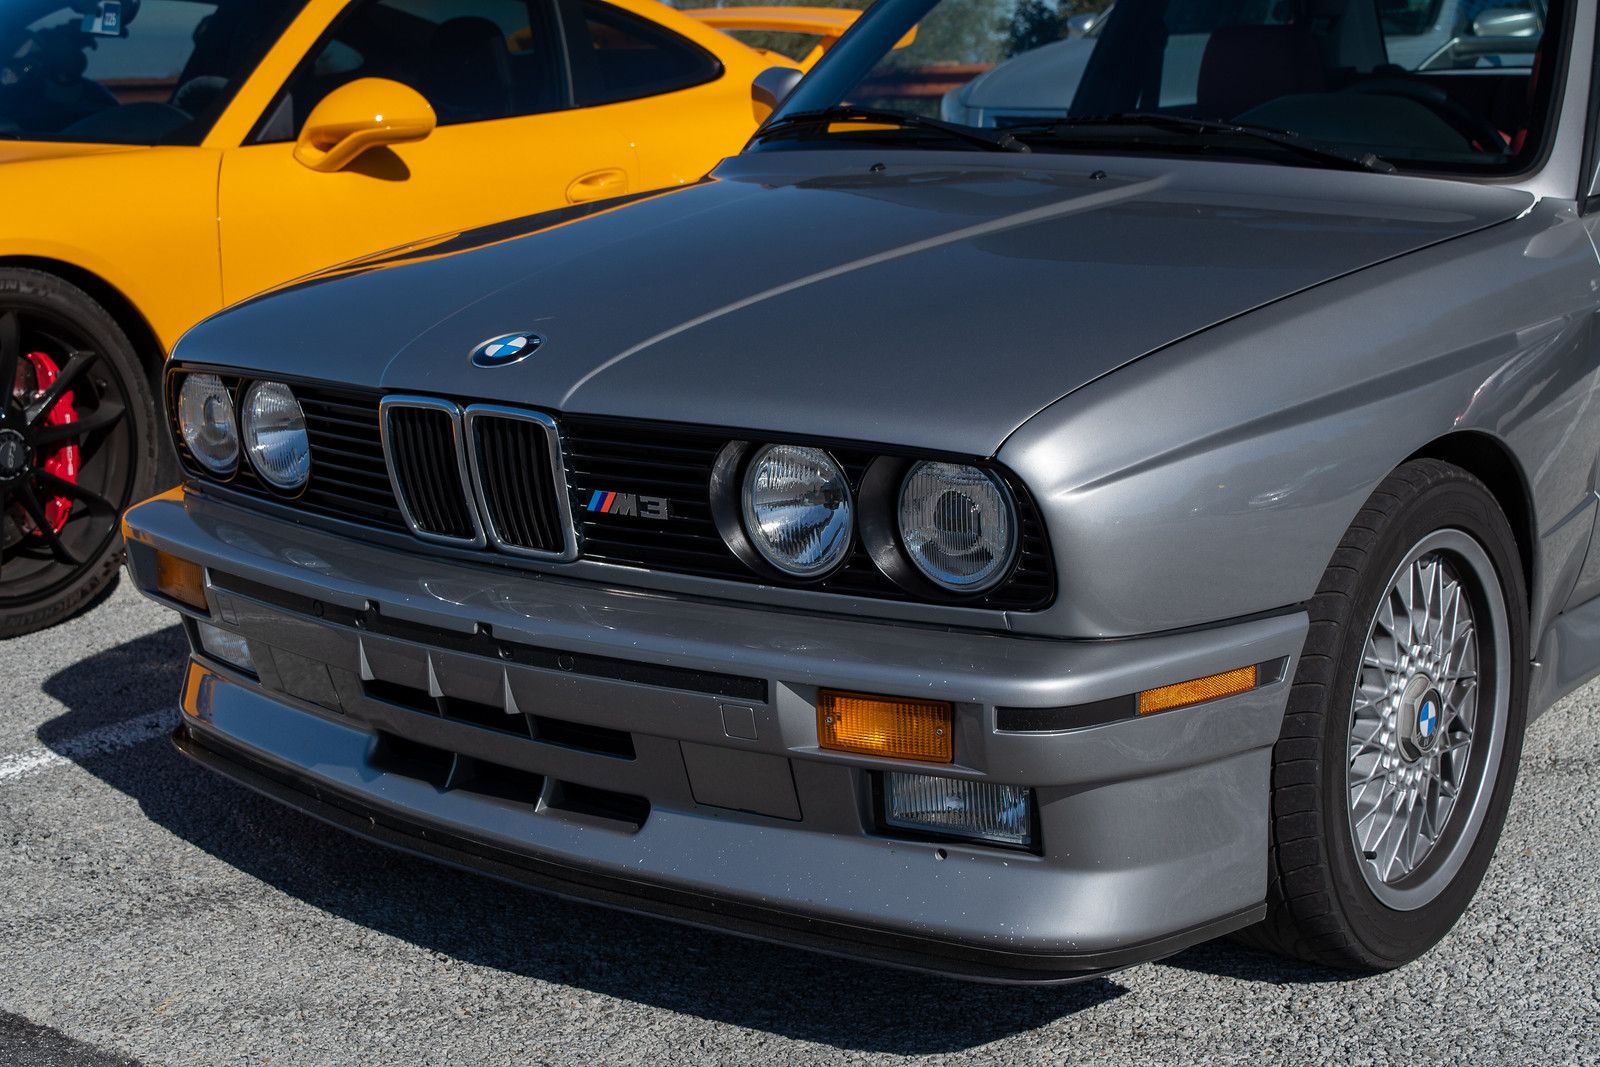
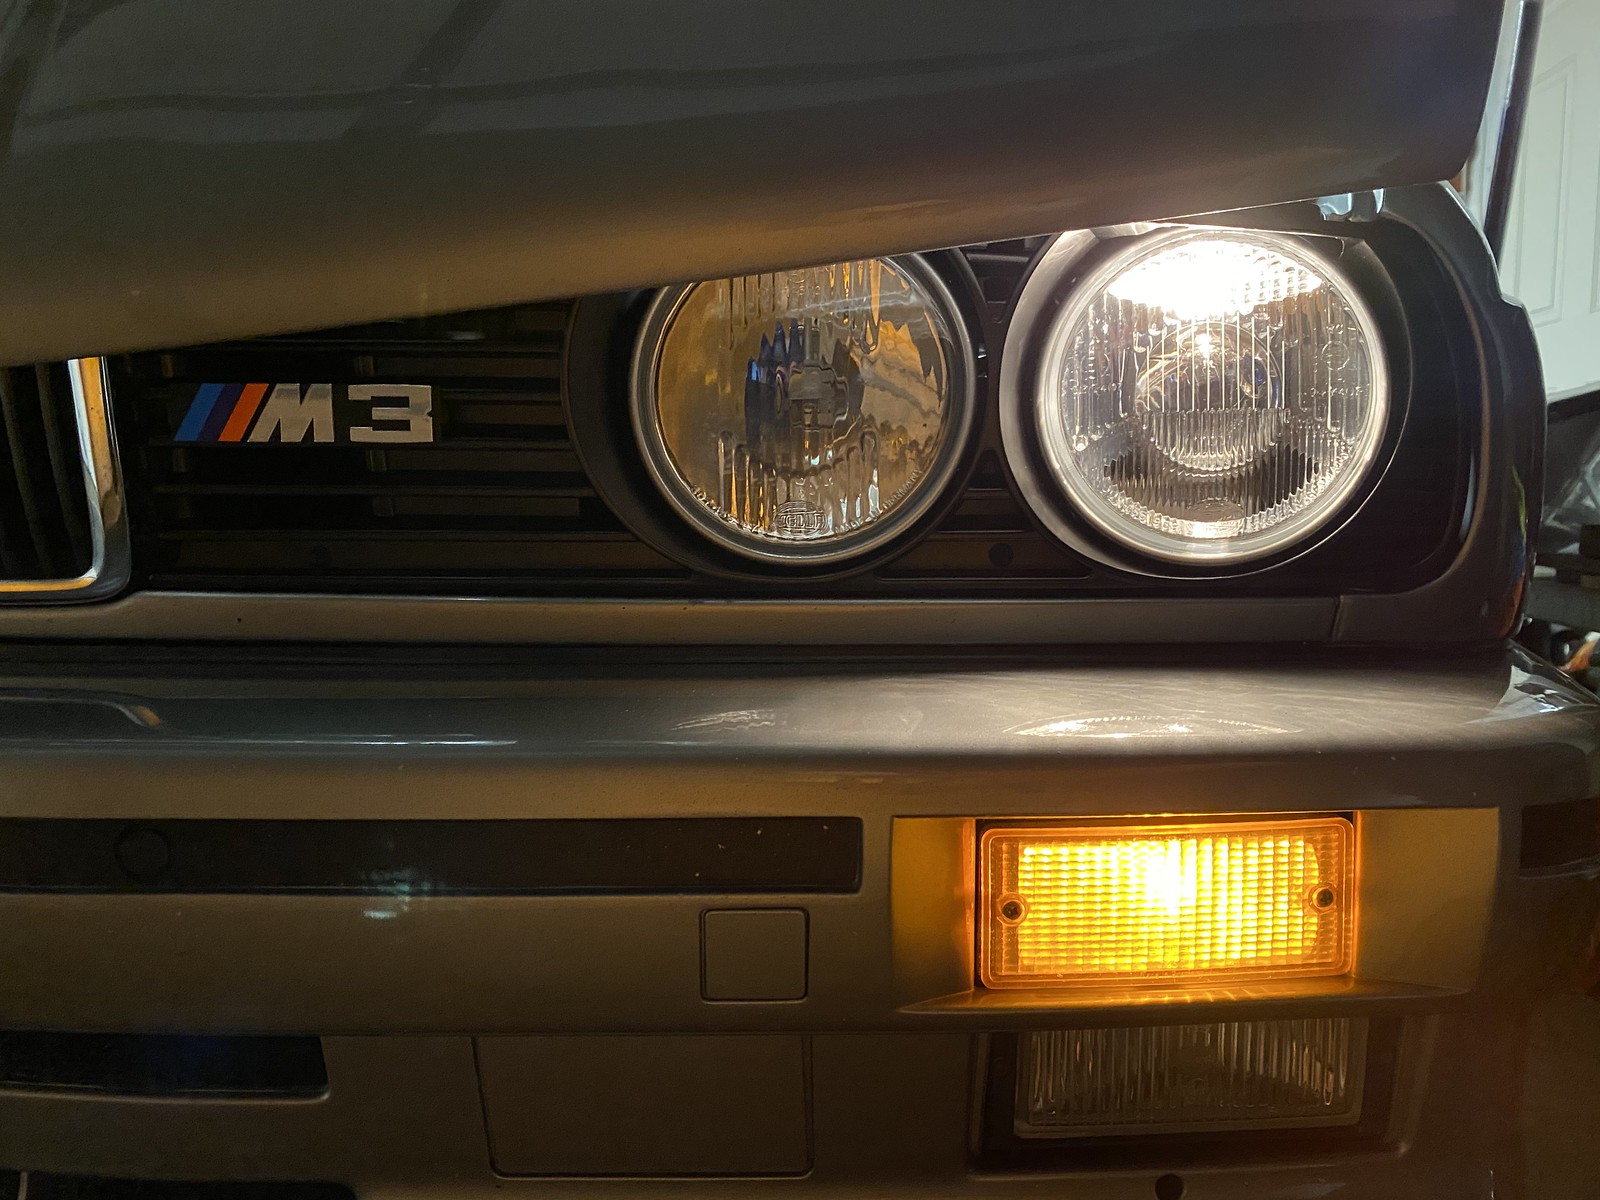
I pulled my gauge cluster to address an erratic coolant gauge and a flickering brake lining light. I've not done this on an M3 before and it was very easy.


I was impressed when I bought the car that the "Check" warning light wasn't illuminated. Go figure, there was no bulb. The check panel doesn't throw any warnings though so I'm not sure why this was pulled out.


I can't harp on whoever did that too hard though, because I decided to follow suit for my brake lining light. I needed a bulb for the Check light, I was tired of the flickering lining light, two birds one stone. Easier to do it this way and just check the brake pads during normal maintenance. Pot, kettle.


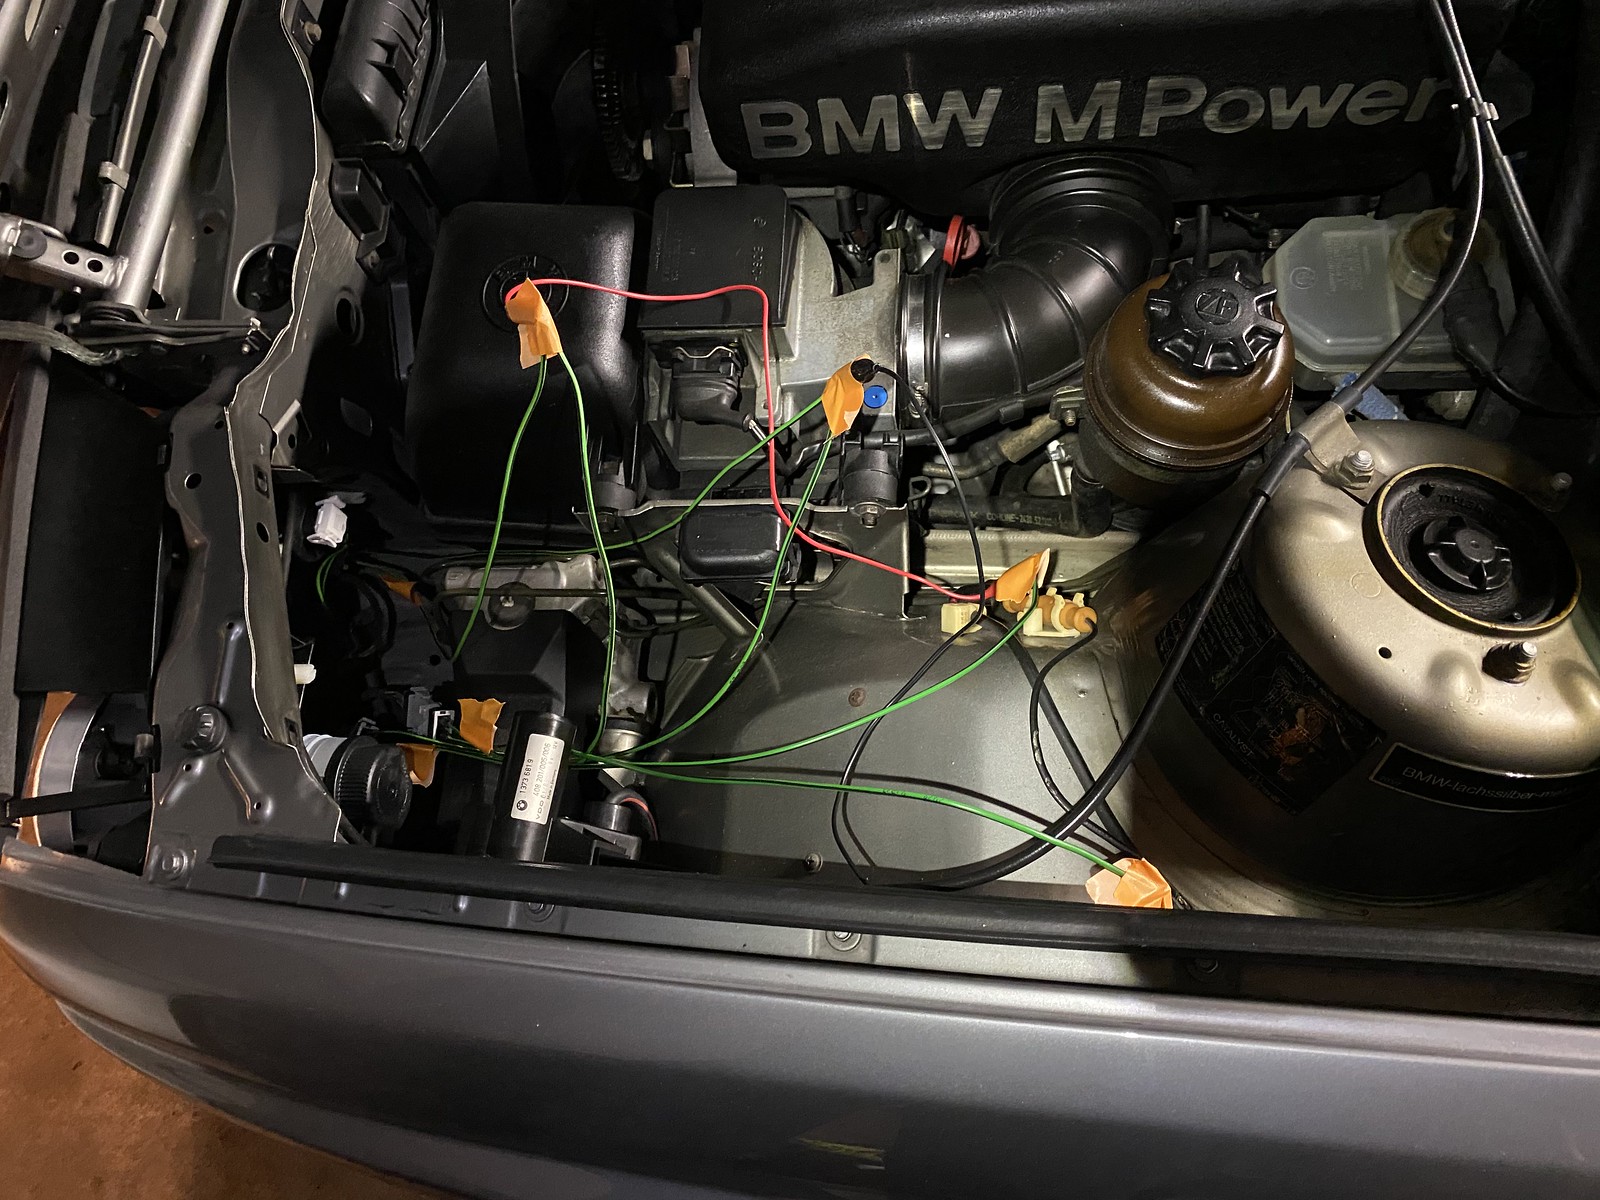
While I was in the neighborhood I saw a warranty sticker on the SI board, with the phone number matching Bavarian Restorations, so it seems the board has been serviced already - nice.


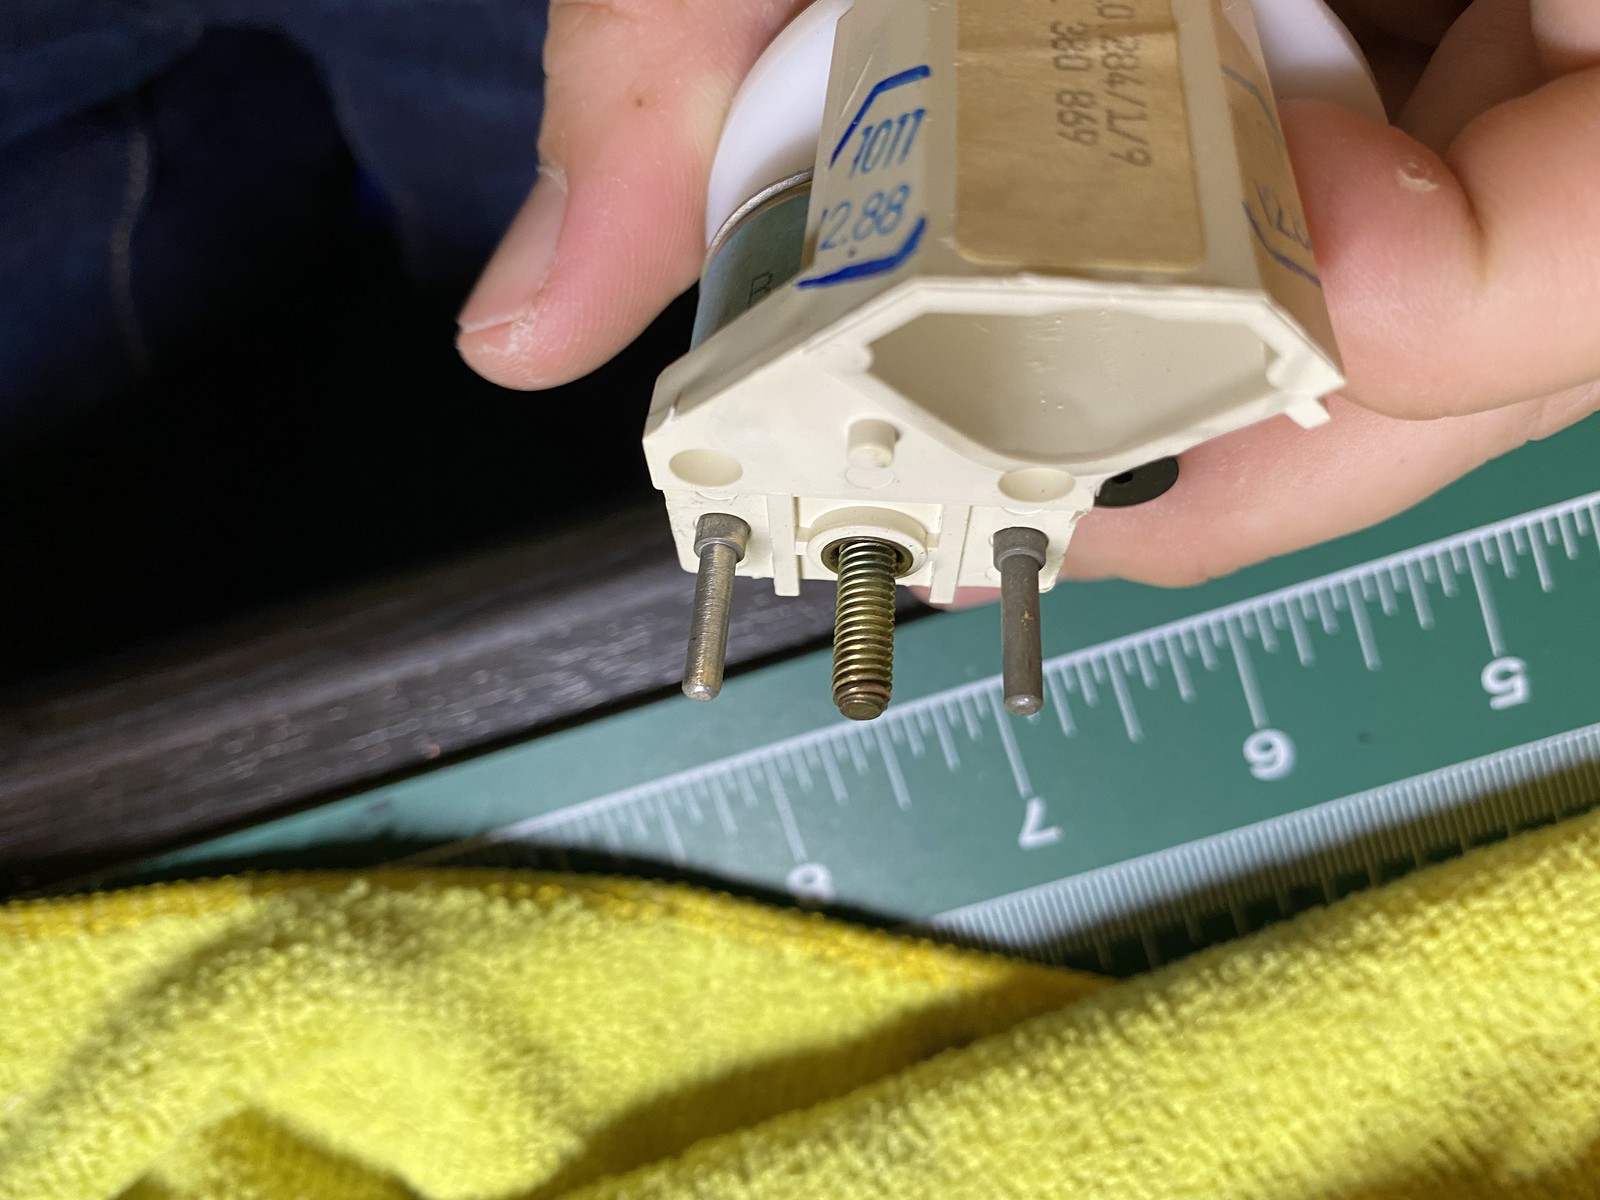
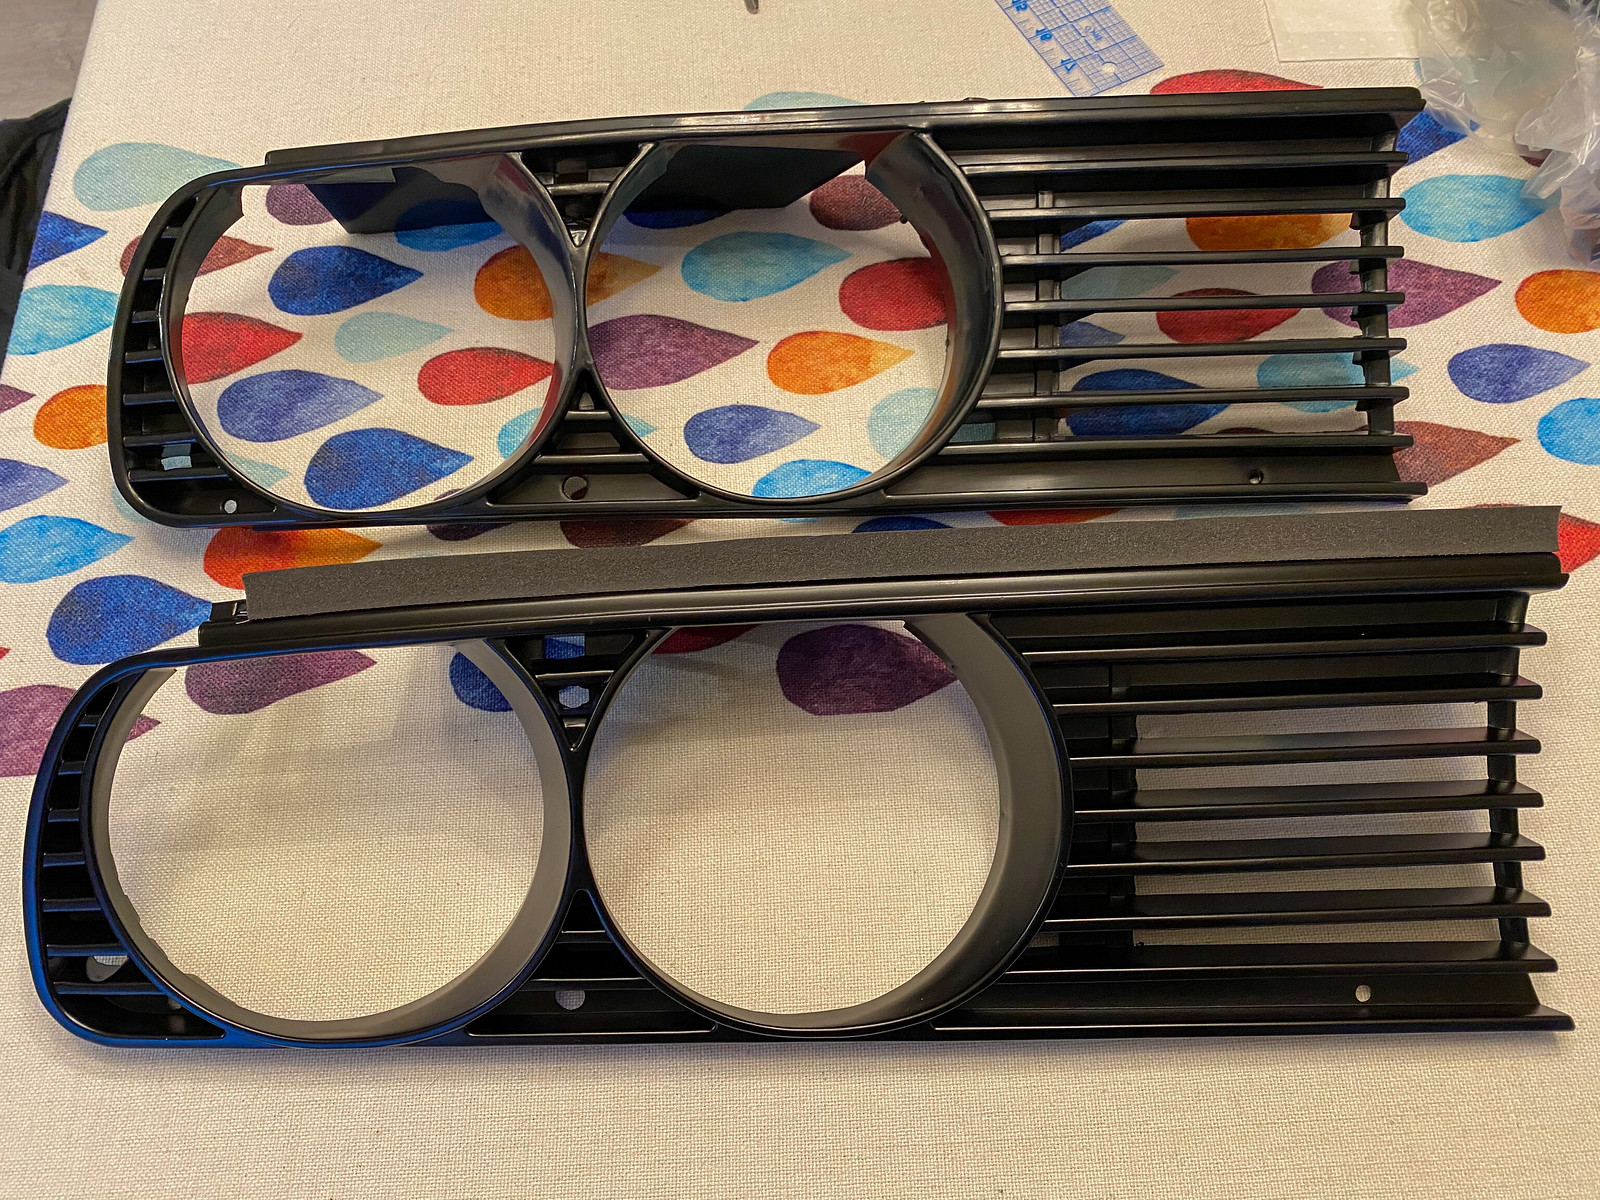
Following a YouTube guide, I scuffed up the coolant gauge posts and put everything back together. The posts 'seemed' clean enough, but you can see that there was a big difference before (right) and after (left). I test drove the car this evening and the coolant gauge seems to be back in business. Not a gauge you want working intermittently.

Monday, February 17, 2020

[M3] Aiming headlamps, 3d printing

[note: this post, like an air-cooled 911, is back-dated to when these events occurred] 

[also note: I have condensed multiple forum posts into this entry, please forgive awkward transitions]

Got around to aiming my headlamps last night. I only did a short stint of night driving on the new lights and I could tell things were... off. I used the guide from Daniel Stern's lighting website to guide the task:

https://www.danielsternlighting.com/tech/aim/aim.html


The little dot of orange tape on either side of the top line is the center point of the physical headlamps, as determined by driving my car right up against the wall. The lower line is 3" below that. The car is set back 25 feet.


Before... sorry oncoming traffic


After. Much better. Even with brand new adjusters it chewed up my fingers making the adjustments, ouch!

I reached back into the shed-o-parts and re-fitted my 360mm Italvolanti Formel steering wheel. I ran this on my old car, so coming to this Lachs car with the original 385mm steering wheel I was caught off-guard by the slow rack speed and light feel. The steering character is one of the best parts of the car but I find it just a little too light to the touch with that big wheel.
After I removed the Formel from my old car, one of the horn buttons had broken. I grabbed some calipers and drew up a model in CAD, then asked a friend with a 3d printer to make a replacement. The resolution of the printer was a little bit too big to nail the fine texture lines on the face of the button, but in situ it blends in really well and functions as it should.


Of course it's essential to test out any new parts you install so I did a big loop with a coworker. The only drawback with a 360mm wheel is that it starts to block your view of the tops of your instruments.


Here's a look at my front end with the euro grilles, euro ellipsoids, and Evo splitter.

Sunday, February 9, 2020

[M3] Euro ellipsoid headlamp wiring

[note: this post, like an air-cooled 911, is back-dated to when these events occurred] 

I reached once again into the great and wonderful shed o’ parts for my next modification. A couple years ago I found, through eBay, a seller in Greece with a lot of NOS 70s and 80s BMW parts at a very compelling price. A set of brand new Hella euro ellipsoids caught my attention, I don’t remember the particulars but it was a good deal and I scooped them up. While I was at it, I grabbed a 2002 Turbo instrument cluster face (the cool unique red crinkle coat) new in the 70s box for a song. I don’t have a Turbo of course, but it was one of those times when the part was so cool and rare that I just went for it before someone else nabbed it. That part went to a friend who is in the process of refurbishing his Turbo.


What was I talking about again? Oh right headlights. The 89 came with US ellipsoid lamps, which look pretty good and put out a nice pattern of light. The high beams are especially nice. However, I prefer the look of the euro ‘smileys’ and started making plans to fit them. I strive to make all of my modifications reversible (and I keep my original parts) so I decided from the outset that I was not going to cut my body harness for this job. The US low and high beams use 9006 bulbs, and the body harness has male 9006 connectors that go straight to the bulb. The euro low and high beams use H1 bulbs, with a different style of connector that fits up to the bulb housing rather than the bulb directly. The usual route is to snip off the 9006 connectors and wire up the euro connectors - I elected to build a little ‘jumper’ harness to make it plug-and-play.


To achieve this, I bought some generic 9006 connectors from eBay and the correct euro connectors and wires with plans to solder it all together. When I got the parts, the BMW wiring was so thick and high-quality that it seemed silly to solder it to smaller-gauge eBay junk wiring. So I went back to eBay and purchased unassembled 9006 connectors so that I could crimp the 9006-internal spade connectors directly to the BMW wiring.


Tested - success.


Here’s the parts list if you’d like to make these yourself:

(2x) Pair of 9006 adapters, sold in pairs and 4 needed total - https://www.ebay.com/itm/252245412513
(8x) BMW 61130007446 wires with 90* fittings for euro connectors
(2x) BMW 61131378417 connectors (white, euro smiley high beam)
(2x) BMW 61131378419 connectors (yellow, euro smiley low beam)

The euro headlamps have ‘city’ lights, additional running lights inside of the low beams. To power these, I made another jumper harness to go in-line between the body harness and the US side marker harness. I then tapped into the jumper harness instead of splicing into the original body harness.


Mock-up with alligator clips before soldering anything…


Success! Though I am noticing this photos doesn’t show that the side marker lights still work, so you’ll have to take my word for it.

Here’s the parts list I used to make those:

(2x) BMW 61131378418 connectors (grey, euro smiley city light)
(4x) BMW 61130007446 wires with 90* fittings for euro connectors
(2x) BMW 61311378406 connectors (side marker, marker? side)
(2x) BMW 61131378402 connectors (side marker, body harness? side)
(4x) BMW 61130007442 wires (2.5mm) with ‘female’ pin
(4x) BMW 61130007444 wires (2.5mm) with ‘male’ pin

The lamps are brand new, but they had some internal hazing from adhesive off-gassing or who knows what. To clear it up, I followed this procedure posted on the 2002FAQ:

https://www.bmw2002faq.com/forums/to...comment=981170

I mixed room-temperature distilled water with just a touch of simple green and poured it into the housings, swished it around, and rinsed. I flushed it a few more times with just distilled water to clear the suds. I ‘baked’ the lights very briefly to help dry them out per the procedure on the 2002FAQ (this was fine - the lights were never too hot to touch). I found the drying process was hit-and-miss and sometimes there was condensation in there even after many hours at room temperature. A water-only swish and repeat of the drying procedure cleared it up. The only thing I didn’t get perfect was some type of debris/junk on the actual reflector. It’s not very noticeable and I don’t want to risk using stronger chemicals and messing up the reflector paint, so I will live with it.

Before


After


A
lso since the lamps are new, I wanted to try to keep them that way and applied LaminX clear film. Installation was easy, the surfaces are nearly flat so no air bubbles or creases or issues. I did get some little filmy witness marks that seem to be from the adhesive on the film on a couple of the lamps, I will see if that clears up with time. It seemed to come from multiple peel-and-restrick attempts. The LaminX instructions claim this is fine as long as you have a little bit of lubrication, but on the lamps where I nailed positioning the first time I did not get those little witness marks. We’ll see what happens.

The final step is to aim the lamps, I need to go find a flat place to do that with a big flat wall.

Thursday, February 6, 2020

[M3] Fire extinguisher mounting

[note: this post, like an air-cooled 911, is back-dated to when these events occurred] 

The next item of business was something that I've been meaning to do with all of my classics for a while - a proper mounted fire extinguisher. BMW makes a bracket that bolts up to E30 sport seats without any modifications. It's not available in the US but I found it in Germany - the part number is 72601906501 and you can find it here at Walloth & Nesch. I rounded up some locals and bought a handful of them to save on shipping.


The bracket comes with the required mounting hardware. I pulled out my seat to have a real good look at the mounting situation. The two fixing holes are already there on the front face of the seat frame, you just clip in the nuts and off you go.


The bracket also 'wings' out to grab two additional fixing points. My seats have been recovered and I didn't want to unravel anything so I just left these free. With just those two other fixing points the bracket is study and does not rock around on the seat.


Unfortunately this bracket is only half of the story. It's the hard half, but it's only half. BMW offered a fire extinguisher kit that was designed to work perfectly with this bracket (and in newer cars as well). Of course, like all useful things it went NLA in the United States a few years ago. If you're keen you can buy one with no extinguishing agent in it for $500 on eBay. Tempting! Frustratingly it's still available in the UK, sold on eBay by BMW themselves, but shipping across the pond is expressly verboten. The part number is 72600000335 and the eBay listing is here. It looks cool and comes with its own little cute seatbelt and everything. The part number cross-references with a Porsche part number so I think they shared this extinguisher, but the Porsche version went off the market at the same time the BMW one did. The important part of the story here is the bracket that HOLDS the fire extinguisher... the bracket on the bracket. I started looking for something to mount the Home Depot dry chemical extinguisher I have in the garage.


These extinguishers are not particularly well-marked with part numbers, this white one is a Kidde brand and I think it's a 2-2.5lbs size. I found that Home Depot carries a Kidde extinguisher bracket that works well. The Kidde part number is 21010541 and the Home Depot product page is here. While I was buying the bracket I went for the slightly smaller Kidde automotive fire extinguisher they offer, since the one in the photo above looked pretty big. The part number for that extinguisher is Kidde 21006287MTL.


It's not 100% plug and play but it's an easy modification. The Kidde bracket and the weld nuts on the BMW bracket do not line up, and the stiffening darts create a small interference that prevents the Kidde bracket from sitting flat. I fixed one end and match-drilled a hole in the BMW bracket using the Kidde bracket as a template. I put two small washers between the brackets to clear the interference with the BMW bracket darts. Please forgive my crusty seat tracks in these photos.


And there you have it! The last photo shows how nicely the extinguisher is tucked out of the way. I really did NOT want something huge and pronounced and as you can see it's barely noticeable from the driver's door approach. I hope that I never have to touch it again, but it's nice to know that it's there.

There are different types of fire extinguishers, each with different benefits and drawbacks for an automotive application. I will be honest and concede that I got excited about an OE BMW mounting bracket and just ordered away, assuming that a cylindrical fire extinguisher is a cylindrical fire extinguisher. As I did my homework, I found good resources like this one that provided more detail about the differences in extinguisher technologies (dry powder versus halotron, both in that link) as well as newer options like Element extinguishers, which look like a great option in terms of shelf life, form factor, and discharge time. Coming from Japan, my GT-R already has a flare mounted in the passenger footwell so I will probably purchase two Element extinguishers, and find a home for one in the M3 to supplement the dry chemical unit. Belt and suspenders.

[M3] You get what you pay for

[note: this post, like an air-cooled 911, is back-dated to when these events occurred] 

Small update here since it's dark in the evenings after work and I'm only able to do little things here and there...

Grilles: the OEM euro grilles are $100/ea, which is staggering for injection-molded plastic. I decided to try my luck with these $30 eBay grilles from Latvia. After a short eternity of shipping time I received the grilles and immediately put in an order for the BMW parts. This is what $30 gets you:


No foam gasket


Rough finish with the wrong grain and tons of flash


Wandering grille lines


Holes that aren't round


The entirely wrong appearance - shiny cheap plastic instead of matte OE finish. Not to mention that some tab and hole features were left out altogether to simplify the tooling. So, save yourself $30 (plus almost that amount in shipping) and just buy the OE parts to start with. These pieces from Latvia will do the job if you're trying to get a beater on the road, but not great for much else.


Off came the US-spec grilles. I replaced the incorrect "M" badge with the correct "M3" badge. I don't have a photo of everything on the car (again, dark) but give it some time and I'm sure you'll see it 50 times if you scroll down.

Sunday, February 2, 2020

[M3] Getting the gang back together

[note: this post, like an air-cooled 911, is back-dated to when these events occurred] 

Yesterday I hosted an M3 gathering for the locals, it was a great time. You can see photos of that here:

https://s14net.vbulletin.net/forum/s...et#post1285666


While we were there, Ted did a live throttle body check with his fancy flow tool. My car looks pretty even! I didn't have any particular reason to suspect anything was amiss, but I still had the original tamper caps so we were curious.


After a nice group drive, I came home and installed my euro smileys. I have a detailed post prepared describing the installation, but I have a knack for ordering the wrong parts and I still don't have everything squared away and ready to share. So my main and high beams are functional and the city lights are 'pending.'


Interestingly the low beams stay on with the highs on. I know that wasn't the case on my 88 halogen-light car, I can't recall if the US ellipsoids do this or if someone has futzed with the wiring before me. I didn't do anything to achieve this (wire in a relay, bridge those two particular relays in the fuse box) but I'm not complaining. Overall it's incredible how bright and clean brand new headlamps look. 


Next up: euro grilles arrive this week, maybe the wiring to finish off the headlamps, and fire extinguisher bracket.