[note: this post, like an air-cooled 911, is back-dated to when these events occurred]
[also note: I have condensed multiple forum posts into this entry, please forgive awkward transitions]
Got around to aiming my headlamps last night. I only did a short stint of night driving on the new lights and I could tell things were... off. I used the guide from Daniel Stern's lighting website to guide the task:
https://www.danielsternlighting.com/tech/aim/aim.html
The little dot of orange tape on either side of the top line is the center point of the physical headlamps, as determined by driving my car right up against the wall. The lower line is 3" below that. The car is set back 25 feet.

Before... sorry oncoming traffic

After. Much better. Even with brand new adjusters it chewed up my fingers making the adjustments, ouch!
I reached back into the shed-o-parts and re-fitted my 360mm Italvolanti Formel steering wheel. I ran this on my old car, so coming to this Lachs car with the original 385mm steering wheel I was caught off-guard by the slow rack speed and light feel. The steering character is one of the best parts of the car but I find it just a little too light to the touch with that big wheel.
After I removed the Formel from my old car, one of the horn buttons had broken. I grabbed some calipers and drew up a model in CAD, then asked a friend with a 3d printer to make a replacement. The resolution of the printer was a little bit too big to nail the fine texture lines on the face of the button, but in situ it blends in really well and functions as it should.


Of course it's essential to test out any new parts you install so I did a big loop with a coworker. The only drawback with a 360mm wheel is that it starts to block your view of the tops of your instruments.

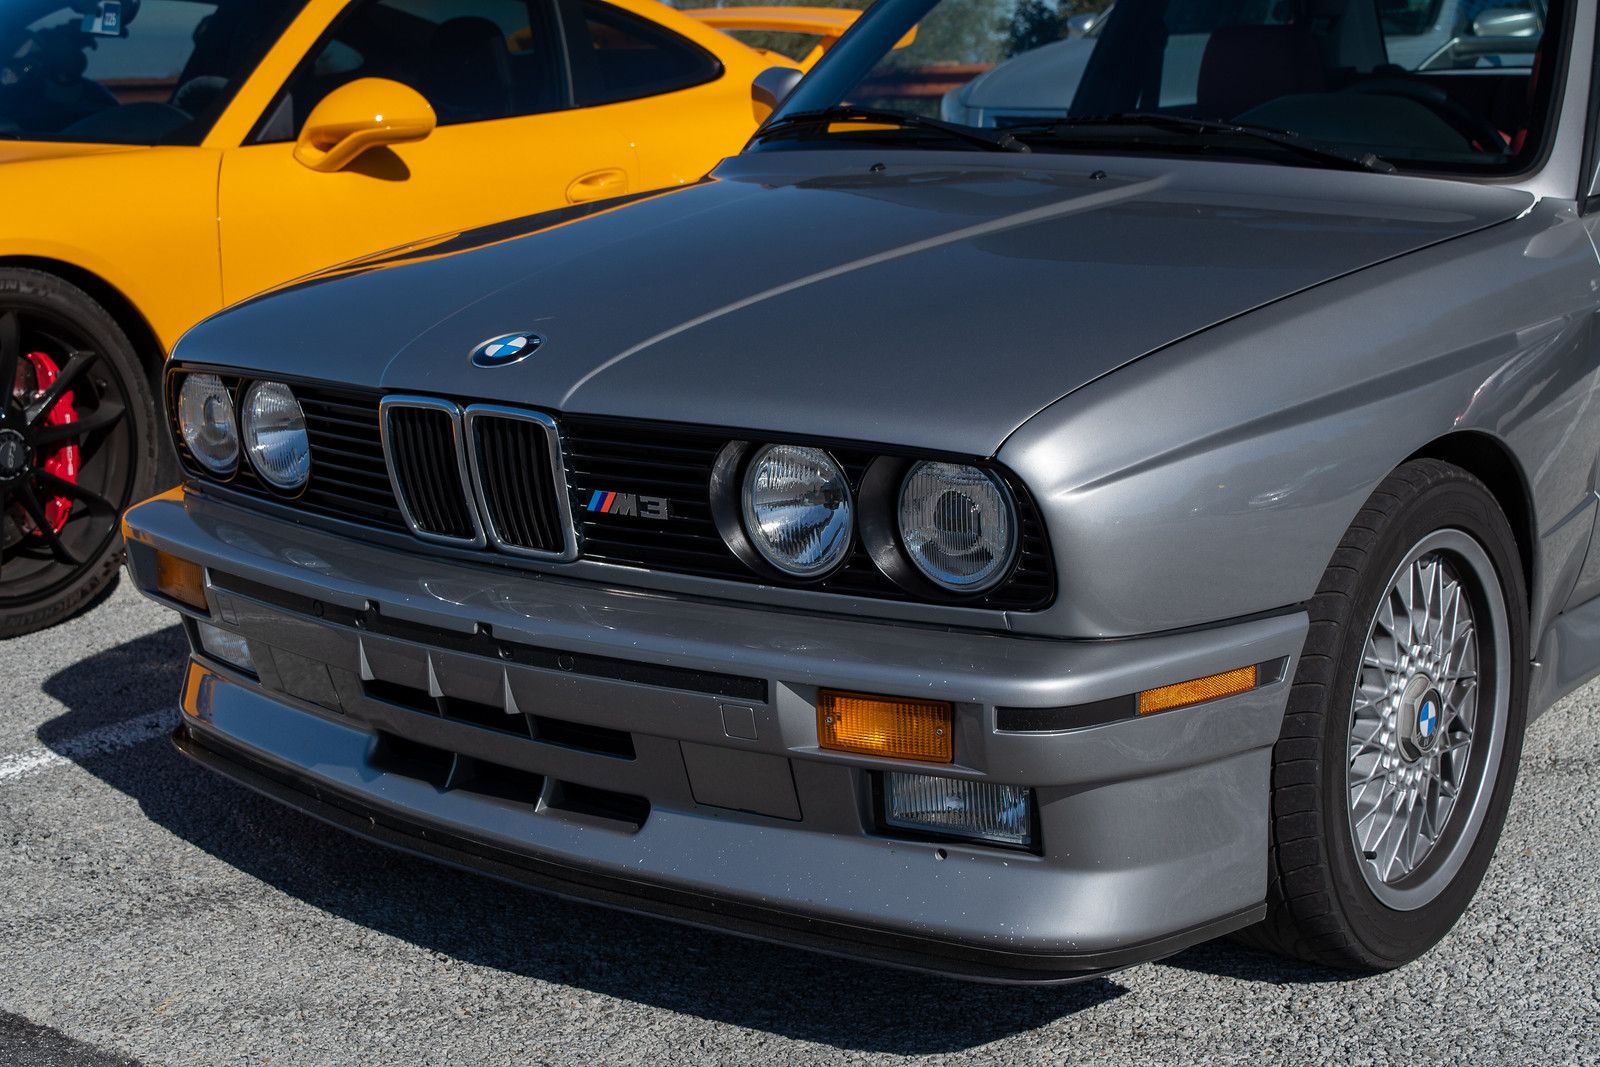
Here's a look at my front end with the euro grilles, euro ellipsoids, and Evo splitter.
Of course it's essential to test out any new parts you install so I did a big loop with a coworker. The only drawback with a 360mm wheel is that it starts to block your view of the tops of your instruments.
Here's a look at my front end with the euro grilles, euro ellipsoids, and Evo splitter.
business loan in uae
ReplyDeletehow to get preapproved for mortgage
mortgage loan in uae