[note: this post, like an air-cooled 911, is back-dated to when these events occurred]


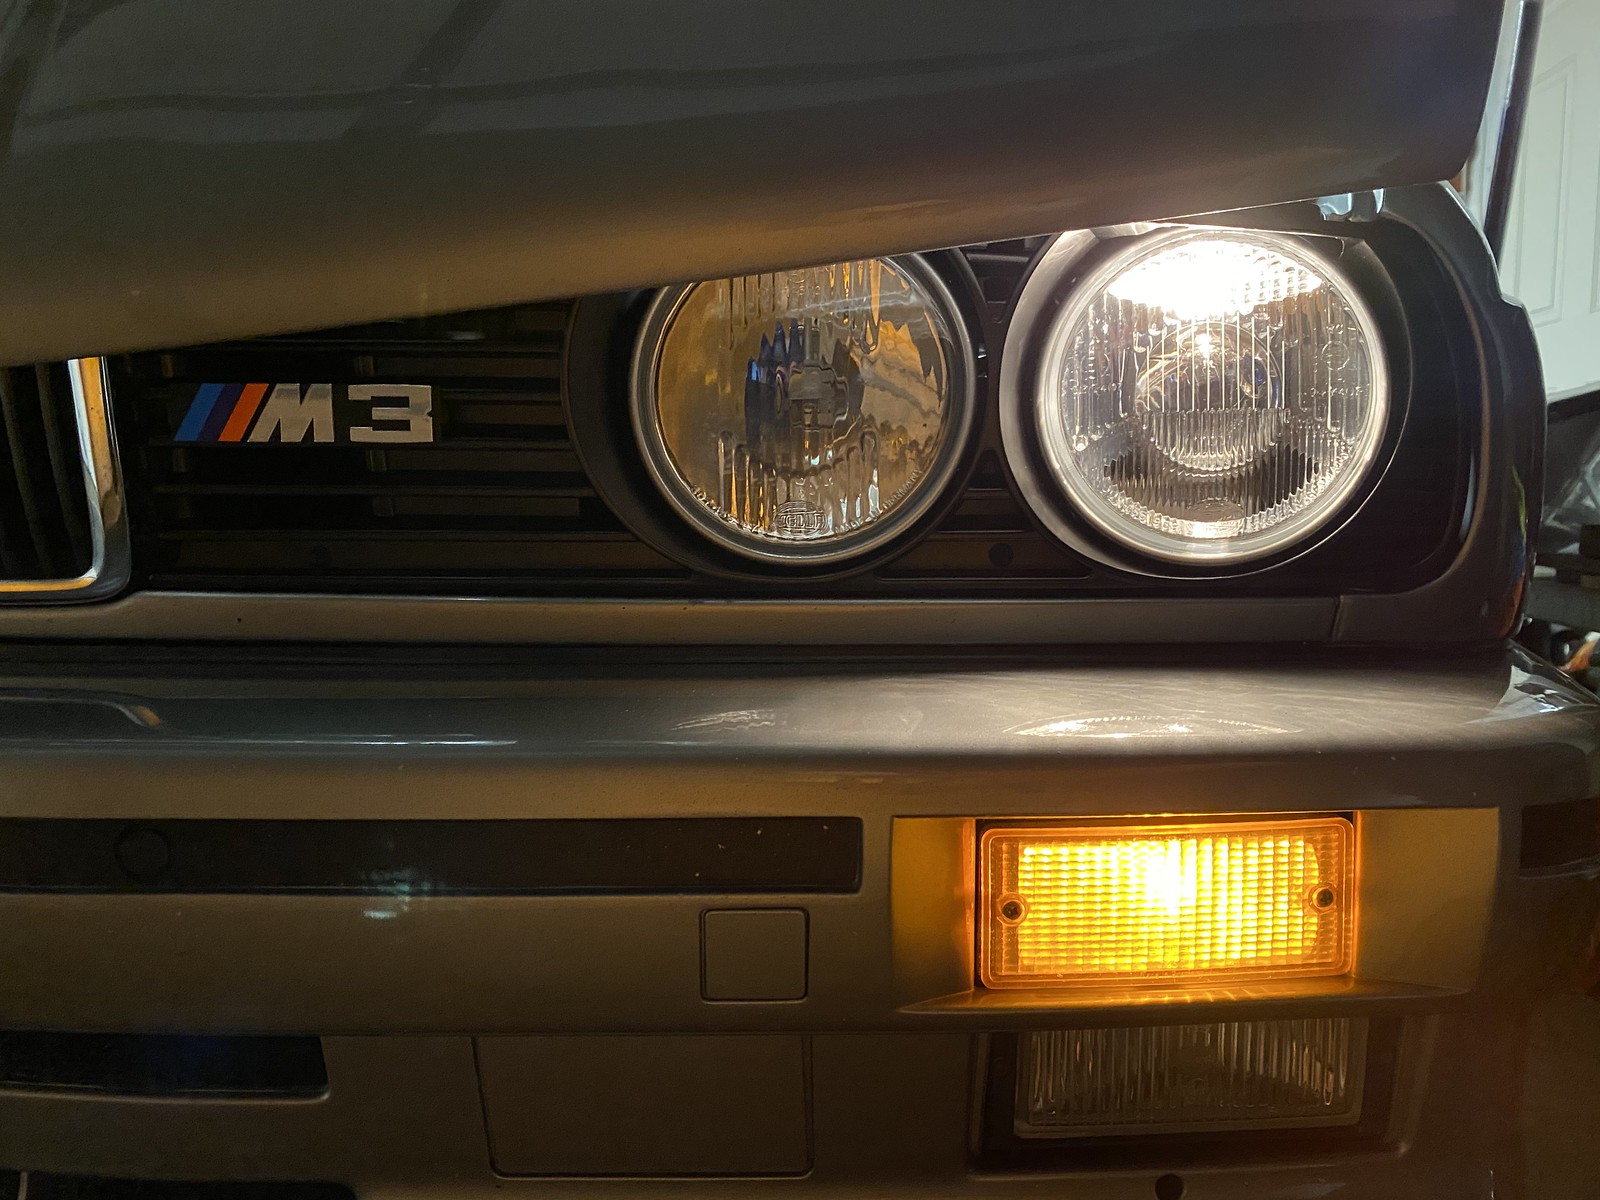
What was I talking about again? Oh right headlights. The 89 came with US ellipsoid lamps, which look pretty good and put out a nice pattern of light. The high beams are especially nice. However, I prefer the look of the euro ‘smileys’ and started making plans to fit them. I strive to make all of my modifications reversible (and I keep my original parts) so I decided from the outset that I was not going to cut my body harness for this job. The US low and high beams use 9006 bulbs, and the body harness has male 9006 connectors that go straight to the bulb. The euro low and high beams use H1 bulbs, with a different style of connector that fits up to the bulb housing rather than the bulb directly. The usual route is to snip off the 9006 connectors and wire up the euro connectors - I elected to build a little ‘jumper’ harness to make it plug-and-play.

To achieve this, I bought some generic 9006 connectors from eBay and the correct euro connectors and wires with plans to solder it all together. When I got the parts, the BMW wiring was so thick and high-quality that it seemed silly to solder it to smaller-gauge eBay junk wiring. So I went back to eBay and purchased unassembled 9006 connectors so that I could crimp the 9006-internal spade connectors directly to the BMW wiring.

To achieve this, I bought some generic 9006 connectors from eBay and the correct euro connectors and wires with plans to solder it all together. When I got the parts, the BMW wiring was so thick and high-quality that it seemed silly to solder it to smaller-gauge eBay junk wiring. So I went back to eBay and purchased unassembled 9006 connectors so that I could crimp the 9006-internal spade connectors directly to the BMW wiring.

Tested - success.

Here’s the parts list if you’d like to make these yourself:
(2x) Pair of 9006 adapters, sold in pairs and 4 needed total - https://www.ebay.com/itm/252245412513
(8x) BMW 61130007446 wires with 90* fittings for euro connectors
(2x) BMW 61131378417 connectors (white, euro smiley high beam)
(2x) BMW 61131378419 connectors (yellow, euro smiley low beam)
The euro headlamps have ‘city’ lights, additional running lights inside of the low beams. To power these, I made another jumper harness to go in-line between the body harness and the US side marker harness. I then tapped into the jumper harness instead of splicing into the original body harness.
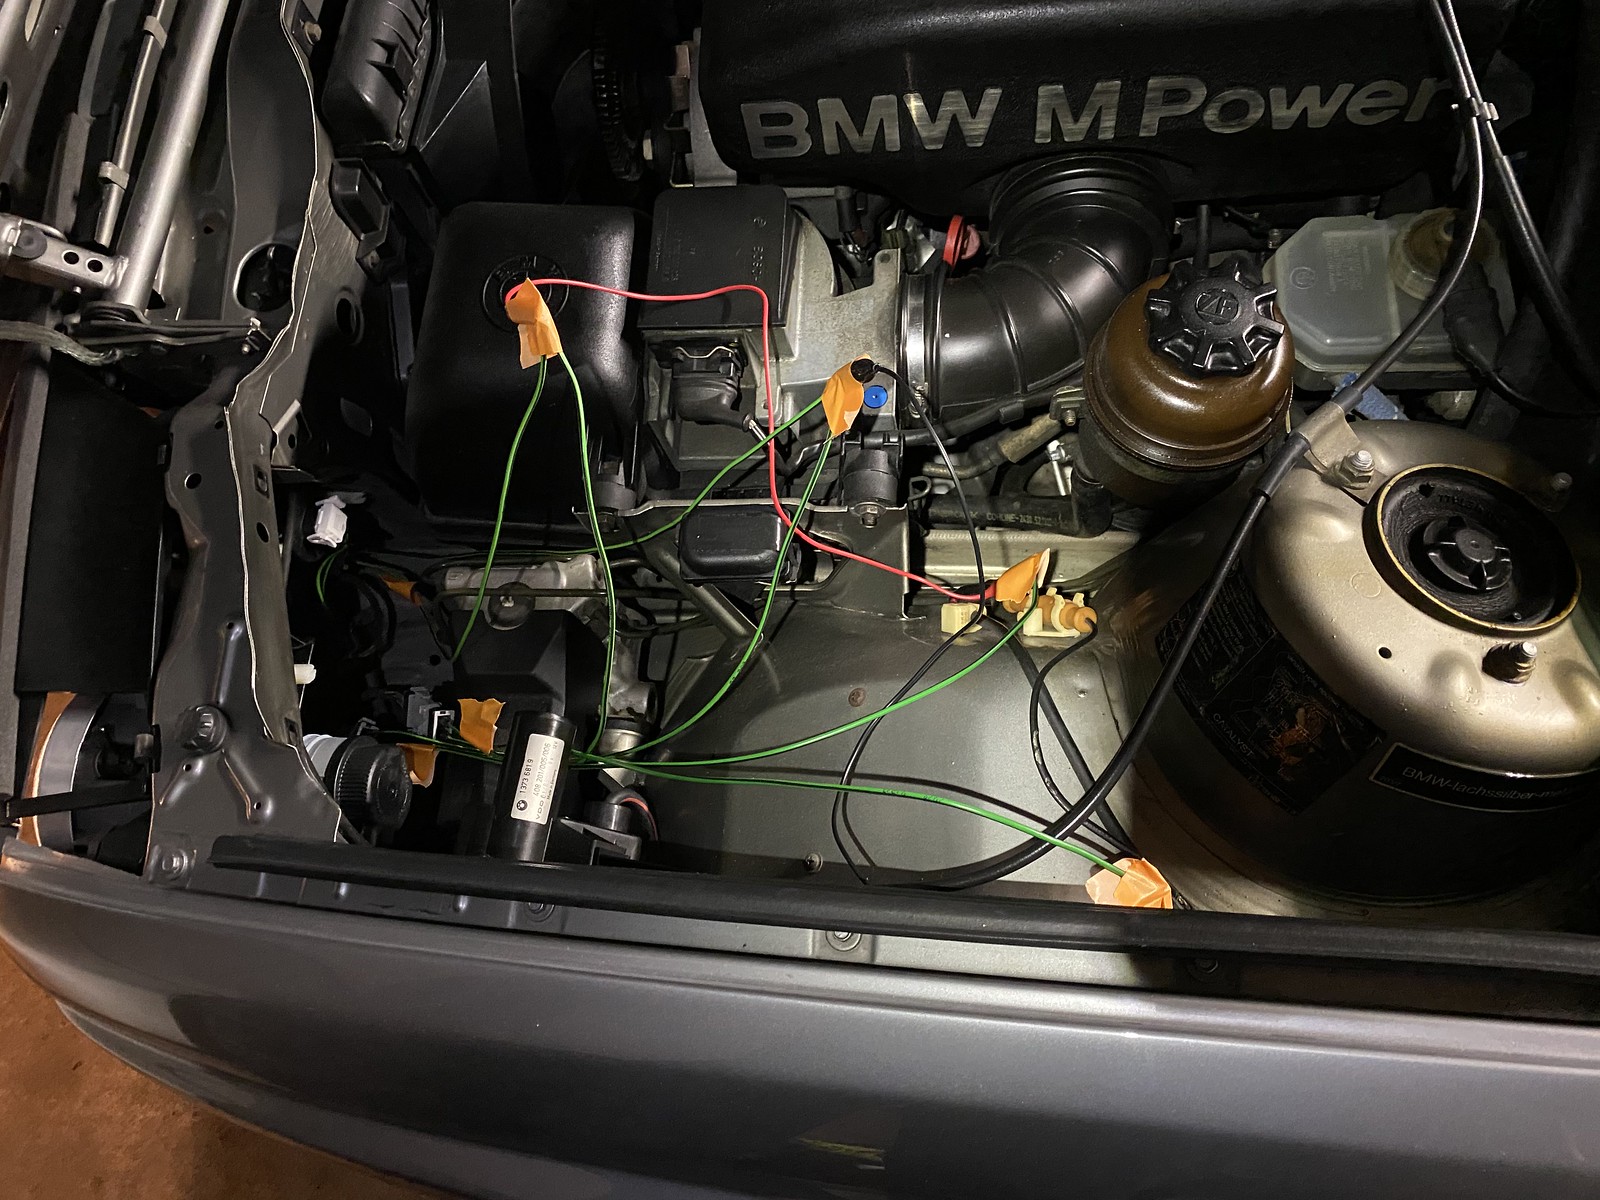
Mock-up with alligator clips before soldering anything…


Success! Though I am noticing this photos doesn’t show that the side marker lights still work, so you’ll have to take my word for it.
Here’s the parts list I used to make those:
(2x) BMW 61131378418 connectors (grey, euro smiley city light)
(4x) BMW 61130007446 wires with 90* fittings for euro connectors
(2x) BMW 61311378406 connectors (side marker, marker? side)
(2x) BMW 61131378402 connectors (side marker, body harness? side)
(4x) BMW 61130007442 wires (2.5mm) with ‘female’ pin
(4x) BMW 61130007444 wires (2.5mm) with ‘male’ pin
The lamps are brand new, but they had some internal hazing from adhesive off-gassing or who knows what. To clear it up, I followed this procedure posted on the 2002FAQ:
https://www.bmw2002faq.com/forums/to...comment=981170
I mixed room-temperature distilled water with just a touch of simple green and poured it into the housings, swished it around, and rinsed. I flushed it a few more times with just distilled water to clear the suds. I ‘baked’ the lights very briefly to help dry them out per the procedure on the 2002FAQ (this was fine - the lights were never too hot to touch). I found the drying process was hit-and-miss and sometimes there was condensation in there even after many hours at room temperature. A water-only swish and repeat of the drying procedure cleared it up. The only thing I didn’t get perfect was some type of debris/junk on the actual reflector. It’s not very noticeable and I don’t want to risk using stronger chemicals and messing up the reflector paint, so I will live with it.
Before
After

A
A
lso since the lamps are new, I wanted to try to keep them that way and applied LaminX clear film. Installation was easy, the surfaces are nearly flat so no air bubbles or creases or issues. I did get some little filmy witness marks that seem to be from the adhesive on the film on a couple of the lamps, I will see if that clears up with time. It seemed to come from multiple peel-and-restrick attempts. The LaminX instructions claim this is fine as long as you have a little bit of lubrication, but on the lamps where I nailed positioning the first time I did not get those little witness marks. We’ll see what happens.
The final step is to aim the lamps, I need to go find a flat place to do that with a big flat wall.
The final step is to aim the lamps, I need to go find a flat place to do that with a big flat wall.
No comments:
Post a Comment