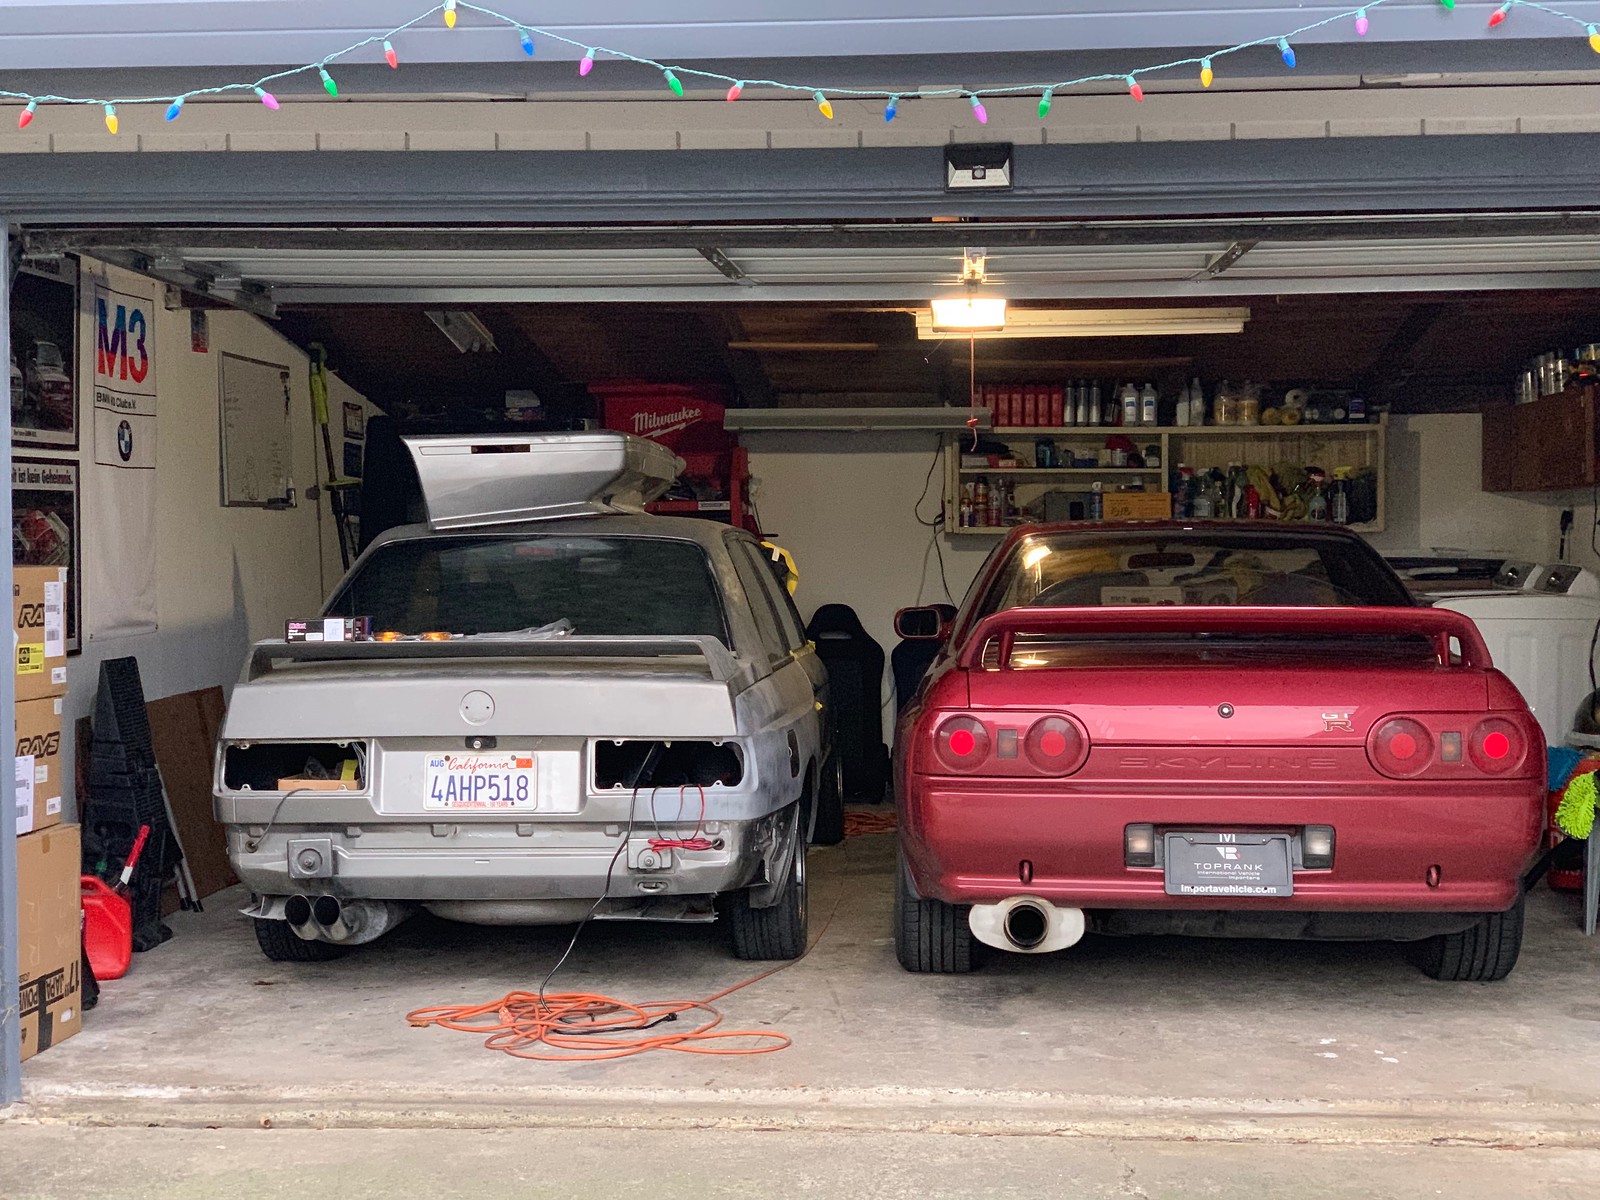
First time in the garage, sharing space with my soon-to-be-gone M3 project.

Feeling like a kid on Christmas morning when I peek out the window.
Within minutes of arriving home from LA, I fitted a stock shift knob and a stock radiator cap, replacing Razo and Apexi' parts respectively. The car didn't come with a head unit, so the next day I installed a Nakamichi TD35Z unit I'd found on eBay a couple months prior.
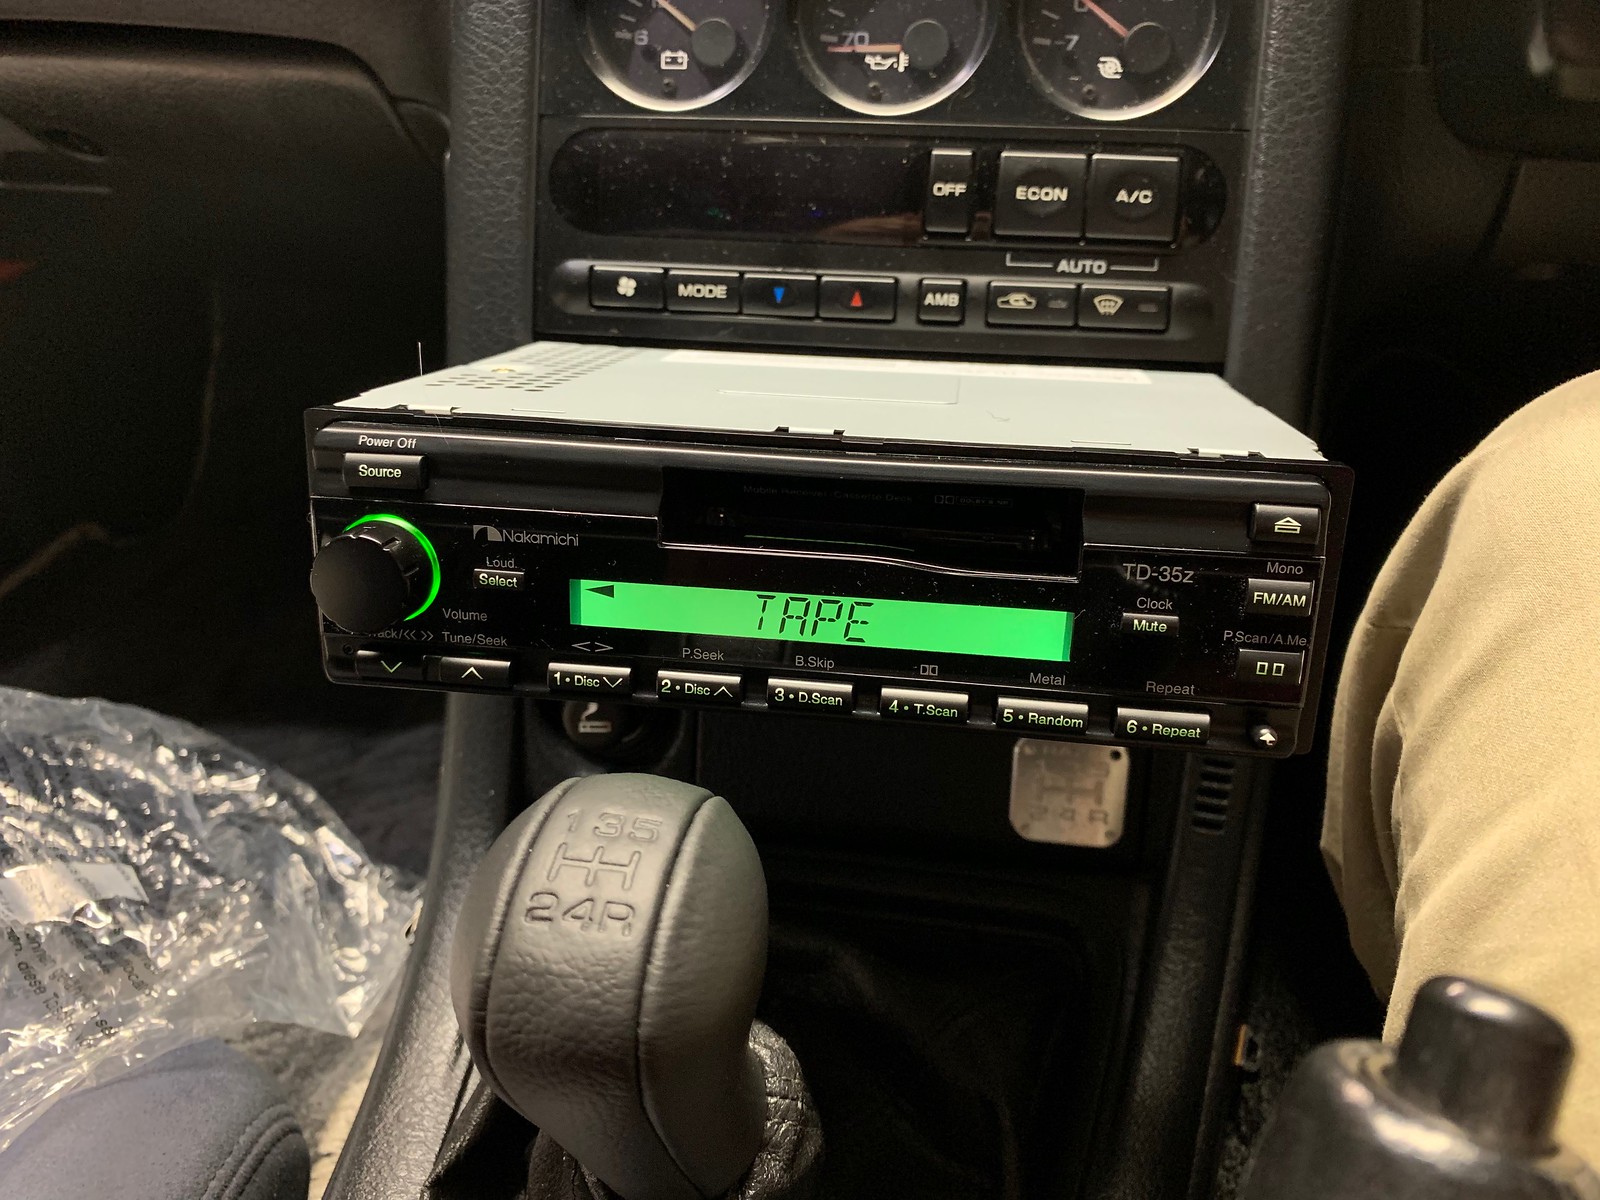
My M3s both had tape decks, and I'd spent a fair amount of time finding my preferred albums on that format, so I had to stay with the theme. The other important factor was to pick something that matches the original interior - too-modern head units tend to look out of place. The sound system is not high on my list of requirements, so I'm satisfied with the sound quality of this unit and the ability to use a cassette adapter for music off my phone.
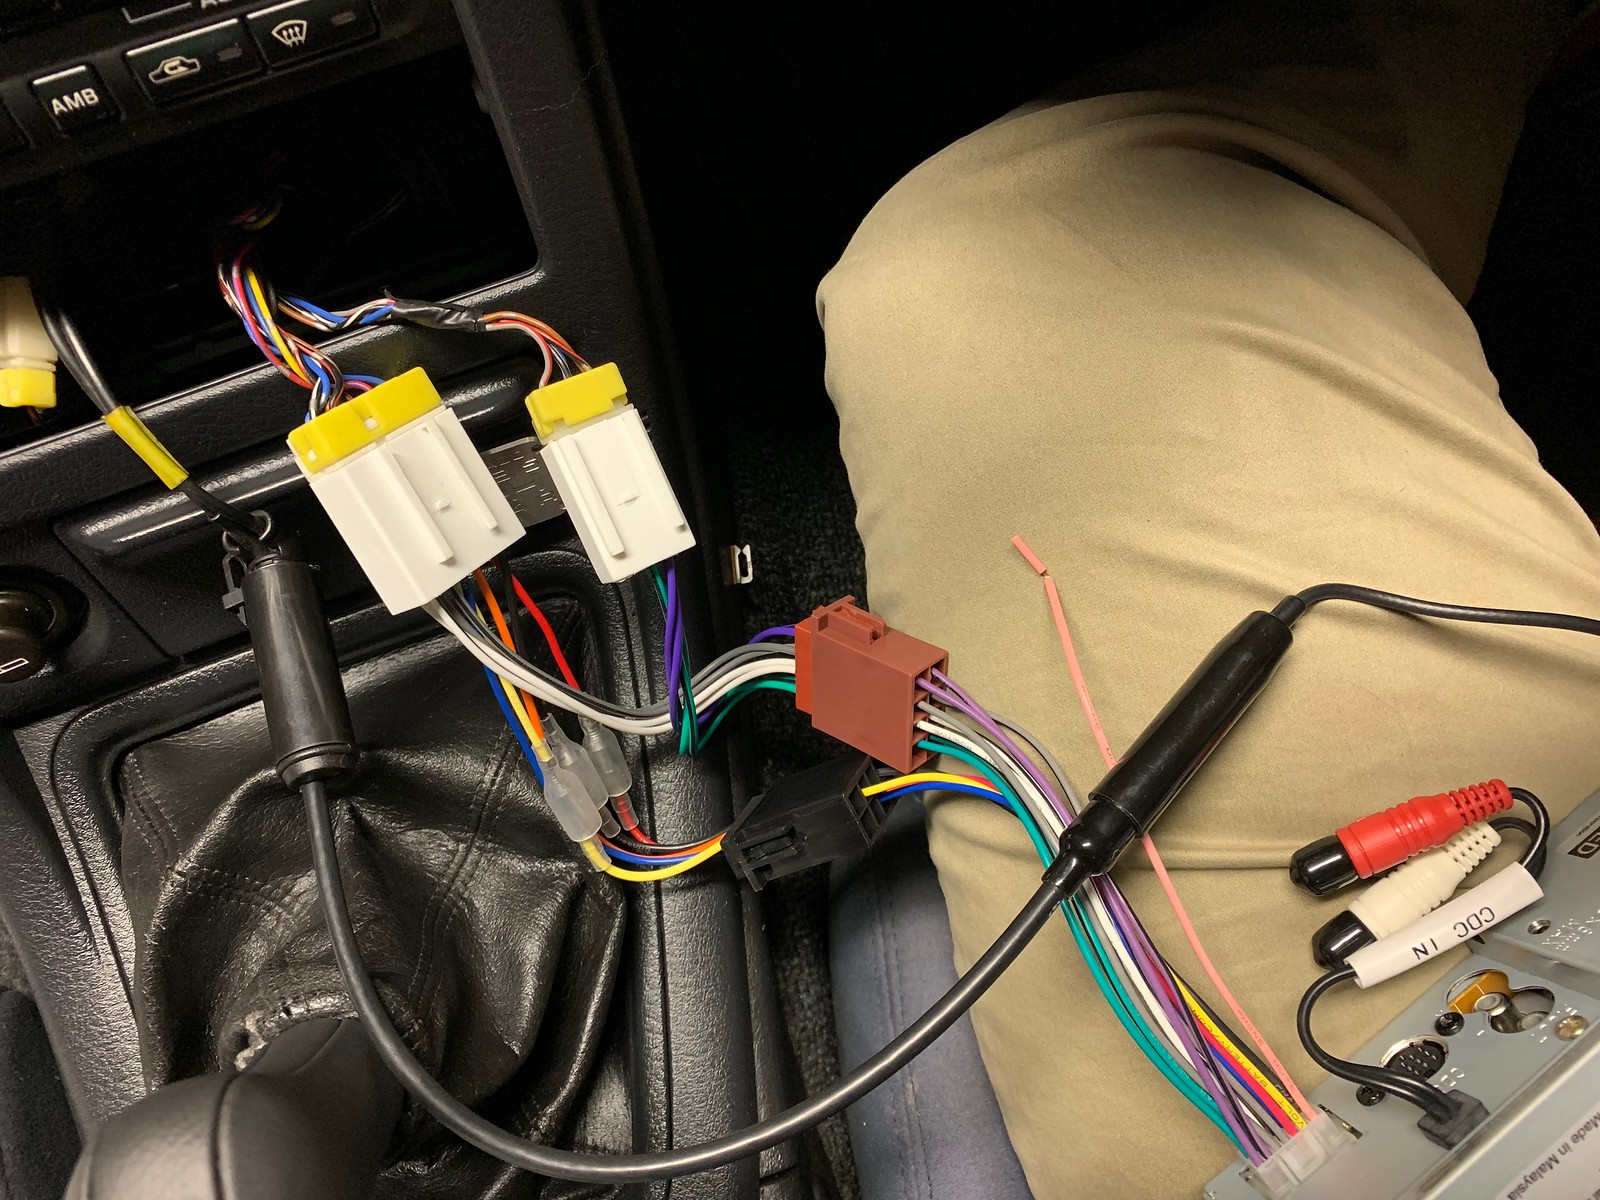
I needed a harness adapter for the vehicle side, and I needed one for the Nakamichi side. I expected to wire two adapters together and put the ol' soldering iron to use, but while perusing the options on eBay I found that I could get each of the adapters with a common ISO plug and meet in the middle. One came from the UK, the other from Australia, but what do you know... perfect fitment. Didn't have to wire a single thing, entirely plug-and-play and worked immediately. Easiest install ever.
These are the adapters I used:
Nissan harness to ISO: https://www.ebay.com/itm/180846223030
Nakamichi 14-pin harness to ISO: https://www.ebay.com/itm/141826659555
Antenna adapter: https://www.ebay.com/itm/162692608685
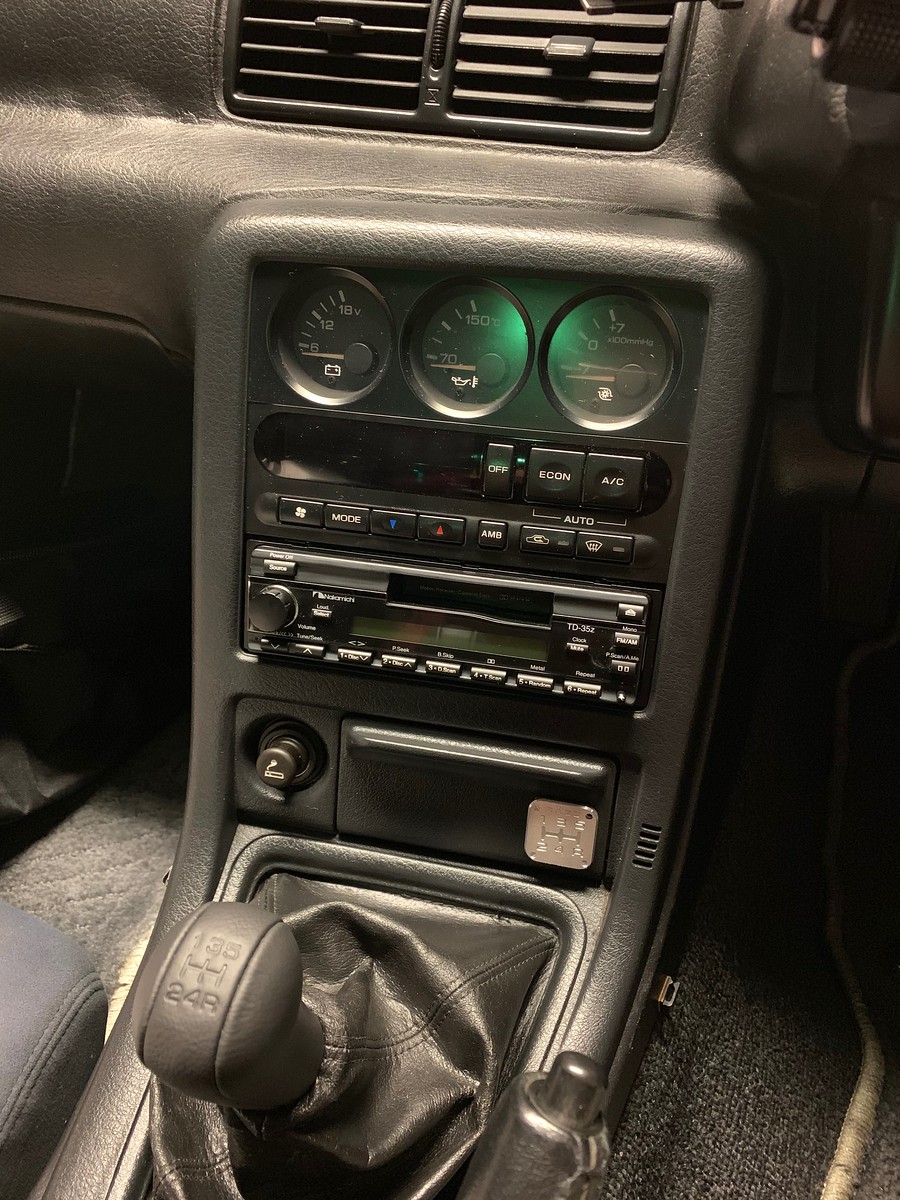
Stock shift knob and stock-looking Nakamichi deck. Job done.
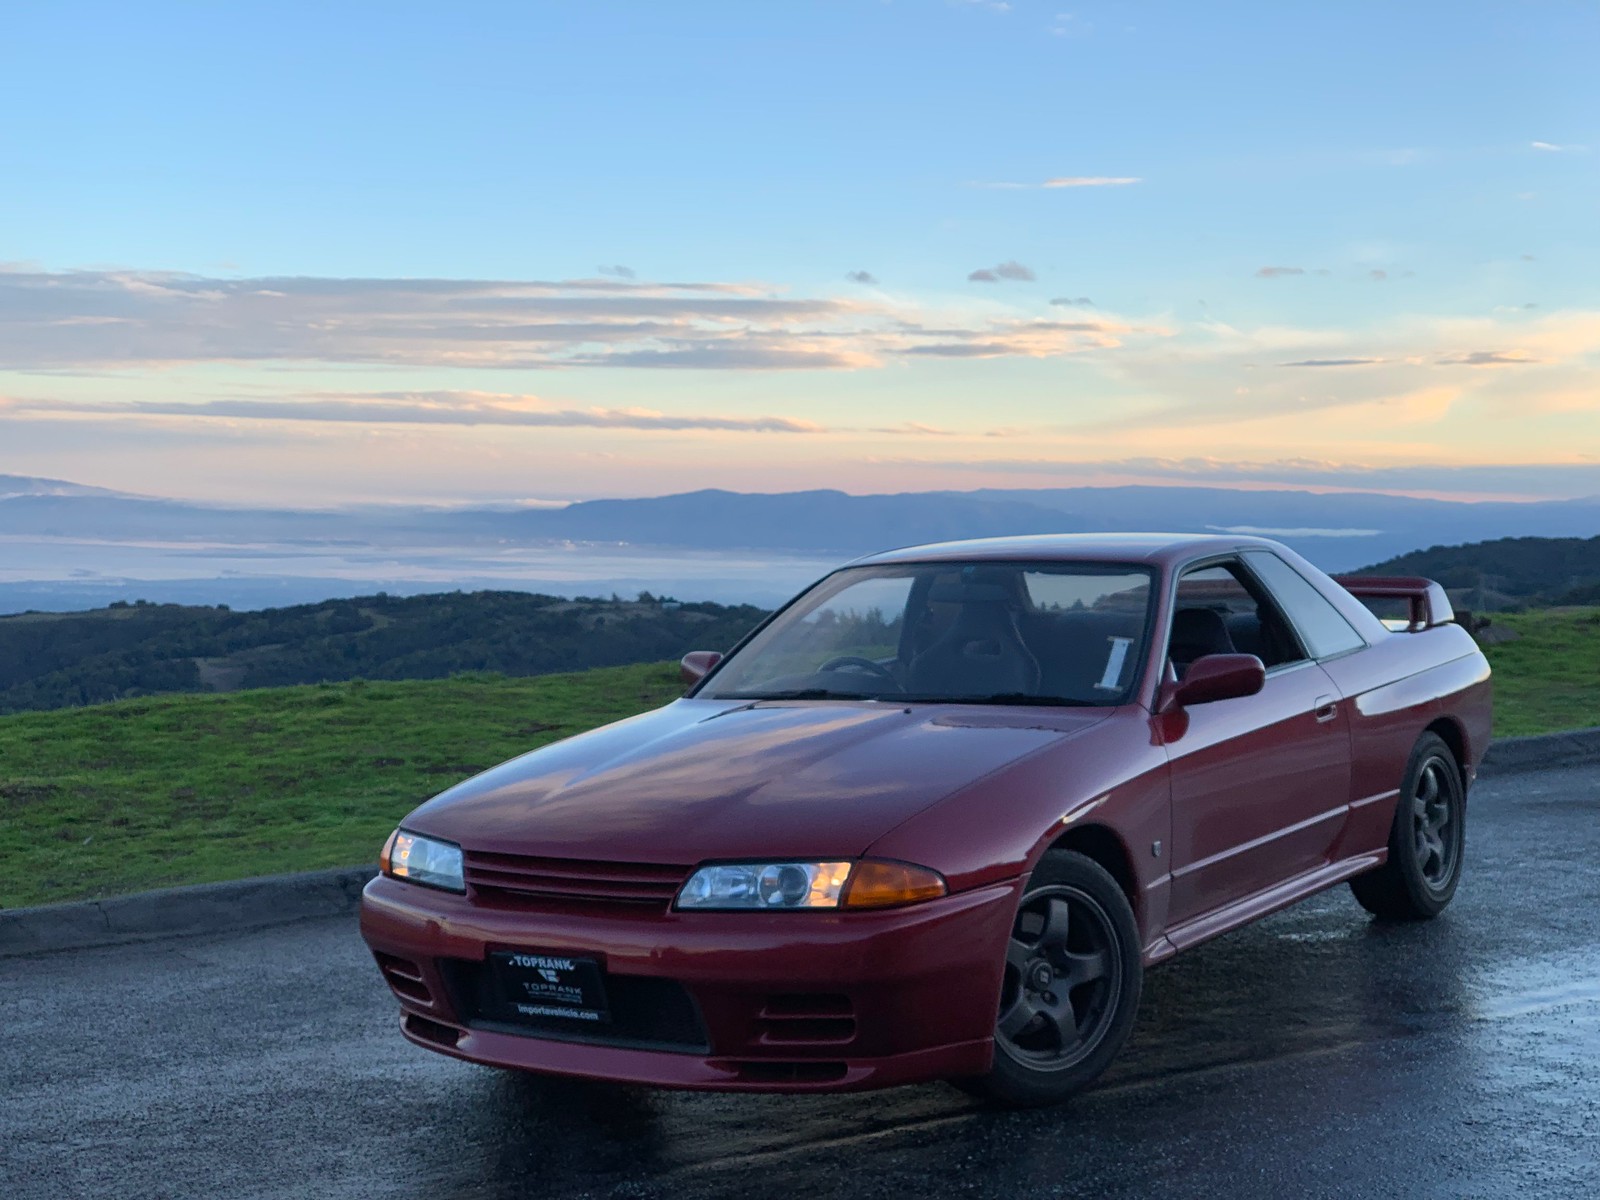
The first weekend home with the car, I had to baptize it with a drive on my go-to roads above Silicon Valley. It is worth noting that Highway CA35 is Skyline Boulevard. So there you have it - Nissan Skyline on Skyline Boulevard.
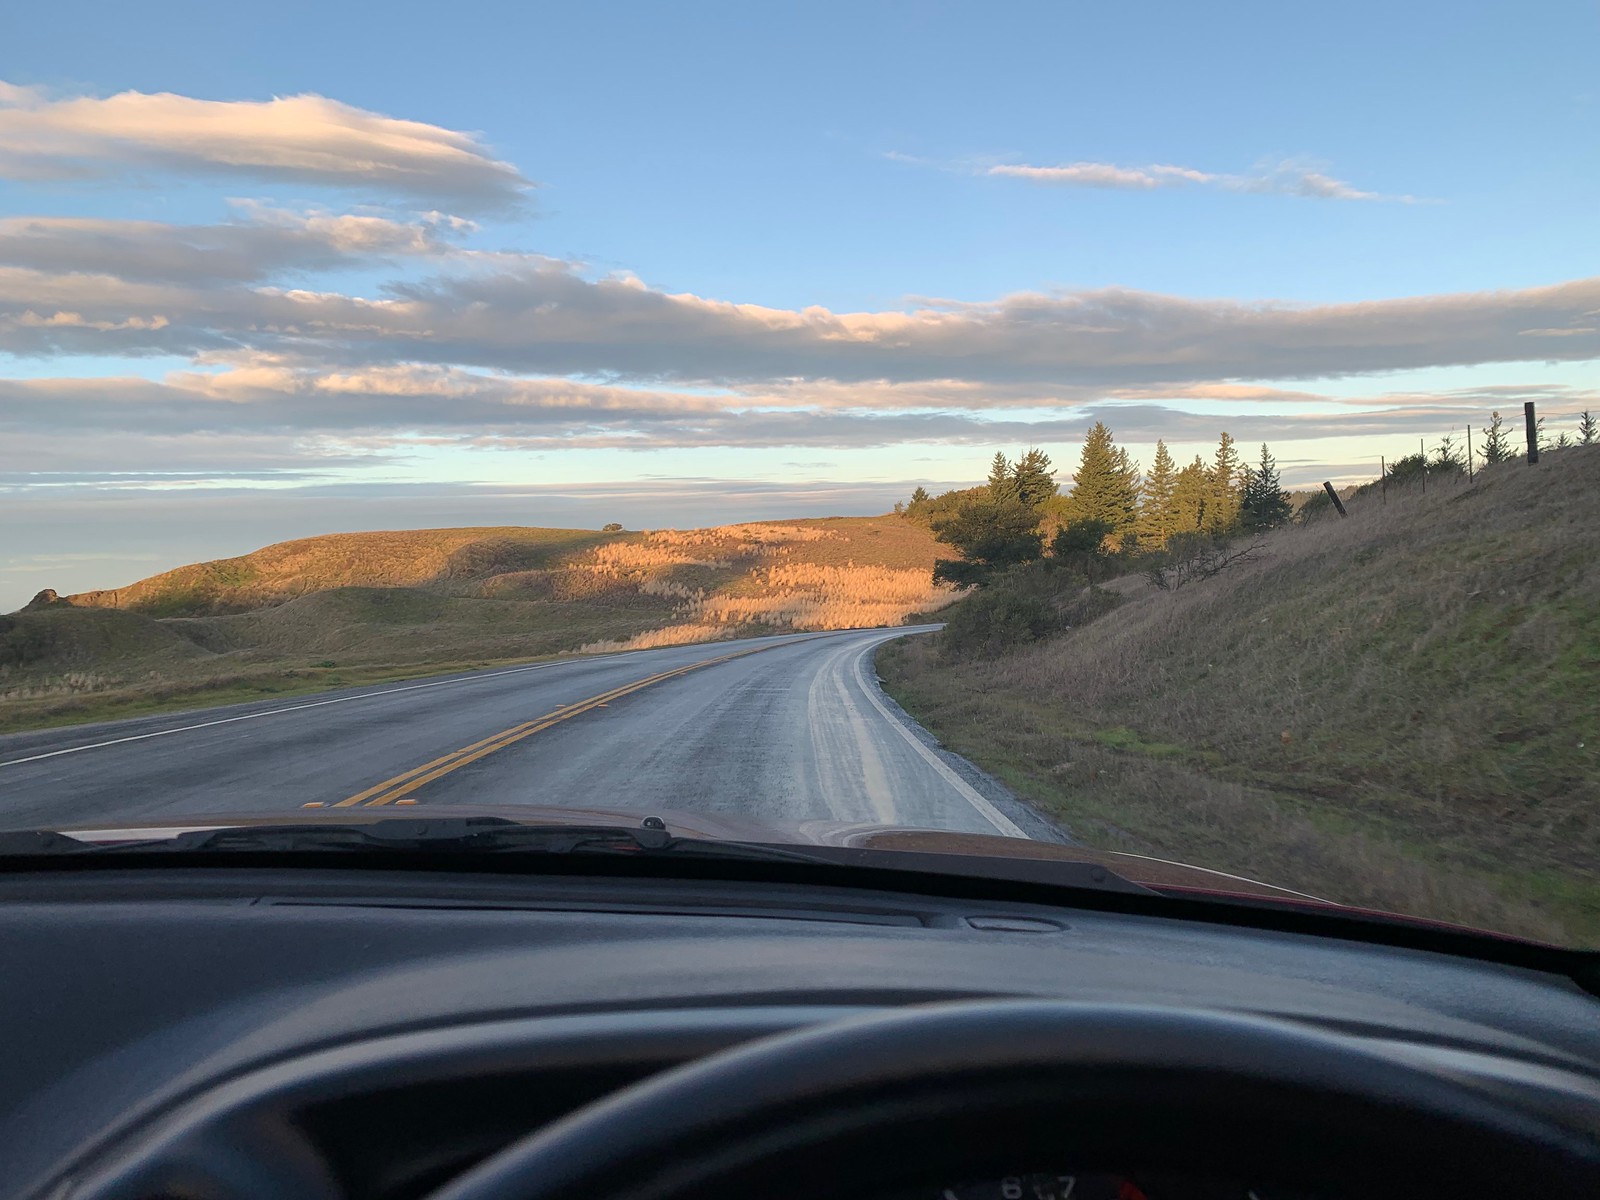
A bit damp, but otherwise lovely. The first fun drive.

All of that wet road made for a filthy car. This red is lovely when it's clean, but boy does it show dirt. So...

First wash! AKA when you find all the paint/body issues you didn't see before.

You missed a spot.
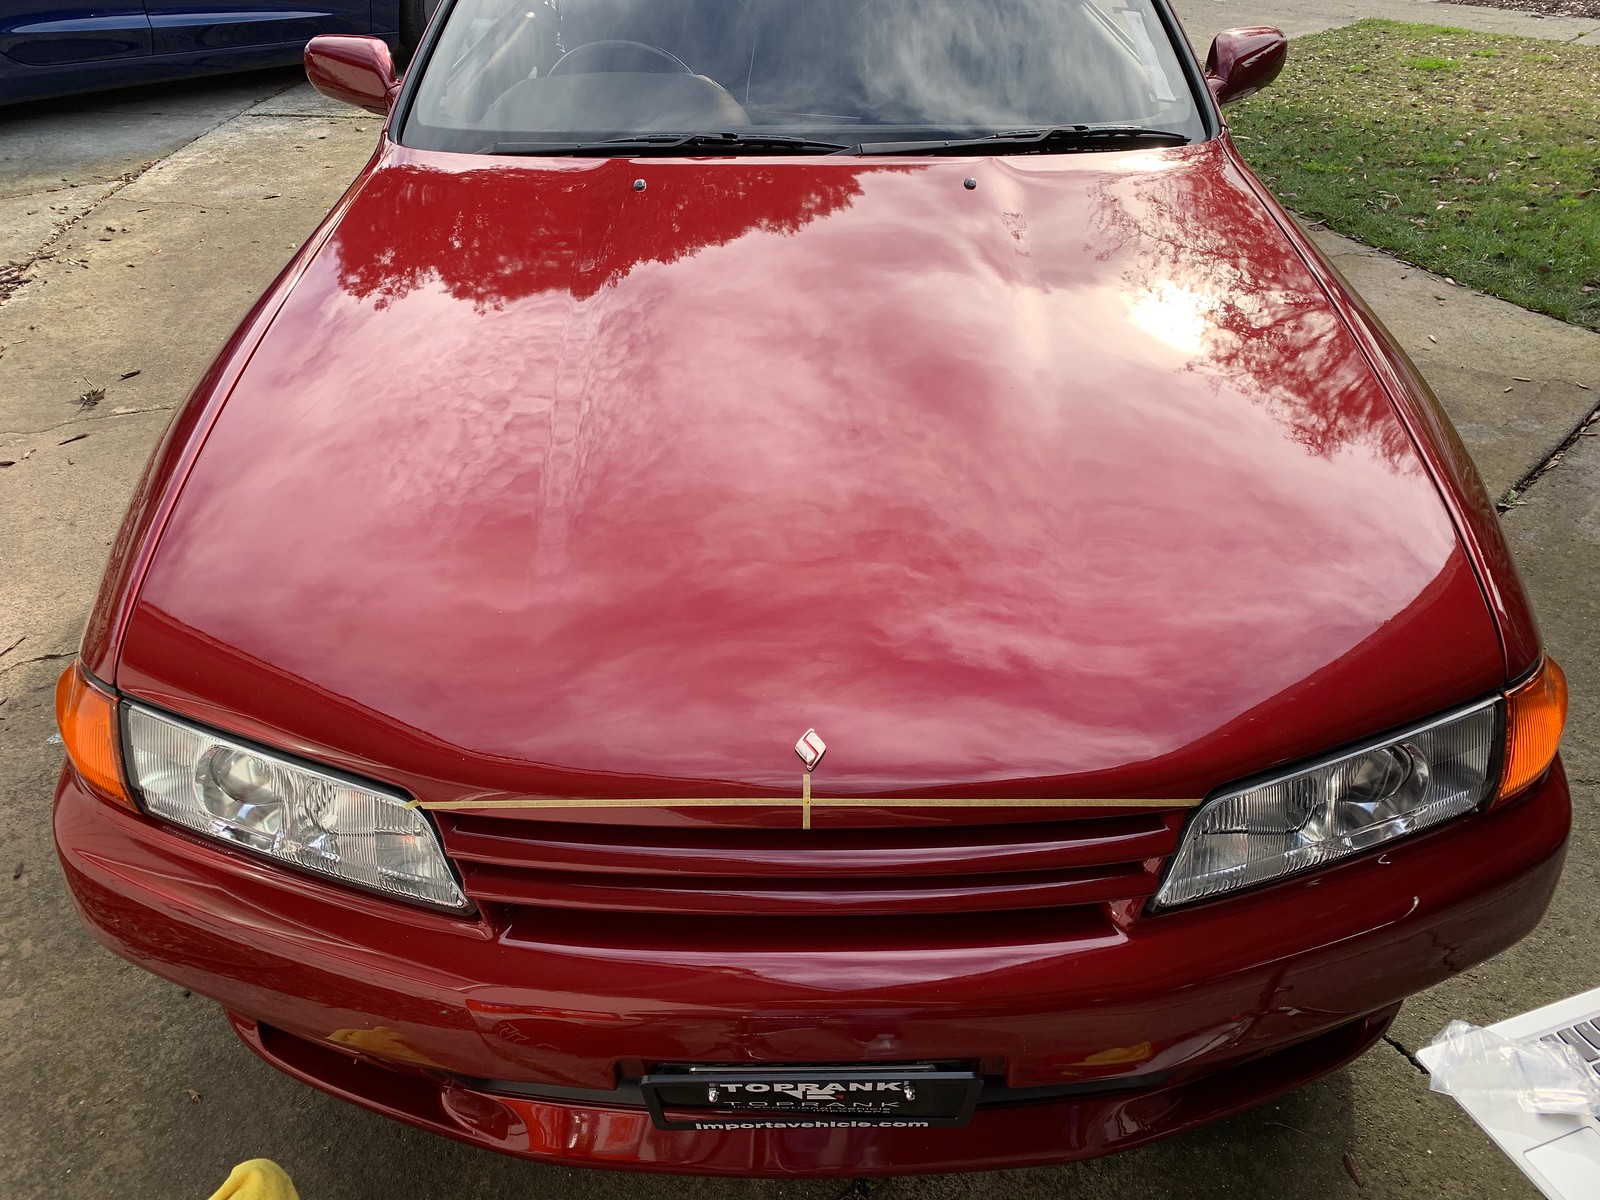
Measure, check, measure again, measure, check again, check once more... place.
The car had been debadged at some point, so I installed the hood "S" and the "NISSAN" script on the left side of the decklid. The GT-R badge was also looking pretty sad, so I replaced it too.
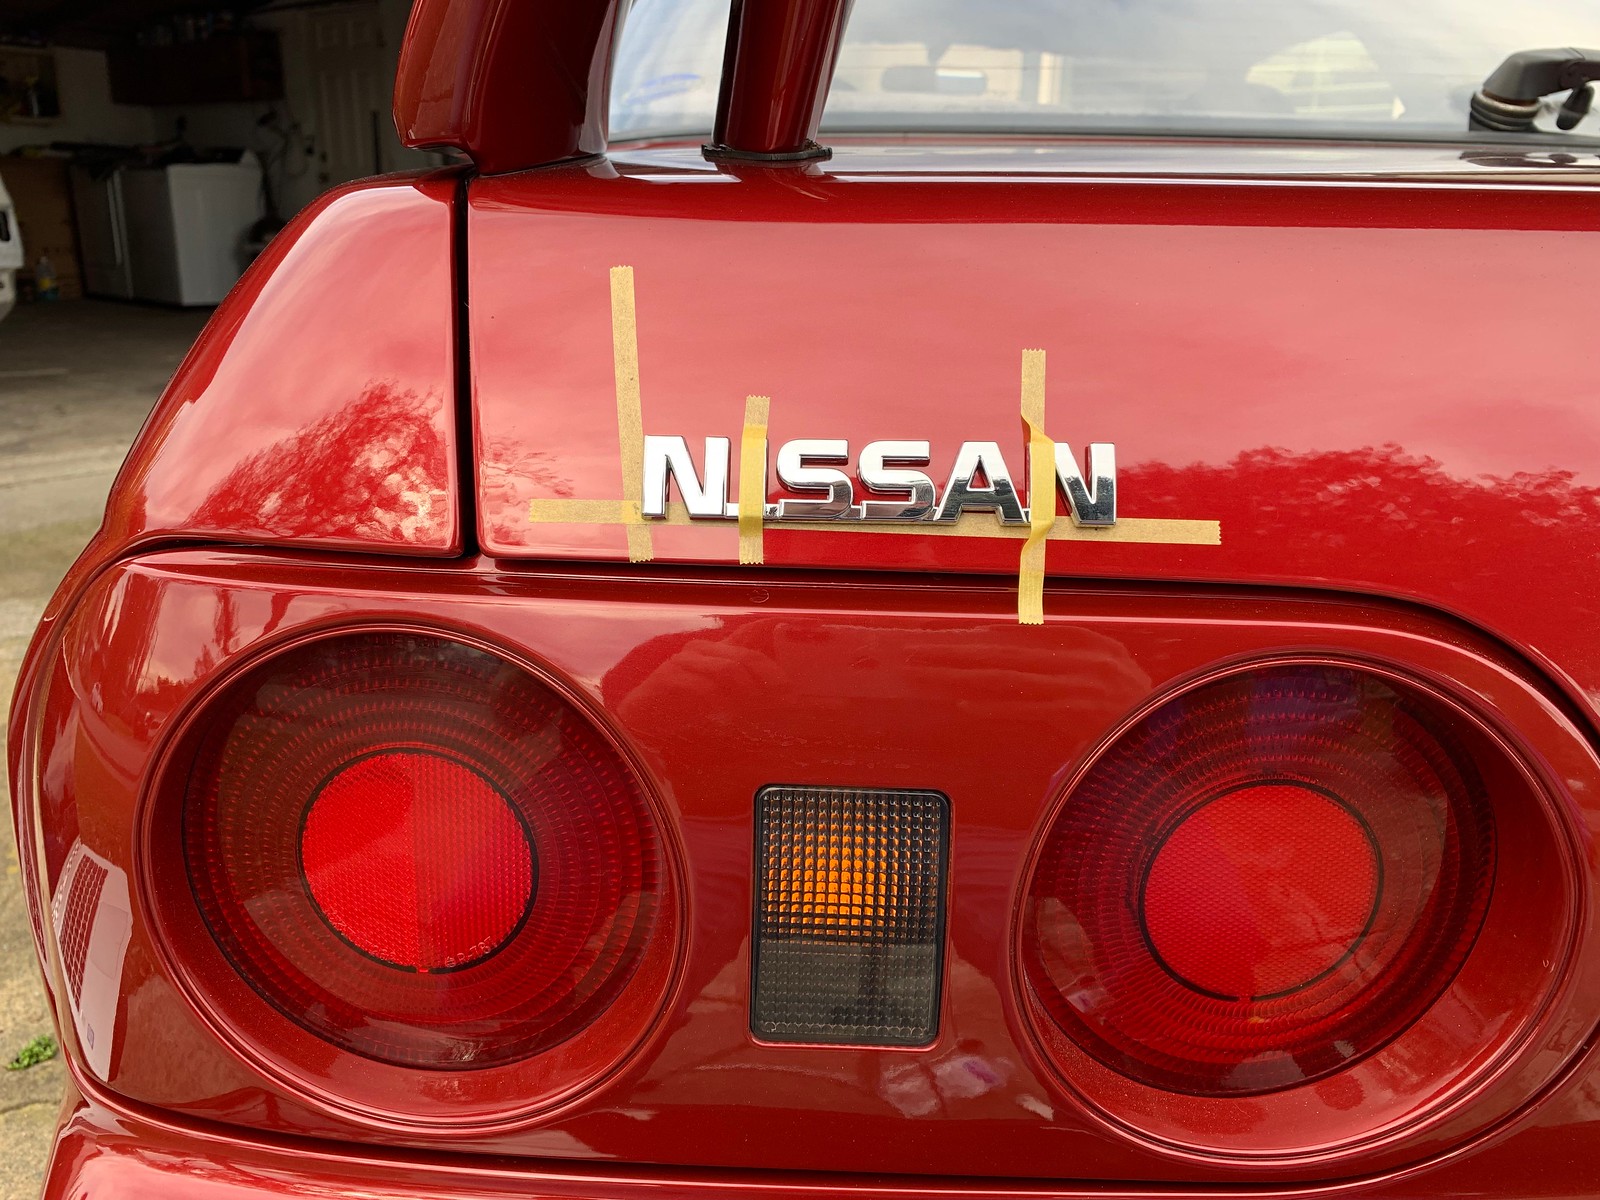
Putting Tamiya thin masking tape to use.

Interesting: the GT-R badge is color-coded to your paint. Wonder how they got buy-in from the beancounters for that.
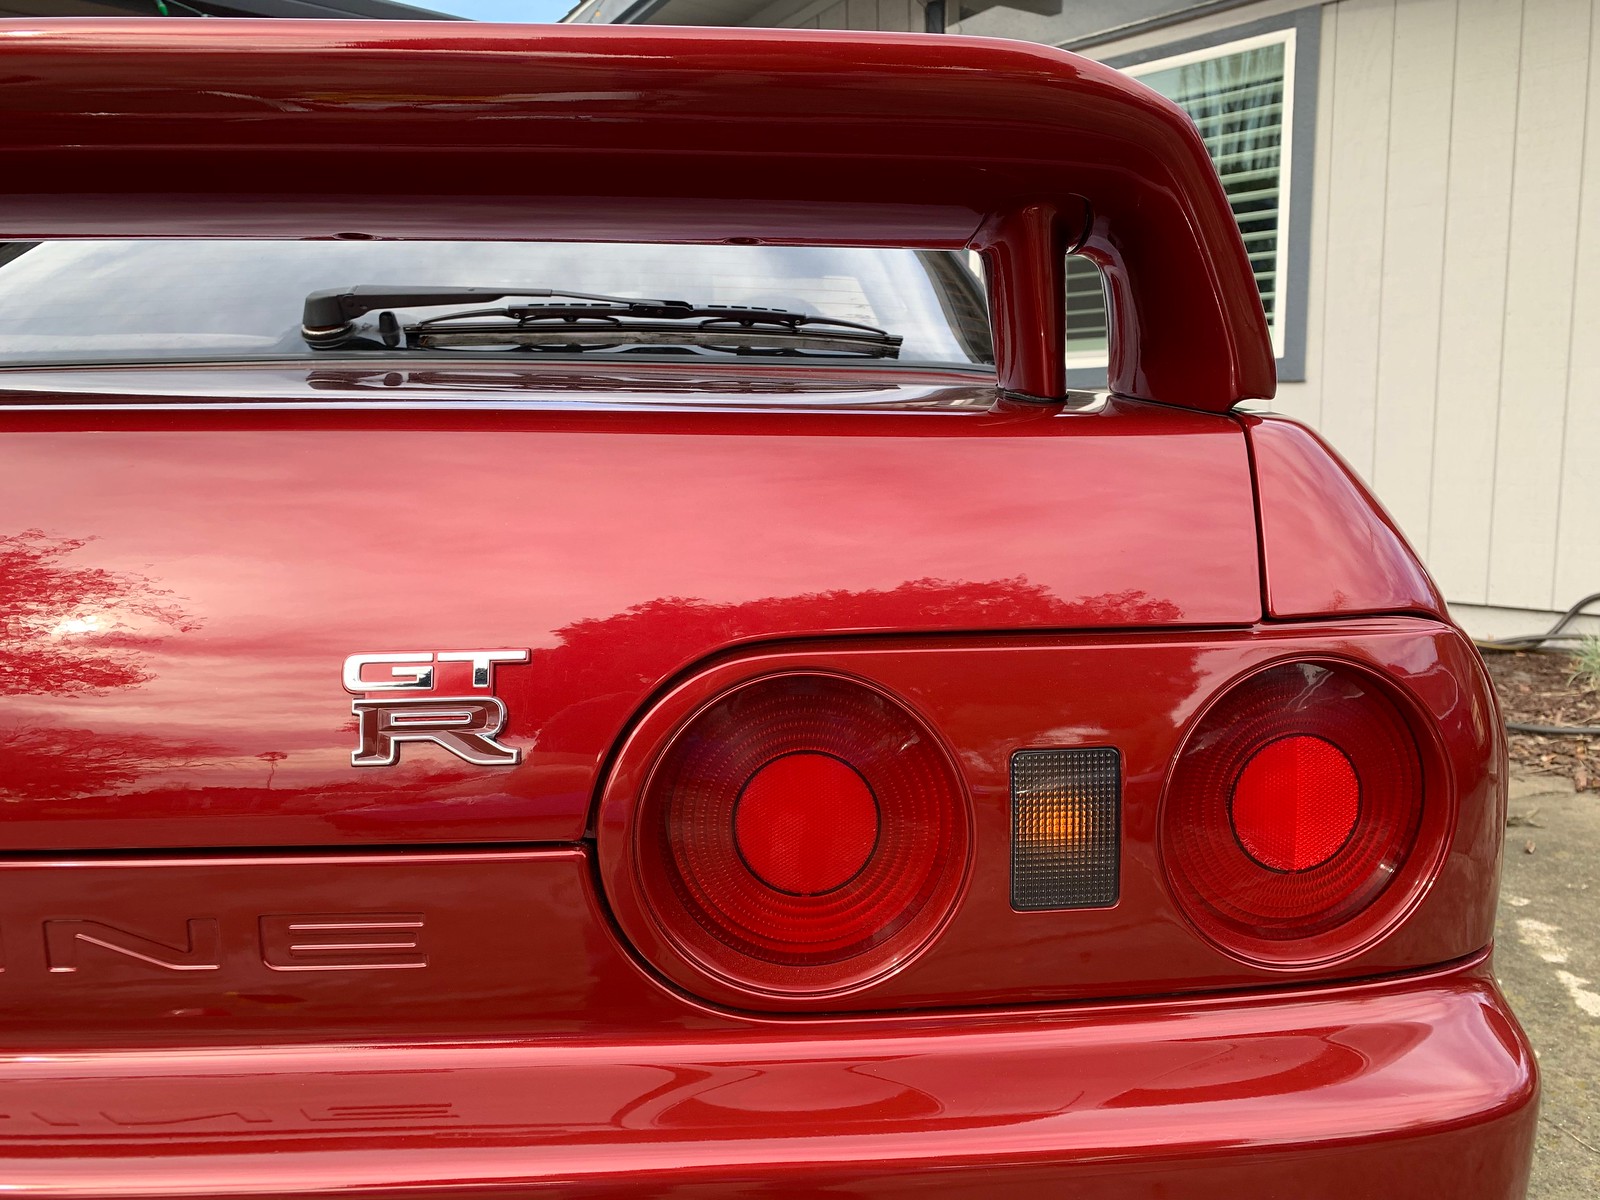
Not-so-fun fact: this badge costs $150. Ouch. Much much nicer though.
To guide badge placement, I used this:
https://www.sau.com.au/forums/topic/466209-gtr-badge-placement/
On the hood, it was 2" from leading edge of hood to bottom of the "S."
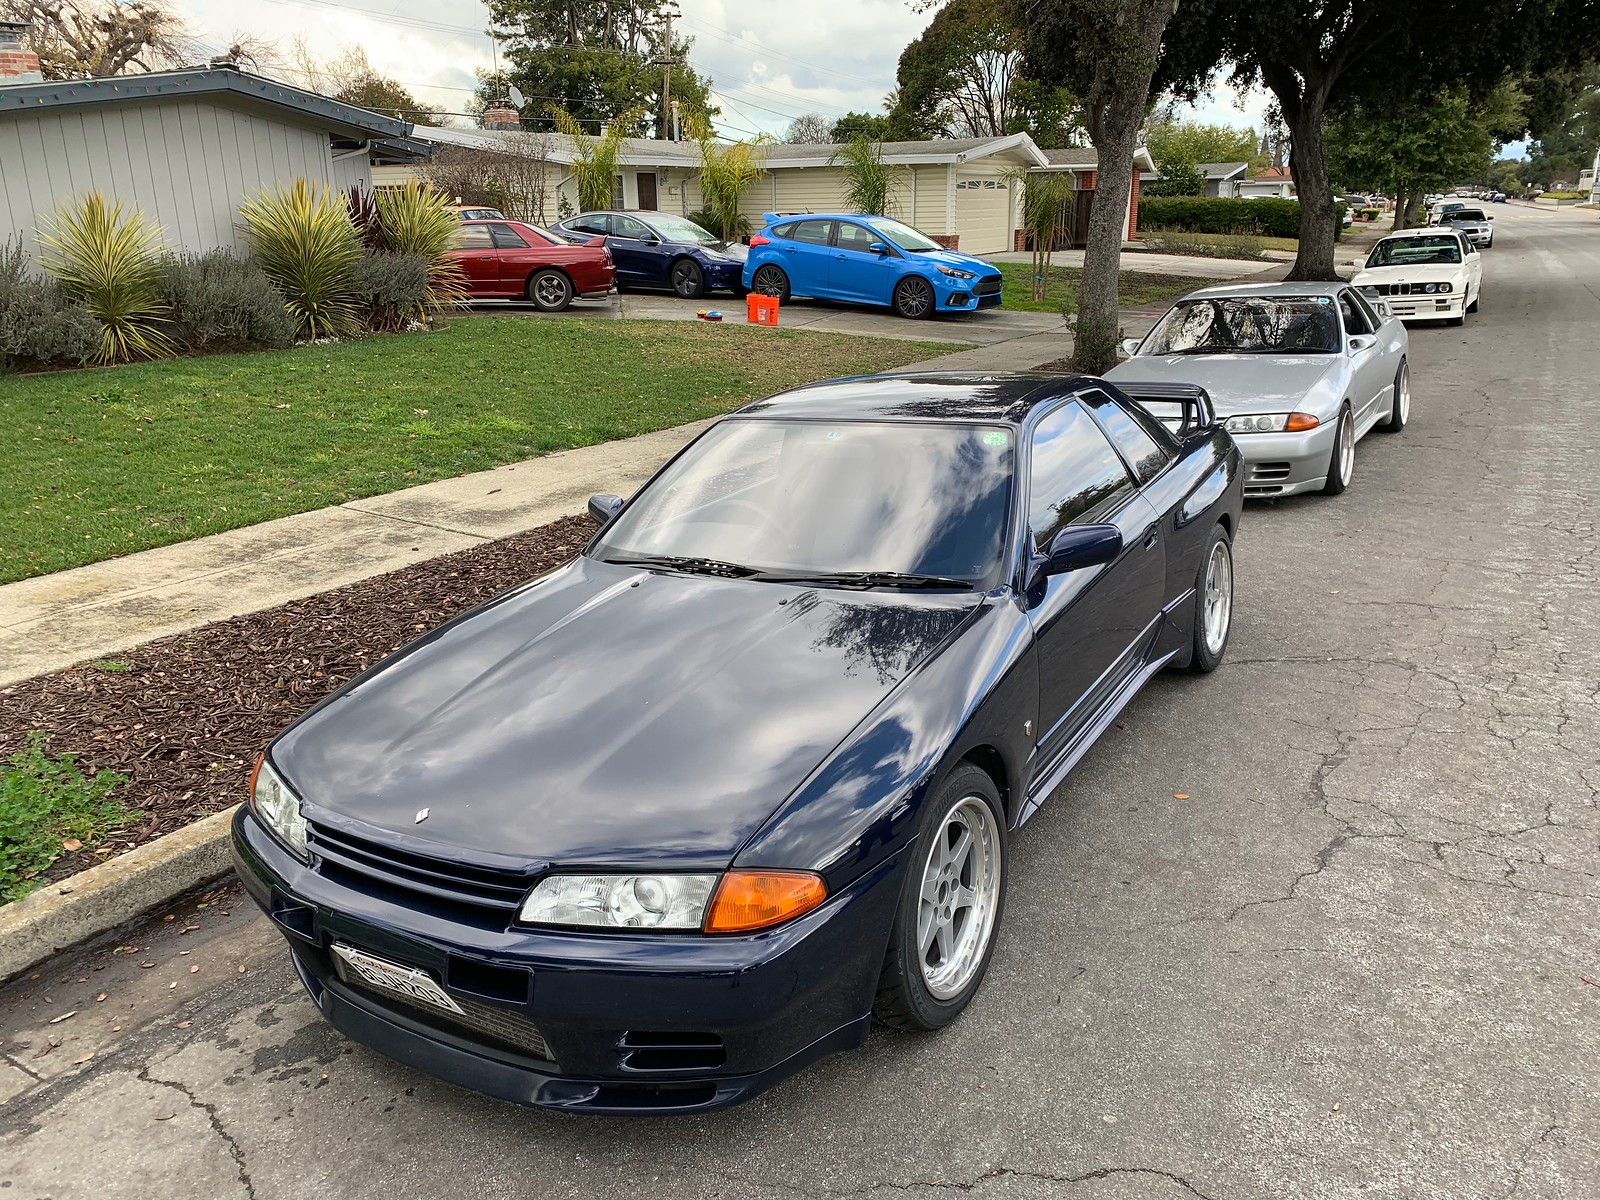
The next first: first time meeting the NorCal Skyline crew. I told them I was going to be wrenching and hanging out at home, so they came over to say hello and have a look at my car. I was lucky to get to check out their extremely nice CA-legal GT-Rs as well. My friend Jon was also at my place with his fresh-from-paint M3.
Before
After.
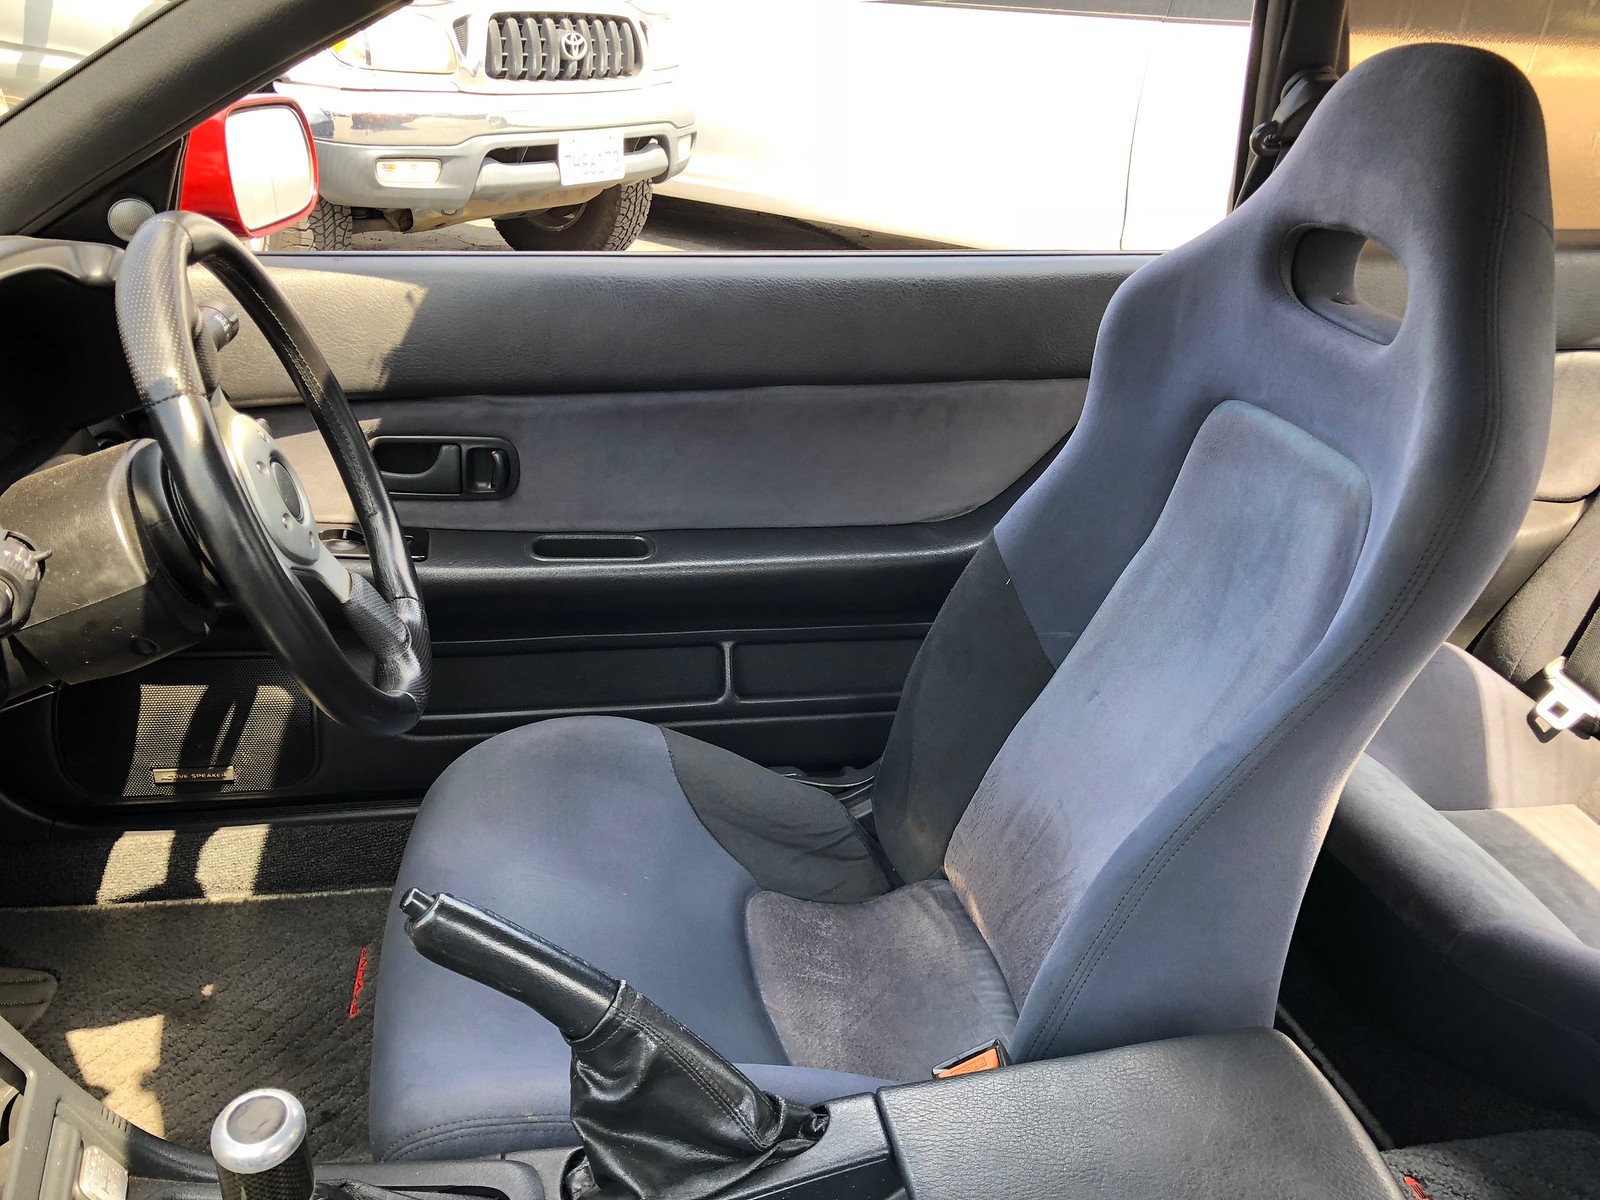
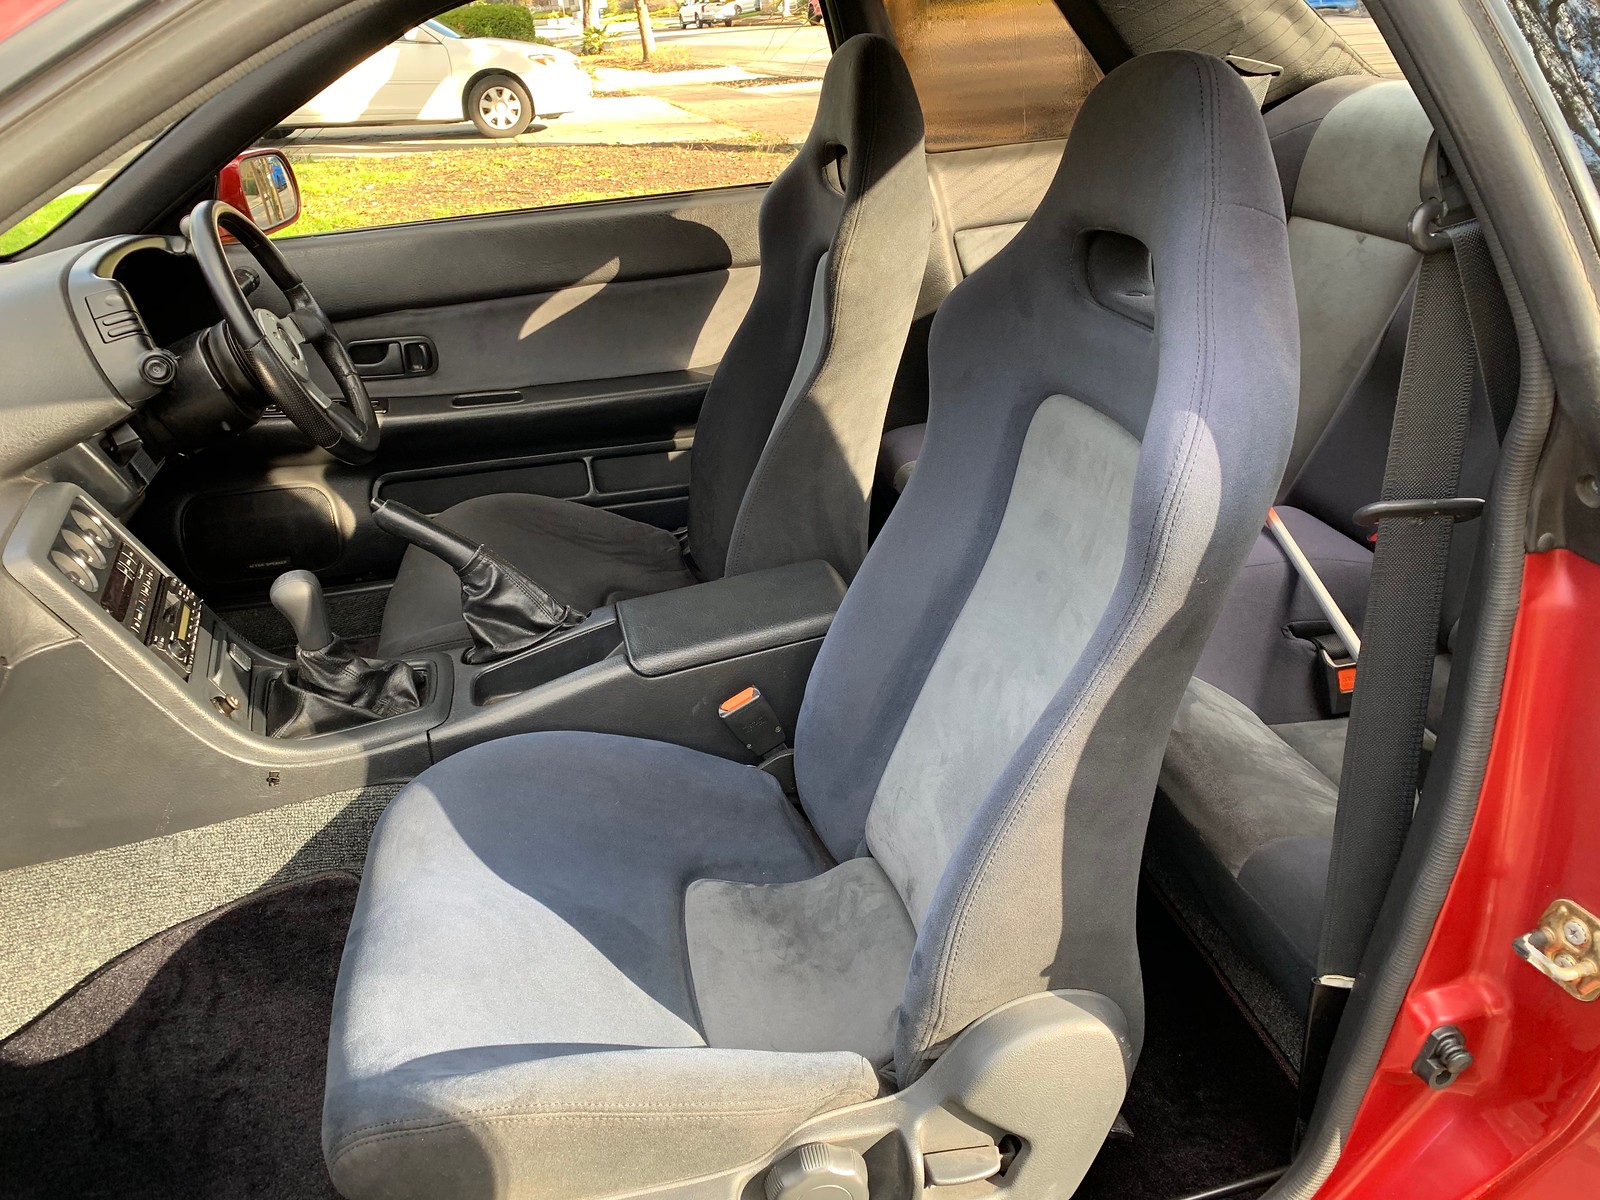
Installation of parts I'd collected continued. First order of business was to replace the front seats with a pair of much cleaner stock seats. I also pulled the original floor mats out and replaced them with new units. I'll clean the stockers and tuck them away.

Before

After. The R32 GT-R fabric seats were originally black over grey. Over time, they fade to an interesting blue. Nearly every GT-R you see has the 'blue' fabric today.

In the shade you can see where the dividing plate was welded into the stock cast turbo piping.
The final modification for this day was the installation of a divided intake pipe. This pipe collects the charged intake air coming off of each of the two turbochargers, combining two streams into one on the way to the intercooler. The orientation of this junction in the stock pipe creates turbulent air flow, with the turbos sometimes fighting one another as they try to push out pressurized air. The specifics are above my understanding of fluid dynamics, but fitting a simple dividing plate improves flow and, as a result, power and power delivery.
More information here:
http://www.skylife4ever.com/2011/01/modified-twin-turbo-pipe.html
In the span of maybe four days, so many firsts: first wash, first spirited drive, first mods, and first impromptu GT-R meet at my house. Coming up next: aesthetic improvements.
No comments:
Post a Comment