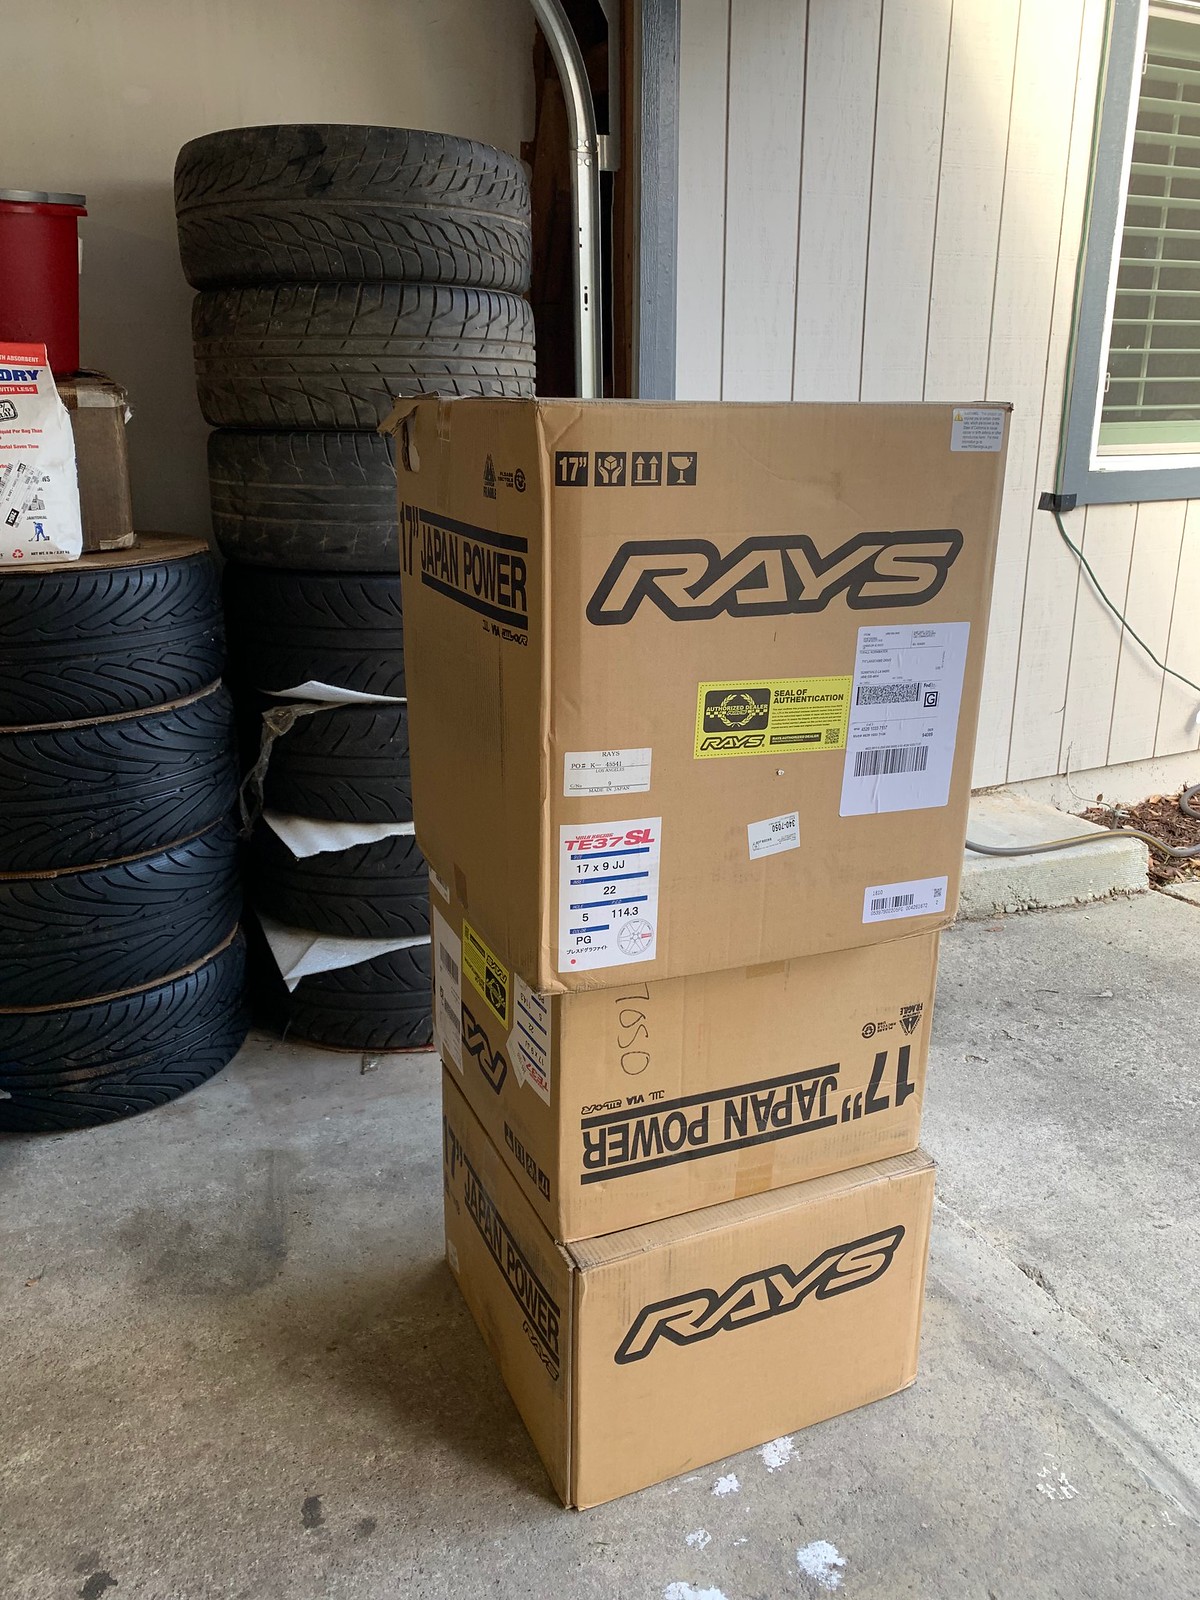
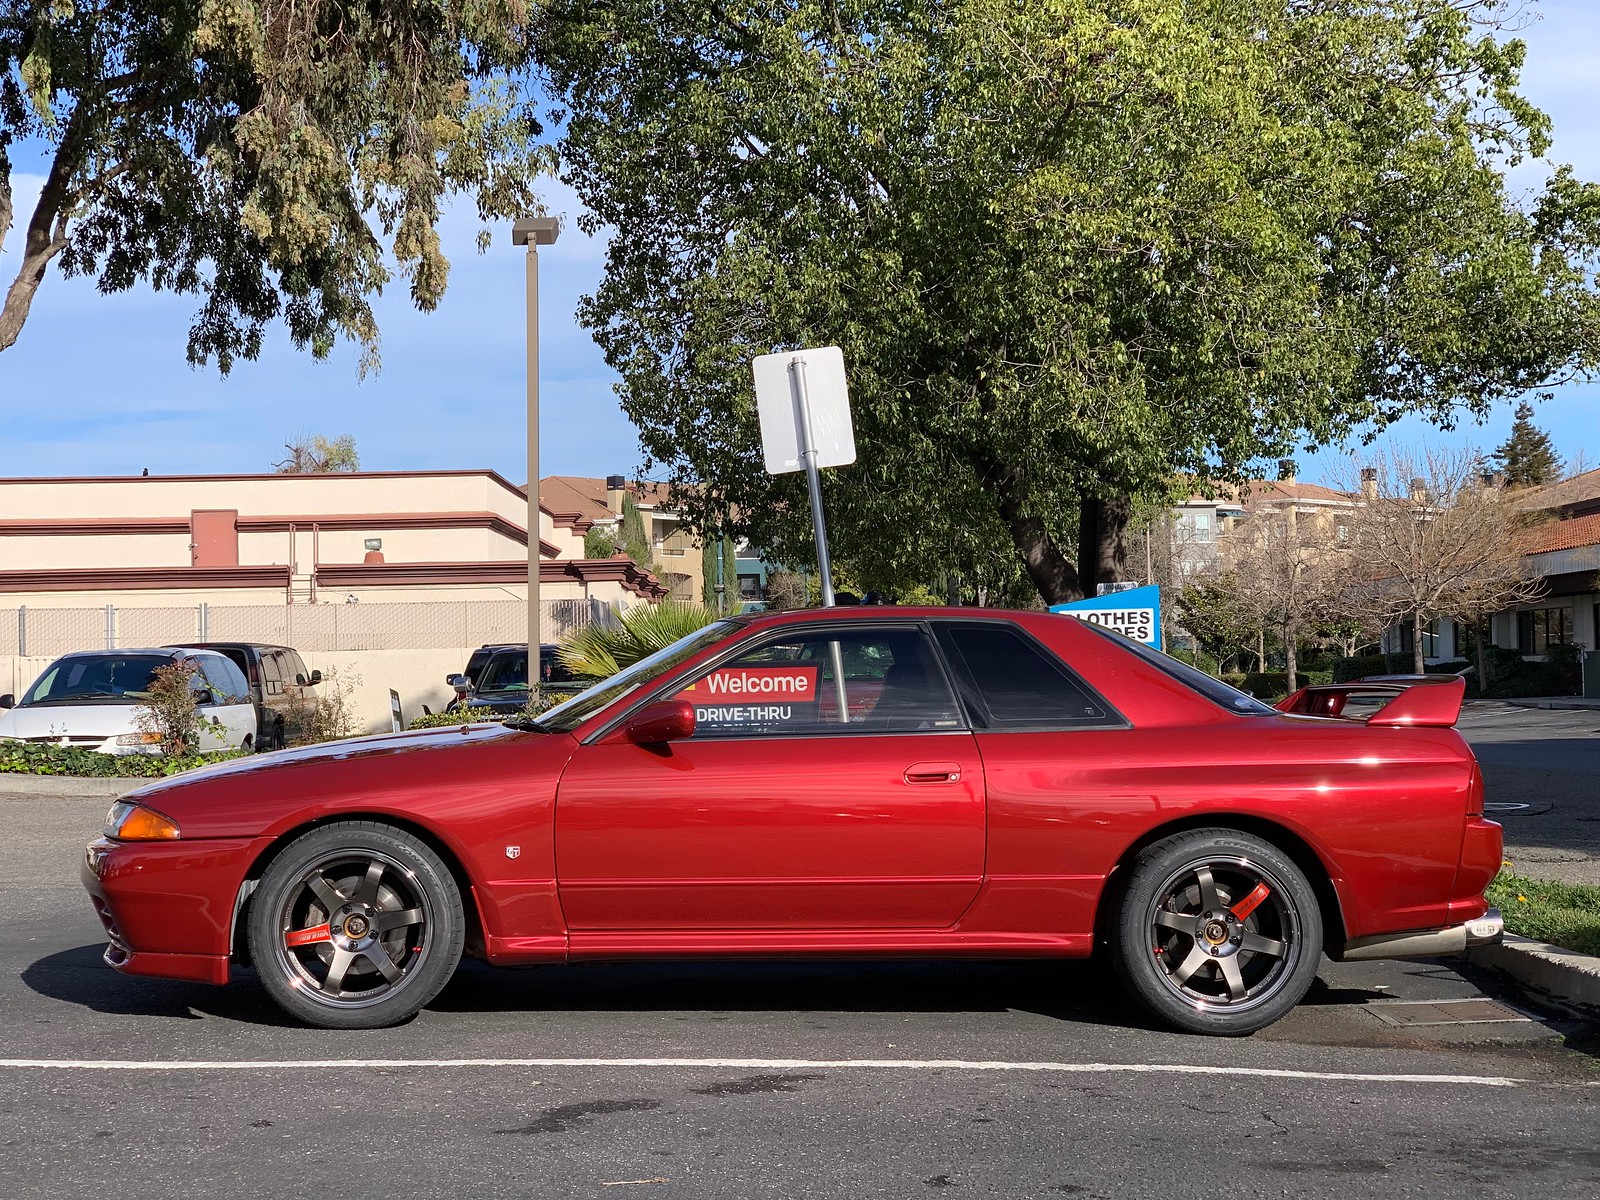
Aw yiss.
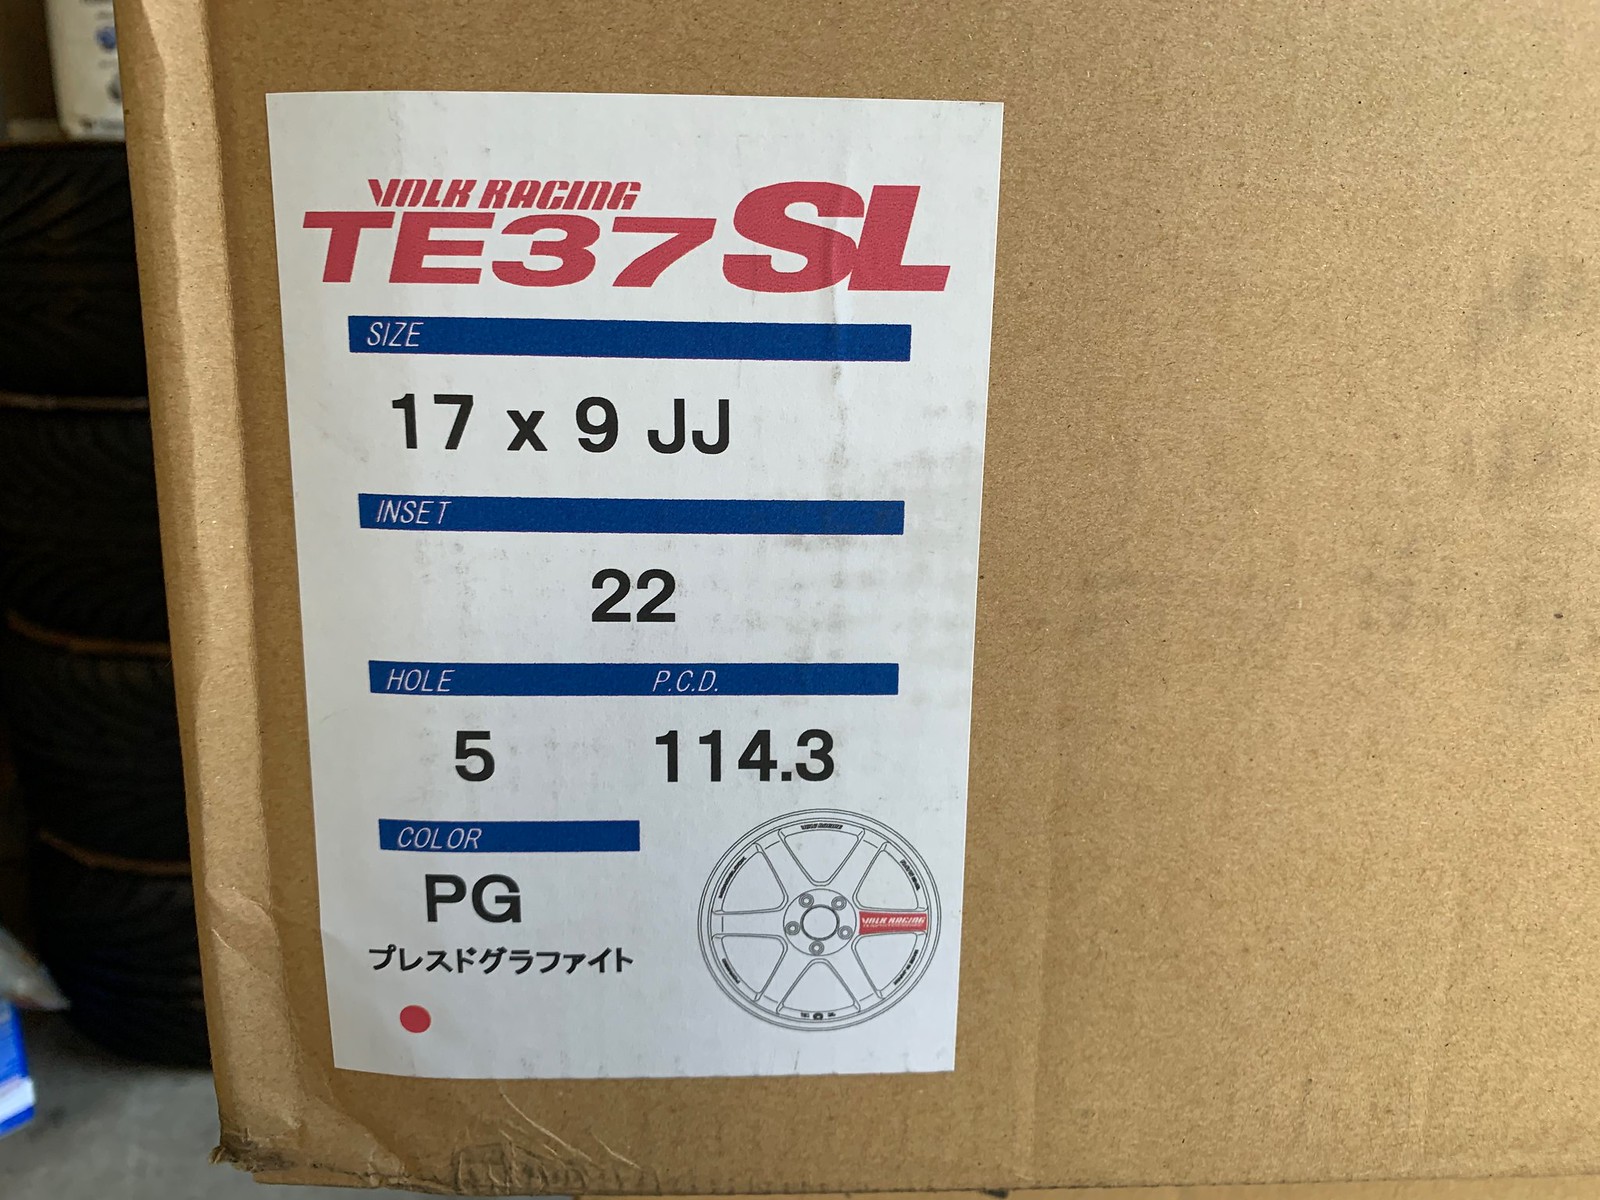
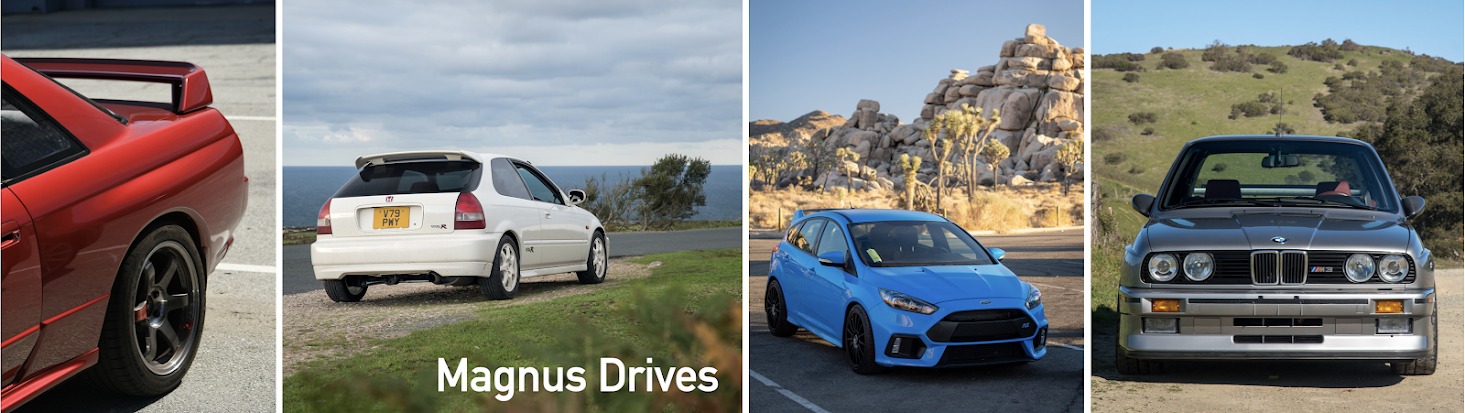
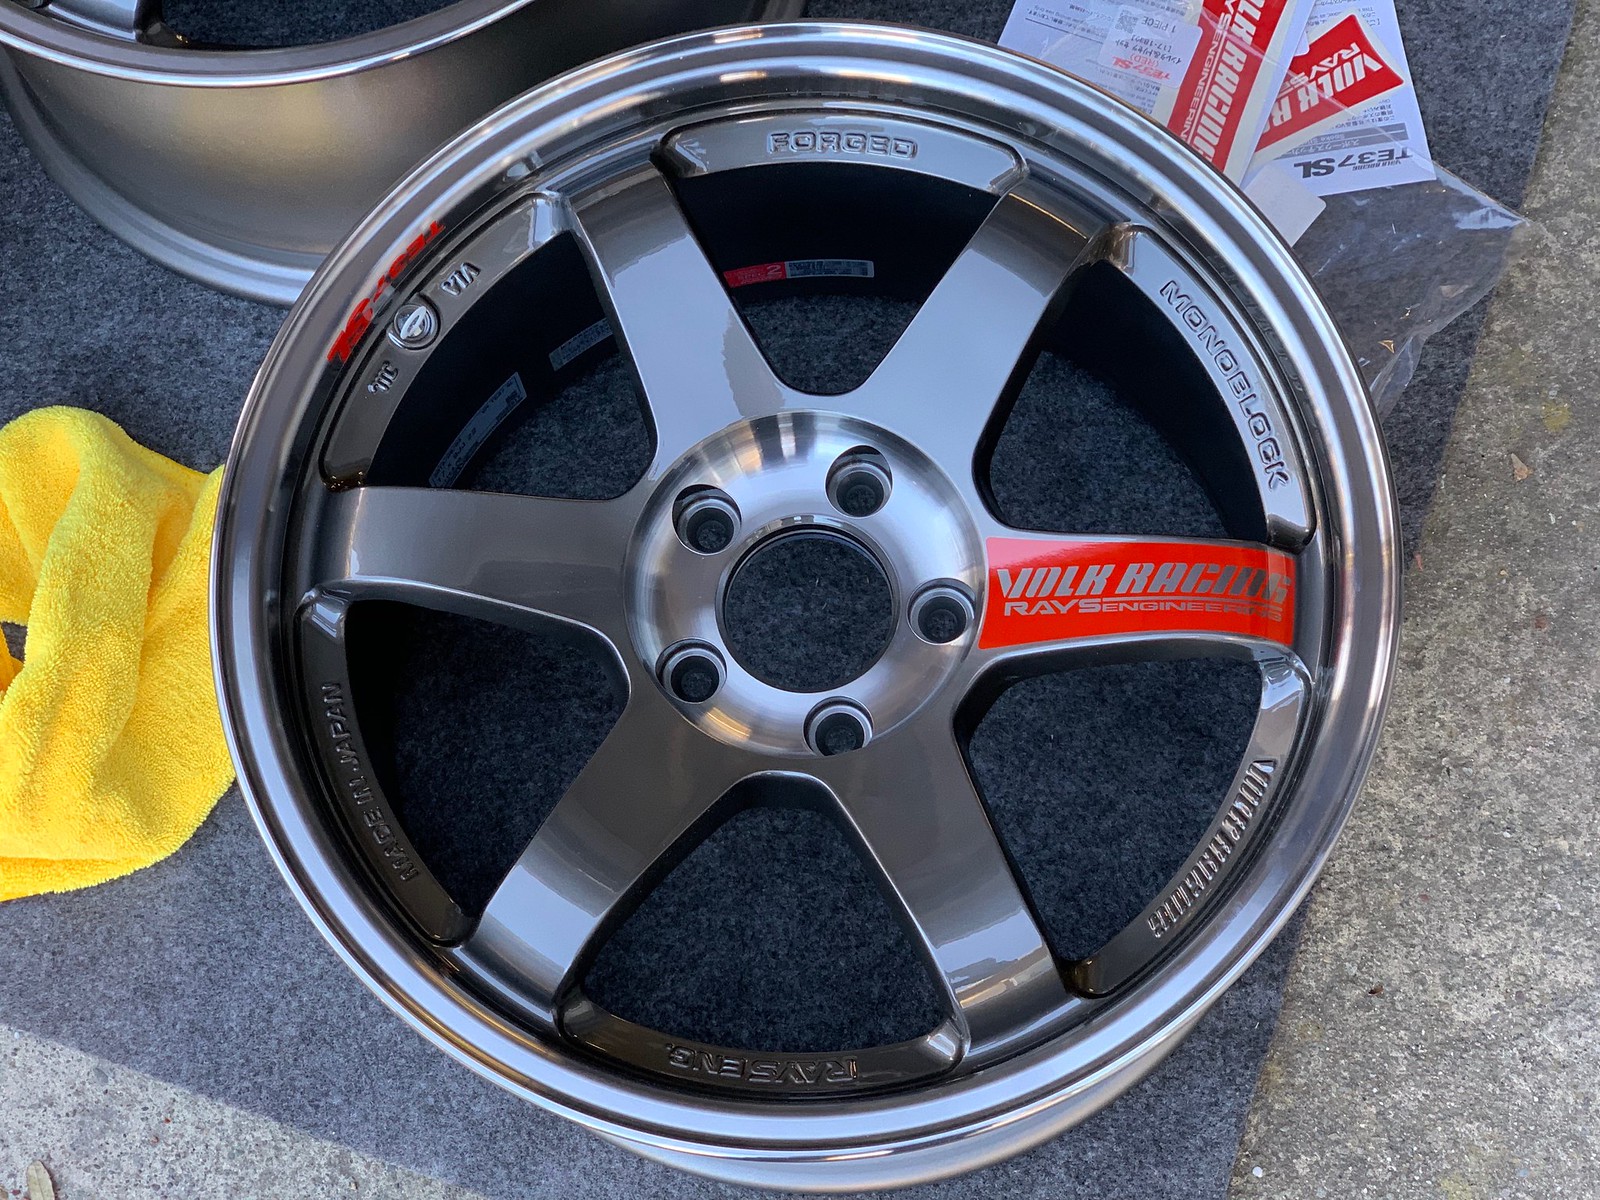
I didn't have to think hard about what wheels to fit to my GT-R. I certainly won't win points for originality, obscurity, period-correctness, or aggressive fitment. These are the famous Volk TE37 wheels, in Super Lap (SL) variation. The stock wheels are 16x8; these are 17x9, and et22 is the "go-to" offset for the GT-R. The Skyline can fit 18" wheels, but I like the meaty-tire look and ride quality of a taller sidewall. I wanted to fit these wheels and run without issues or compromises - that means no fender rolling, no crazy camber, no spacers or adapters, no steering lock limiters.
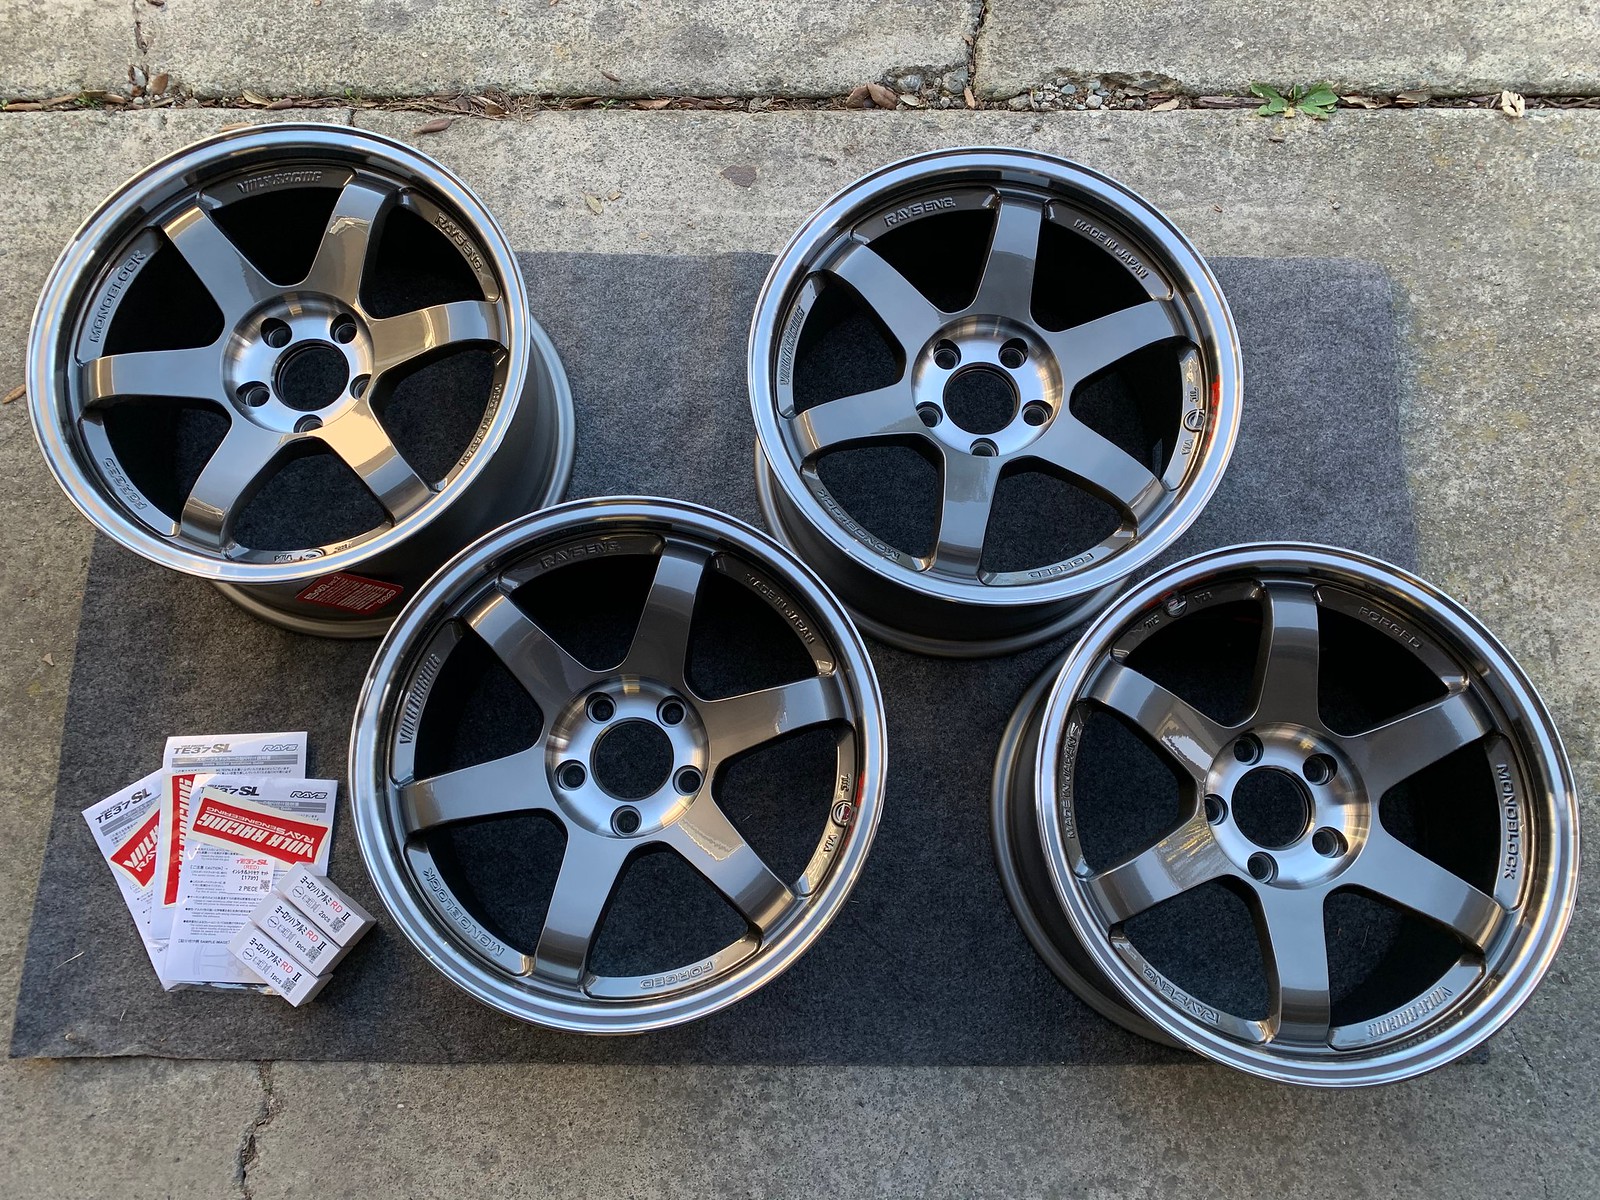
The wheels are forged aluminum. The color on the SLs is "pressed graphite," and the lips and center bolt areas are polished for a nice contrast. I ordered them shortly after purchasing my car and starting the CA emissions wait, and in the end the timing could not have been better - the wheels arrived a week before I picked up the car.
Here's some interesting reading on the TE37:
Speedhunters article, circa 2013: http://www.speedhunters.com/2013/05/touring-evolution-the-volk-racing-te37/
Speedhunters article, with the modern variations: http://www.speedhunters.com/2018/09/a-crash-course-on-volk-racing/
Volk's product page: https://www.rayswheels.co.jp/products/wheel.php?lang=en&wheel=TE37SL

The iconic six-spoke design of the TE37 looks good on nearly everything. One of my favorite features of the SL in pressed graphite is the red spoke. I'm a sucker for asymmetric wheel looks, with one spoke spinning in a different color from the rest, so this is right up my alley. These come as stickers, so before sending the wheels off for tires I laid the decals down slooooowly and carefully.
Mock up, step back, eyeball, nudge slightly, stare, rub chin, lose nerve, peel backing off, go for it.

Straight, consistent, no trapped dirt, and no air bubbles. Hallelujah.

When it came time to select tires, I wanted a very high performance summer tire that could handle bad weather when it came up. I had my heart set on the new hotness of the moment - Michelin's lauded Pilot Sport 4S - but unfortunately they were not available in 255/40R17. So, I went with the next-best thing, Continental's ExtremeContact Sport. These have very similar ratings as the Michelins, and I chose them over other options because they received high marks for wet-surface performance. This is important not because I go for spirited drives in the rain, but because it is common for the roads of the Santa Cruz mountains to be damp in the mornings, even in dry weather.
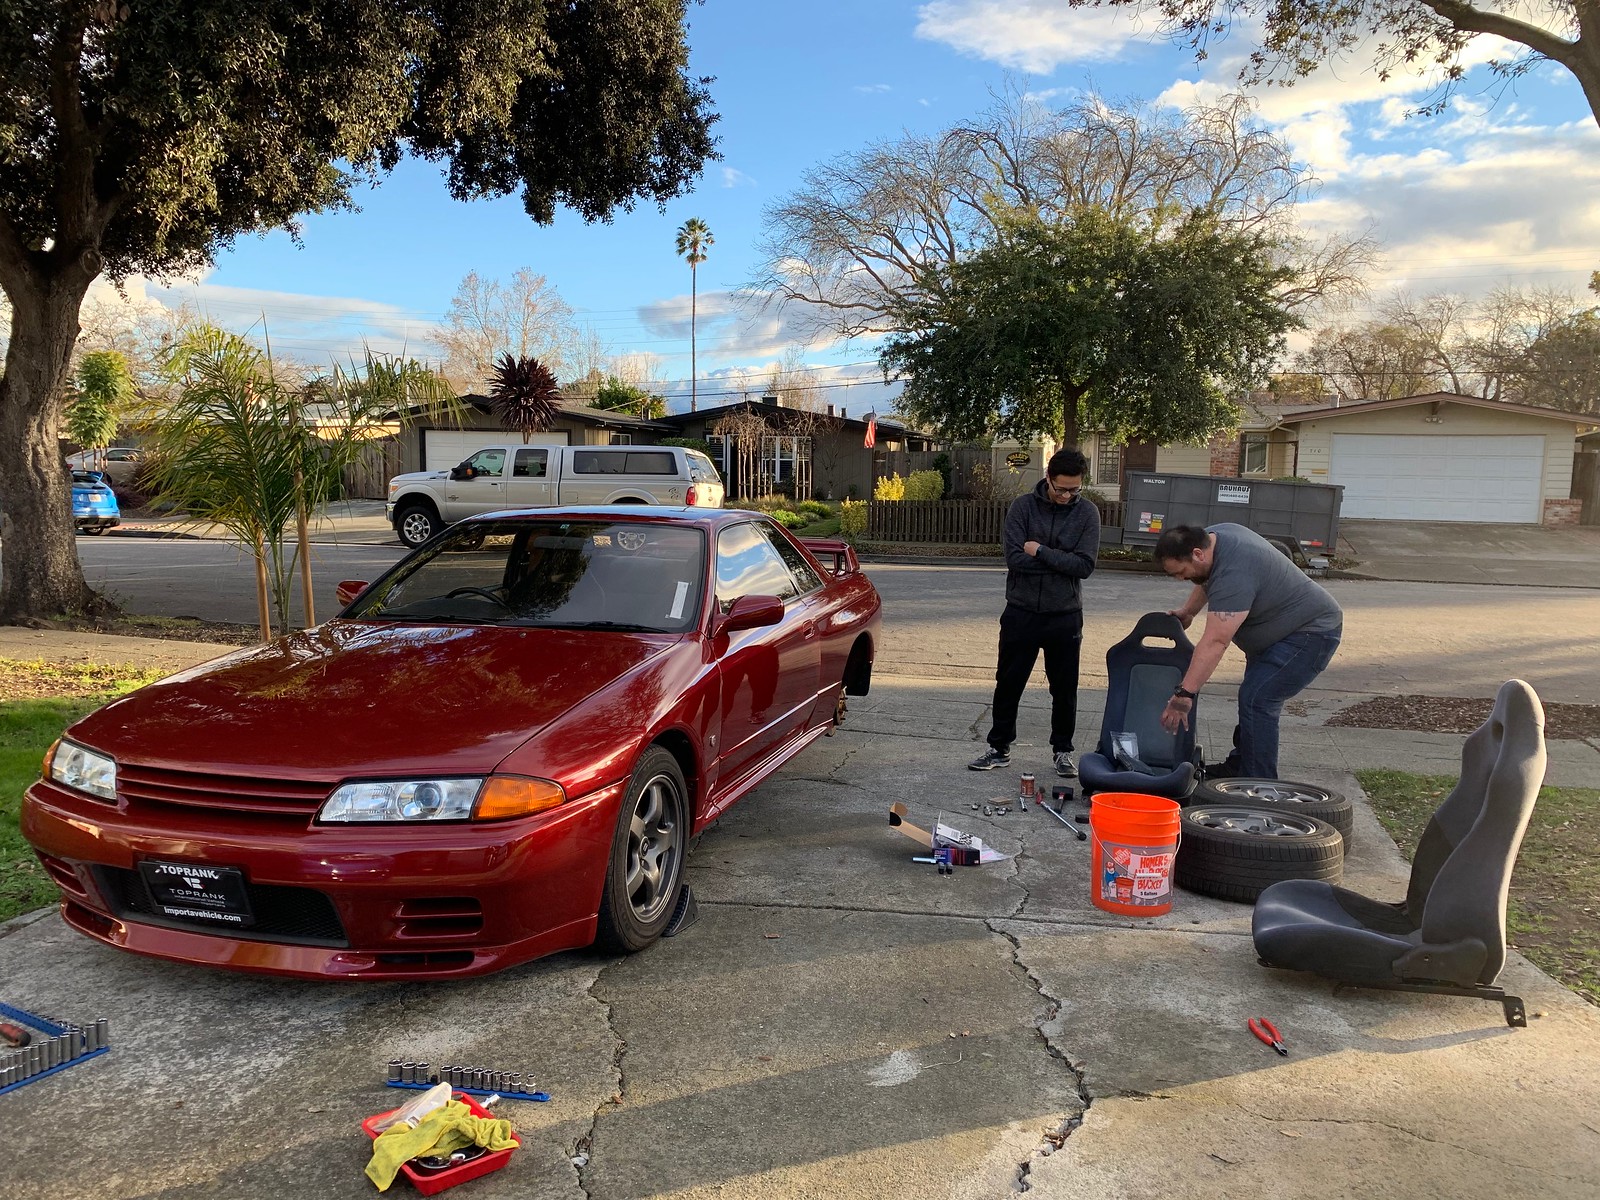
"Wait a sec, let me make it look like I'm doing something."
Worth noting: the Contis are non-directional, and therefore can be rotated all around.
I held off on fitting the wheels for about two weeks. I told myself that I should experience the car in stock tune for a while and not fit all my exciting parts right away and be left without anything to look forward to. I was doing well until I saw Michael's car (blue, previous post) on 17x9s and how good it looked. The wheels were installed a couple hours later...
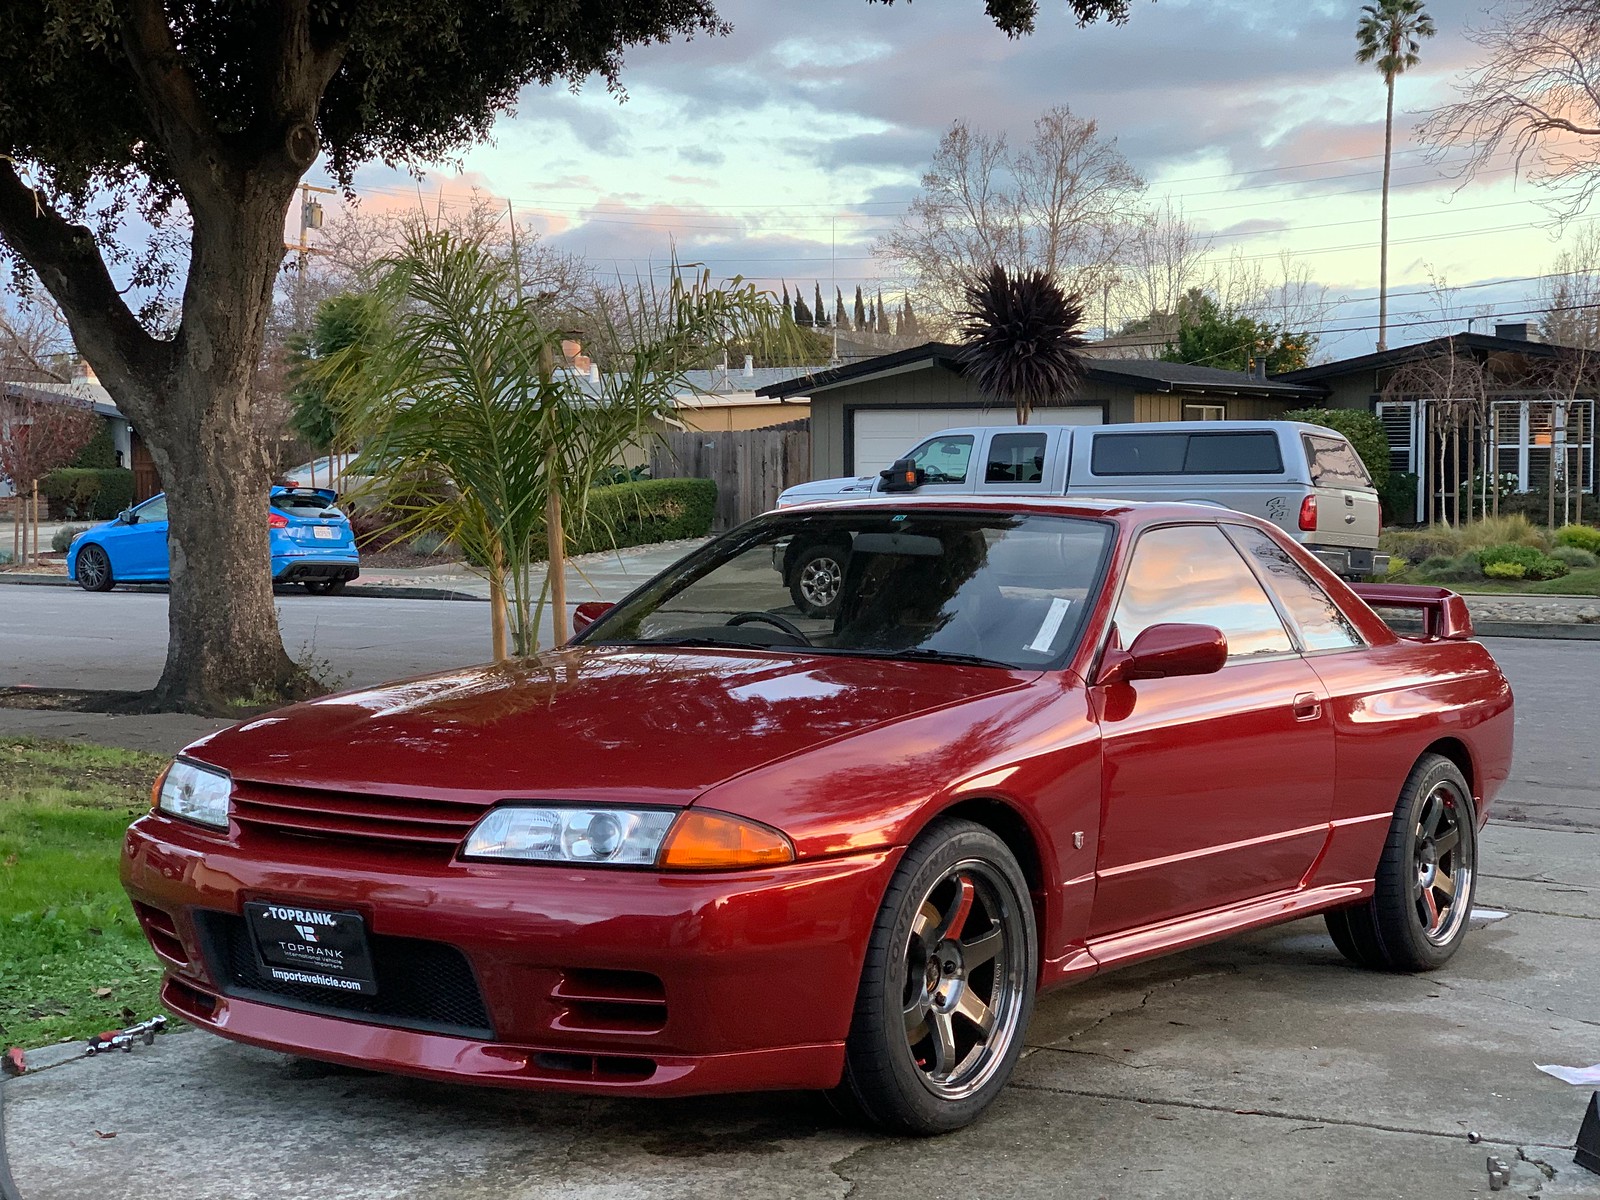
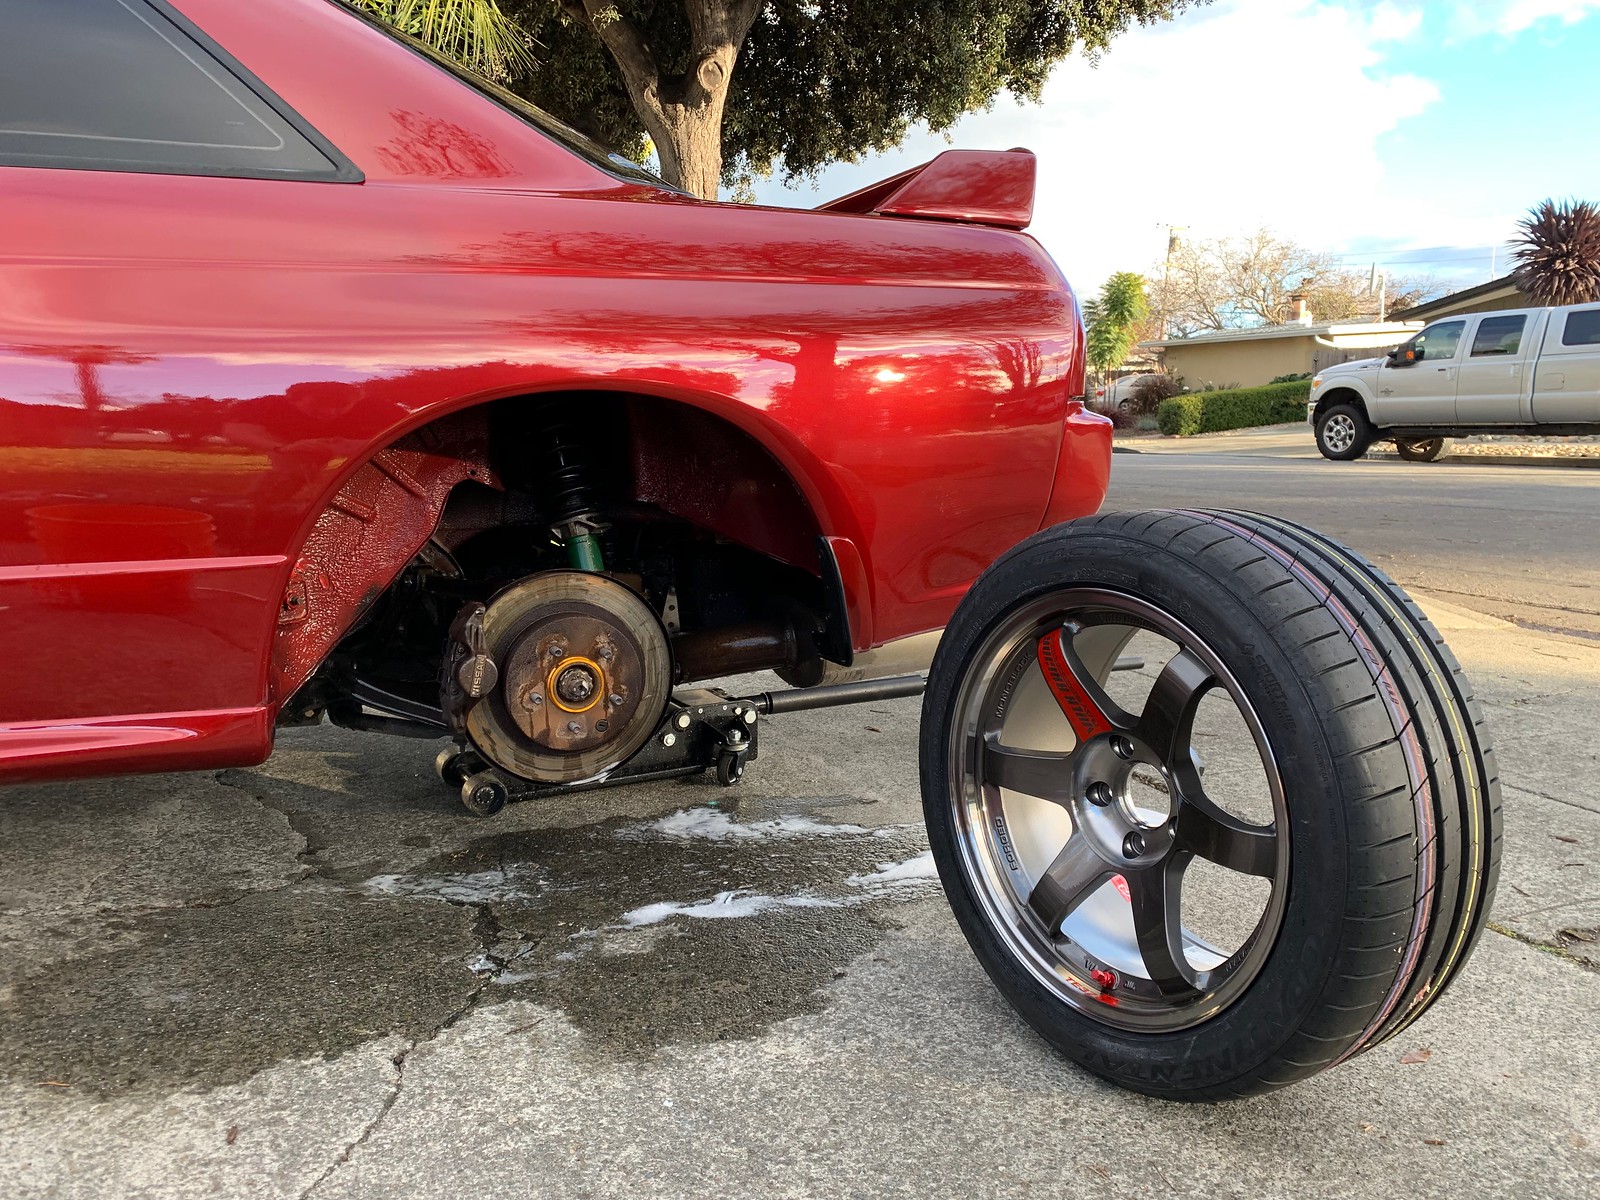
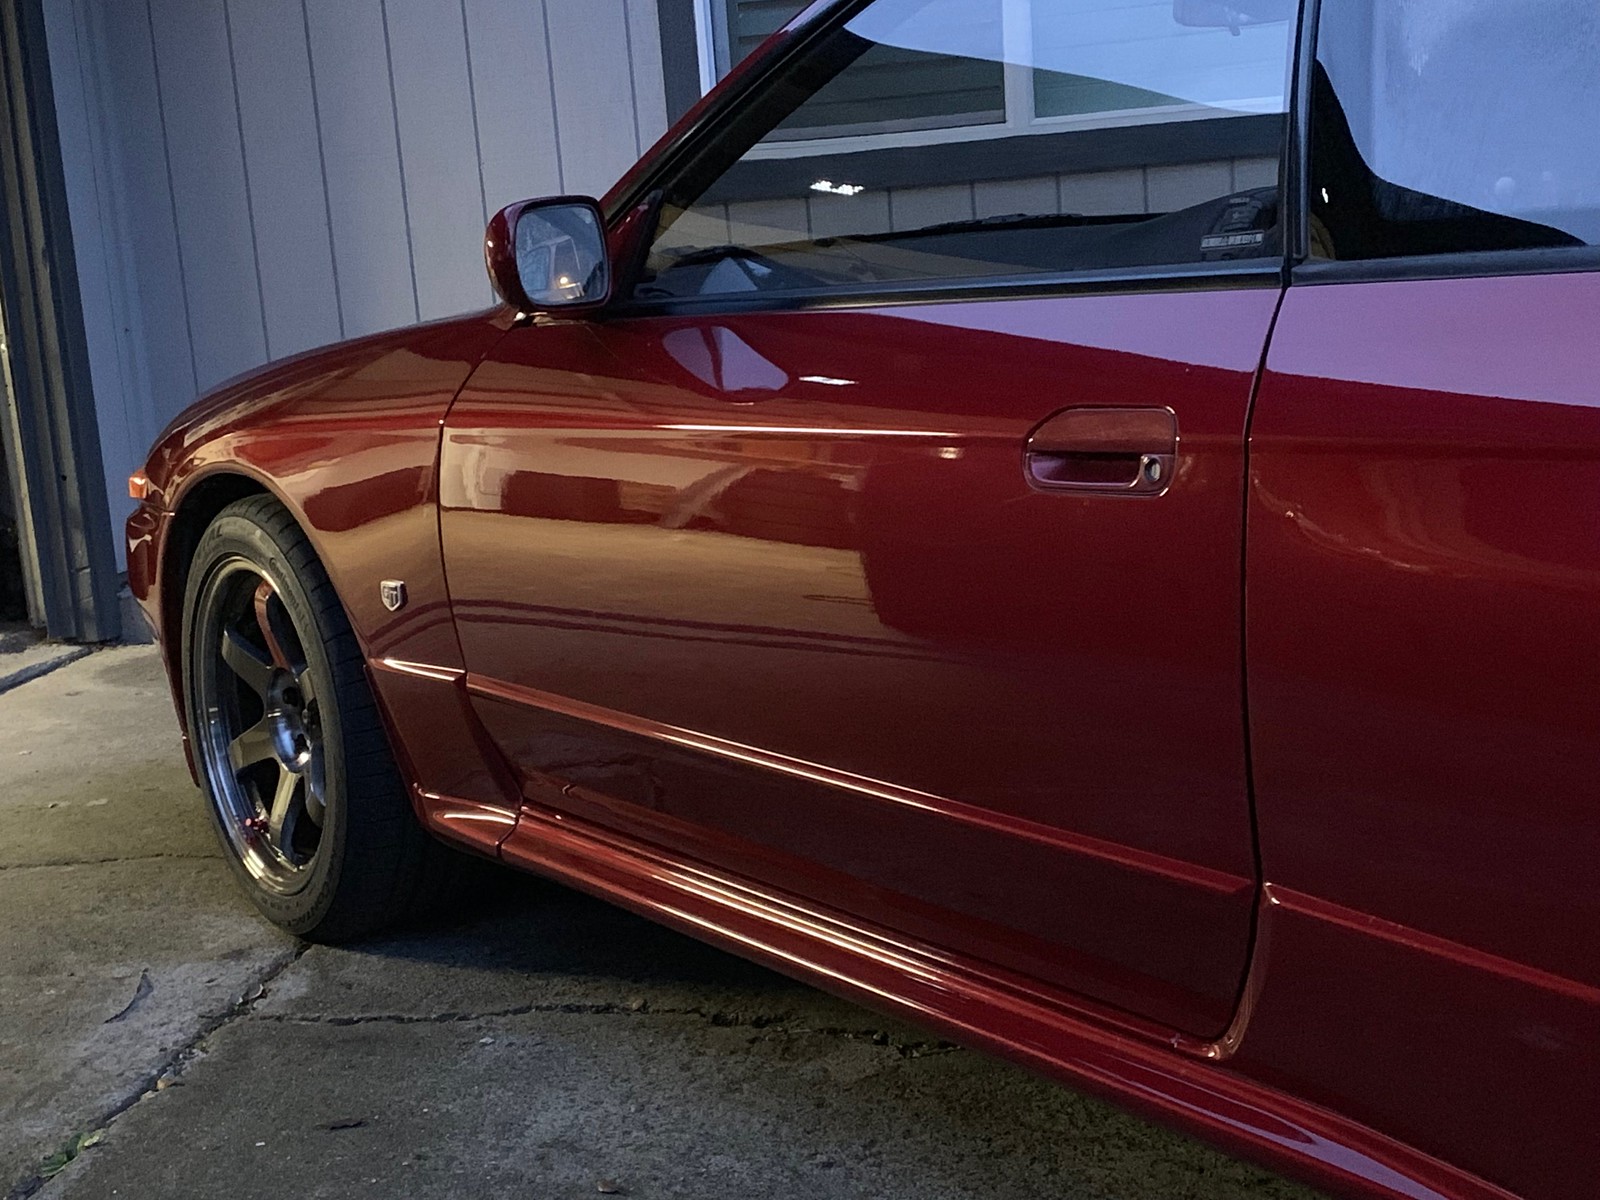
First look.
Ride height needs some work but the fitment of the wheels and tires is bang-on.

Could not be more pleased with how the wheels came out.
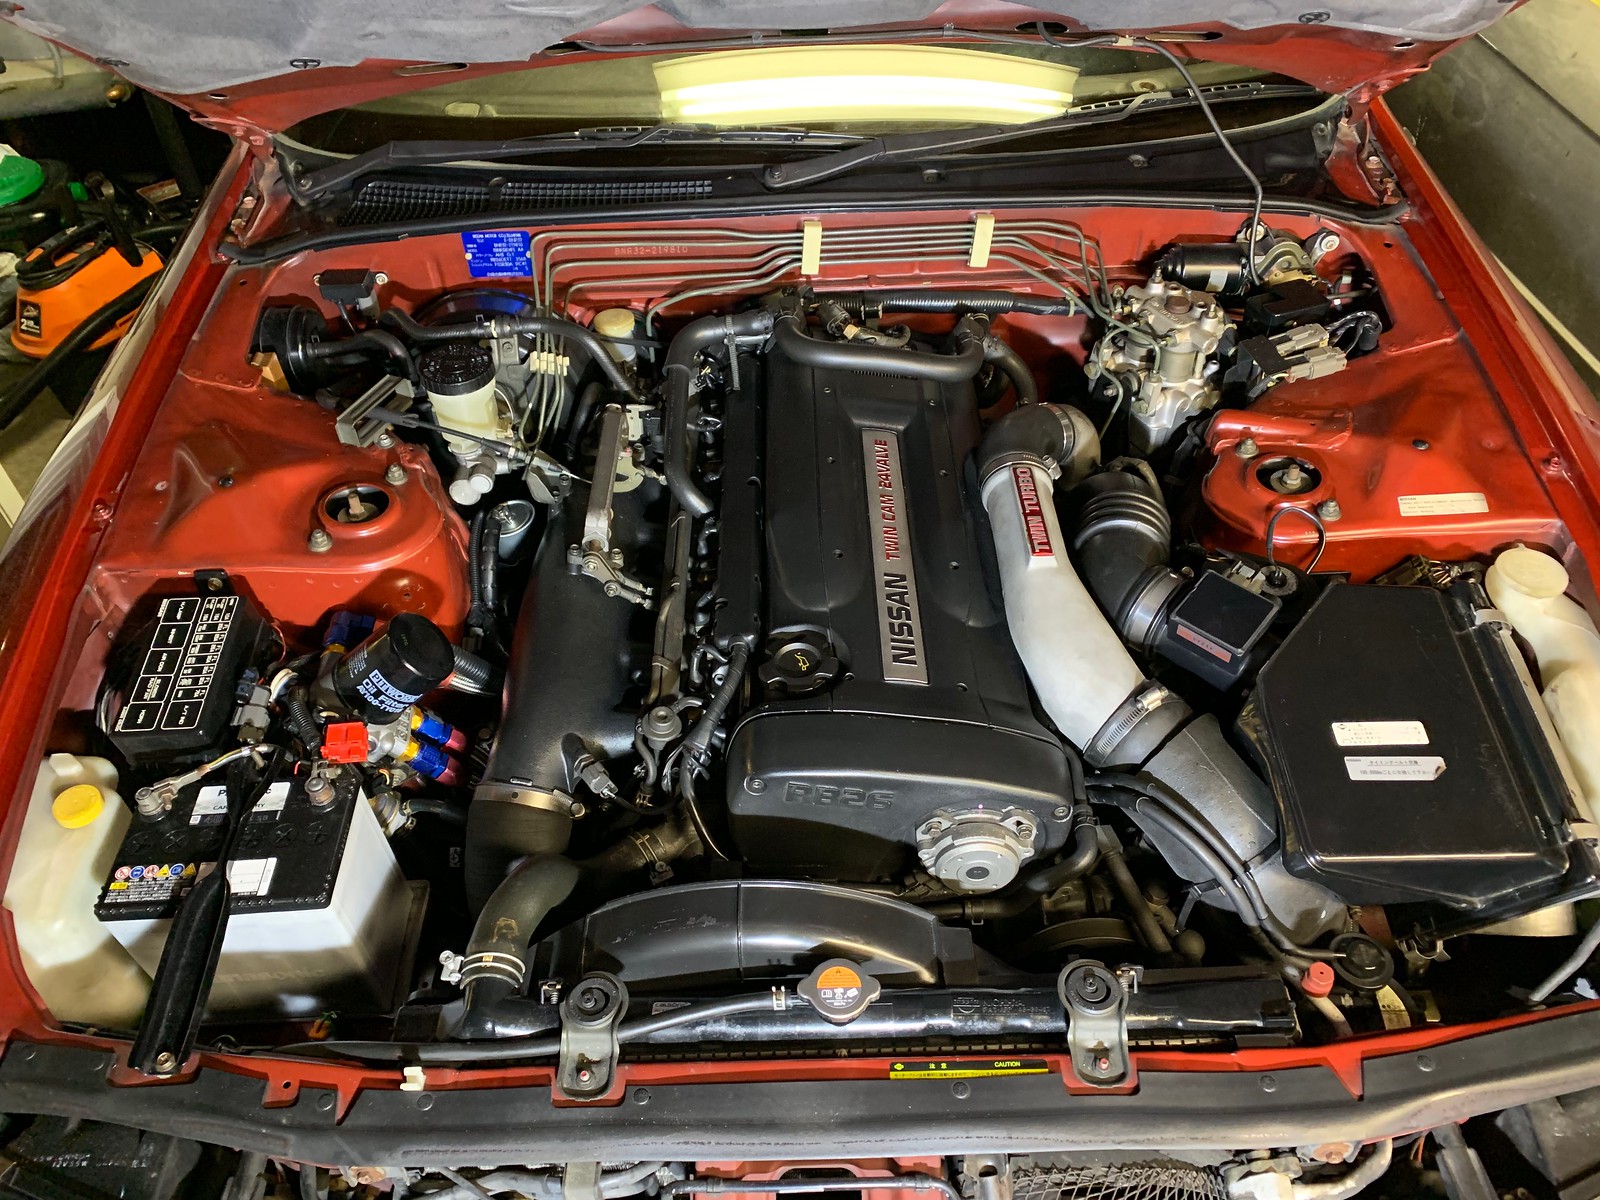
While the GT-R was in a lab somewhere in Orange County getting sorted out, I purchased a tired Nismo strut bar and also a Cusco master brake cylinder brace set. The bar needed to be refinished, and I was not digging the idea of the anodized blue Cusco bits in an otherwise stock engine bay, so I had them all powdercoated at the same time. The bar was done in a silver as close to the original finish as possible, and all the other bits were done in dark graphite to blend in and look OEM.

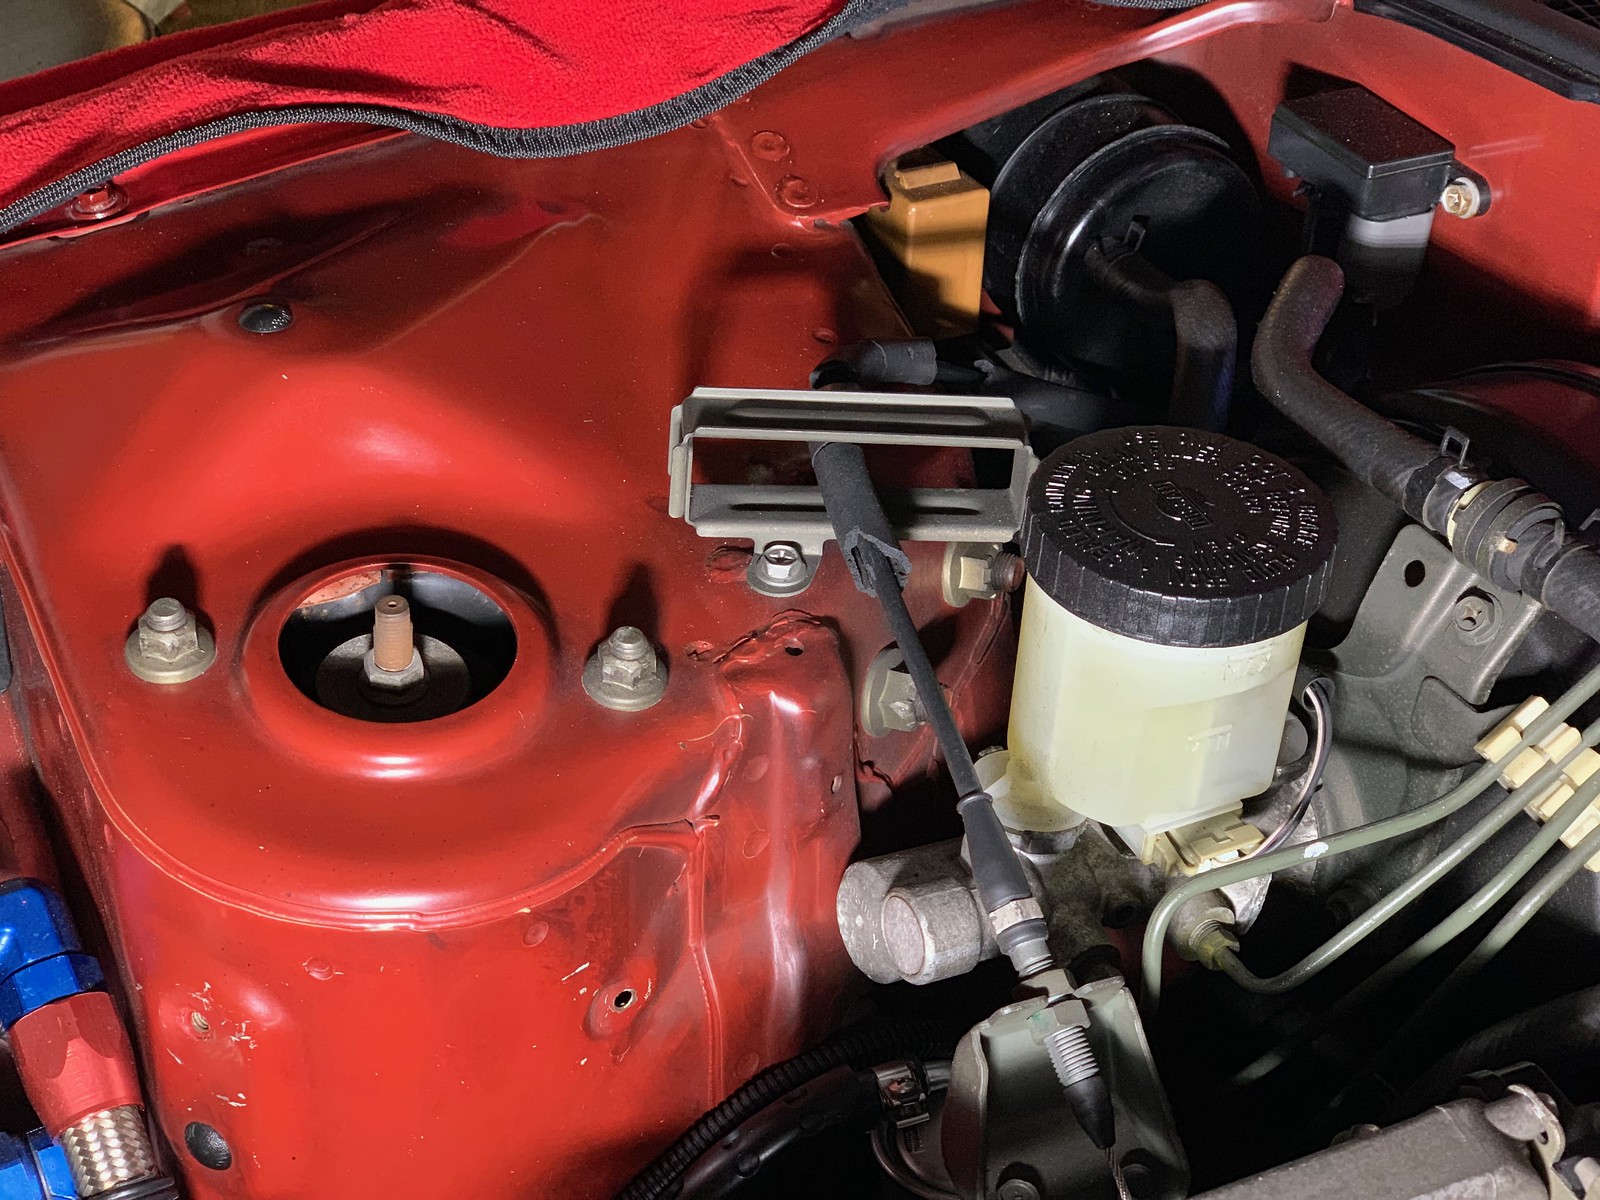
Before

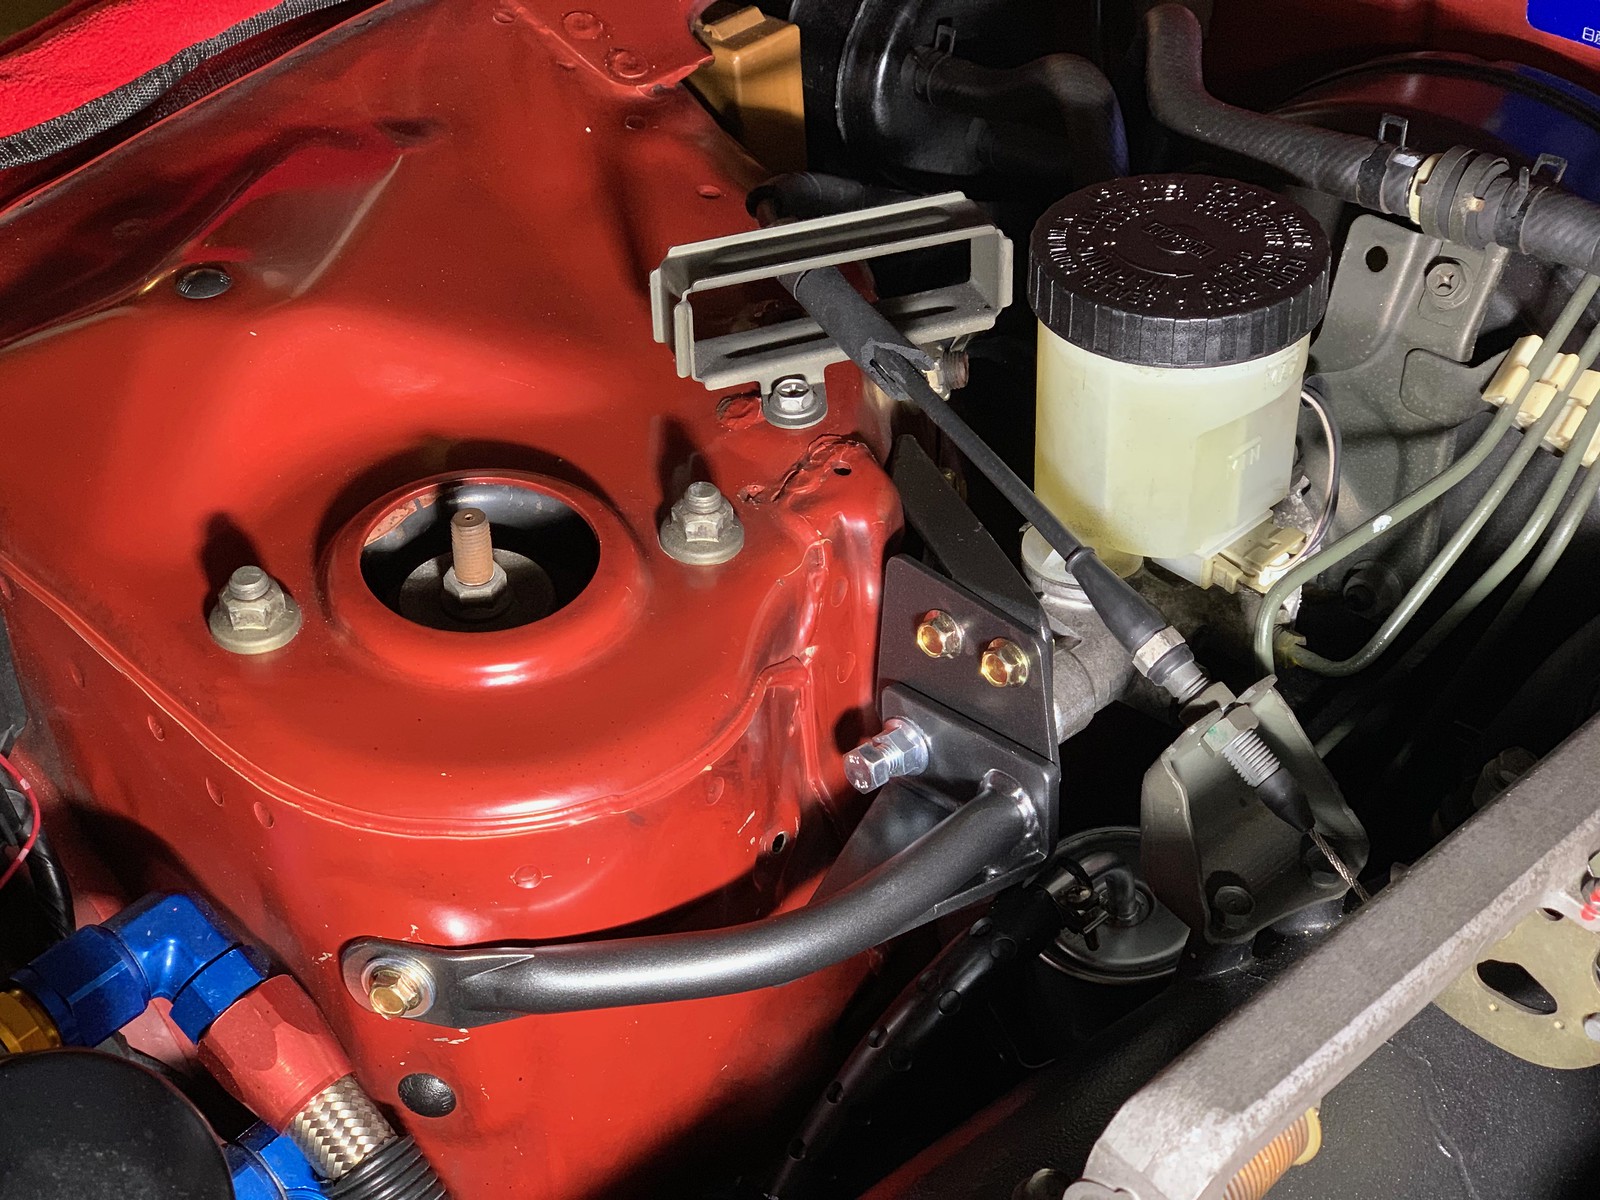
After.
The brake master cylinder brace is an interesting piece. In stock form, the Skyline's firewall, which mounts the brake pedal assembly, is not quite up to the task when the driver really leans on the pedal. The firewall flexes locally, which the driver experiences as soft pedal feel. The Cusco brace ties into the factory strut tower and butts right up against the end of the brake master cylinder, providing a backstop when you lay into the pedal. The improvement can immediately be observed from the engine bay, and it is also immediately apparent from the driver's seat. A great, inexpensive modification.
Here's Sean Morris's relevant page with some video to see what I mean:
https://www.gtrusablog.com/2017/11/nissan-skyline-gt-r-r32-brake-master.html
Before
After.
The strut brace is... a strut brace. It ties the top mounts of the struts together across the engine bay. There is no shortage of options out there, from the OE R33 unit up to a $2000 titanium Omori Factory piece. I'd rather spend that money elsewhere, and I like the Nismo piece because the center section is removable, which is very handy for wrenching. I lost the original Nismo sticker when the bar was refinished, but sourced a reproduction replacement from JL Design and Fab in Australia.
https://jl-design-fab.myshopify.com/collections/stickers/products/vintage-nismo-strut-brace-sticker
Before
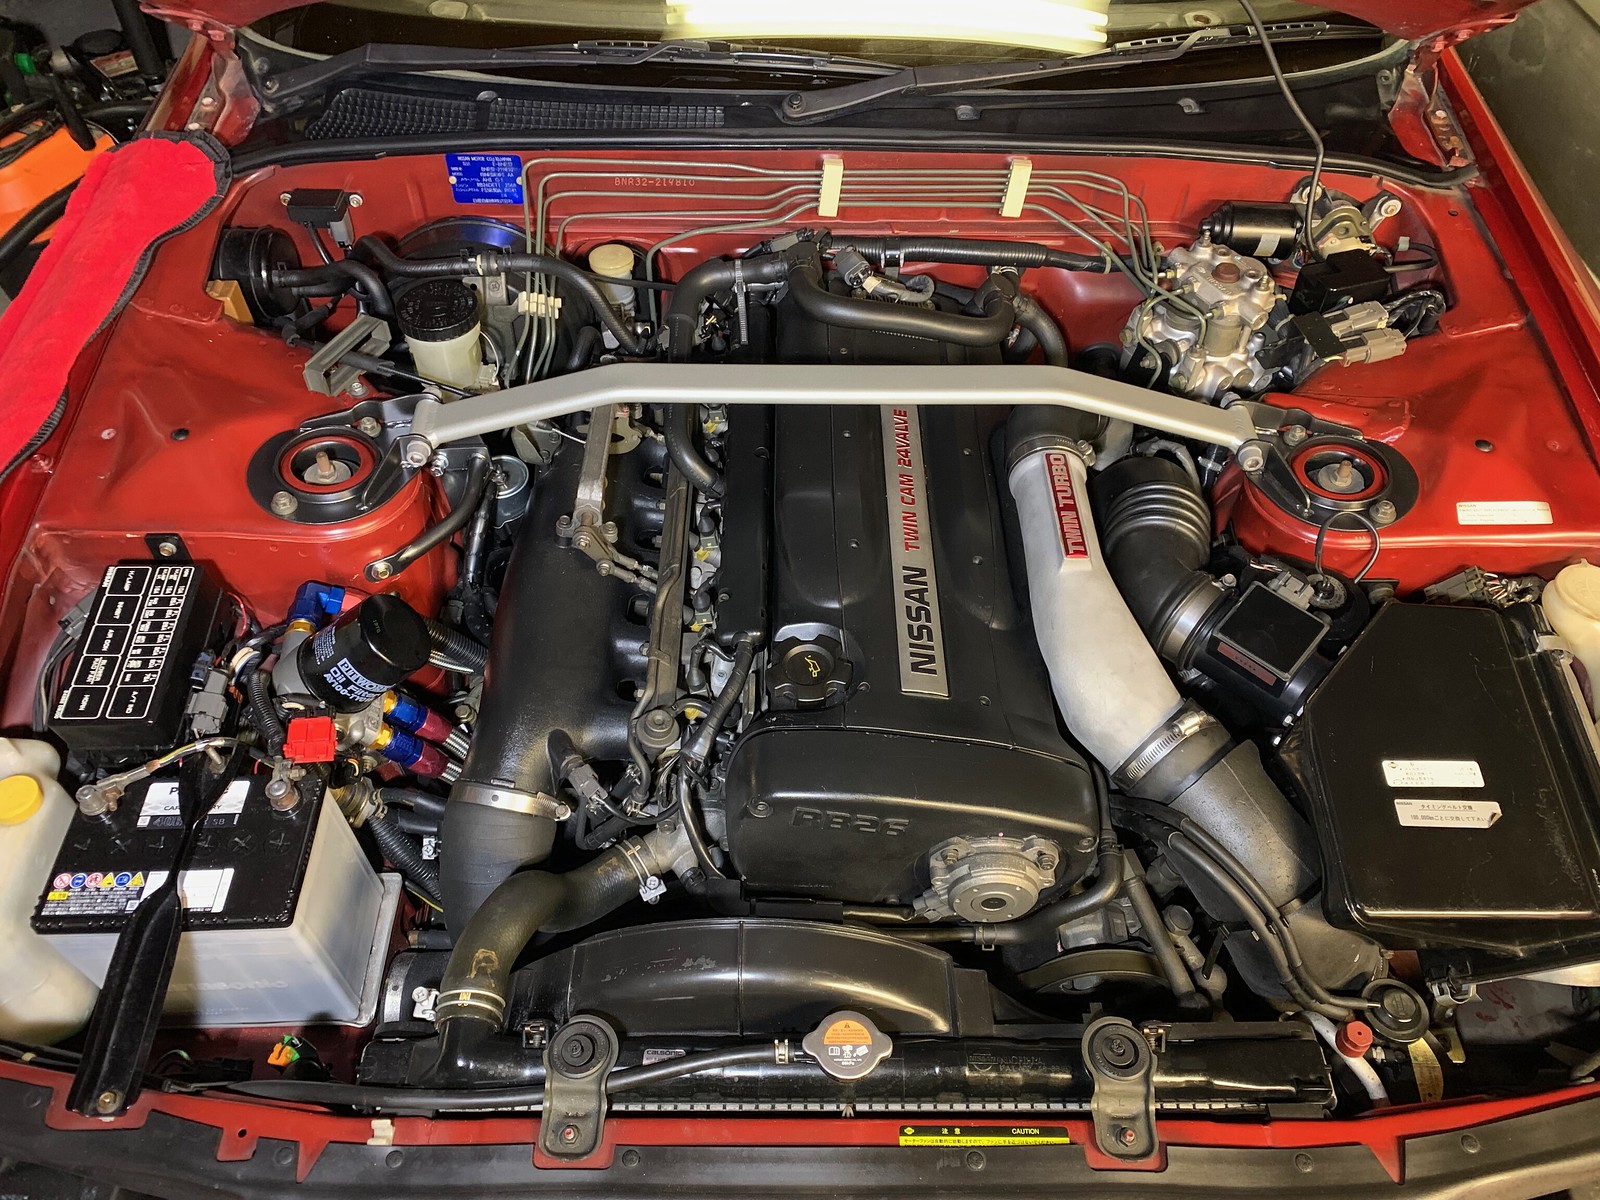
After.
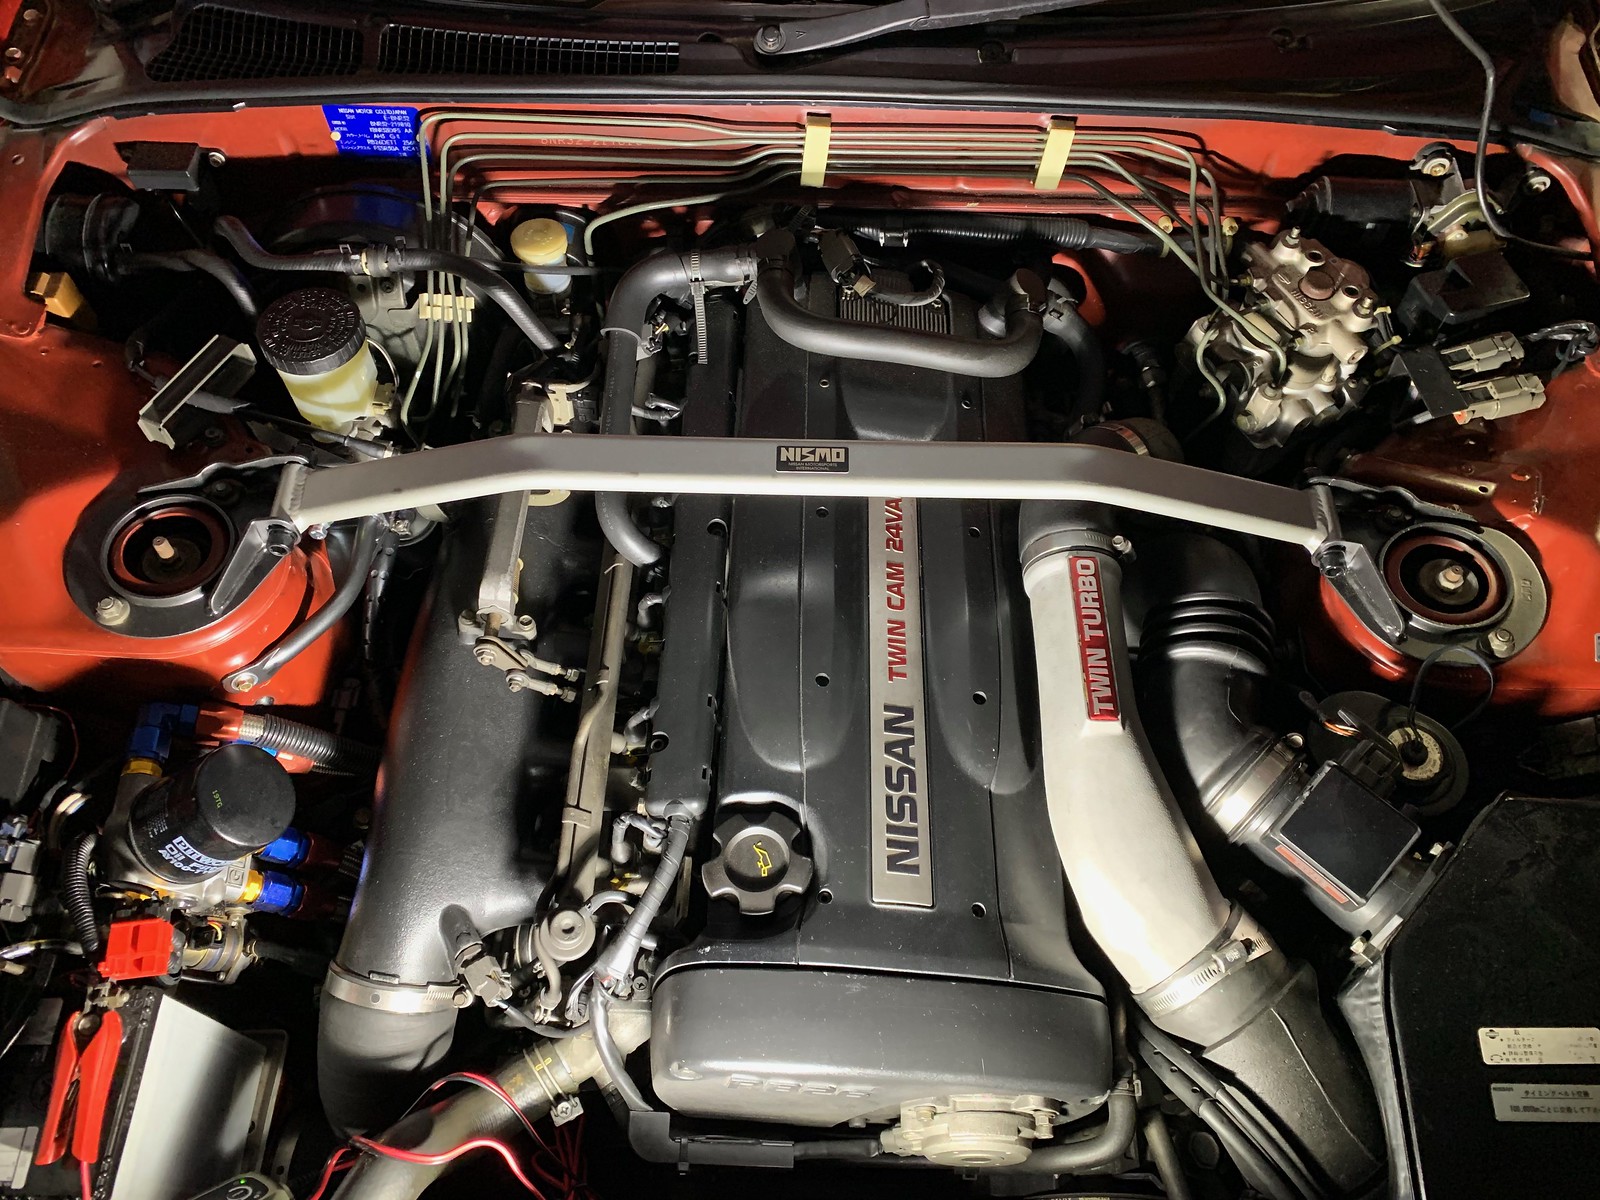
After + replacement Nismo decal.
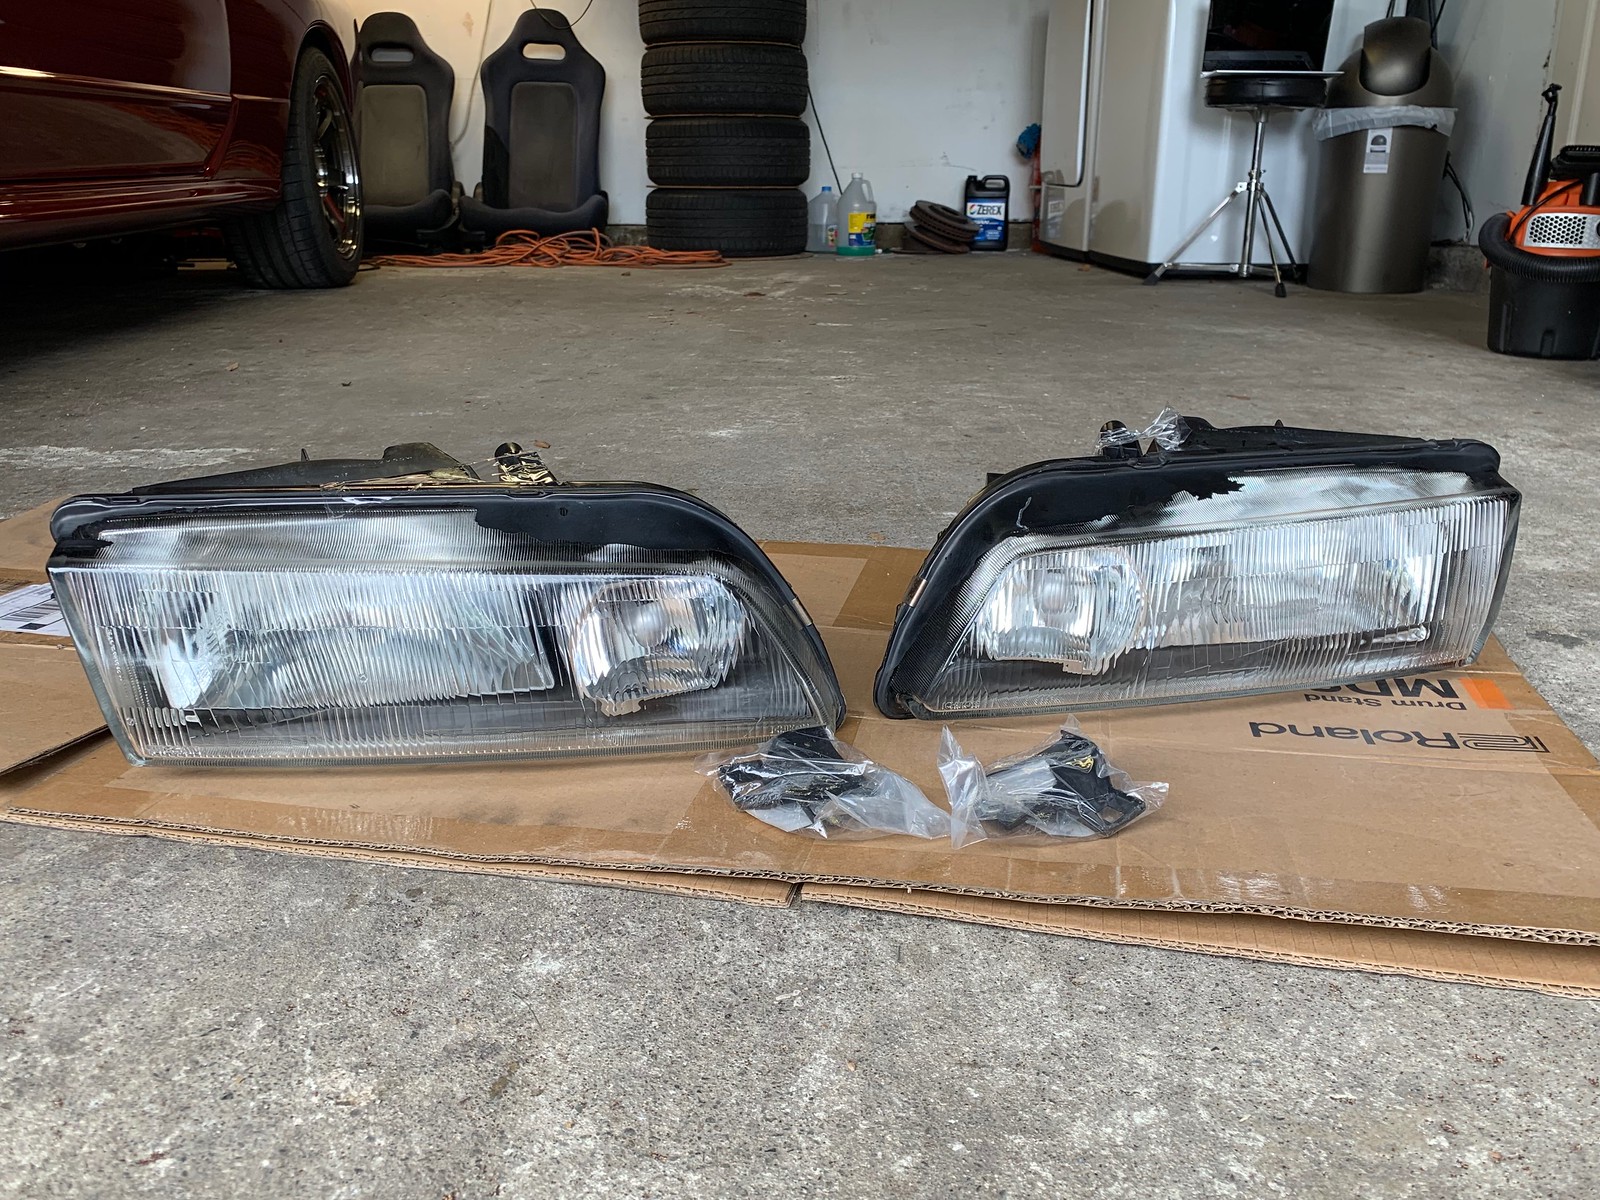
There were three varieties of headlight offered on various trim levels of the R32 Skyline. The GT-R came with projector headlamps, an early style and a later style. The early style had a pronounced ring around the projector, the later did not. My car came equipped with the later style, and they worked just fine. The third style that was used was the reflector housing type, as seen above. These were used on the lower trims of the Skyline, but were brought back into action for the N1 variant of the GT-R. For this reason, "N1" headlamps are a popular modification for GT-Rs.
I prefer the look of the N1 housing, so in late 2018 I sourced a set from Russia by way of eBay. For GT-R use, they require two stamped metal brackets that fasten to the inboard side of the lights and pick up the grille.
Installation was straightforward, but challenging due to tool access. To remove the headlamps:
- Remove the amber turn signal lamps. There is a small Philips-head screw on the top at the fender; remove that, and pull the lamps toward the front of the car to pop them free at the ball-socket joint to the outer edge of the headlamp housing. This exposes two of the four bolts holding the headlamps in place.
- Remove the grille. It's clipped to the headlamp housings, so massage the (old, brittle) plastic clips carefully to release their hold. Don't forget the clip in the middle, between the horns.
- Remove the two remaining nuts holding each headlamp in place. This sounds easier than it is. You can see the nuts, but due to the presence of A/C hardlines and various harnesses getting a tool on them is a real challenge. I ended up using a combination of extensions and wobbles to get the job done.
- [optional] Drop various fasteners into the abyss of the engine bay. Remove the lower plastic screening and punch it until the lost fasteners fall out.
- The inner corners of the bumper cover, where the grille sits, 'trap' the headlamps and prevent you from being able to pull them straight out toward the front of the car. The mounting studs and side attachments require you to pull in this direction. So, before you drive yourself crazy, remove the three (I think?) plastic clip fasteners holding the bumper cover down in the grille area. This operation is specified in the workshop manual and is essential to successful removal. With the bumper cover freed up, you can flex it out of your way enough to pull the lamps.
- Disconnect wiring and they're out.
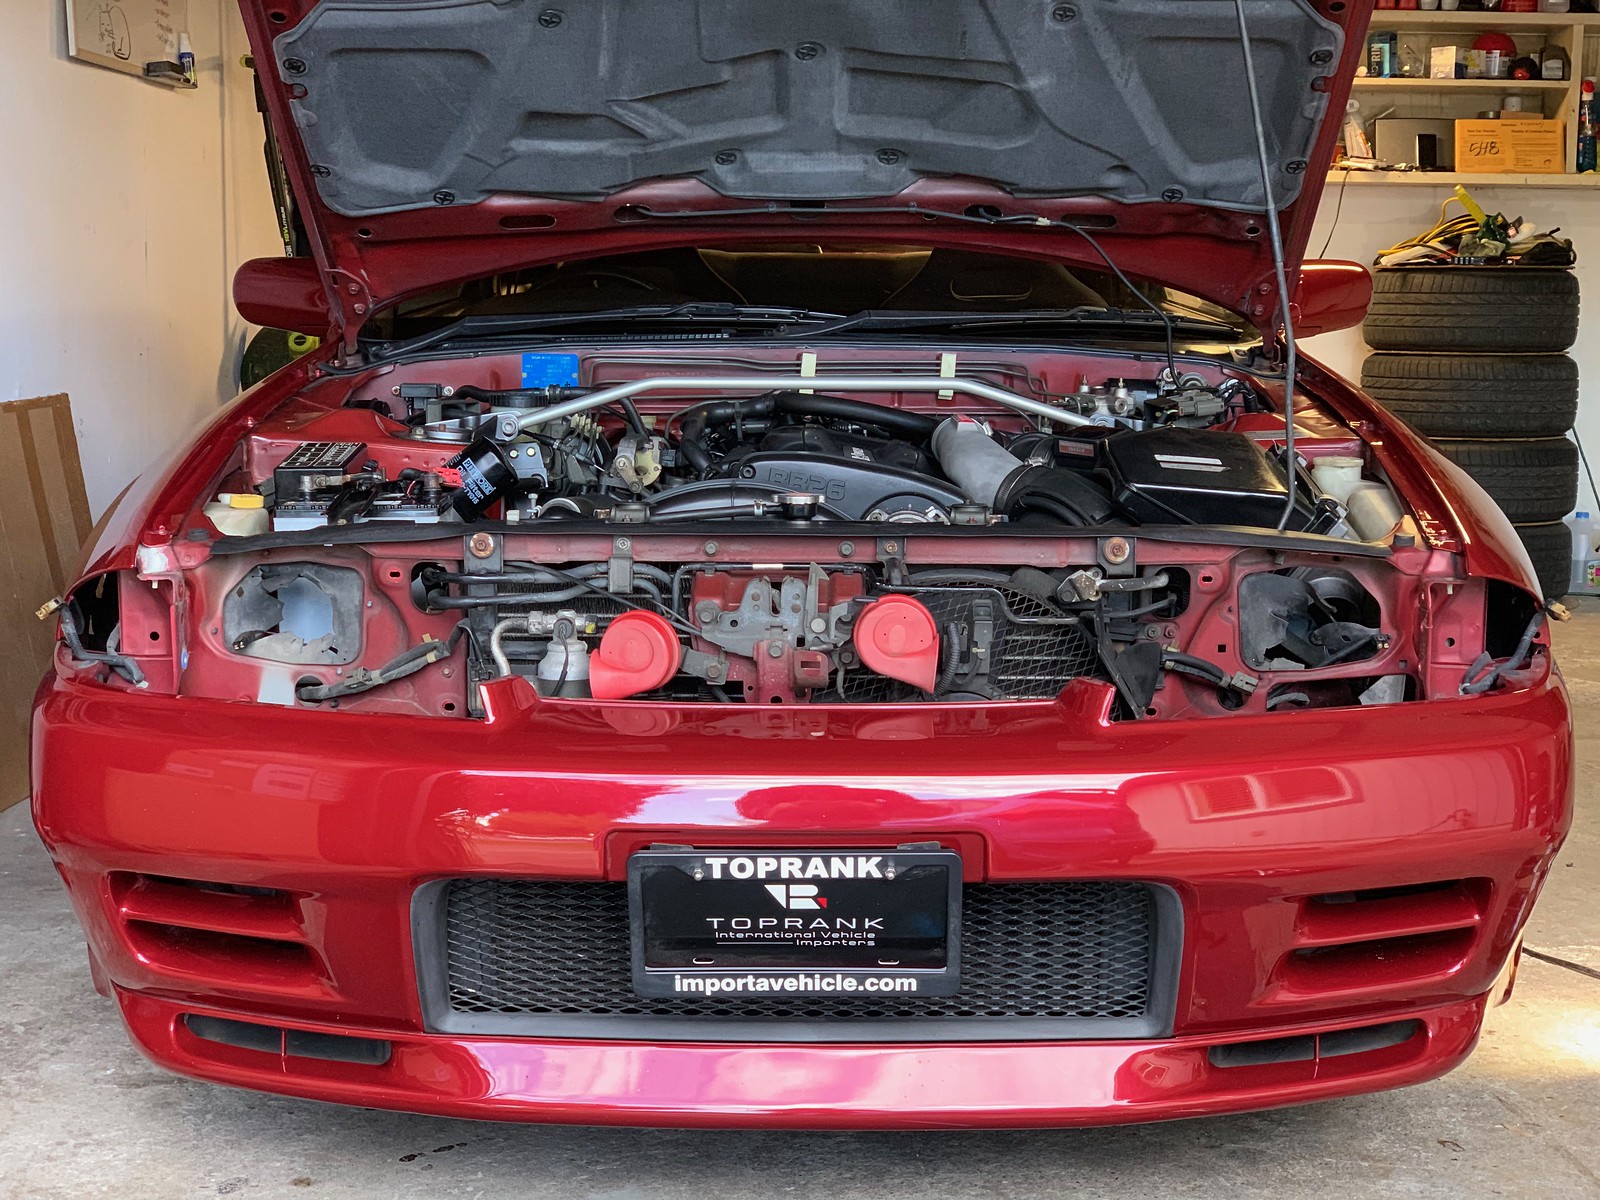
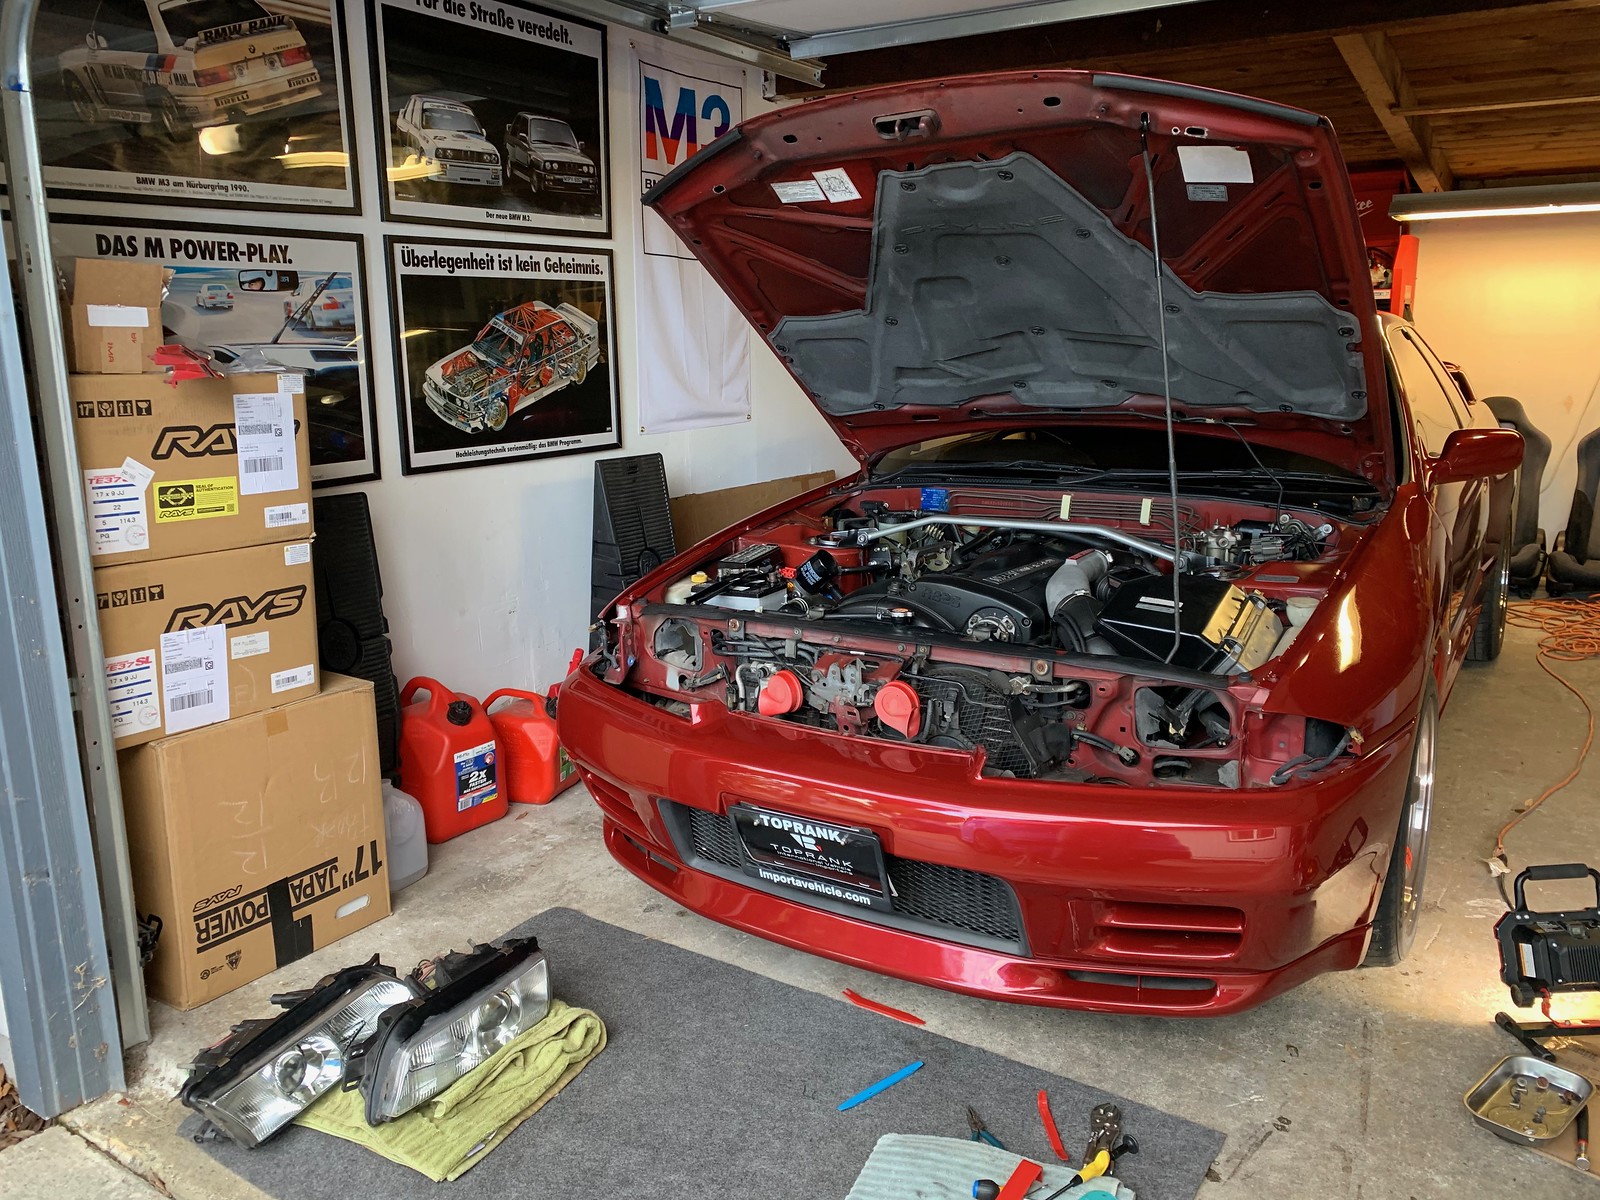
GIVE ME BACK MY FACE
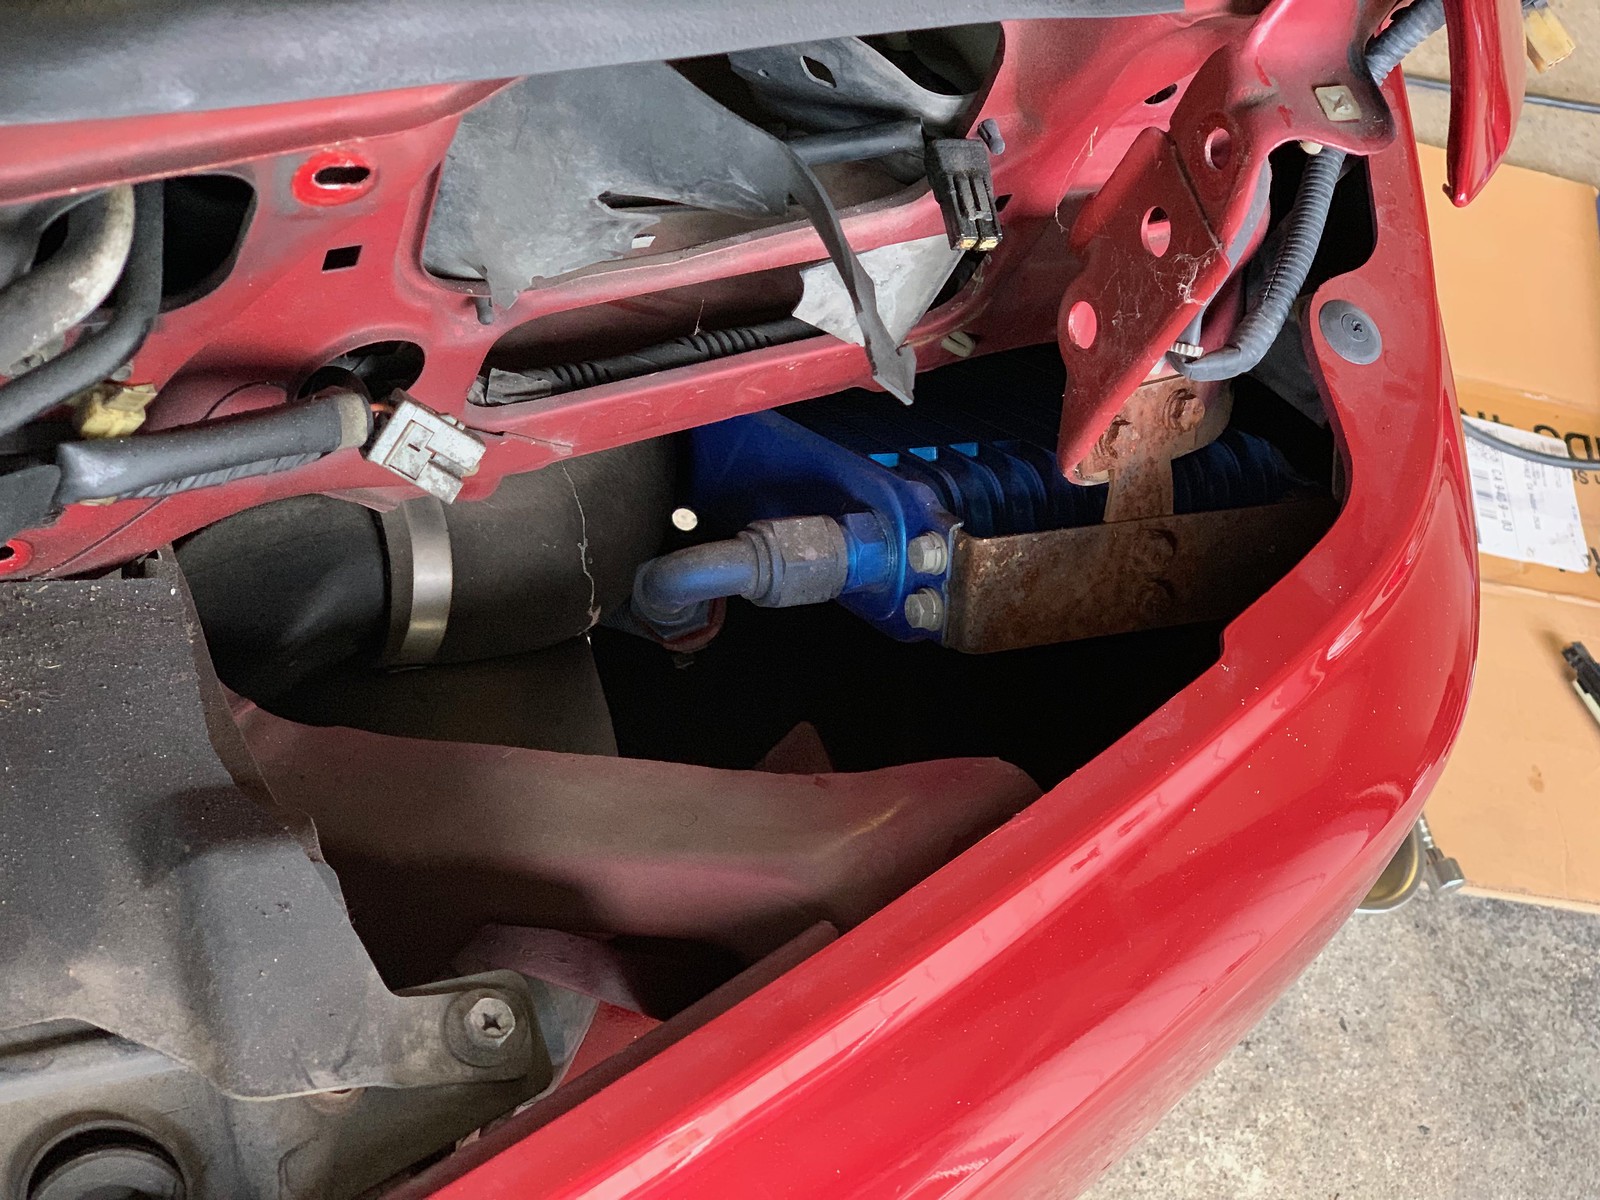
Oil cooler: yay! Corrision: boo!
The inner, smaller section of the N1 / reflector headlamps is actually a fog lamp. The GT-R does not come with fog lights unless optioned that way from the factory, but fear not - Nissan wisely wanted one headlight wiring harness to keep it simple, and therefore a fog lamp hookup is right where you need it, taped to the harness. You can see it in the photo above, on the left side with the grey connector. That little guy was taped up for nearly 30 years, waiting for somebody like me to put it to use. The larger area of the reflector headlamps contains the running light, and the low/high beam duties are shared in that area and executed by a dual-filament bulb.
When I pulled the headlamp, I confirmed the presence of an aftermarket oil cooler. This appears to reside right under the factory intake box, which explains why I don't have all the factory pre-filter ducting. My setup is probably really good at pulling hot oil-temperature air right off this heat exchanger, oh well. I was not thrilled to see that the mounting bracket was crusty, so since pulling the lamps was such a hassle I decided to paint it and try to stop the corrosion.
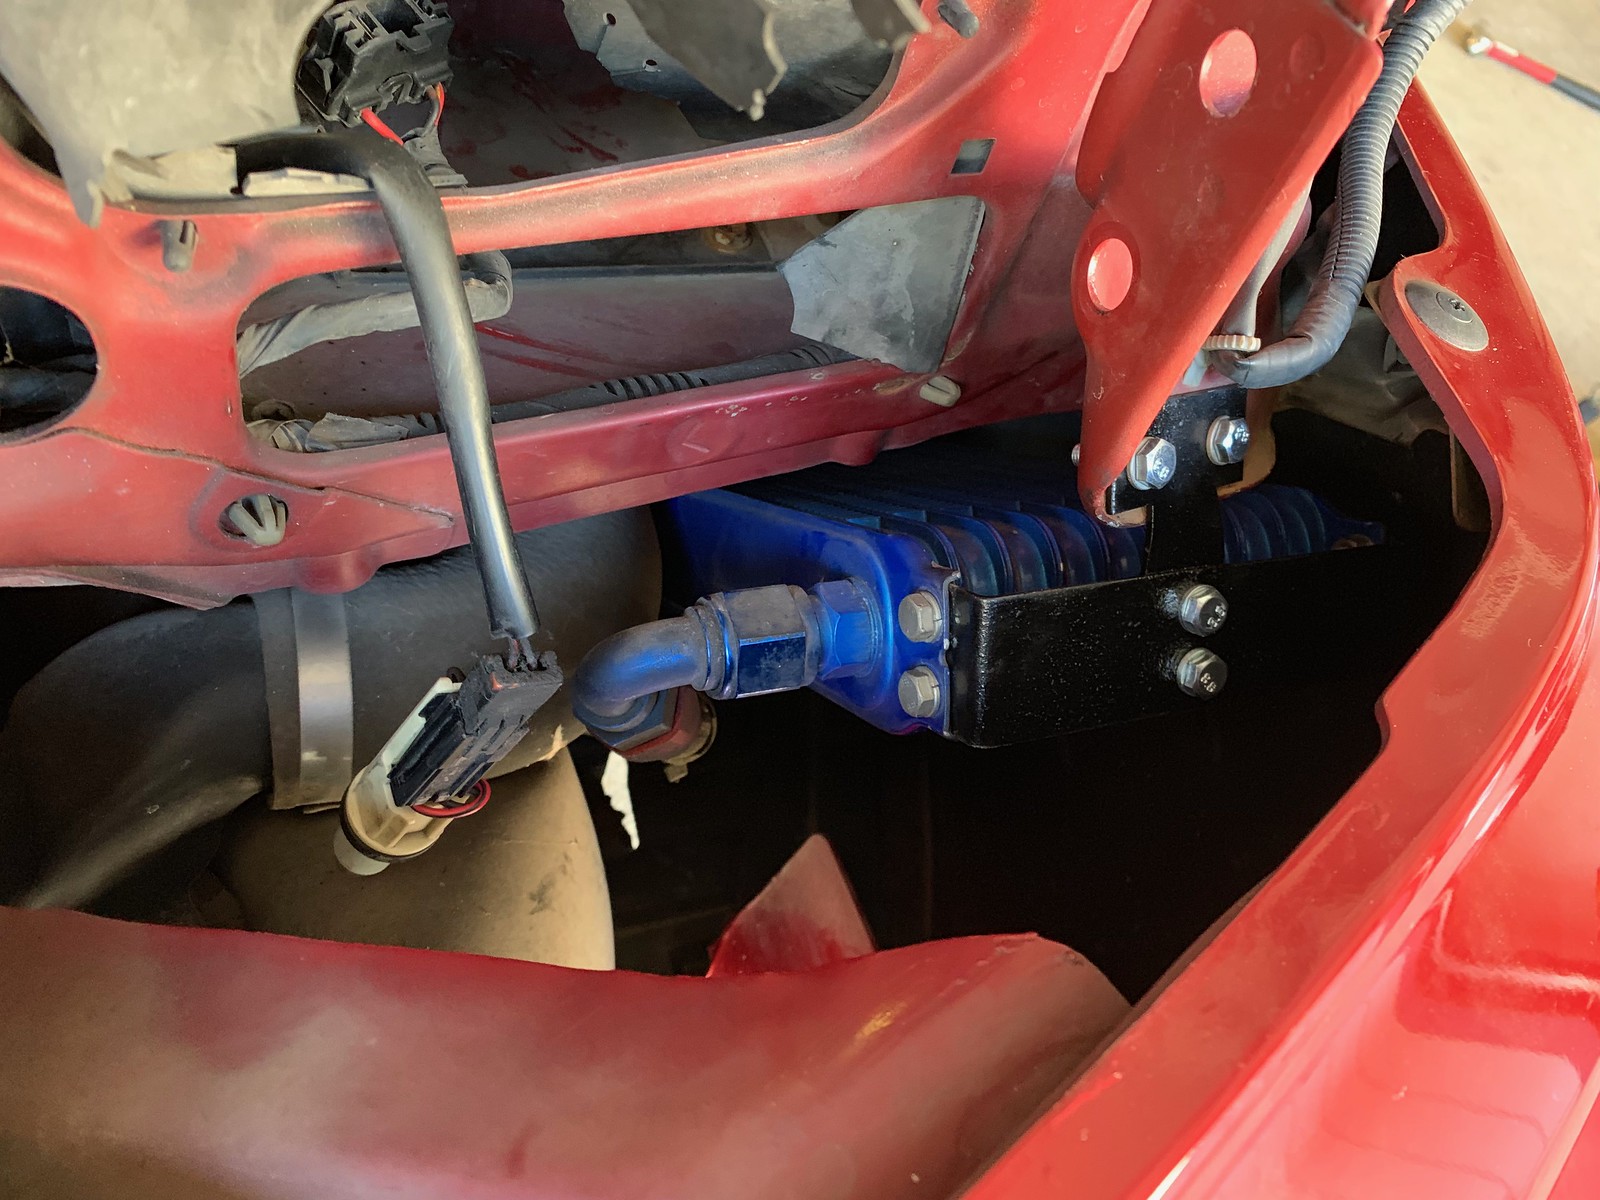
After.
I also took the opportunity to paint the horns, which were a faded-red-plastic kind of color, satin black.
It is worth noting that, at this state of disassembly, you have access to the two rubber grommets securing the top of your intercooler. They are probably toast at this age, so I'd recommend buying those before starting this job and replacing while you're in the neighborhood. I hadn't thought of this, so with the horns and bracket refinished, and the new headlamps hooked up and confirmed to be fully functional, I put everything back together. Installation is, of course, the reverse of disassembly.
Oh right, one more thing you probably want to inspect and be ready to replace: the rubber 'skirts' around the headlamps that guide wiring and seal off a dirt path into the motor bay.

Black horns, painted oil cooler bracket, and 50% of N1 headlamps installed.

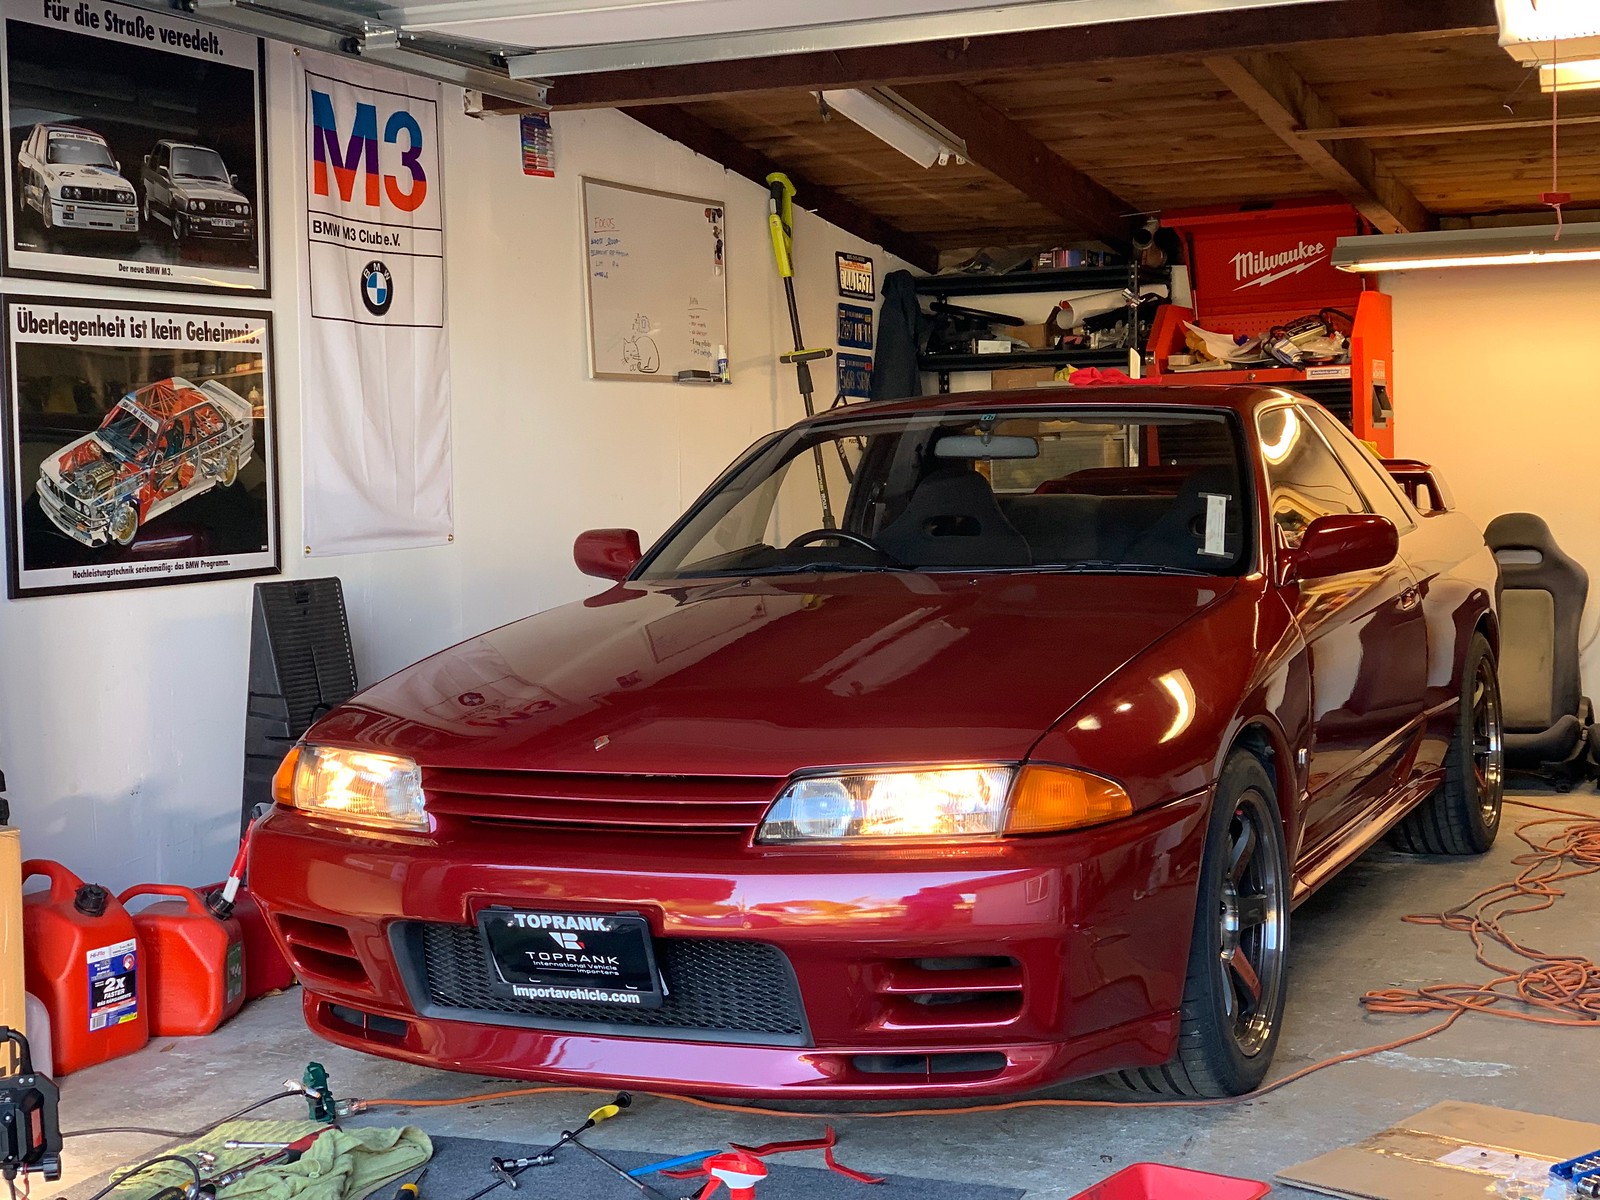
Perfect 90s yellow light.
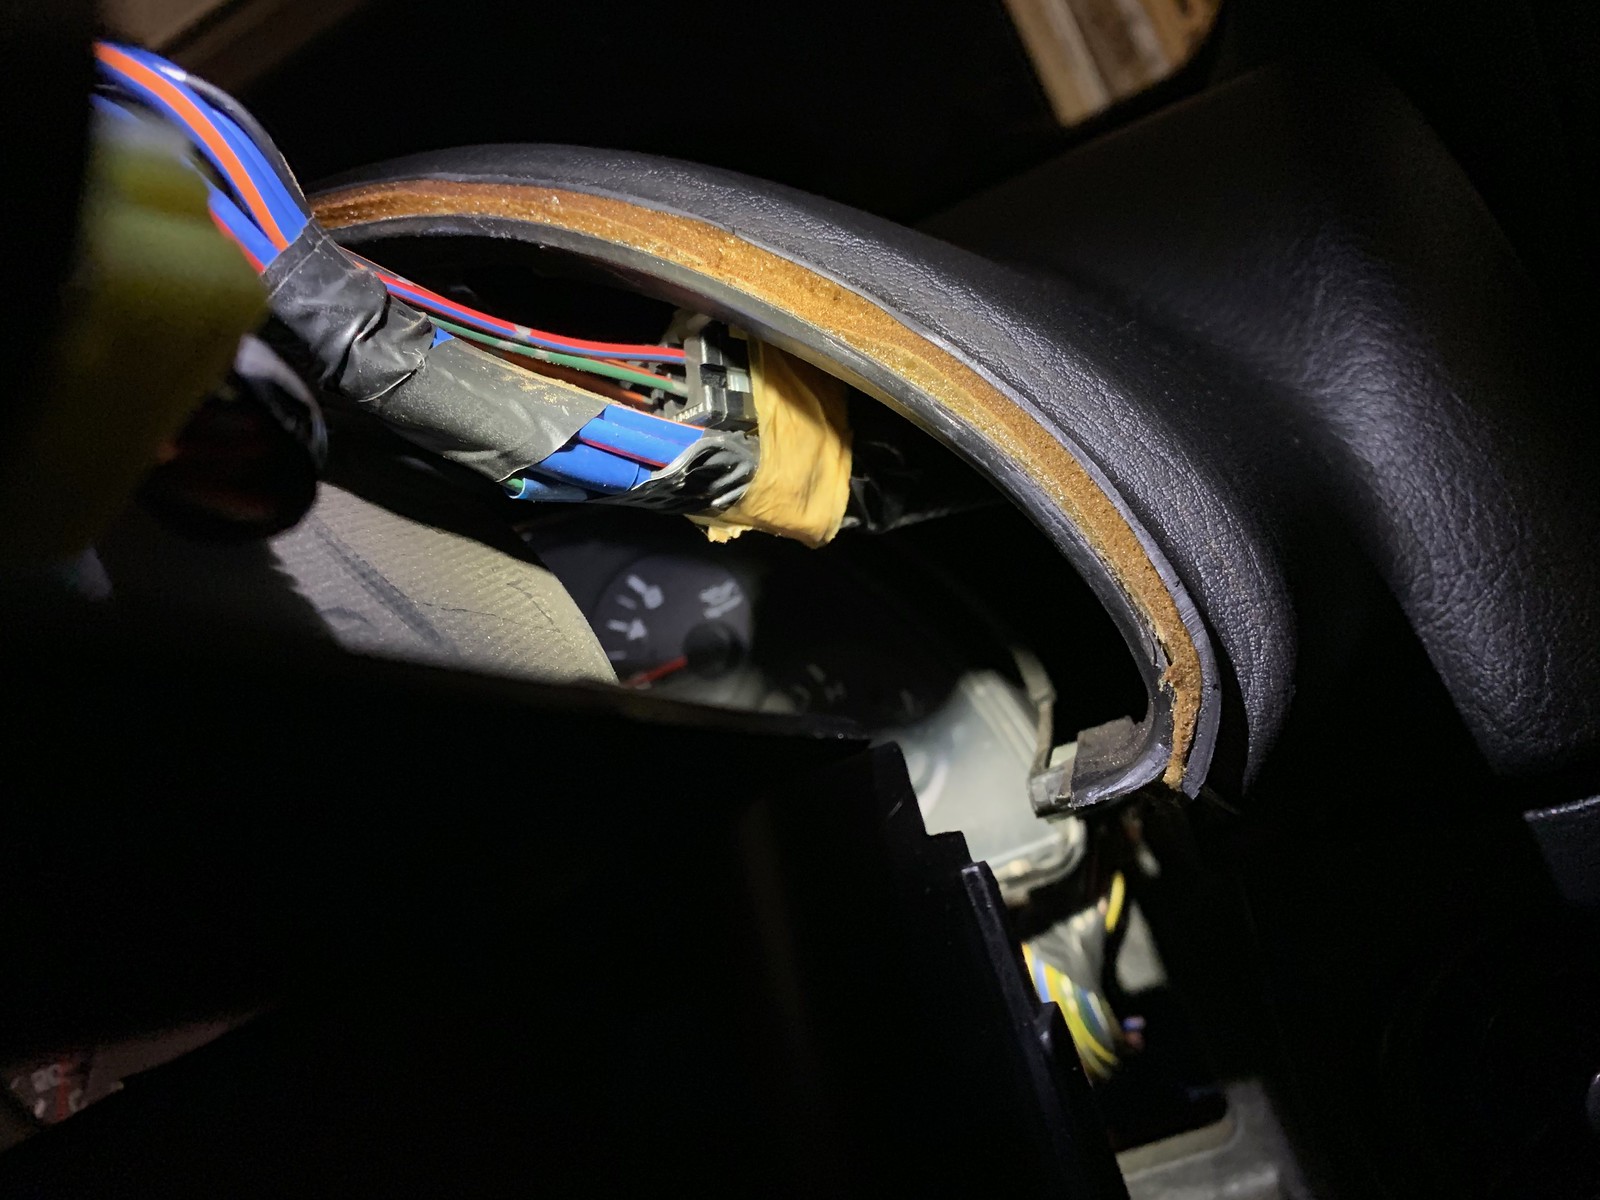
I mentioned before that the foglight connections are present on the headlamp harness. To enable functionality, you also need to connect the switch in the instrument cluster bezel. To pull this bezel is straightforward and requires a Philips-head screwdriver, interior trim removal tools, and patience for brittle plastic. That piece is not cheap. When you get it out of the way, you'll be greeted with the sight below - again, the fog light connector is just taped up (yellow) on the original harness and only needs to be clipped to the back of the button.
If you've done it correctly, you've got foglights! I'm very satisfied with how the new headlights look, and the performance is comparable to, if not better than, the projector units. The truth is, this is old headlight technology and both variations are pretty dim compared to modern headlamps. Not to mention that I'm partially blinding everyone with lights set up for RHD markets used in LHD streets...
In the next entry - resolving the 4x4 ride height and harsh ride.
No comments:
Post a Comment