
How they looked: saggy and peeling.
That ripple is not supposed to be there.
These trims are held on mainly by clips, but as usual the hard part is digging through other parts to get access to the part of interest. To get started, the rear seat needs to be removed. The bottom seat cushion goes first - it's retained only by two latch features on either side. They are disconnected by a sharp tug upward. The seat back goes next, there is one bolt per side that you can access with the seat cushion out of the way. From there it goes upward until the tongues on the seat come free of the receivers on the body.
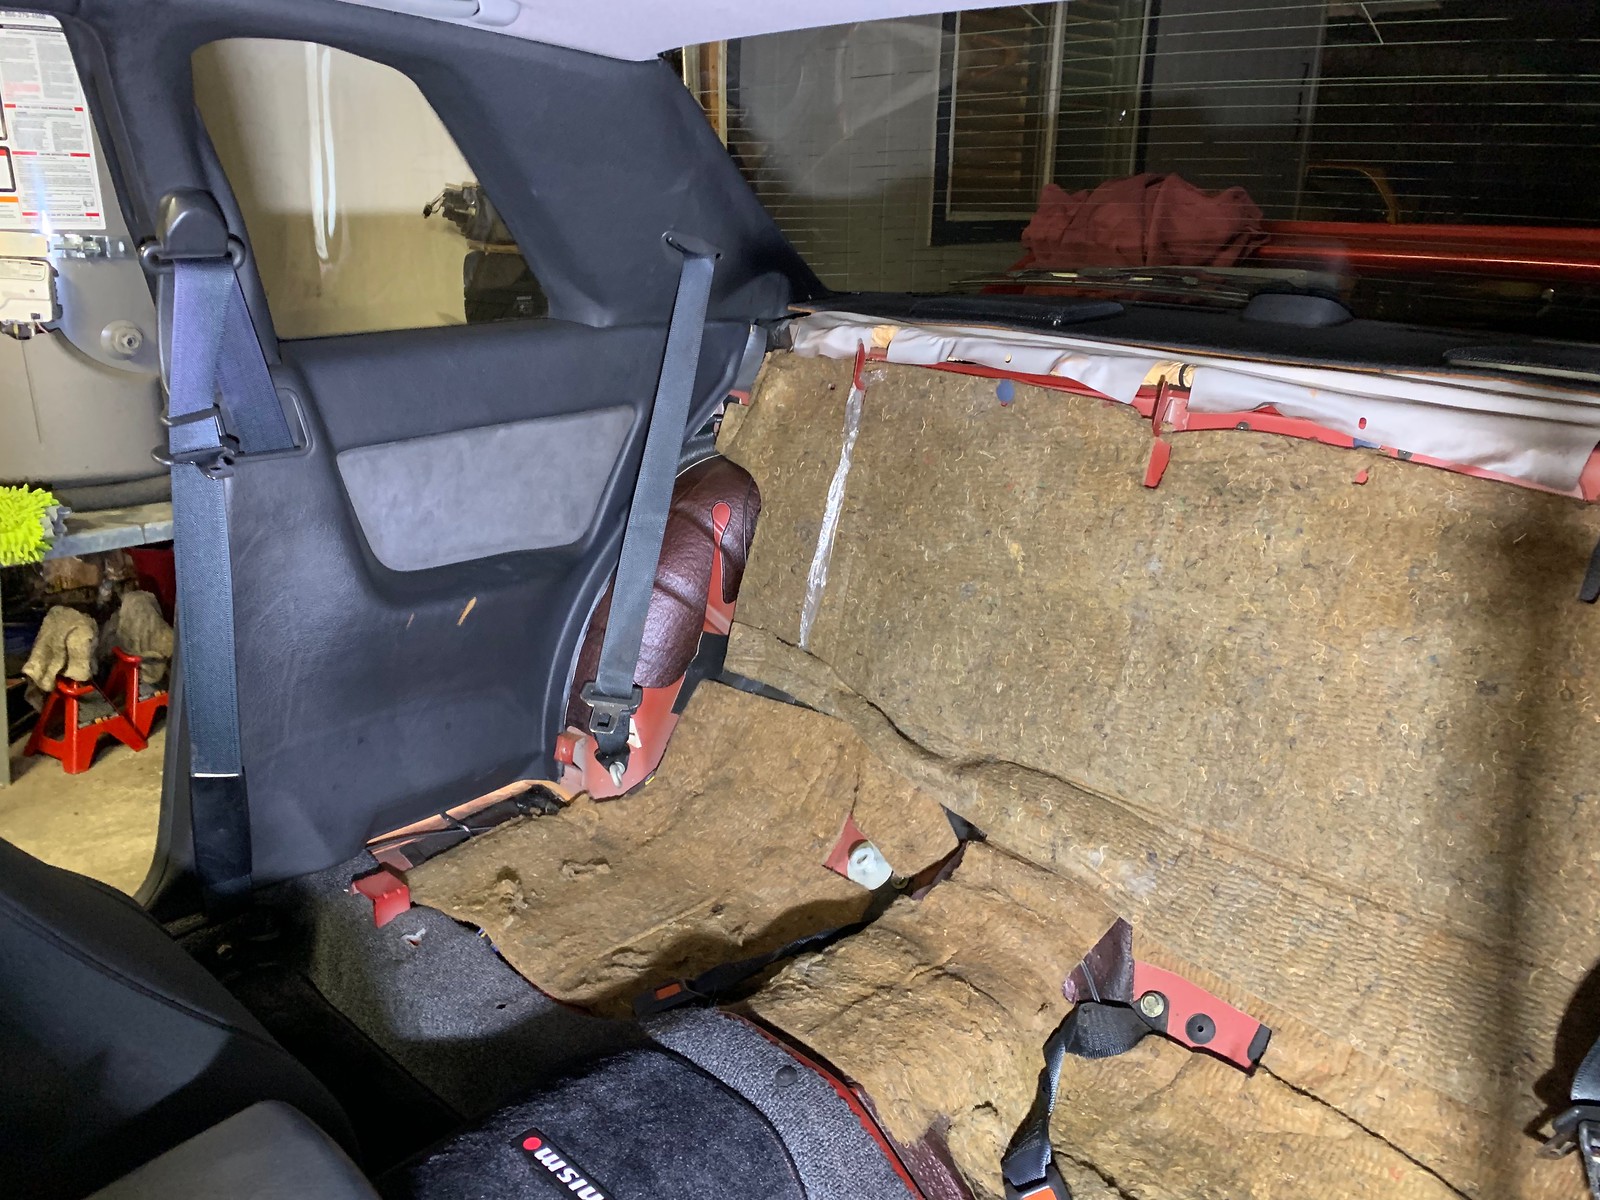
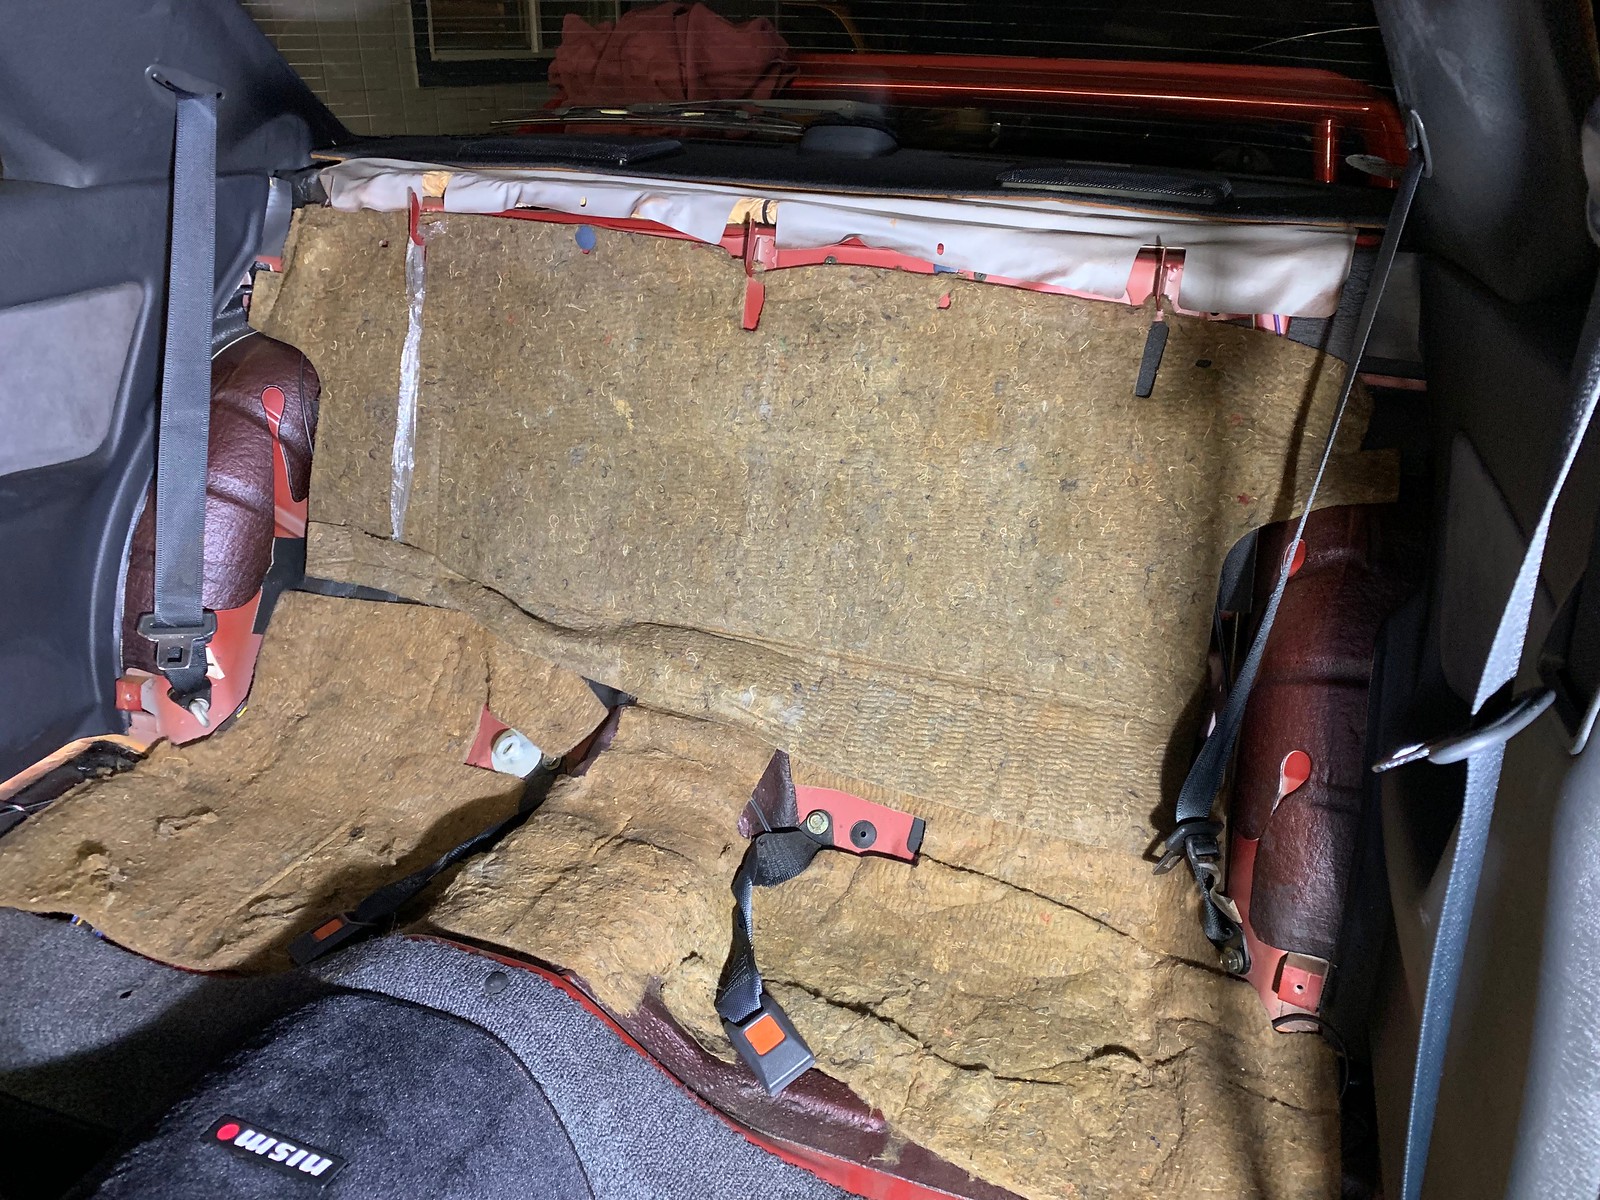
I was happy to see a very stock-looking arrangement back here, with sound deadening undisturbed.
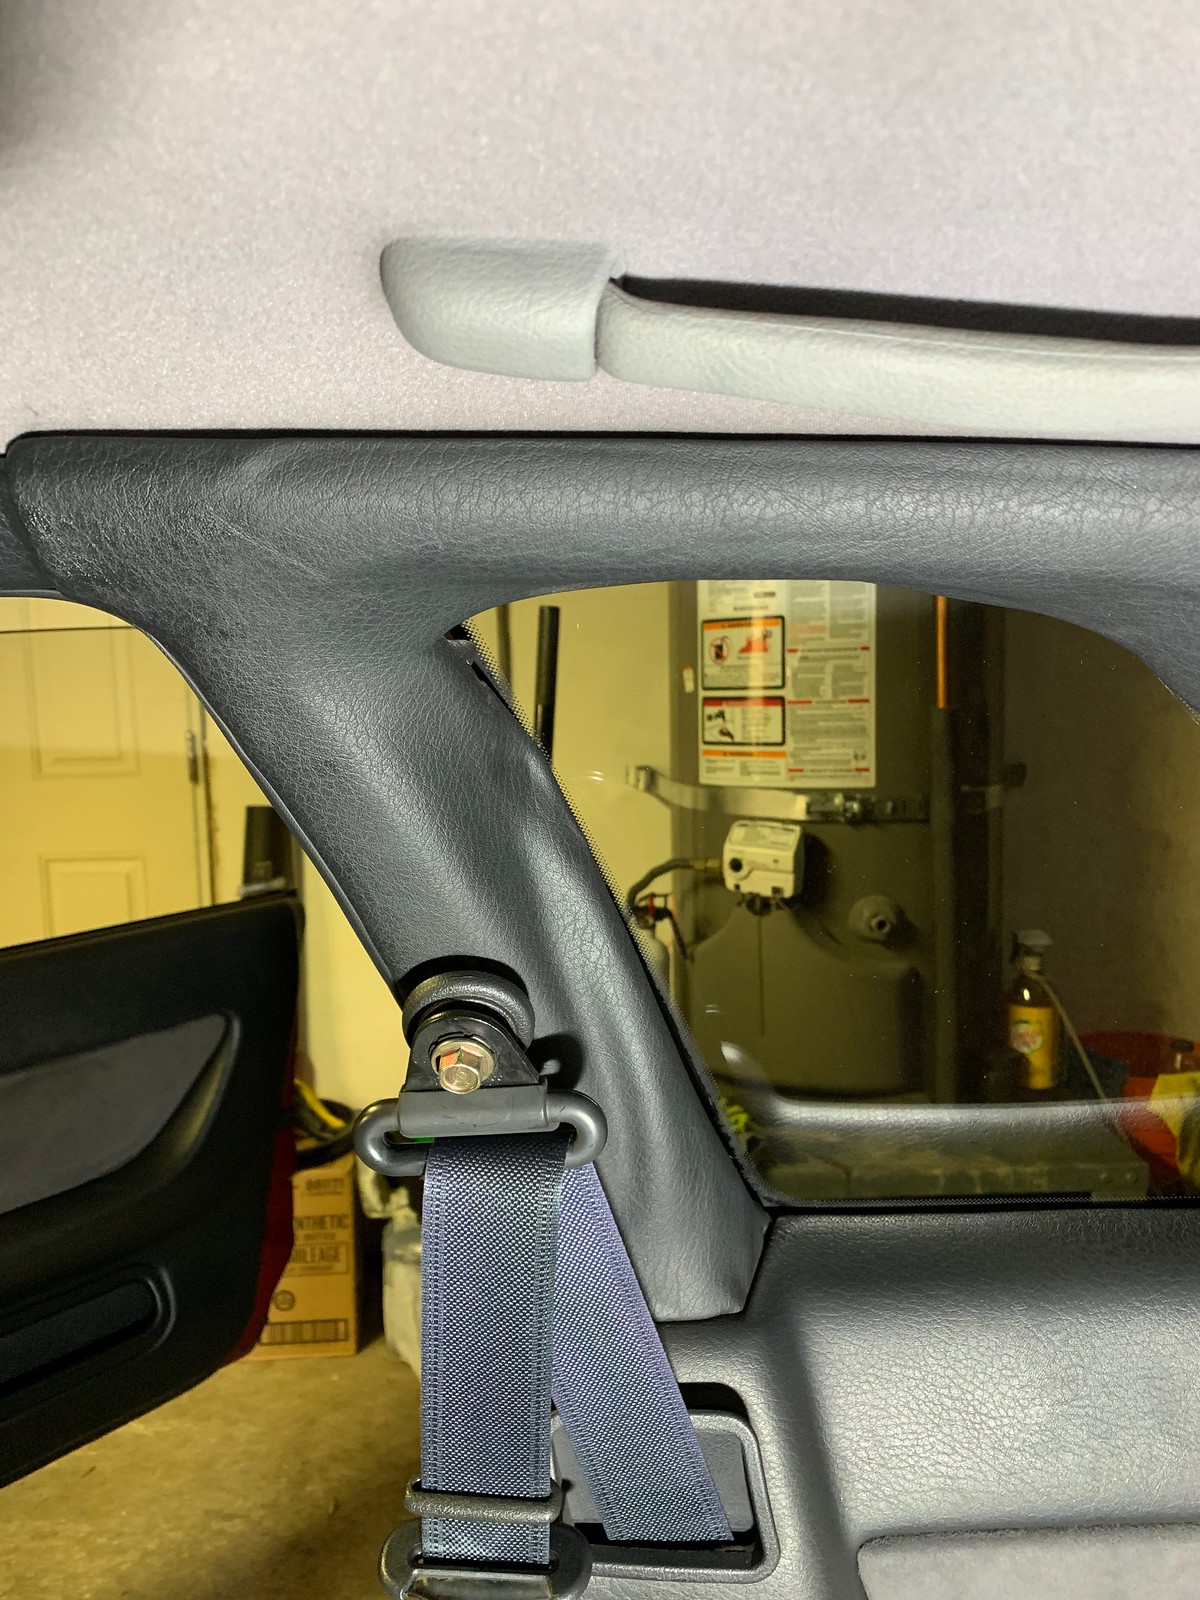
The rear belts need to be unbolted at the bottom body mount so they can thread up and out of the old trim piece. The top mount of the front seat belts also needs to come off. The side trims don't need to come out entirely, but you'll need to pop them loose to thread out the B-C pillar trims from behind them.
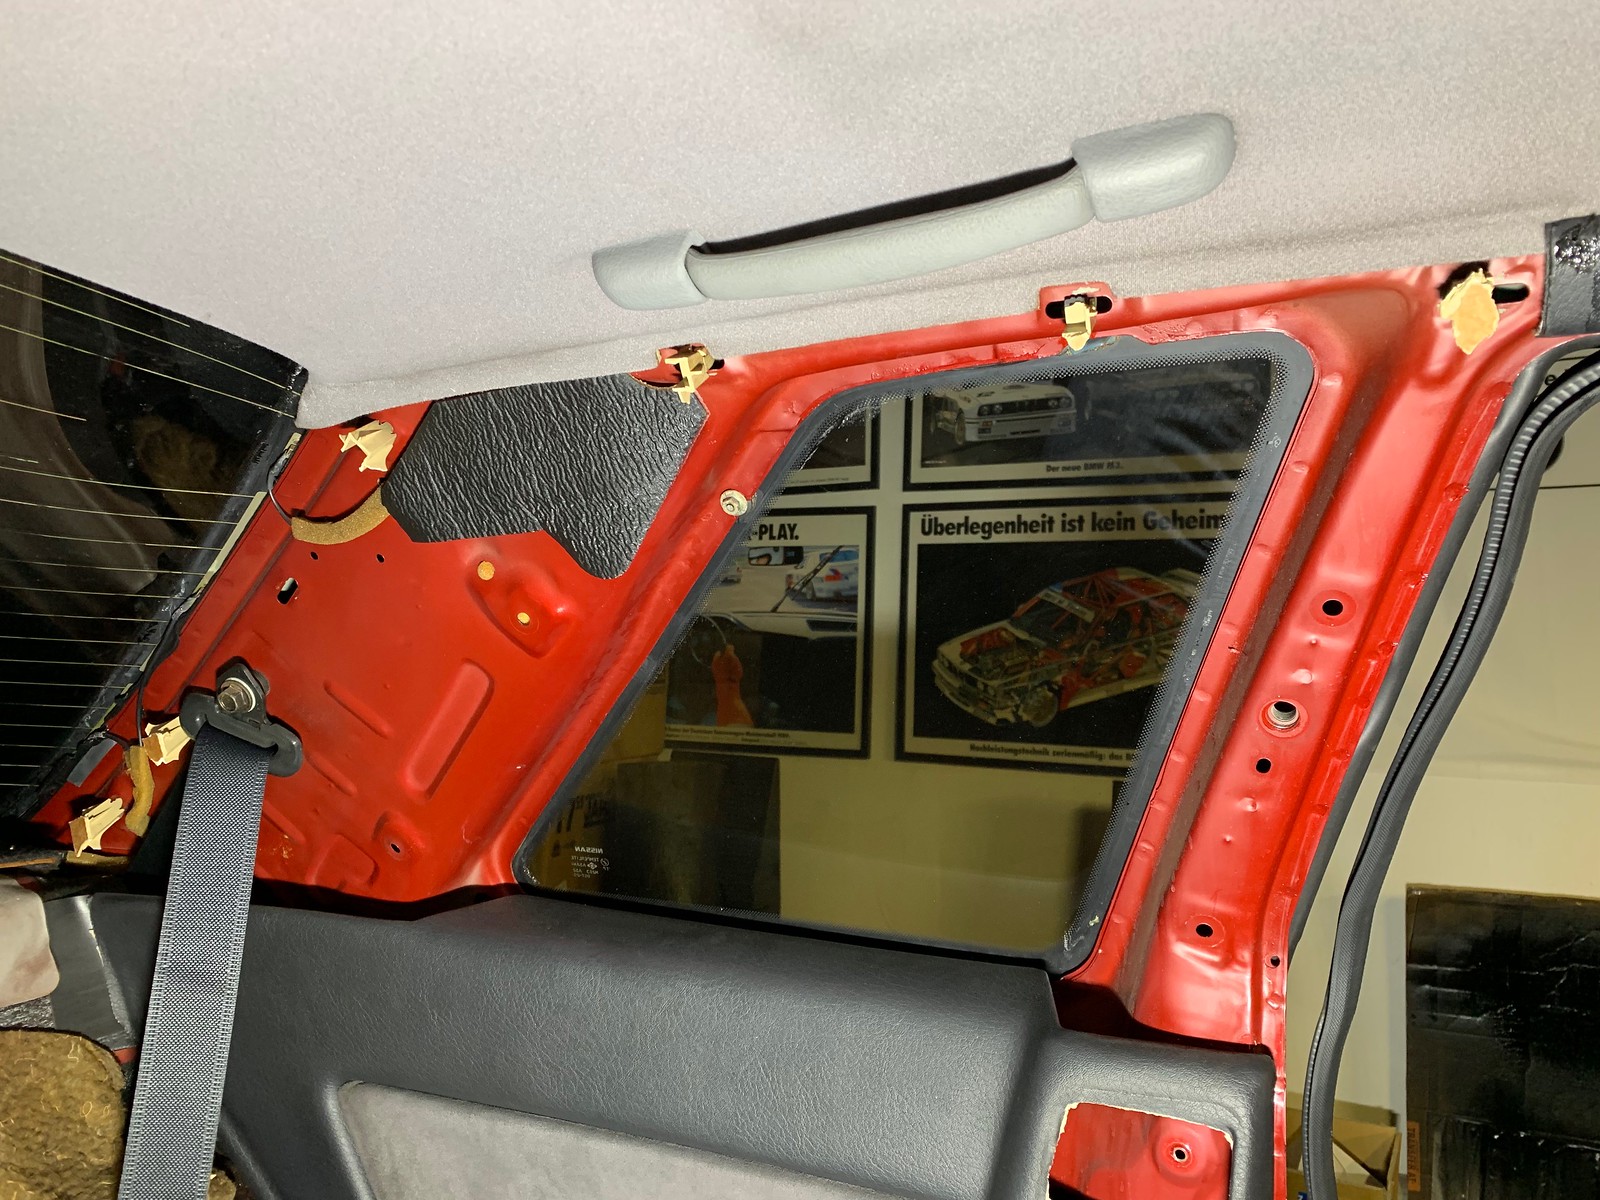

Here's how things look with the old trim piece off. It was full commitment at this point, because the clips were so effective at gripping the body that the doghouses shattered off the plastic substrate of the trim. Some clips were plastic, others (like the one shown above) were metal and pretty gnarly to remove. Don't expect to remove factory-original panels and re-install them... removal was completely destructive.


Last look before putting the new one in.
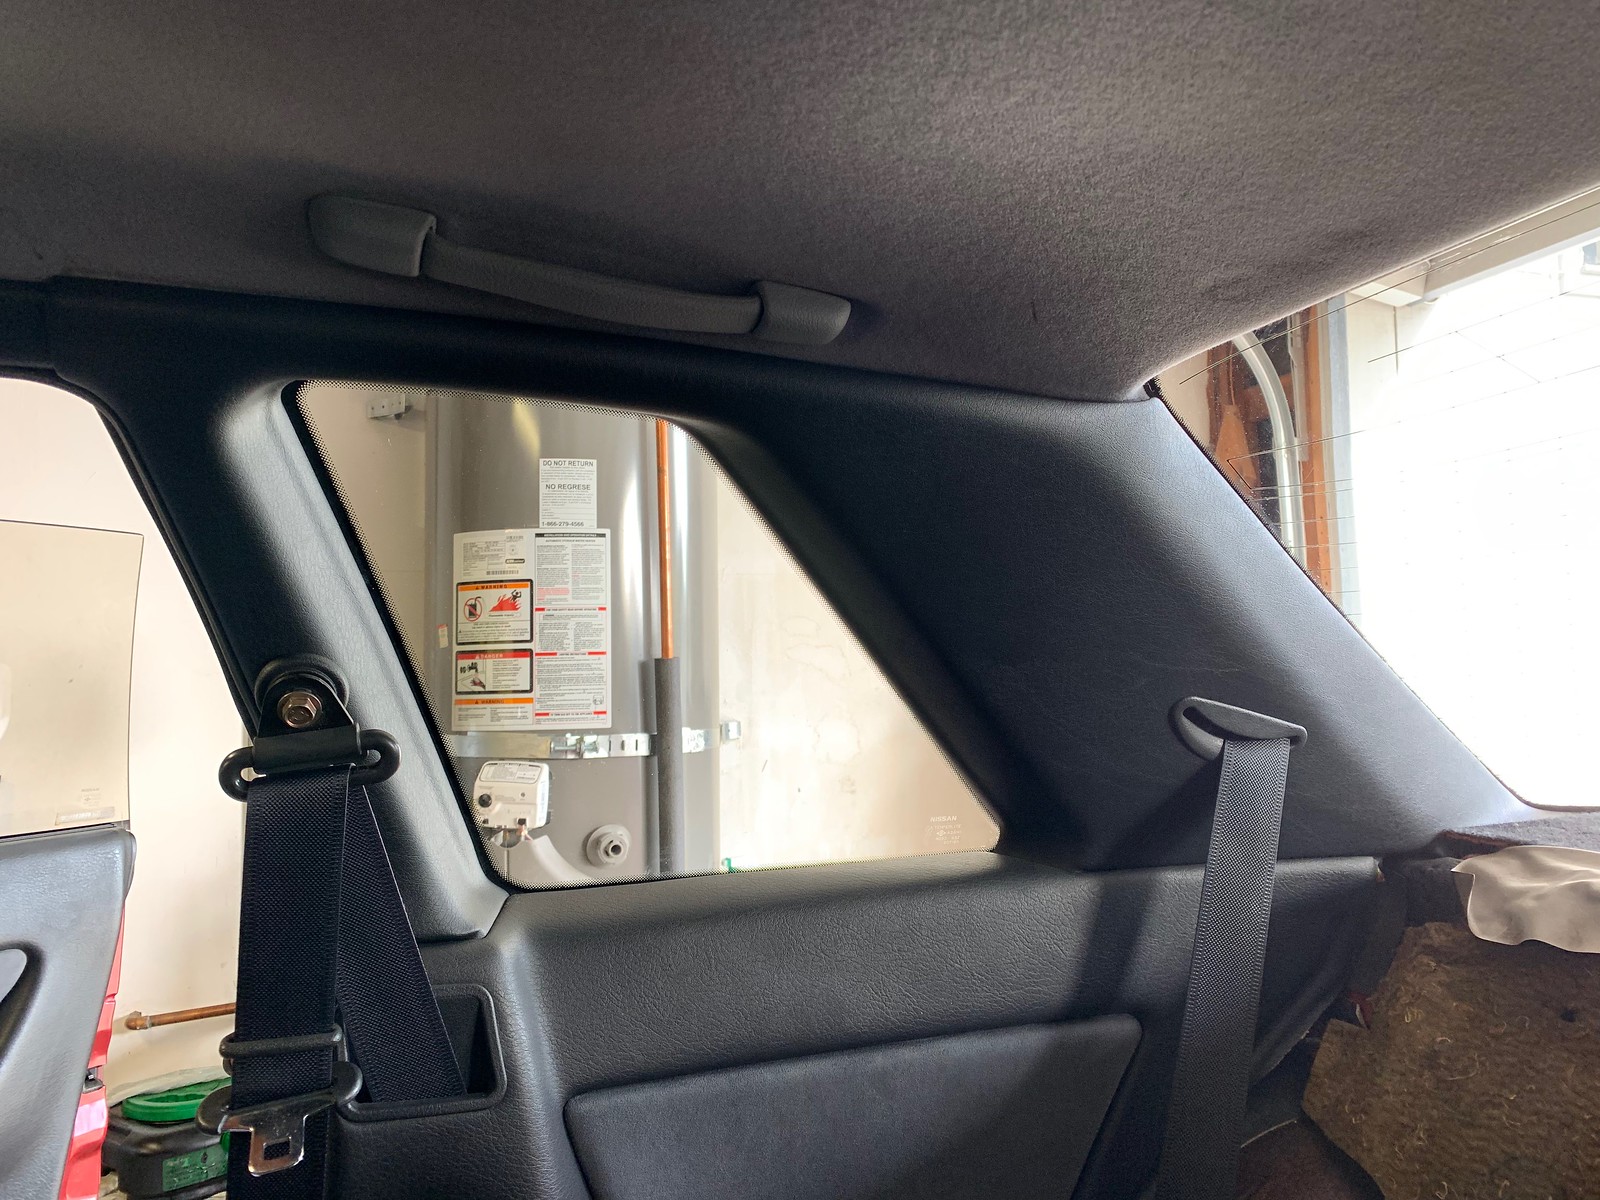
Happy new trim. Much better!
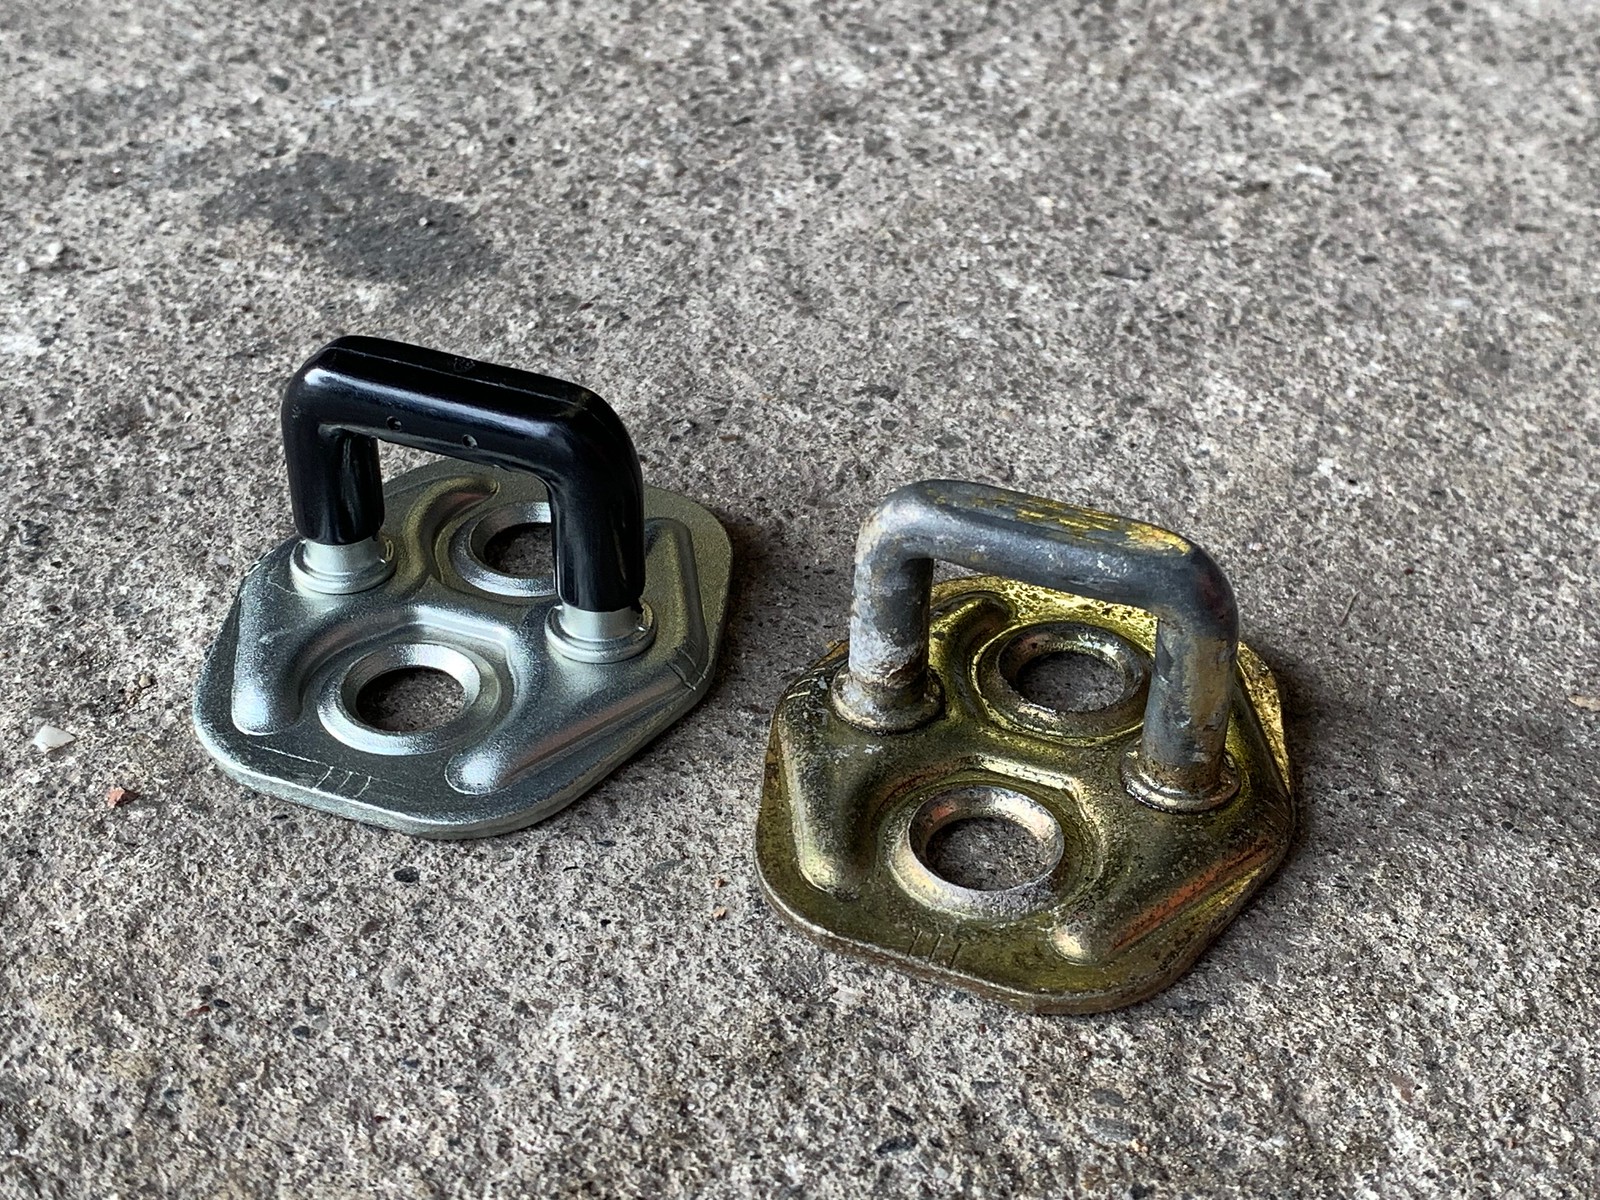
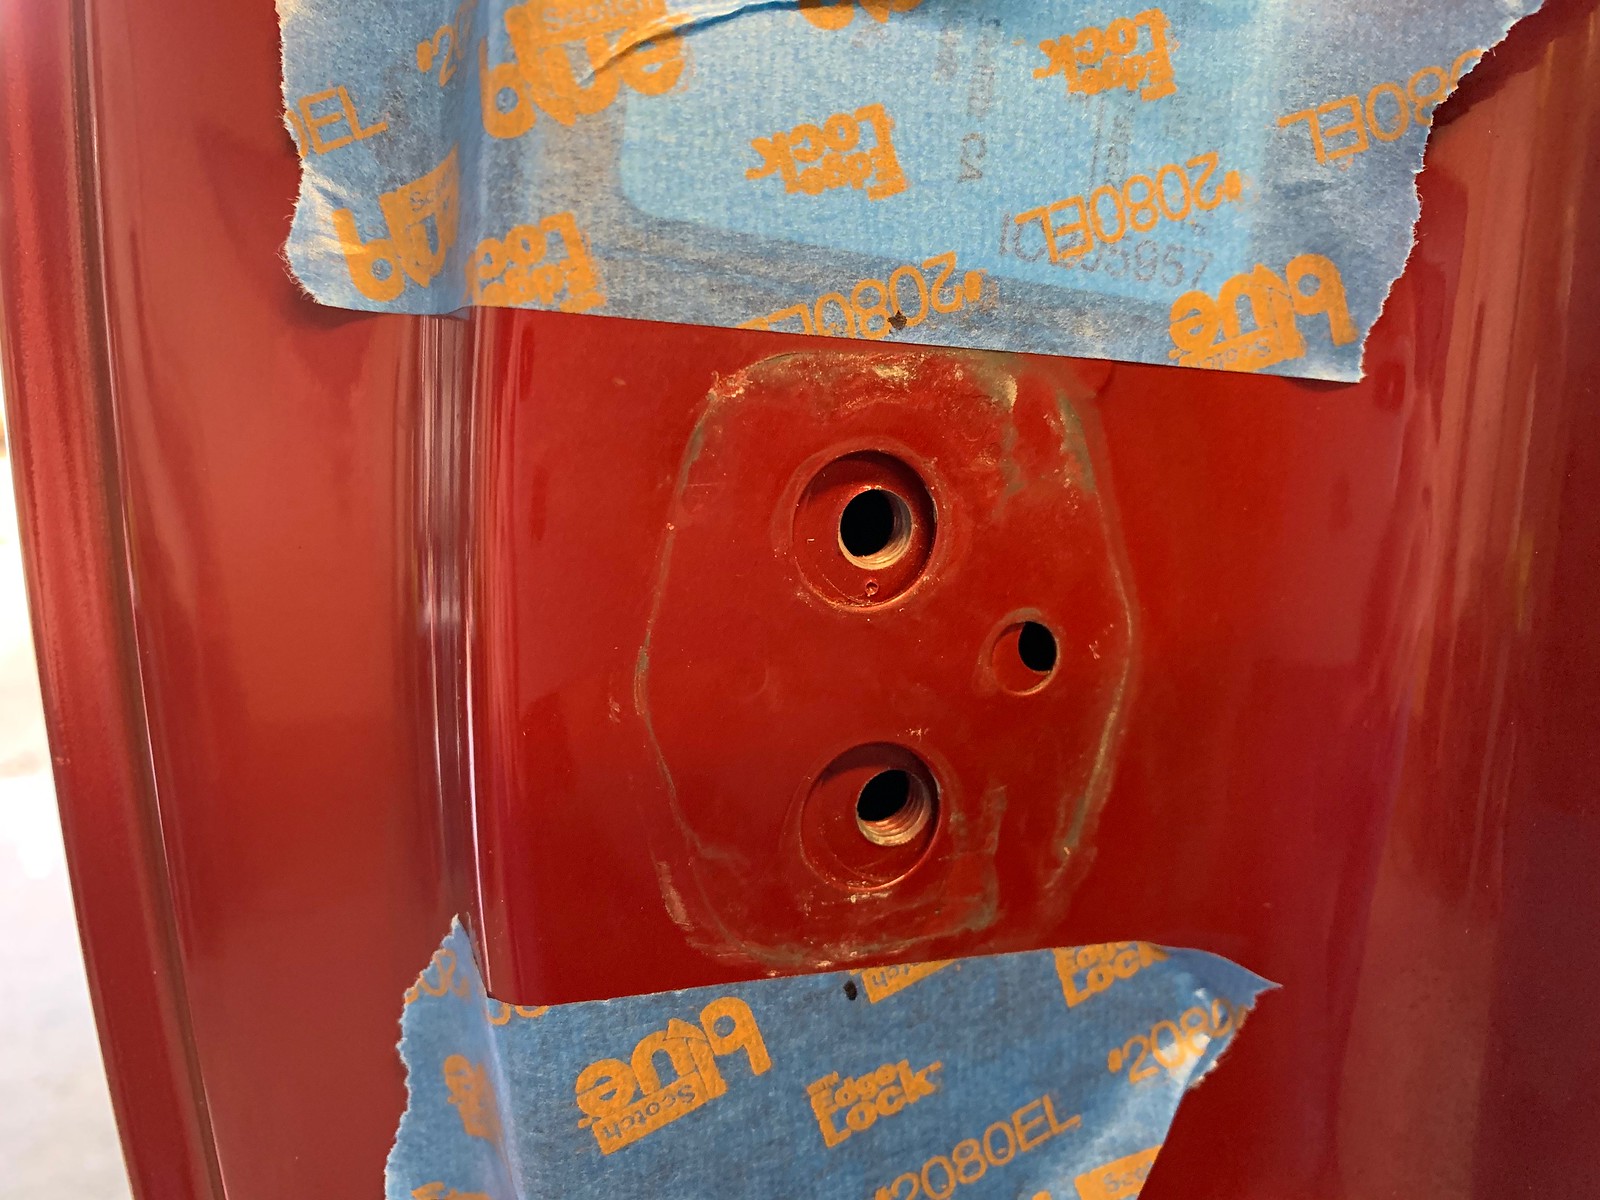
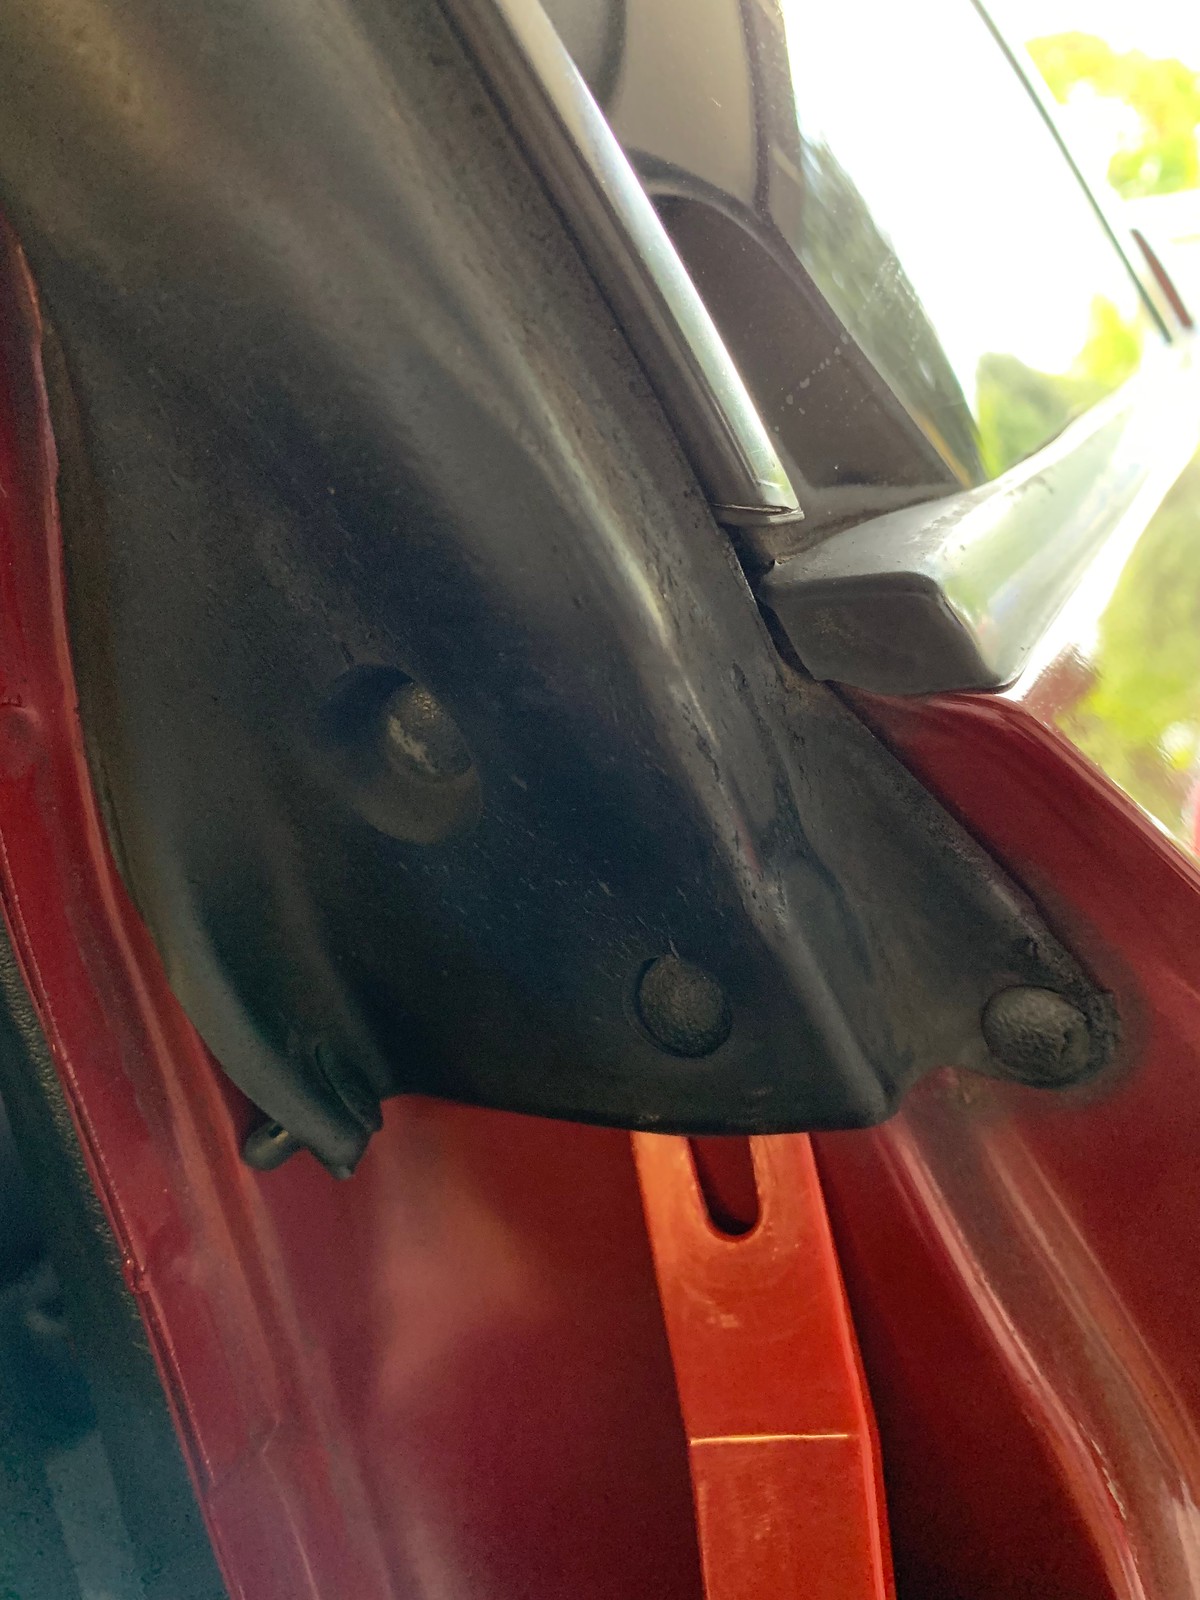
Next up: door strikers. They have a plastic overmold from the factory, mine had broken off long ago. I also used the opportunity to adjust the strikers to have the doors close flush with the bodyside. My car has been repainted so I had to break the floating nut plate loose before adjusting. Like with the badges, it's a good idea to tape off your starting point so you can measure your movement. This is a great bang-for-buck improvement, the body lines are cleaner with the improved fitment and the doors latch more securely when they're closed. Rattle is reduced.
My P1P2 seals were beat down, torn, and pretty much fried, so I replaced those at the same time. I expected this to be a nasty job - I thought the seals would be bonded in - but instead it was pleasantly simple. The seal has some clips at its front and rear but is otherwise retained by the window trim.

I use my plastic trim tools more than almost anything else in my toolbox. They make these annoying push pins a breeze.


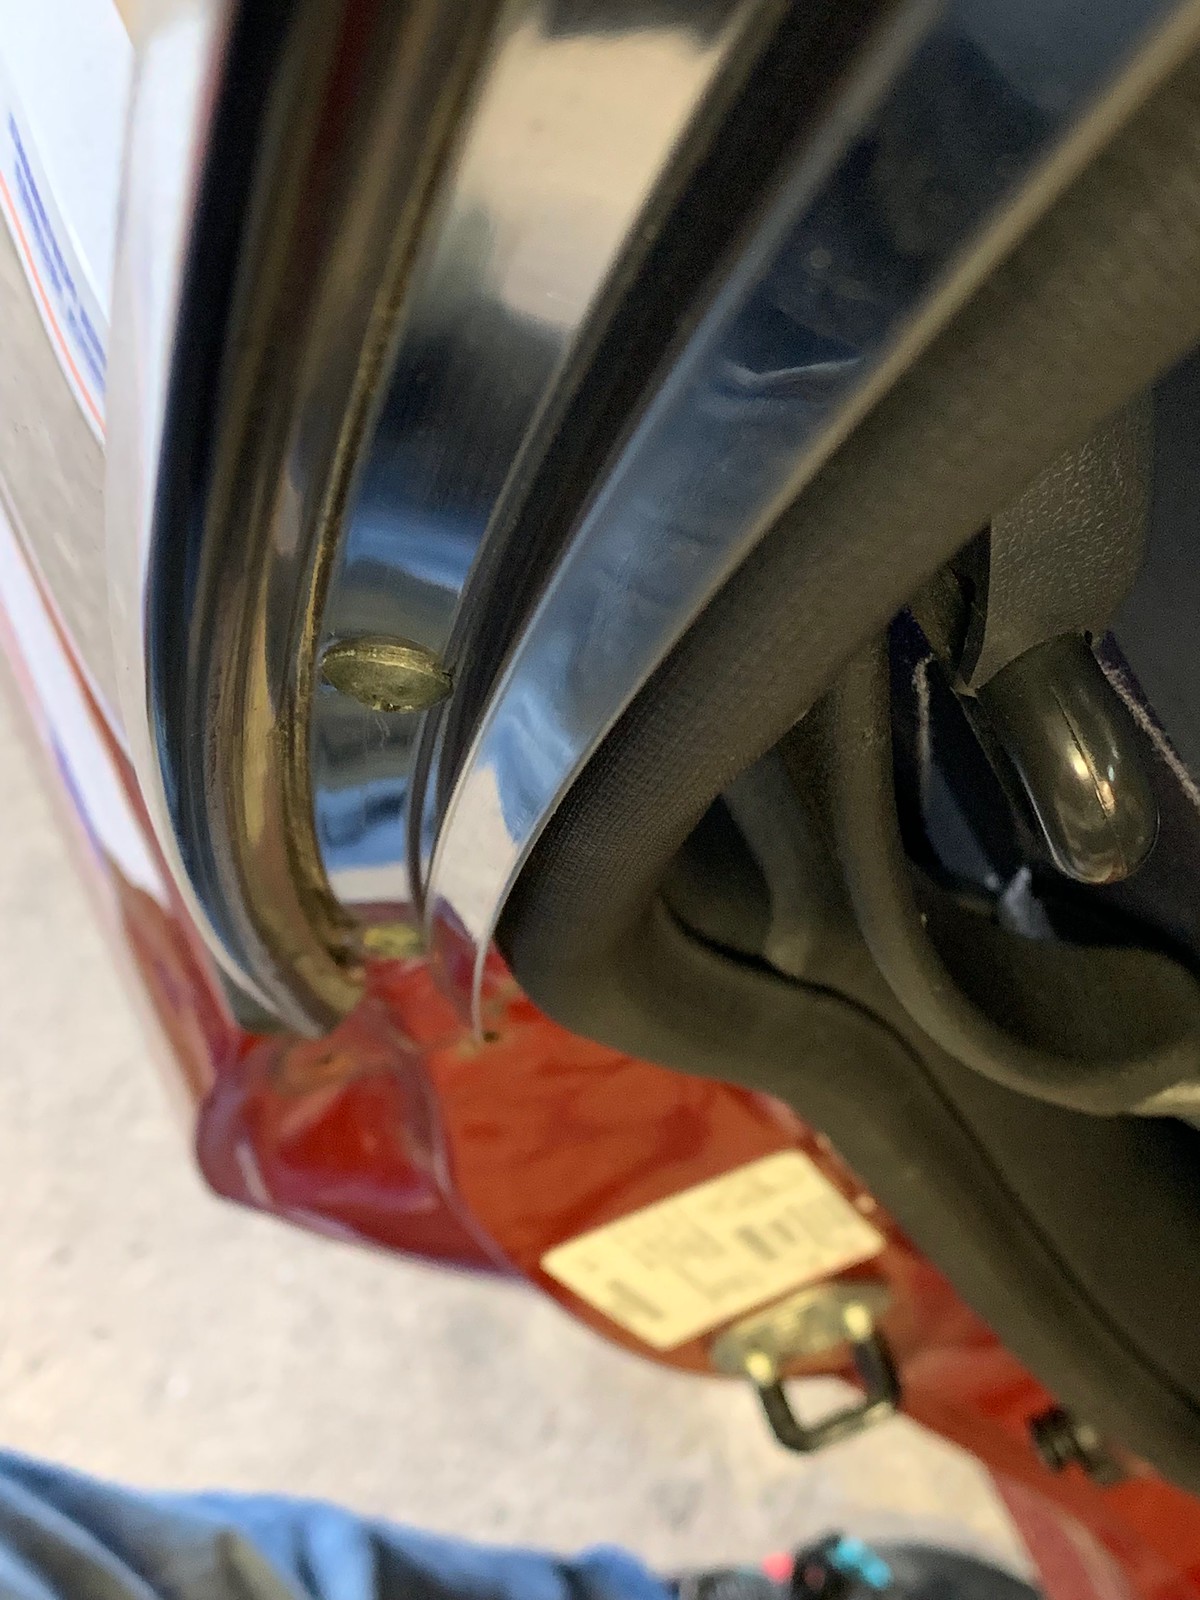
Fasteners exposed if you want to remove the seal carrier too.

Installing the new one: this part of the seal nests in this part of the track.
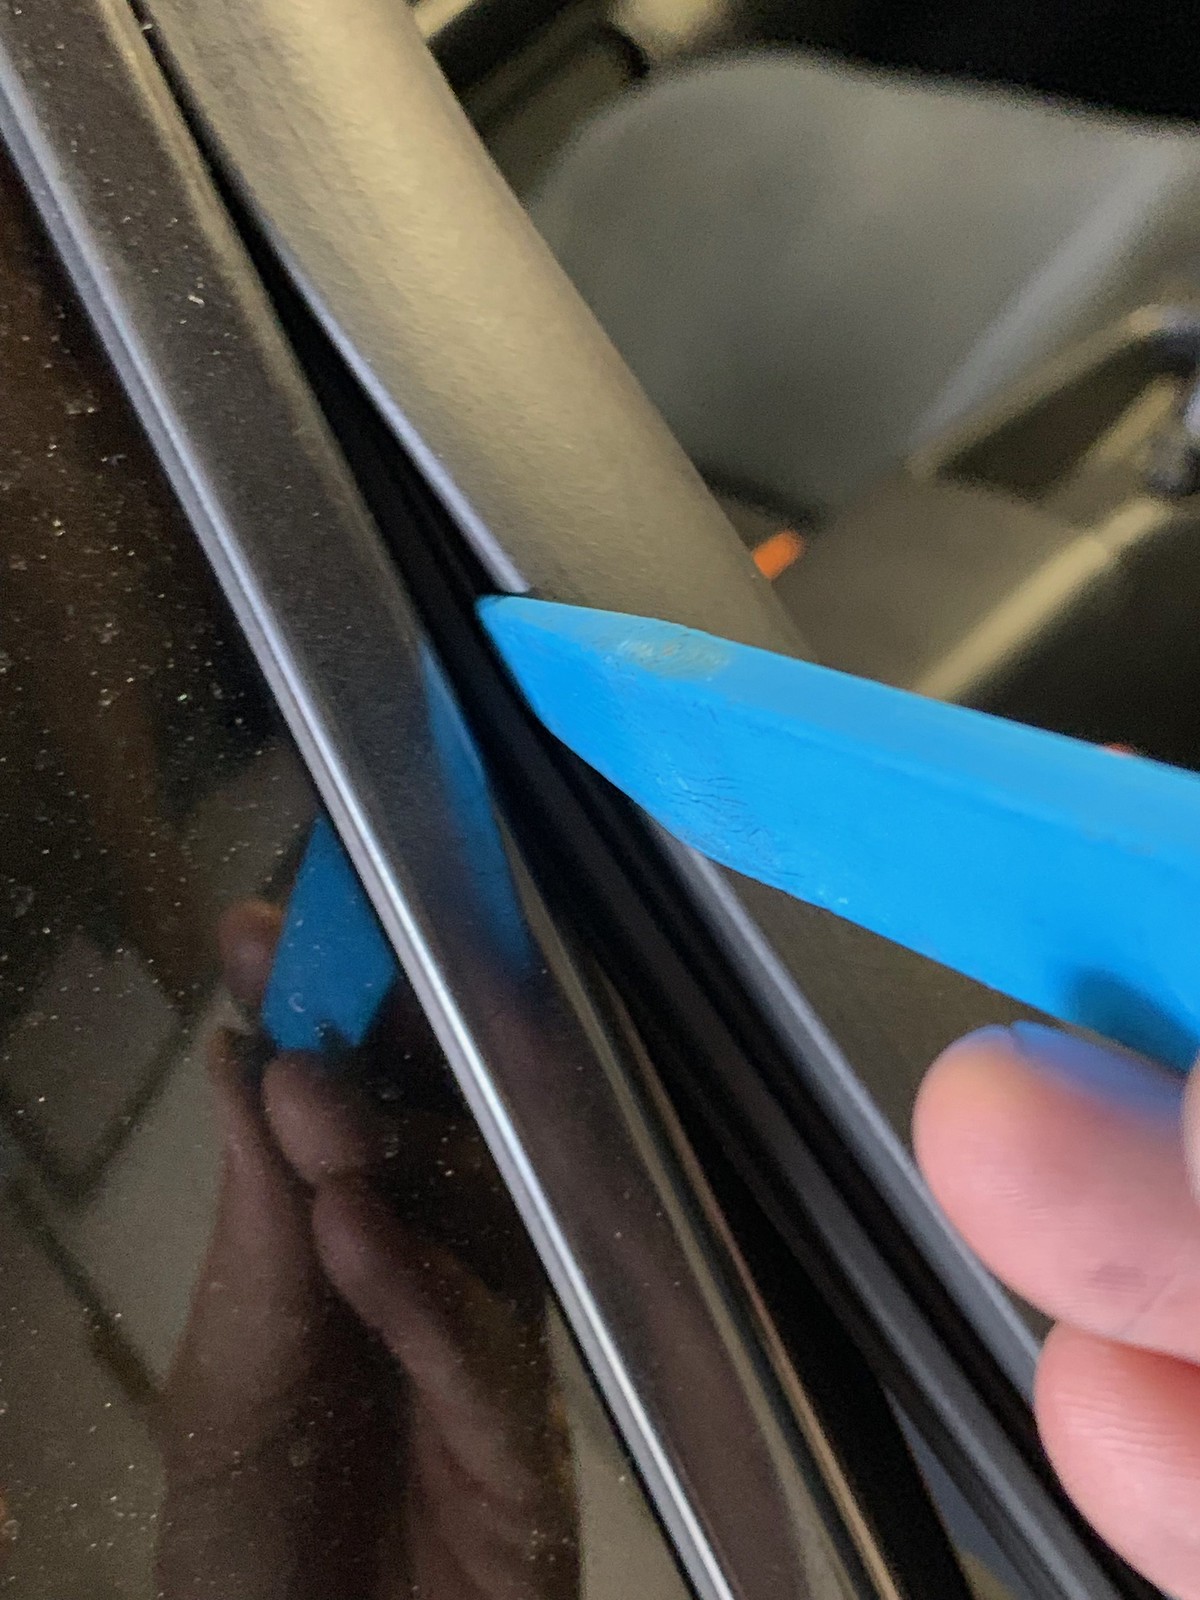
Work the new seal into place with a plastic trim tool. It's easy once you get it started.
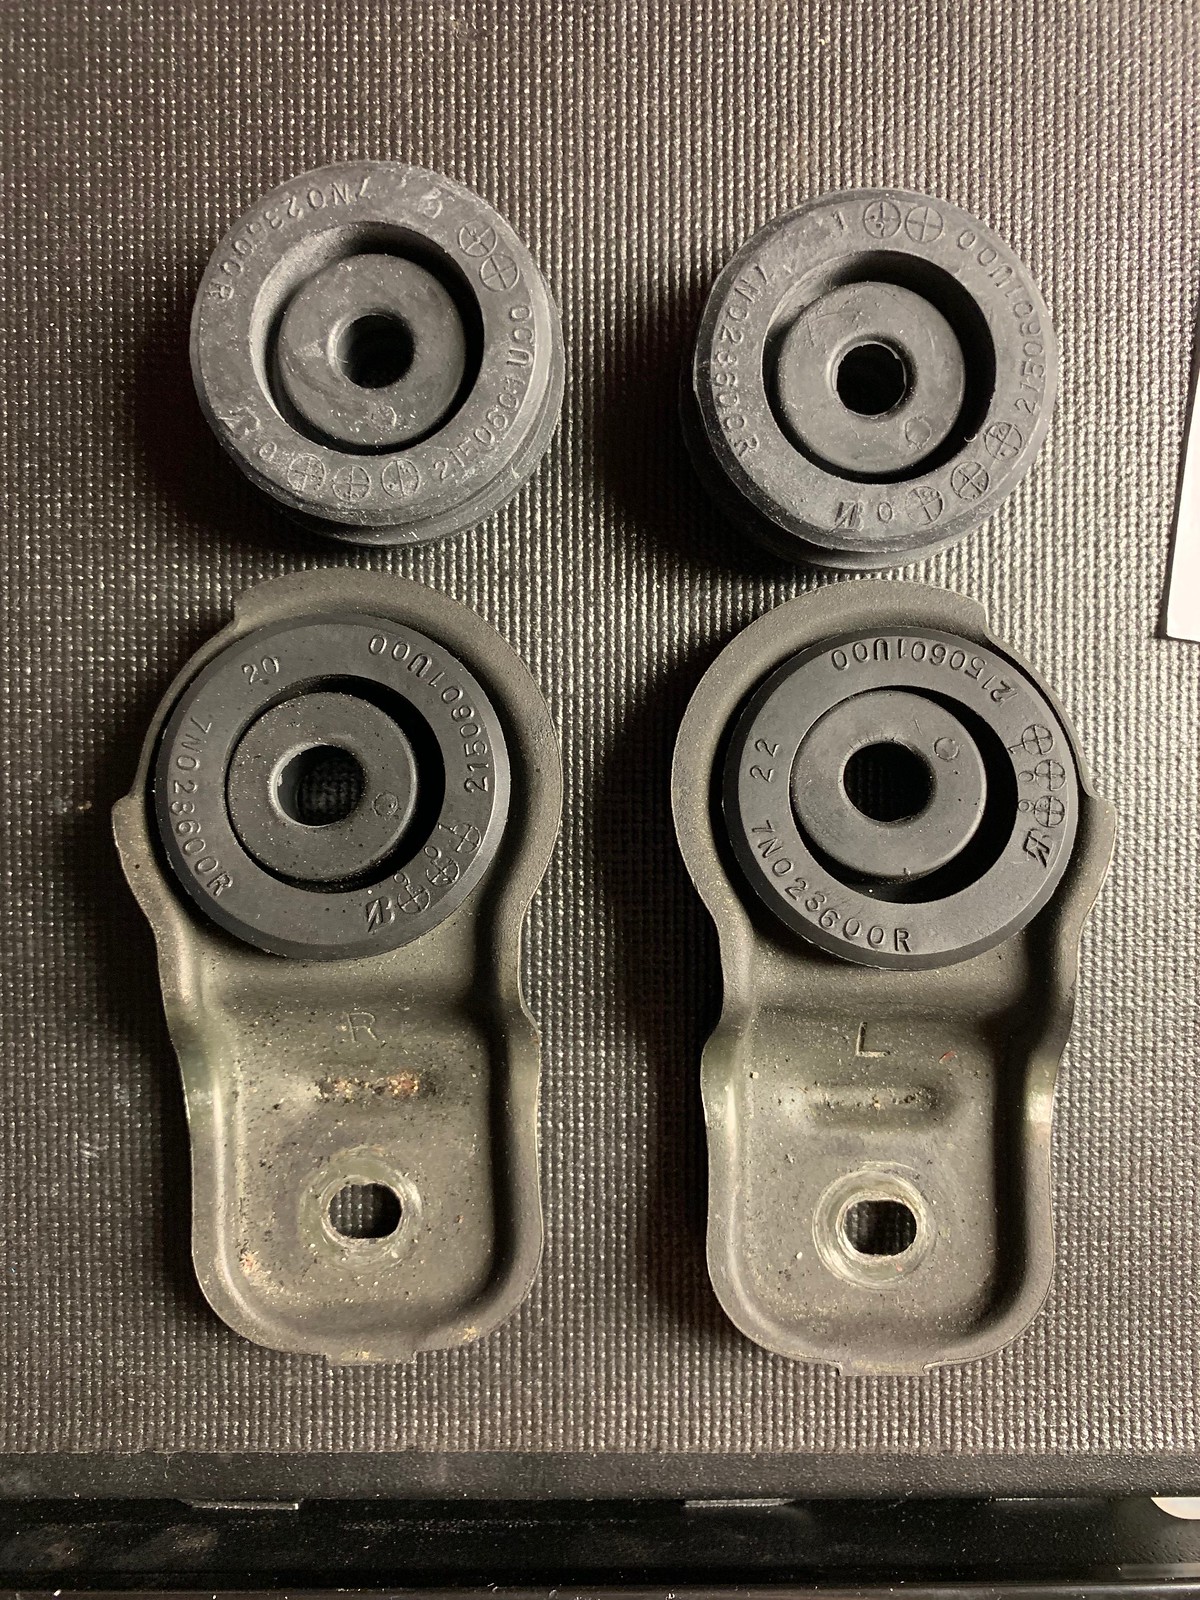
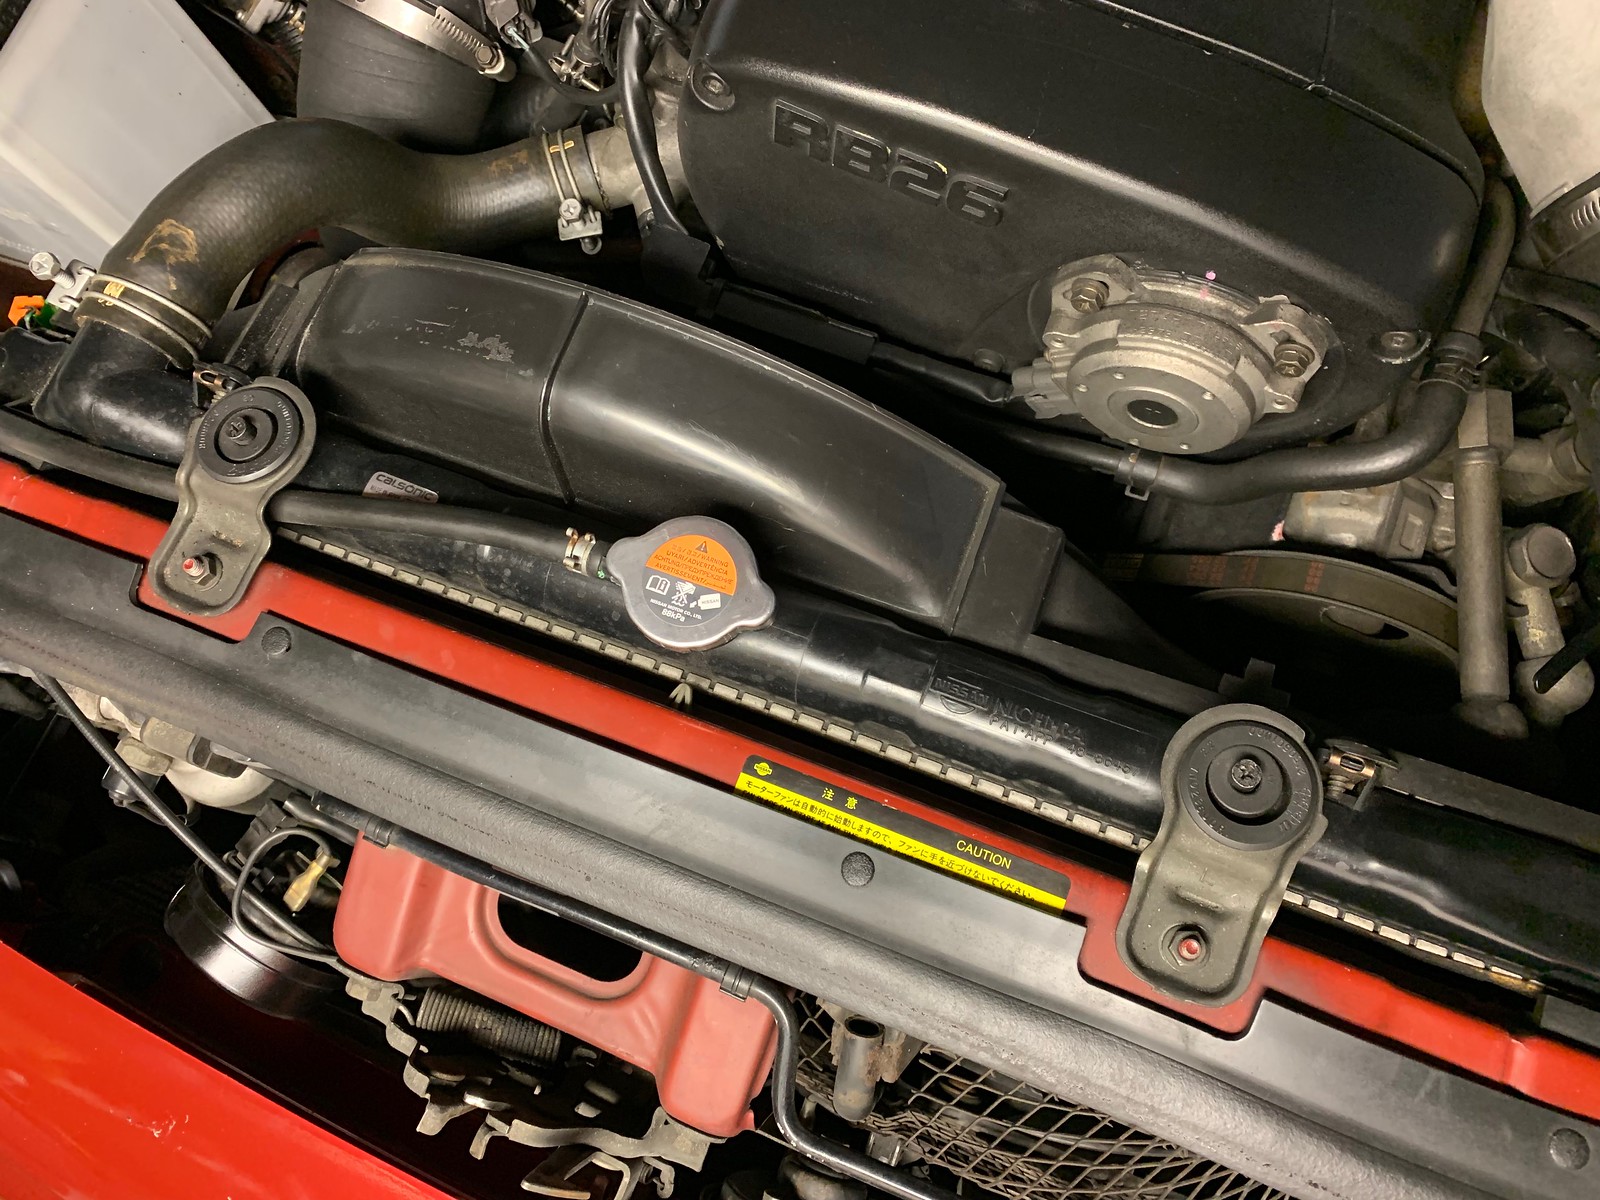
Radiator upper mounts were cooked and letting the top of the radiator flop around, so I replaced those.
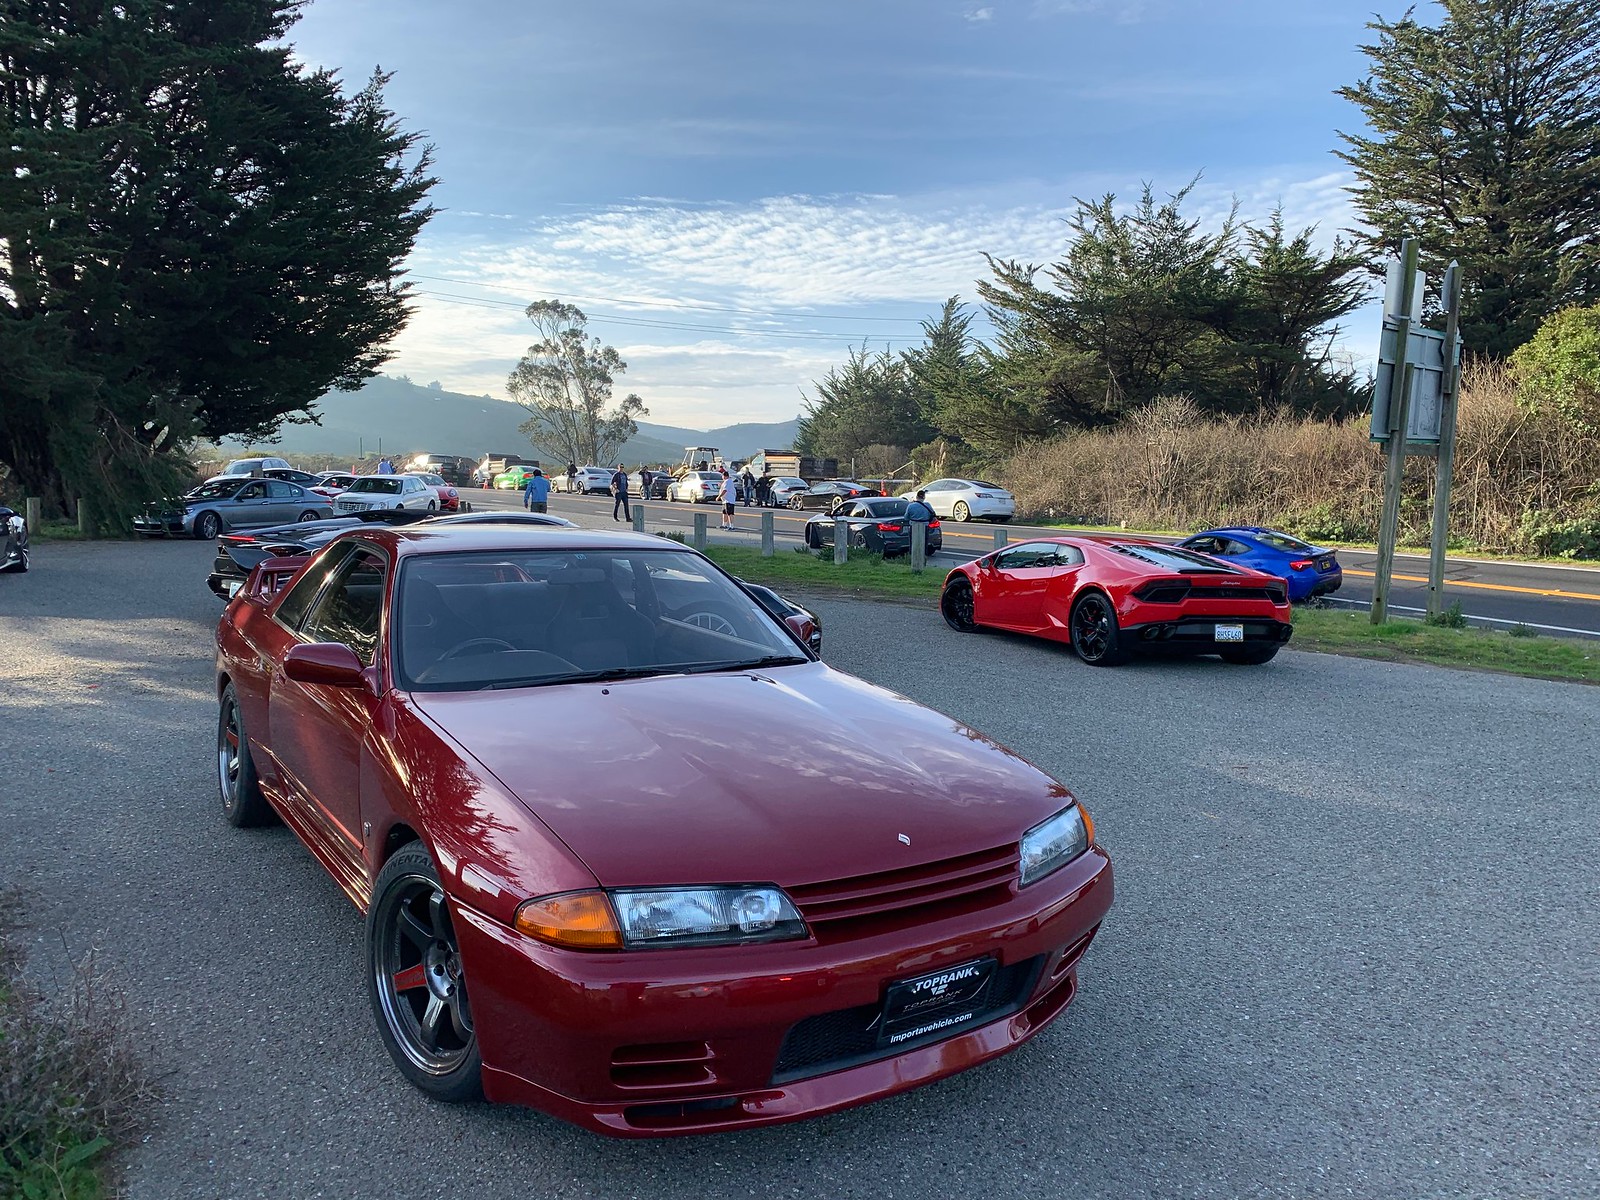
I took the car out for another big drive on Skyline on a Saturday morning, this time with an absolutely enormous convoy of cars. This thing's fast but the others were faster, so I lagged behind and really enjoyed myself! By a stroke of luck I met up with Miles, another new GT-R owner who just got his car back from our emissions friends down in SoCal. Somehow I failed to take a single photo of our cars together but I enjoyed meeting him and comparing notes.
Next time: winging it.
No comments:
Post a Comment