Tuesday, June 9, 2020

[M3, Focus, Skyline] Taste of Alpha-N, paint shop quoting, back road drivin'

[note: this post, like an air-cooled 911, is back-dated to when these events occurred] 

Big update tonight!

First up - a couple weekends ago, I gave Kevin a lift when he dropped his car off for storage. He has A-N and a carbon airbox, and he generously swapped seats to let me try it out.


The A-N/airbox combo was fantastic and cemented my decision. His car is also just so damn nice. Always a pleasure to be allowed behind the wheel! Here's a video of Kevin's car he posted on YouTube showcasing the induction noise:


A week ago (last Monday), my car went to the shop to have the Evo wing painted. I've not had paintwork done before so I found the quoting experience interesting. I'll share my thoughts here for those who are curious or inexperienced as I am. I took the car, the wing, and the carbon flap to four different shops in the bay area that were recommended to me by local M3 owners and my company's car club. All of the shops quoted in terms of hours of prep required on the wing, and hours of paint required. The hourly rate at all of the shops was around $110/hour, with the exception of shop A, which was $80. I told them I was looking for good paint color match, and a "cars and coffee" level of quality. I told them I was NOT trying to hit the lawn at Pebble Beach. This is how the quotes came back:

Shop Prep time quote (hours)Paint time quote (hours)Total quote 
A0.53.5$490
B6.06.0$1635
C2.53.5$715
D3.03.0$810

Apologies for formatting slaughter...

The prep time at shop A was a red flag. I don't know body work first-hand, but I know that wing needed more than 30 minutes of love. The quote from shop B... I'm not sure what that was. I would say that it was their way of no-quoting my business, but they could have said that when I first showed up. Shop C had reasonable time estimates, the shop was clean, the quote guy friendly, and an air-cooled 911 in the back. Shop D the quote guy's attitude immediately turned me off. I ended up going with shop C.


I left the car with them to let them ruminate on the paint match. They sprayed out a magnetic test 'chip' that I came and looked at with them before giving the final OK to paint out the wing. More on that in the next post.


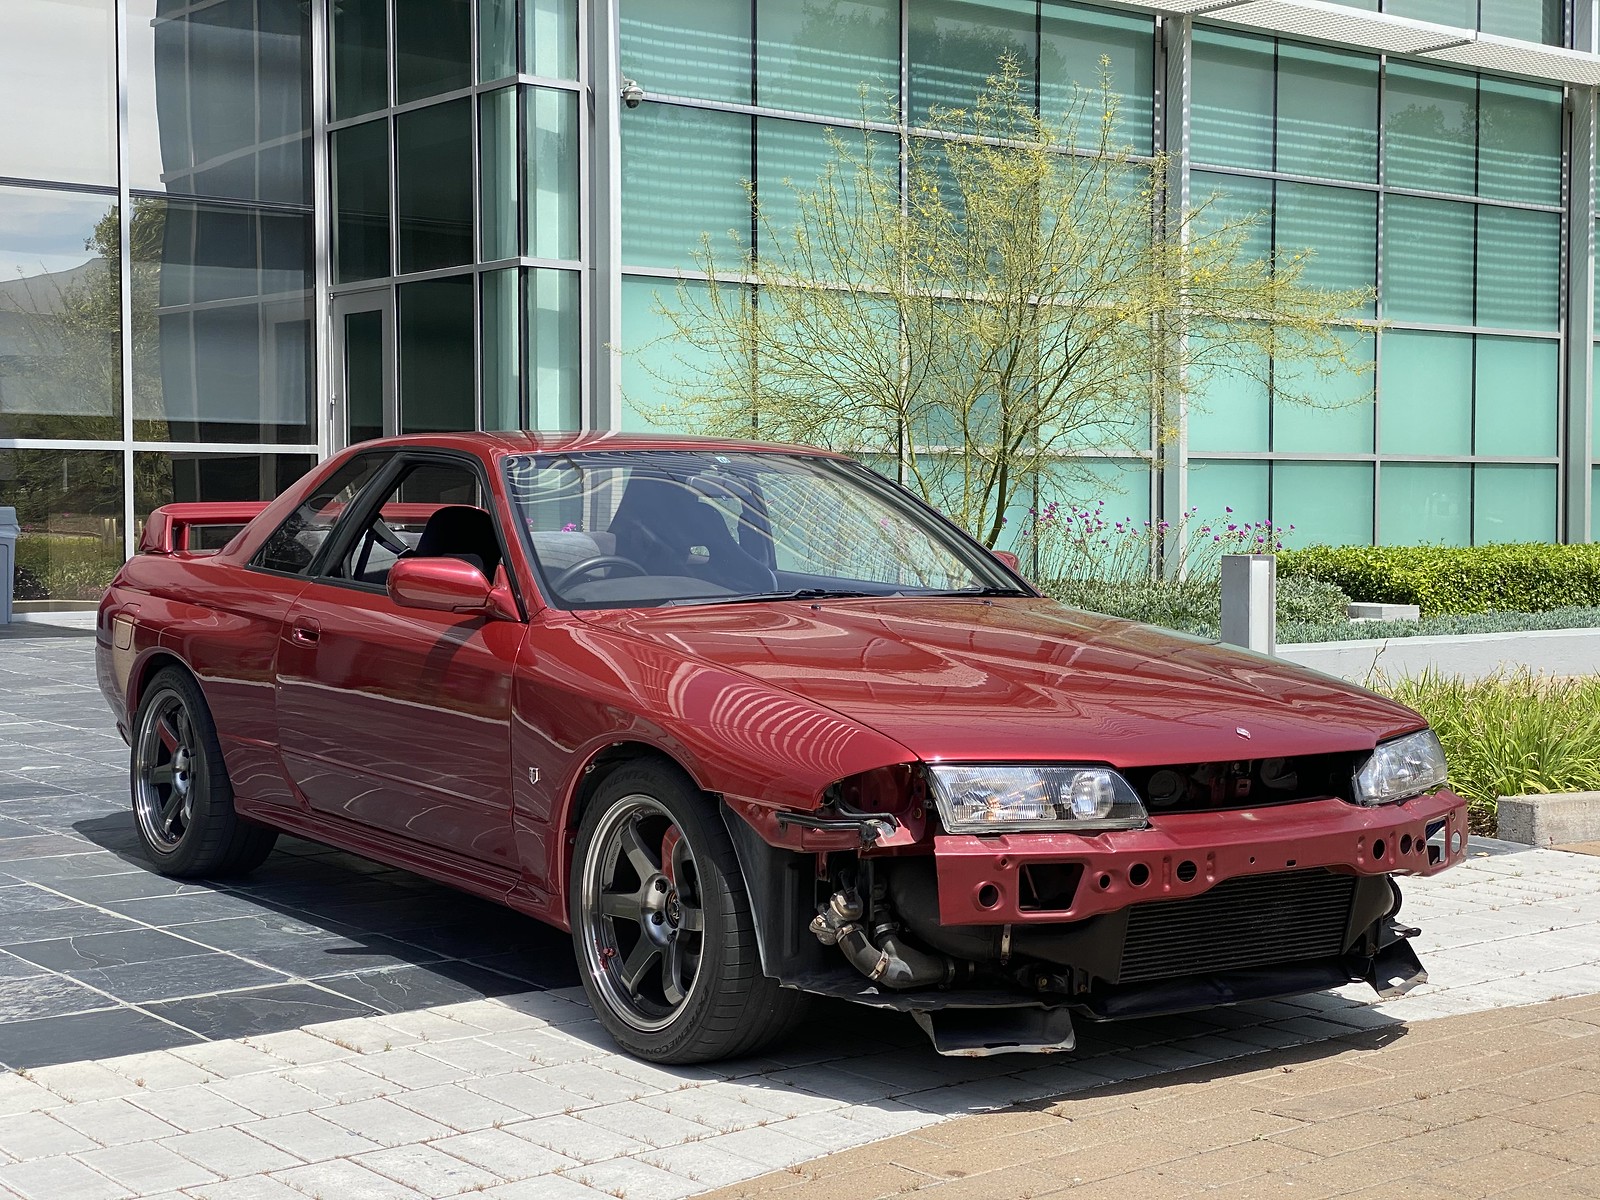
On Sunday Ted and Jon came down and I led them on some great roads I've discovered in the south San Jose / Morgan Hill area. With my car out of commission, and my GT-R doing its best Audi impression only running on five cylinders, I had to call on my Nitrous Blue daily driver to lead the charge.


We had perfect weather and clear roads for most of the journey! Being the nice guys that they are, Jon and Ted helped me isolate the misfire issue on the GT-R and identify a bad fuel injector on cylinder 3. I think Ted was intimidated when he saw all those cylinders and all that turbo piping but he gained his footing pretty quickly! Haha.

Wednesday, May 27, 2020

[M3] Drilling the Sport Evo wing carbon flap, alignment, Memorial Day drive

[note: this post, like an air-cooled 911, is back-dated to when these events occurred] 


Car went for an alignment, or should I say an expensive front toe adjustment. I have to say, it feels really good right now to drive. It all just gels. The short shifter is taking things to the next level, and I hate to say it but I'm loving the stock 15s for look (from some angles) and feel on the road.


I went out for a drive on Sunday with Jon - starting from Alice's, the old 84-Pescadero-PCH-84 loop. This is apparently the only photo I took. I should have known better than to go out that way on Memorial Day weekend, it was a total zoo. Jon and I were shooed from the Alice's restaurant parking lot - no loitering if we weren't ordering anything. On the way out on 84 we were stuck behind Subarus and CRVs with bike racks, lollygagging out to the trails. We had Pescadero to ourselves all the way out to the coast, but highway 1 was slammed with people trying to escape cabin fever. The beaches are closed, and the off-road parking near them is closed, but some of the higher lookout pull-offs remain open. So there were cars strewn all about, people crossing where they pleased, and walking on the small shoulder of the (50mph) road all the way down to the closed beaches. We saw motorcycles, groups of all kinds - the BMW GS touring kind of guys, the Japanese sport bike guys, the Ducati guys, the Harley guys, packs and packs of them. As we got back to the Skyline/84 junction there were car clubs ripping in every direction, dozens more motorcycles, bicyclists. Alice's entire parking lot was motorcycles, I've never seen so many. Cars were parked along Skyline wherever they could fit and three police cars were there, I learned later from Facebook that they were handing out no-front-plate tickets and running a speed trap. I got out of there quick.

I am planning to visit body shops this week to get quotes for the Evo wing job. I thought before that, I would take a crack at drilling the mounting holes on the carbon flap, since none are present (like the CF replica front splitter). The problem is that the holes are blind so I needed a way to transfer the hole pattern to the flap. I tried a lick of paint on the holes but the surfaces are not line-to-line so that wasn't successful. I considered measuring carefully from one piece to the other, no way. I had seen someone turn a screw down to a point before, on a different application, but I don't have the means to fabricate that at home. Enter this wonderful M8x1.25 transfer screw set. $15 shipped to my door in two days.


They thread into the wing base and have little points. Line up the flap and press them together, you've got your pattern.


The bolts are M8, I ended up drilling all of the holes to 10mm to open up the tolerance a bit and get a good fit. The bolts are not on the same plane, and the parts don't have the identical contour, so it makes the whole thing a bit easier.


Nailed it. Very pleased with myself.


And that's that... it's a big empty Bay Area out there right now. I expected to be home for a while, but as I enter week 10 of working from home it's kind of amazing to know that I'll be here another 7-9 weeks at least based on my employer's return plan.

Thursday, May 14, 2020

[M3] Suspension bushing refurb, short shifter, Sport Evo wing mock-up

[note: this post, like an air-cooled 911, is back-dated to when these events occurred] 

[also note: I have condensed multiple forum posts into this entry, please forgive awkward transitions]

I'm in the middle of my bushing job over here. On Saturday I pulled the front control arms, sway bar, and tie rods. I wasn't going to do the tie rods originally but you know what they say... while you're in there... I order my parts from Pelican because they are nearby and shipping typically takes two days, the only thing they didn't have in stock was the front sway bushing and ECS has taken their sweet time getting it to me. It's just as well I guess, because I have my control arm bushings at the machine shop to get the new ones pushed in and I forgot the little locking tab plates for the tie rods anyway. Aiming to reassemble this weekend.

The ball joints really put up a fight. I rented a fork-type tool to bang them apart - worked last time - but it wasn't enough for three of the joints at the hub. I had to go rent the other tool, the "non-destructive" ball joint tool. This one was successful with some hammer convincing. Top tip, try that one first. The fork destroys your ball joint boots.


I've got a list of awesome parts and projects I'd like to do on this car, unfortunately the big remaining items are quite expensive. KW V3s, Alpha-N and carbon airbox, some really awesome 17" wheels. However, there are still some relatively low-cost things that will deliver maximum bang for the buck. One of those is the wheel refinishing project, if that guy ever gets back to me... another is a short shifter. I have a Rogue Octane kit in the mail. One more is the replica Evo wing I have been lugging around for 5+ years.

There has been some commotion over on the Facebook group about aftermarket wings and the quality of fitment. I received this wing when I bought my first M3, and I was told it was from Markus. Like my Sport Evo splitter, I have moved it from house to house and shed to garage across the years and I think now's as good a time as any to mount it. Before doing that of course, I fitted it up to the trunk. One of the studs is a bit off-kilter, which makes fitment look dodgy as you first start to insert studs to holes, but when inserted with a little squeeze it lands home. I've never had aftermarket body parts on a car so I'm not 100% sure what they 'usually' look like. This one will need a little bit of refinishing but it looks within the realm of normal paint shop stuff. Seems someone was a bit over-eager with the grinder when removing the parting line. The fitment to the trunk lid is good overall and I think it will come out really nicely.


I am very picky so I have anxiety about getting this wing to match the rest of the car. I'm going to take the car to a couple of body shops next week once it's back together for a quote. Tips and guidance appreciated... are there certain things I should look for, or ask about? I'm not up on the latest body shop tech. I also welcome input on what I should expect to pay, as I have no benchmark.

[one week later...]

Bushing job finally completed. I hit a huge snag when I realized that it is NOT possible to push the control arm bushings onto the control arm by hand in situ under the car. I'm not sure why I didn't catch on earlier, considering I did this job on my old car back in 2015 and called out in my old notes that I had used a tool for the task... in any case, I lucked out and a local member had the tool and I was back on track without too much delay.


It appears that I didn't take many photos.


This job is simple, but not easy. There are not many fasteners to remove, but access is restricted and it's a lot of short wrench strokes and ball joints that don't want to pop free. I didn't have a blast, but it's done. I set front toe "by eye" and must have not have gotten very close - it drove a bit wonky on the test drive - but it will receive an alignment before I do any more driving. Summary of suspension work completed:
  • Front control arms replaced
  • Front control arm bushings replaced
  • Front sway bar bushings replaced
  • Rear sway bar bushings replaced
  • Rear sway bar end links replaced
  • Rear lower spring pads replaced (10 > 15mm to increase ride height/decrease camber)


I received the Rogue Engineering Octane short shift kit and installed it while the car was in the air. I only have test drive miles under my belt but it feels really nice, short stroke and very solid. Fitment was spot-on and quality excellent. I've only driven my M3s with the long and notchy stock shifter so this is going to take some getting used to.

Next up: alignment, and visiting paint shops to see about this wing.

Monday, April 27, 2020

[M3, Skyline] Face/off

[note: this post, like an air-cooled 911, is back-dated to when these events occurred] 

Very successful day spent in the garage.


First, knocked out easy stuff:
  • Tightened the alternator belt. It was squealing. Before diving in, I expected to find that awfully-designed, insanely-expensive mounting/adjusting bracket stripped or in need of replacement. No, I just adjusted the tension and it was fixed. OK!
  • Put the car up in the air and pored over the suspension rubber front and rear to see what needs fixing. I had it in my mind that all of the rubber was shot, in reality it's just a few things. Good: engine and transmission mounts; steering coupler; guibo; tie rods and boots; front sway bar end links; rear subframe bushings (phew); rear trailing arm bushings (phew); CV boots (phew); diff bushing. Bad: front control arms (crusty, ball joint boots torn); front sway bar bushings to body; rear sway bar bushings to body; rear sway bar end links. Great result in my book! All pretty straightforward DIY, no subframe dropping ordeals.
With the car up in the air and new parts in pocket it was time to pull the fascia and correct some things. My goals:
  • Correct the turn signal mounting scheme
  • Open up the oil cooler airflow flap all the way
  • Extend the splitter from "Normal" to "Nurburgring" setting
  • Install Evo bumper gasket
  • Clean up/fasten the trailing edge of the Evo plastic undertray
This is basically the sequel to my Sport Evo splitter install post. Refresh yourself:
https://s14net.vbulletin.net/forum/s...57#post1285457

Parts diagram
https://www.realoem.com/bmw/enUS/sho...diagId=51_2005

This is a bill of materials to fasten your Sport Evo lip and undertray with notes for a US-spec car. Parts marked if NLA. I've done my best to make this accurate, please use it as a guide and do your own confirmation work.

QuantityPart numberDescriptionNotes
1951481905599~8mm plastic expanding rivet12 to secure undertray to fascia; 7 to secure oil cooler airflow panel to undertray
607129904225
07119901295
07119936439
Edge biter clip ("body nut")
Sheetmetal screw
Washer
Secure undertray to rear trim edge of fascia. In US cars, the center 4 of these
do not fit due to a different trim edge on the fascia. Substitute 4 M6x20 bolts with
nuts and washers in these locations.
1207119913579
07119932099
07119936408
07119932663
51142233031 (NLA)
M6x35 bolt
M6 wave washer
M6 washer
Shim
M6 rubber nut thing ("plug")
Secure splitter to undertray/fascia. The NLA fastener is interesting, I think its form
factor is driven by tight tool access. If you tried to use a standard M6 nut in some
locations you may need a bigger hole in your fascia to get a socket in to keep the nut
from spinning when bolting the joint up.
707119913016
07119932099
07119936408
07129926512
M6x20 bolt
M6 wave washer
M6 washer
M6 cage nut (square, allows float)
Secure the trailing edge of the undertray to the engine plastic undertray. The Evo
engine undertray has square holes to accept the cage nuts, the US undertray has no
holes. Match-drill and substitute normal M6 nuts and washers to secure the plastics.

Apologies for the copy-paste formatting slaughter.


The front fascia assembly comes off very easily. I find removing the front wheels really helps finagle the plastic engine undertray into and out of position. First up: correcting the turn signal mounting. When I got the car, the turn signals were sunk way into the fascia. On my first trip into the area I found that the turn signals had been wood-screwed into the bumper insert in some insane way. Without the right parts or the ability to leave the car like that and wait for them to arrive, I improvised and did a band-aid solution using edge clips and a lot of washers:


Of course the whole mount design relies on this crazy clip-on stud fastener that is NLA. The rubber spacer is still available, and in place of the long-NLA fastener I decided to use an ultra-low-profile screw from McMaster. The part number is 91223A445. The head is low-profile enough to slot into the fascia, and fits well. The trick is that you don't have access to the hex head to keep the screw from spinning. I found that I was able to wedge a plastic trim tool between the head of the fastener and the adjacent plastic to keep the screw from rotating. I applied blue threadlock liberally to help counter vibrations and found that, with the wedging strategy, I was able to get the situation "hand tight" and feeling pretty secure. It's not a solution for a ground-up restoration, but it might work for you if you just want to get your car back together.


Next up was to open up the oil cooler airflow control flap deal. For some reason, the first time, I decided to put it in the middle position... all this does is obscure access and line of sight to things. As it turns out, it was blocking the visuals I needed to understand why the engine undertray and the evo undertray were not getting along. I was pleased to find that the plastic rivets can be hammered out as easily as they are hammered in. Shifted over, no problems, 2/2 so far.

Extending the splitter was easy, just unbolt, move, bolt it back down. 3/3! I pulled the Evo bumper gasket out of its packaging and noticed that it didn't look too similar to the US bumper gaskets. I dug in on some old threads and decided that this was not a battle I wanted to fight on this day. It looks like fitment requires some trial and error and still might not look great or stick well, so I said F it and left it for another day when I ran out of other things to do. 3/4.


Fascia going back on.

The last task was to find a way to fasten down the rear of the Evo plastic undertray. Last time, I ended up with two big plastic undertray pieces that did not seem to want to work together. I believed that I was going to have to trim the US engine screen piece to fit, but with the oil cooler passage opened all the way up, and useful images from Markus earlier in my thread, I realized that I just didn't have things sitting in the right place. With everything shingled and fitting correctly, I looked for a way to fasten the trailing edge of the Evo undertray to the engine screen piece. The Sport Evo engine screen, in addition to holes for the brake ducts and a different trim under the engine, has square holes for M6 cage nuts. These line up with the Evo undertray and you can secure it. The US engine screen does not have these square holes, so I ended up match-drilling and securing with standard M6 fasteners. I'm really pleased with how it turned out. 4/5!


Splitter more splitty than ever. Coming soon: the sad day when I find my first too-sharp driveway.


High front downforce for the fuel run... and turn signals sitting at the proper depth!


And that was the end of the day. It's rare to have a day of wrenching where you get nearly everything you'd planned on done, it feels great! Next up: I have something coming in the mail from Germany; and I will order the rubber/suspension parts I identified at the start of the day.

On Saturday I had the fascia off the GT-R to fix a clamp that had come loose on the intercooler, stealing all my boost. Fixed that without issues and back to full power.


Wednesday, April 22, 2020

[M3, Skyline] Mini-photoshoot

[note: this post, like an air-cooled 911, is back-dated to when these events occurred] 

The local paint shop isn't able to get custom-mixed paint during the shutdown so I'm rolling around on 15s and some 2014-coded tires.

I received a small batch of parts, nothing too wild. 15mm spring pads for the rear of the car, some new throttle body anti-tamper caps, parts to correct the turn signal mounting on the front bumper. 


Yellow and blue caps are both available new at time of writing. 
Yellow: 13-11-1-265-509 
Blue: 13-11-1-265-510

Interestingly, and you might notice in the photo above, two of the yellow caps did not match the other two (top/bottom). I don't dig the yellow anyway so I installed blue. Order 8 caps if you're going yellow to make sure you can get a matching foursome.


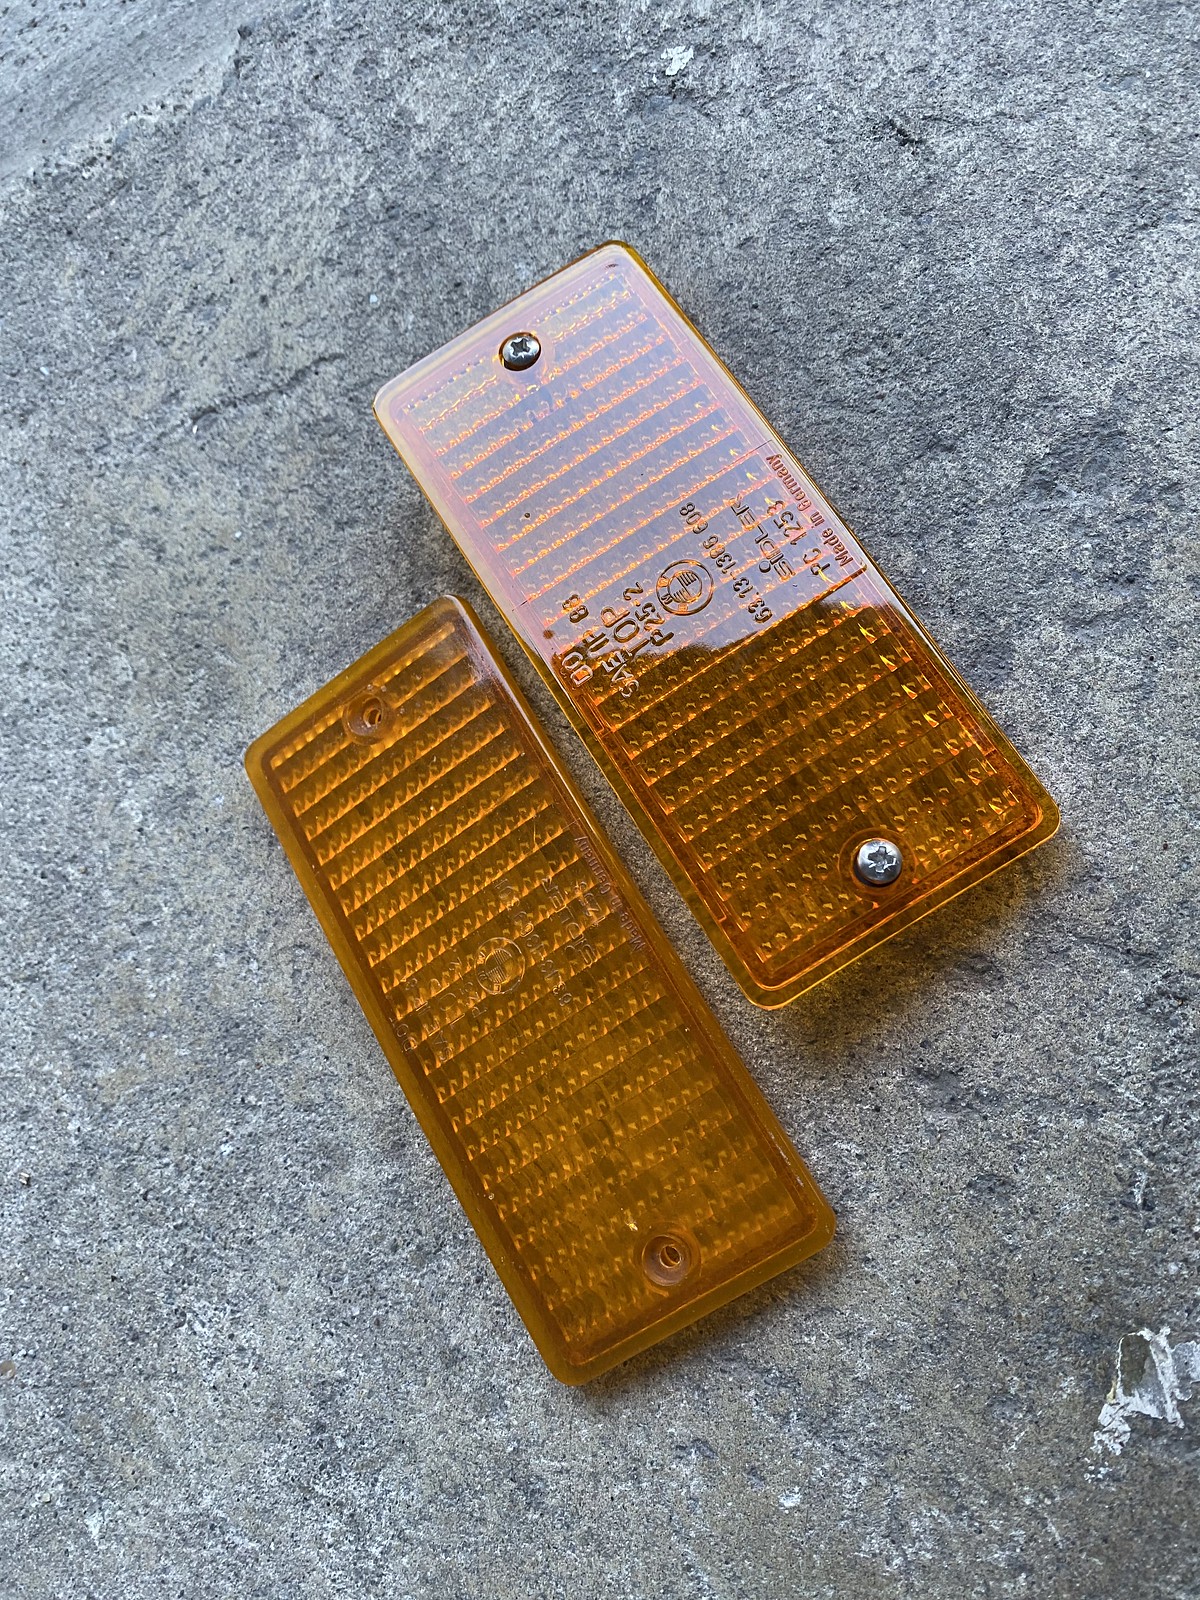
New front turn signal lenses because they're cheap.


My wife had the sewing machine out, making face masks, so I asked her to modify my driver-side Lloyd mat. The dead pedal extension has a tendency to fold and flop into my pedals during driving - no good. Even worse, it covers up my M-Tech dead pedal! So it had to go. She was able to recover the piping/edging from the removed section and make it look great in the end.

This weekend I was bored, and both of the cars were clean, so I drove 50 yards to the local school and took some photos. And because I'm still bored, I paid for Lightroom and spent some time tonight learning about its capabilities. I would pay good money to see a photo straight off of Larry Chen's camera and watch him take it through his editing process. Obviously you can't solve composition, vision, etc in postproduction but I would LOVE to see how much time is spent in the editing stage and if there is some secret million-dollar filter presets that really bring the magic out of these images. I also wonder how on earth he can turn images around so quickly.


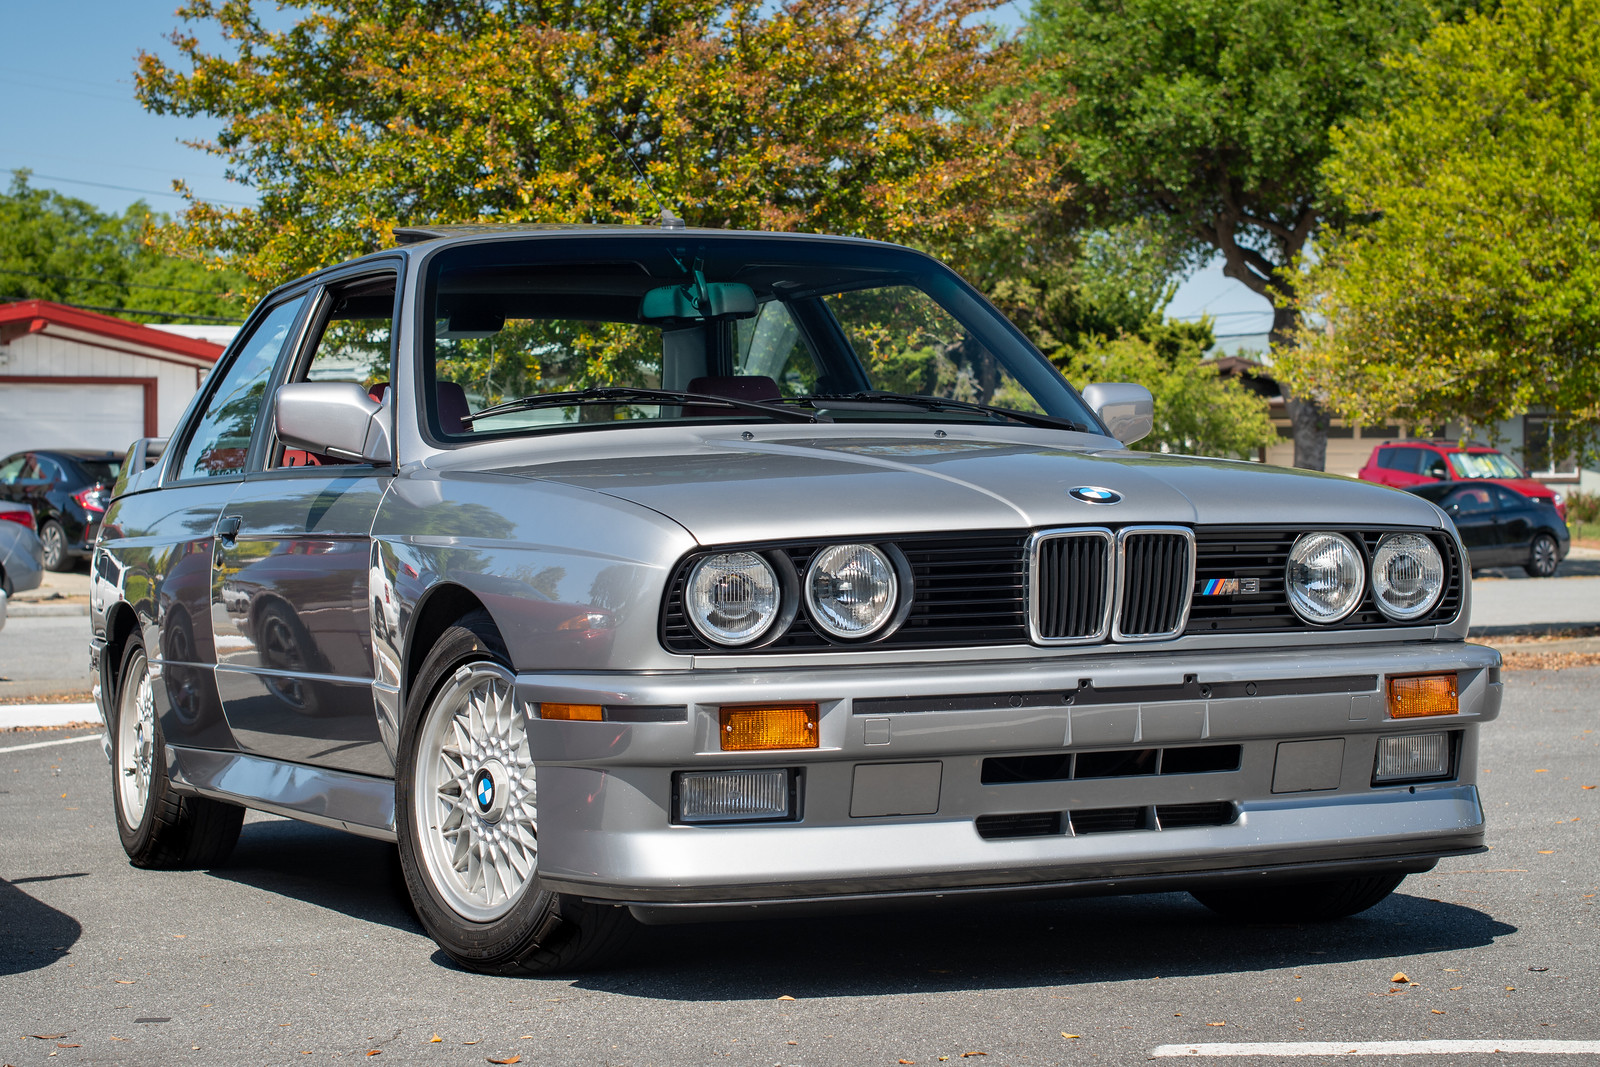
This is my sixth BMW, yet the only straight-6 I've owned is a Nissan. Funny.

Next projects on deck: front fascia redux. I've got the parts to try to rectify the front turn indicator mounting, and while I'm at it I want to install my Evo bumper seal and see what I can do to secure the back of the Evo under tray, which is kind of flapping in the breeze. Stay safe everybody.