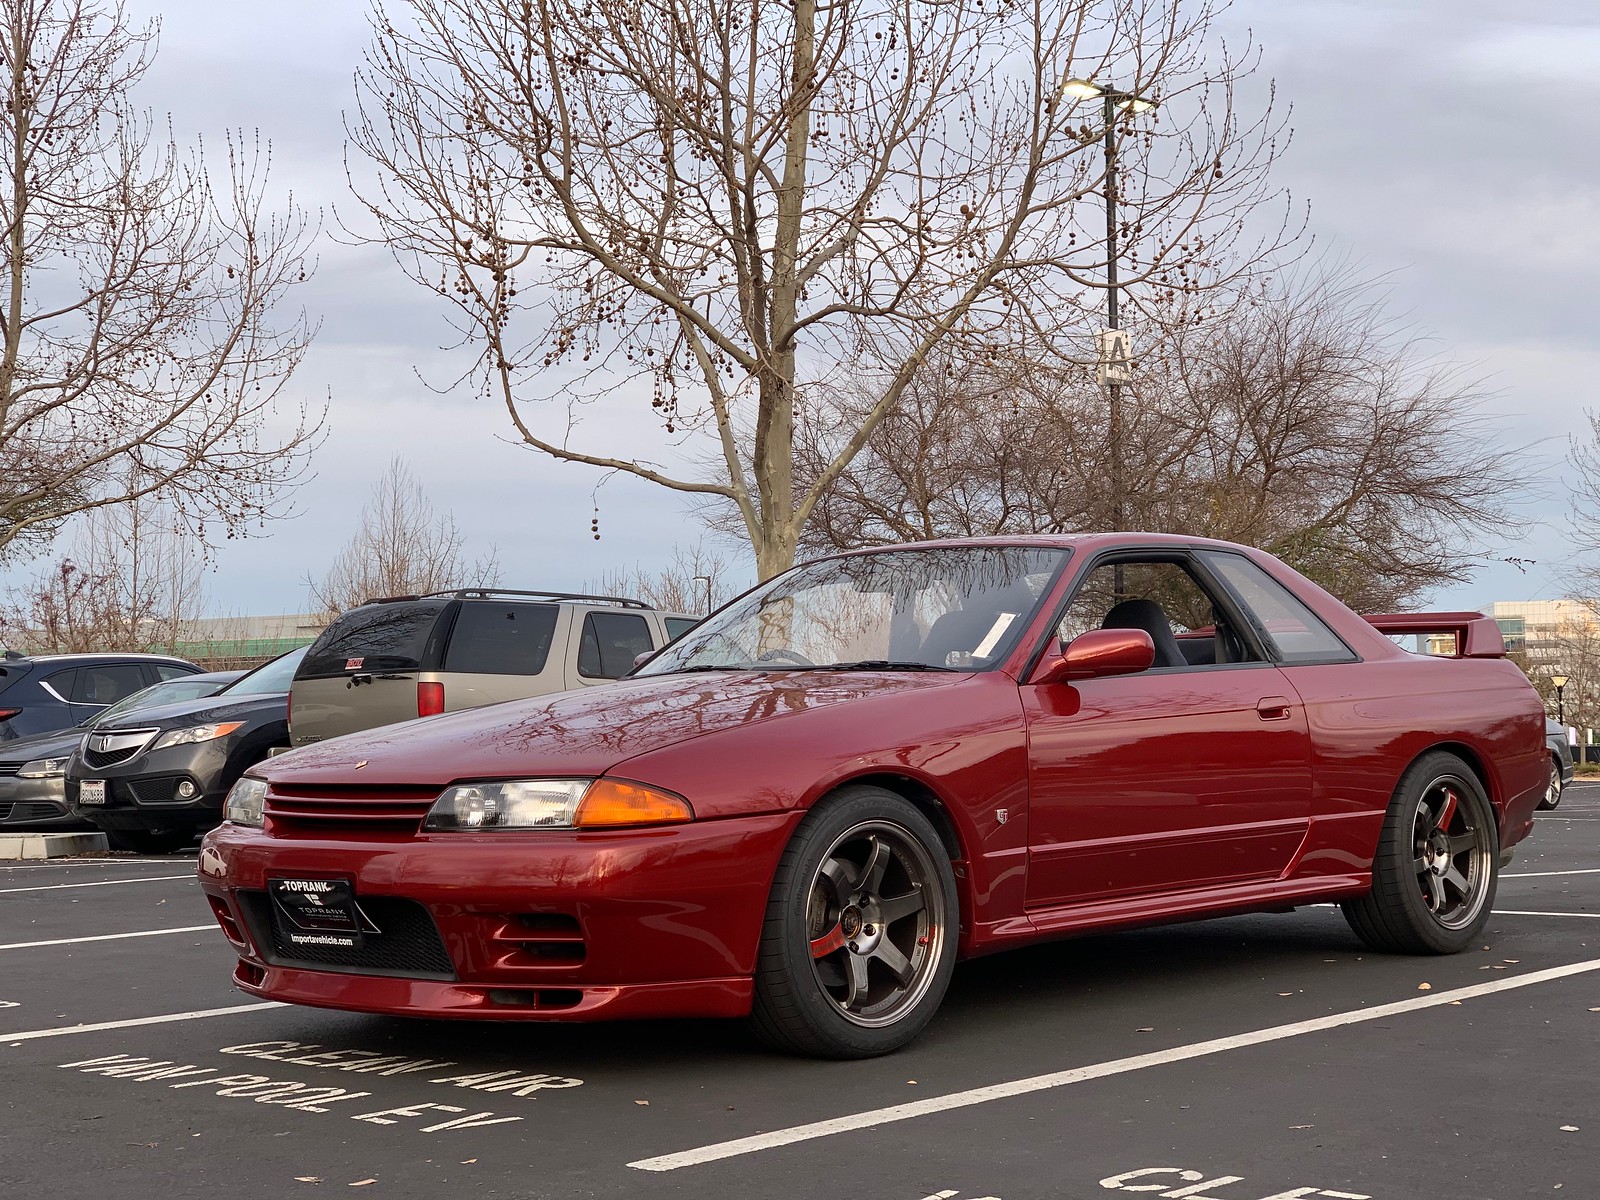
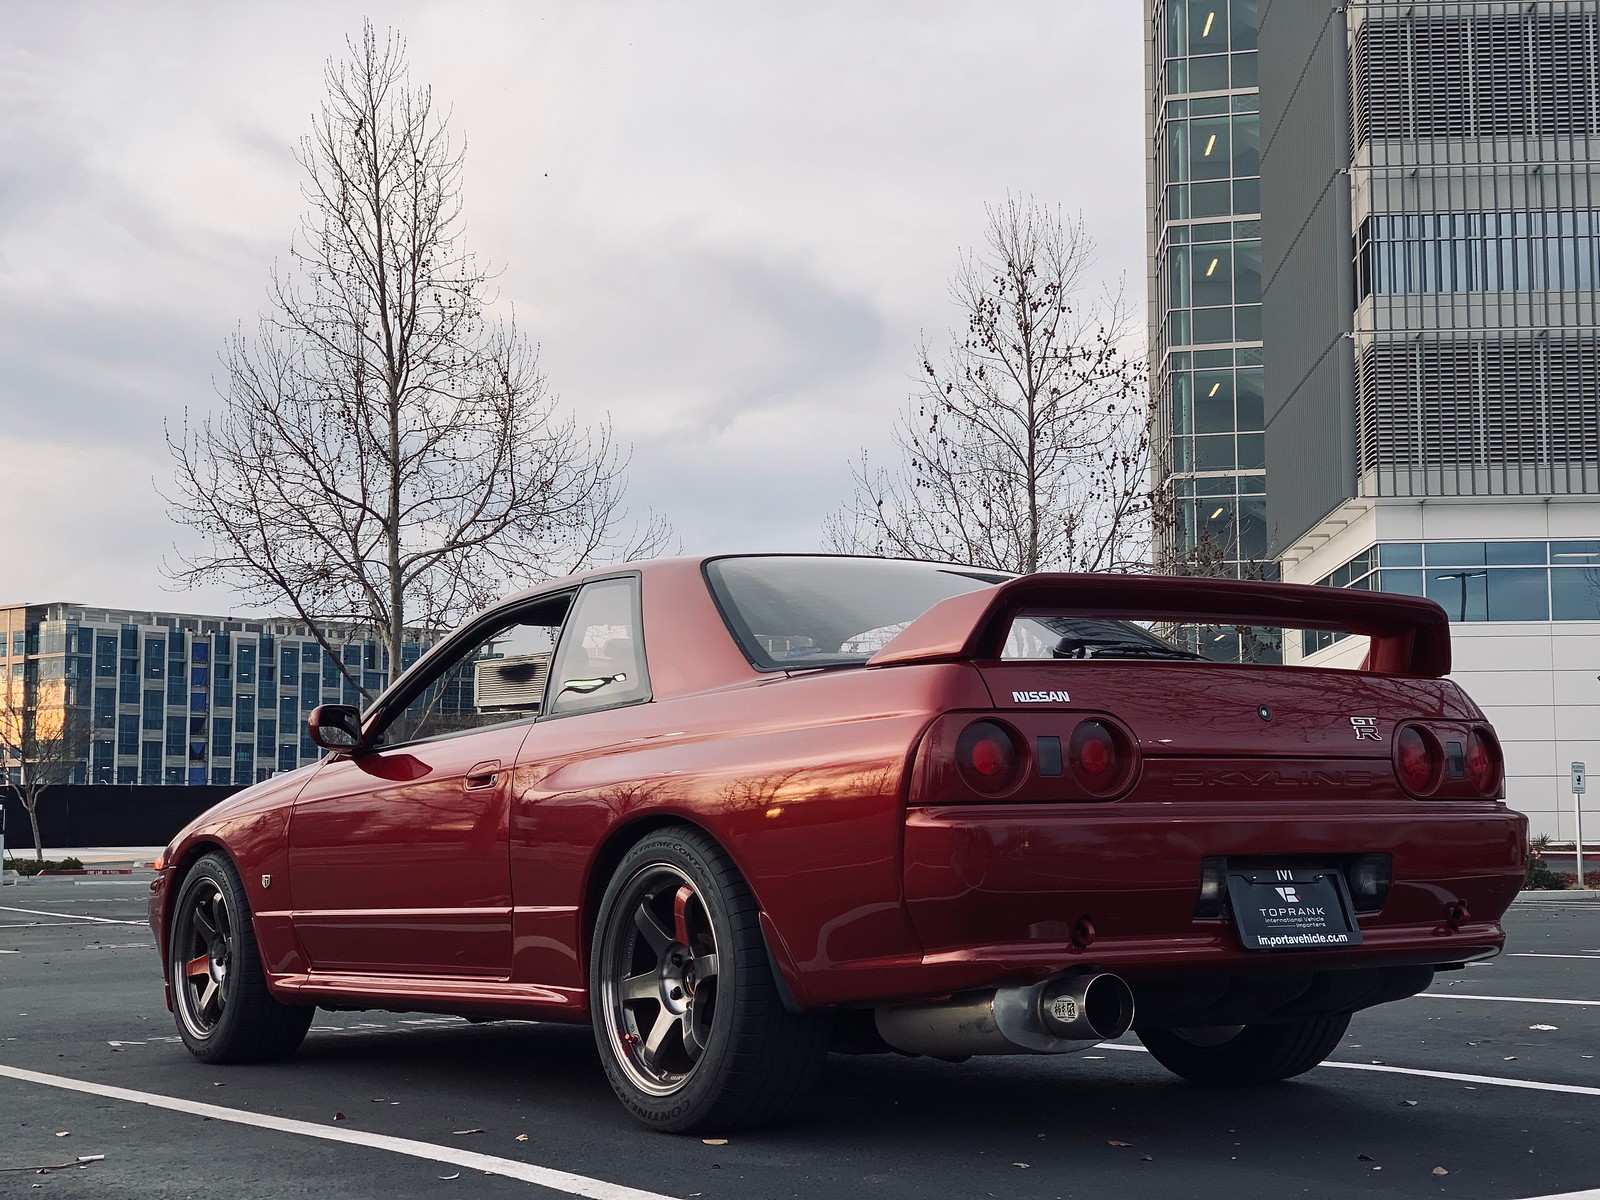
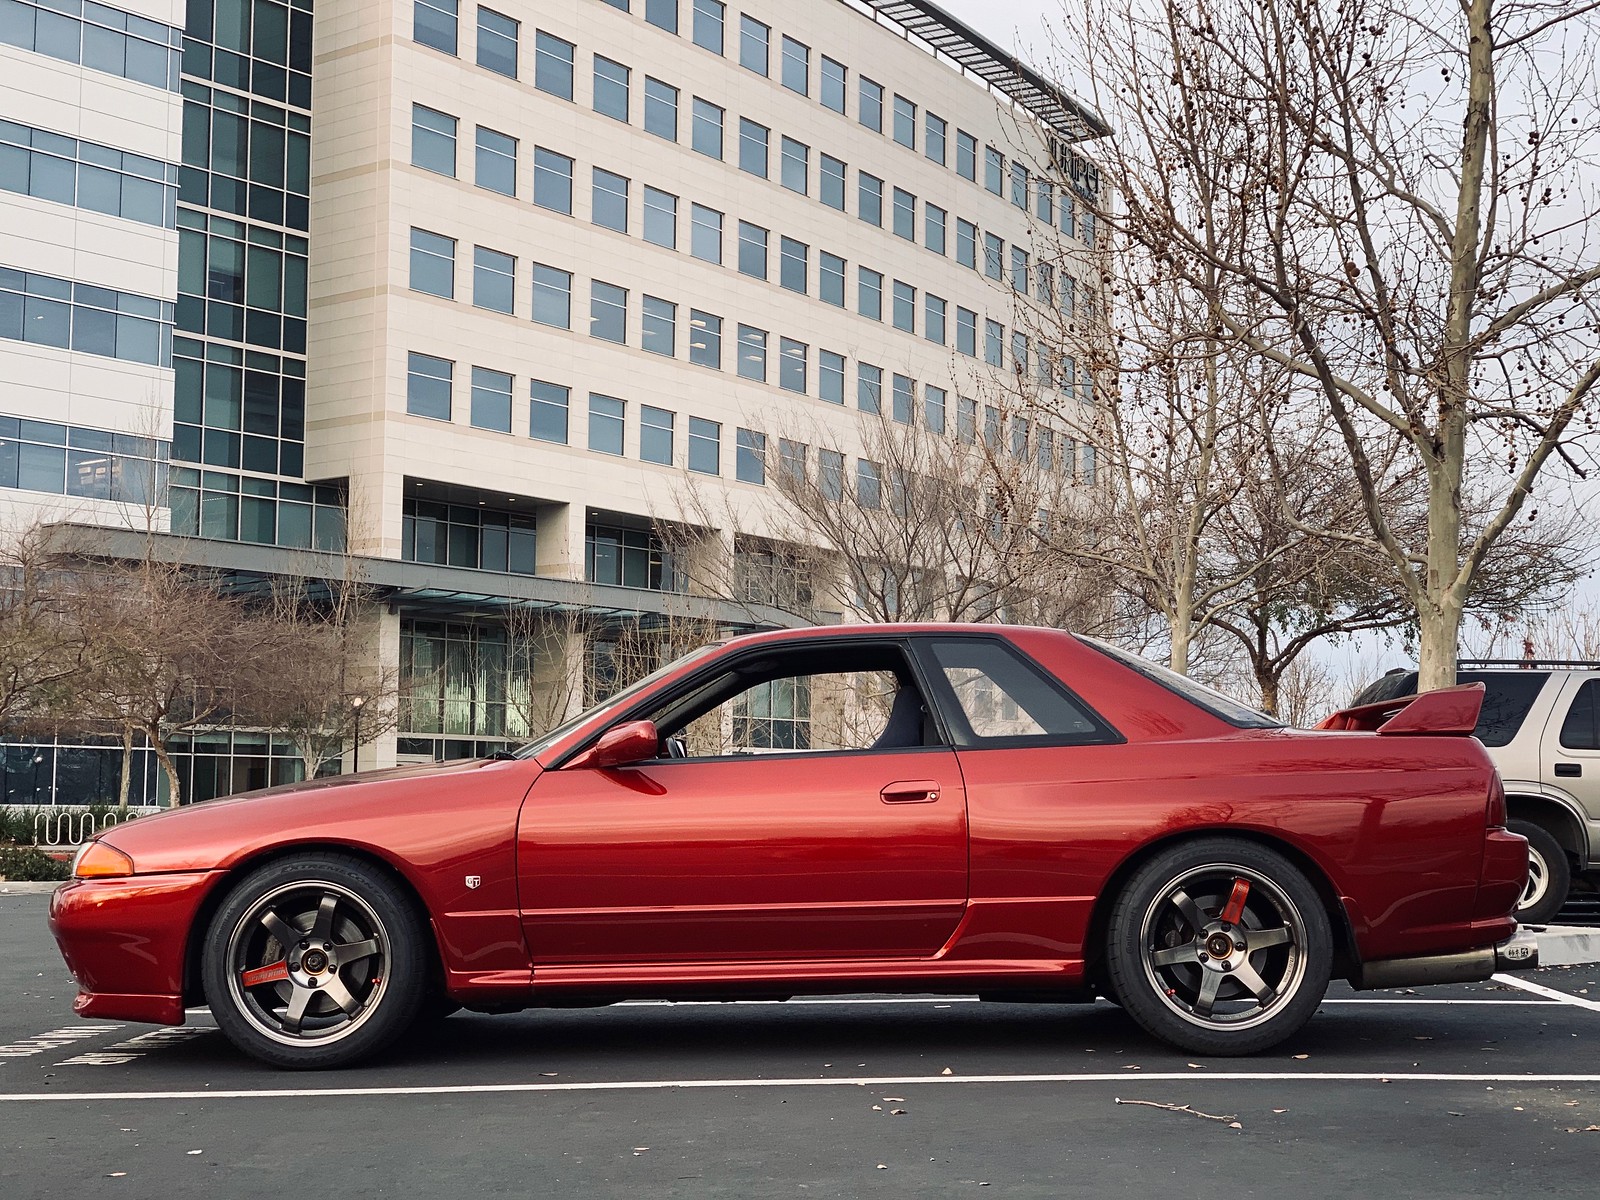
Saturday, March 2, 2019

[Skyline] Trim clean-up

One of the first things I noticed when I saw the car in person was the sorry state of the B-C pillar trims. It's not uncommon for these types of trim parts to be expensive and hard to find, but when I saw that I could get them new for Nissan for a couple hundred dollars they were the first thing I ordered after coming home in September.

How they looked: saggy and peeling.
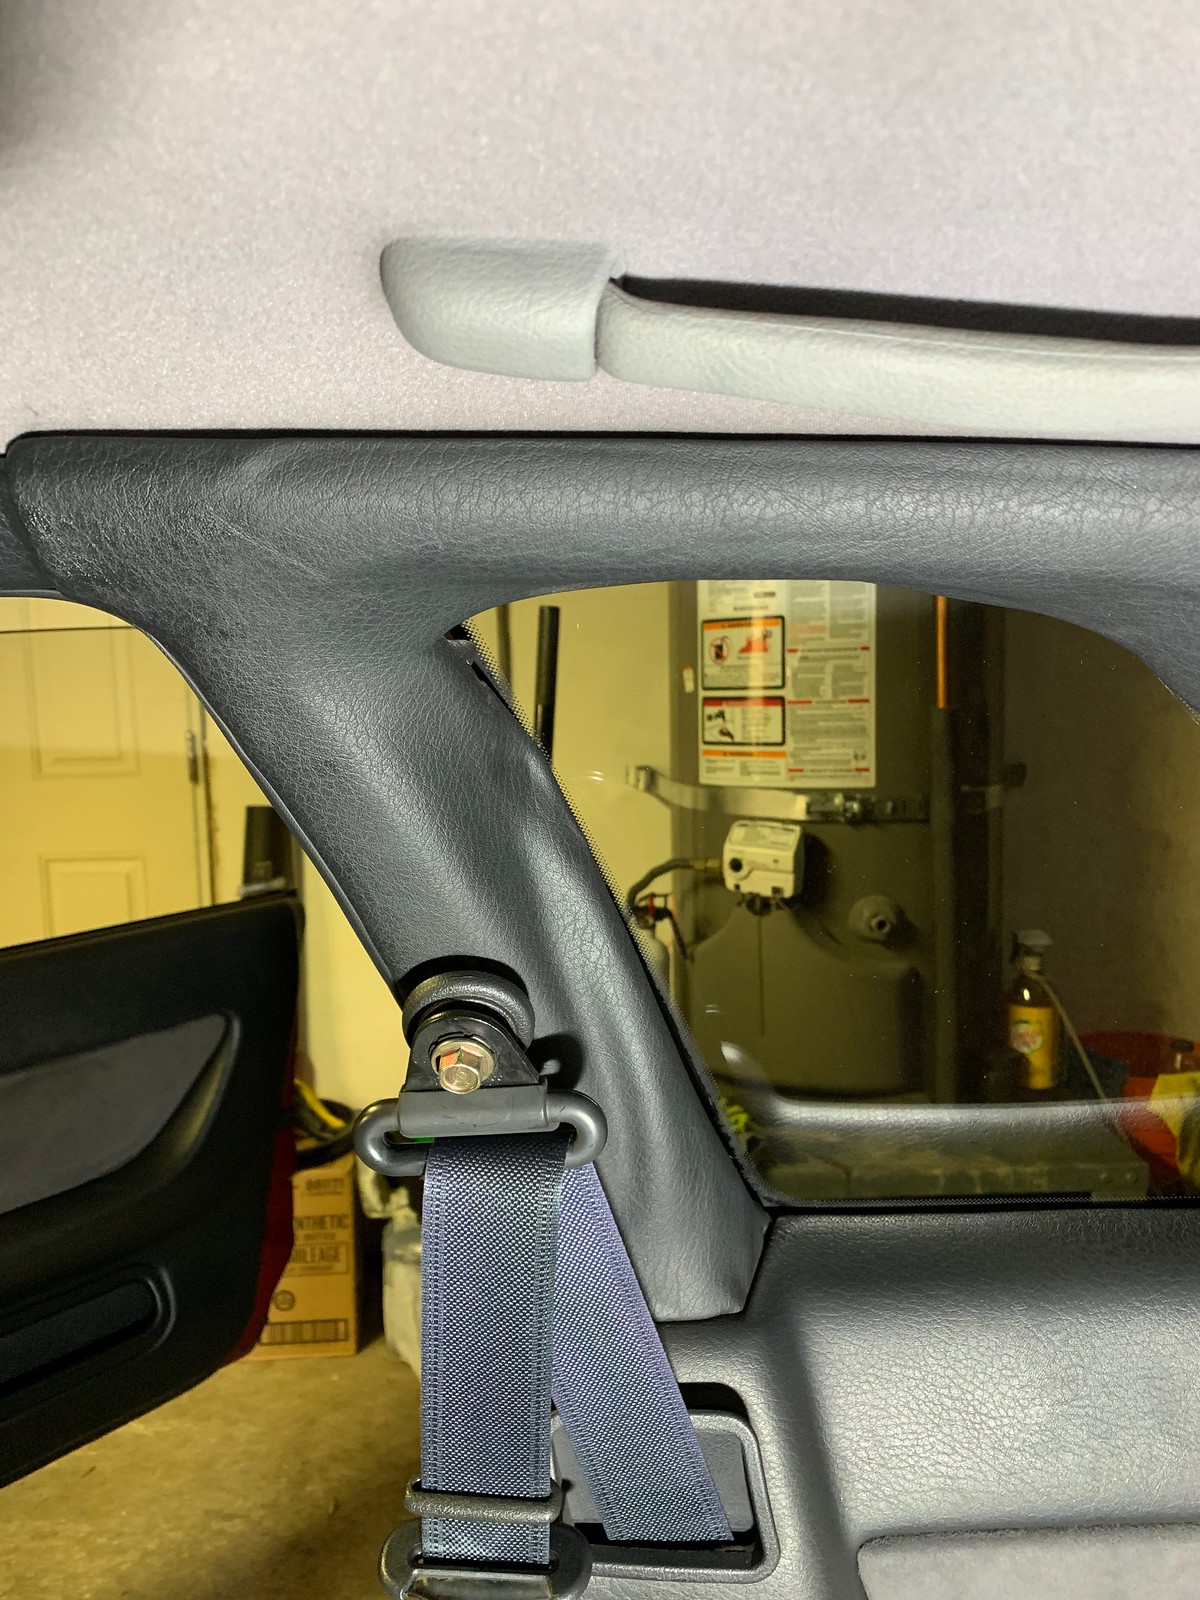
That ripple is not supposed to be there.

These trims are held on mainly by clips, but as usual the hard part is digging through other parts to get access to the part of interest. To get started, the rear seat needs to be removed. The bottom seat cushion goes first - it's retained only by two latch features on either side. They are disconnected by a sharp tug upward. The seat back goes next, there is one bolt per side that you can access with the seat cushion out of the way. From there it goes upward until the tongues on the seat come free of the receivers on the body.
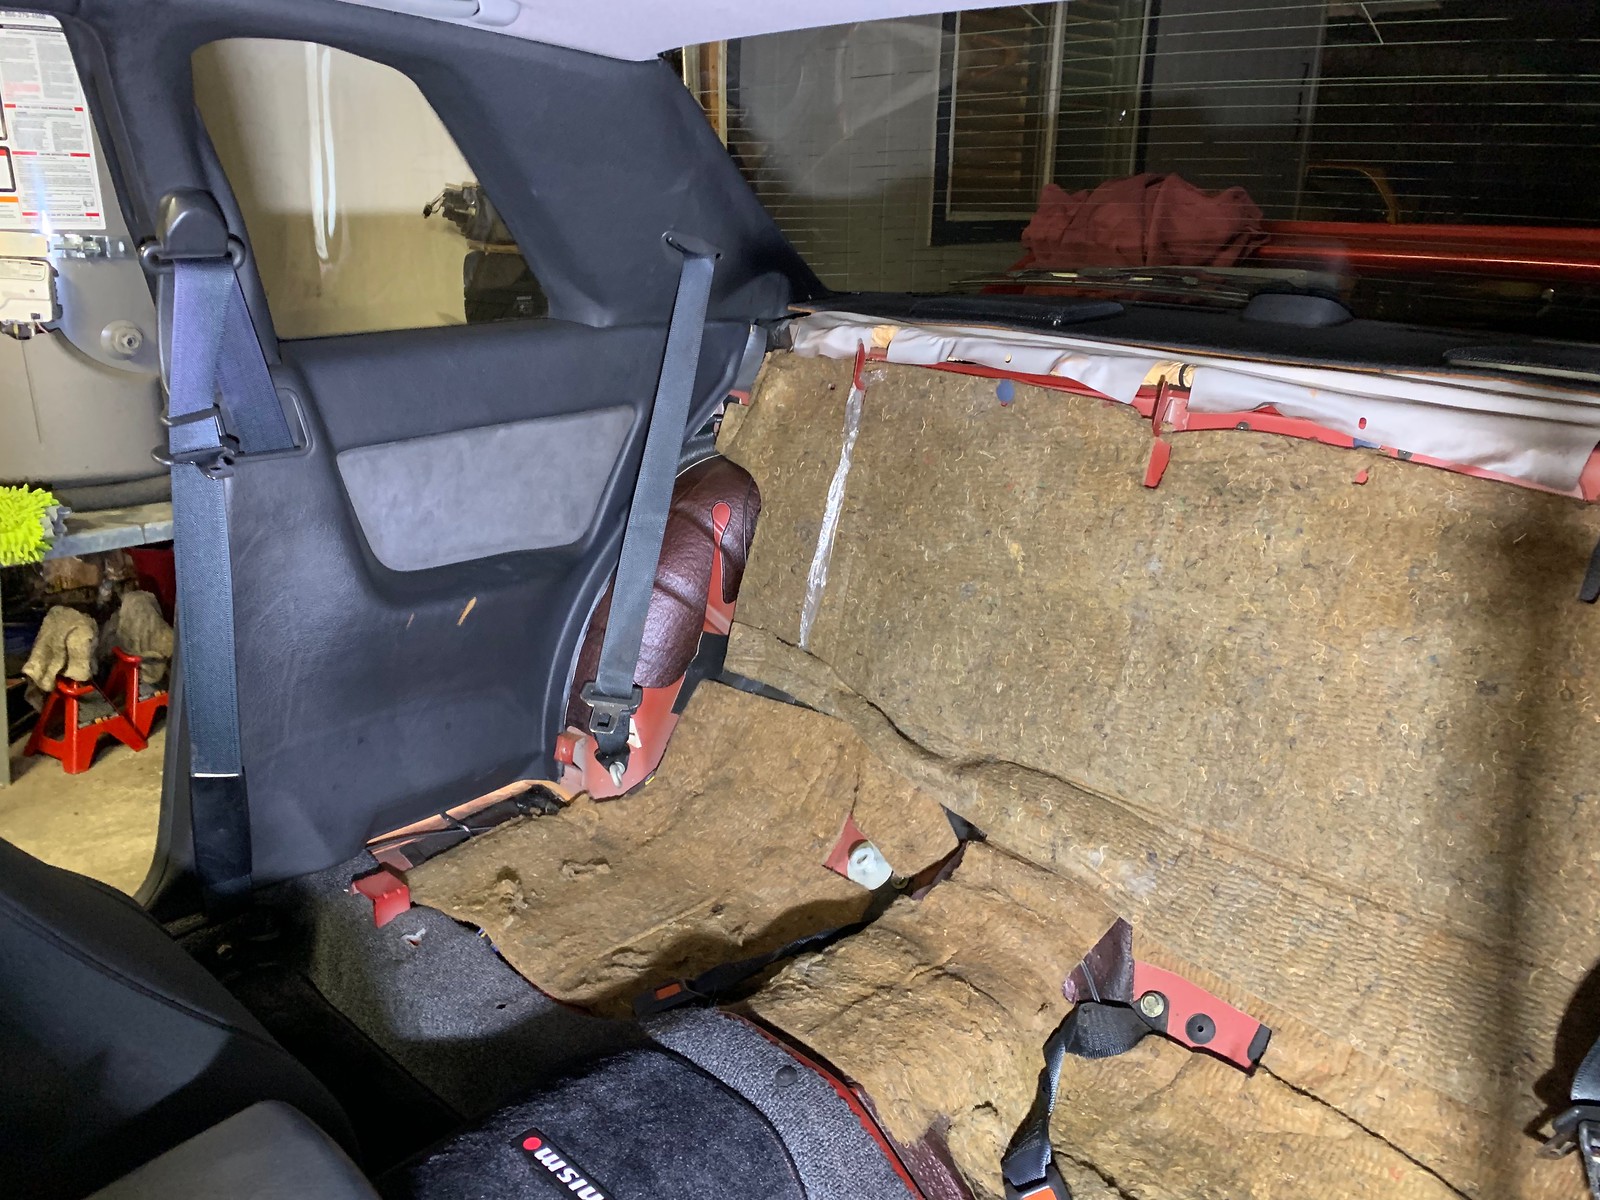
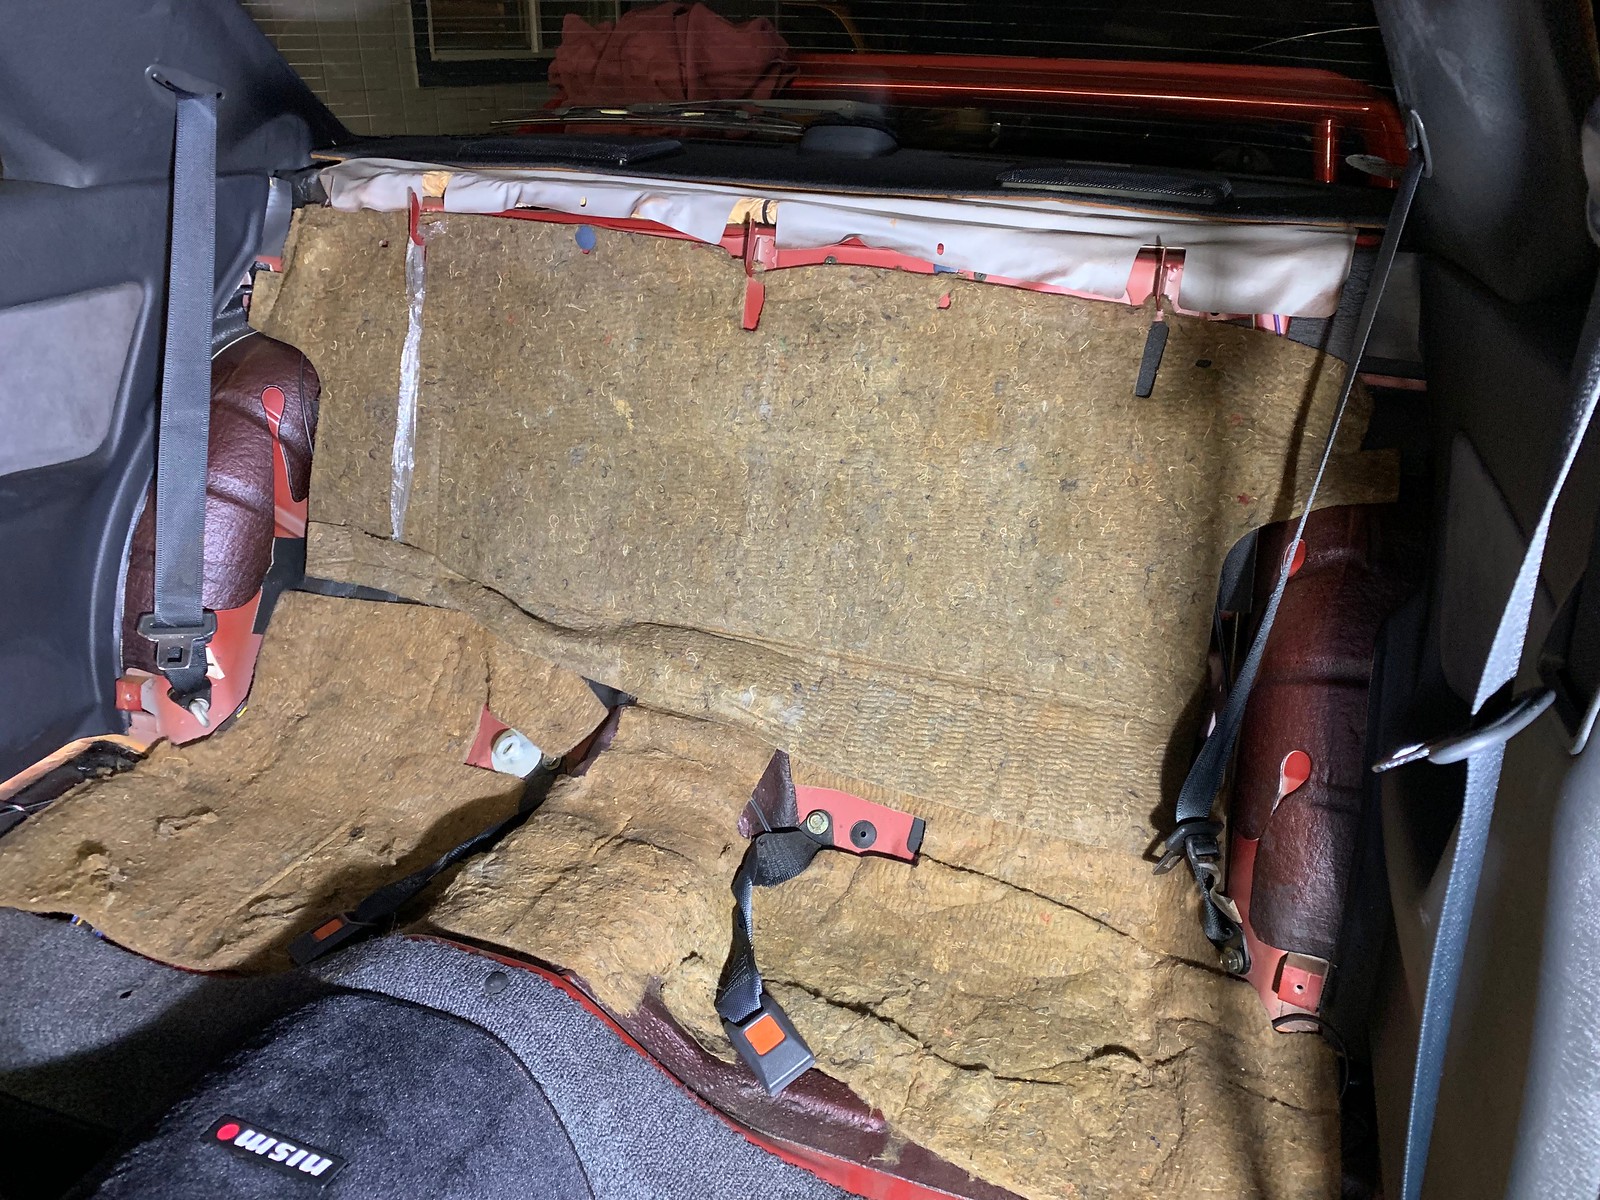
I was happy to see a very stock-looking arrangement back here, with sound deadening undisturbed.

The rear belts need to be unbolted at the bottom body mount so they can thread up and out of the old trim piece. The top mount of the front seat belts also needs to come off. The side trims don't need to come out entirely, but you'll need to pop them loose to thread out the B-C pillar trims from behind them.
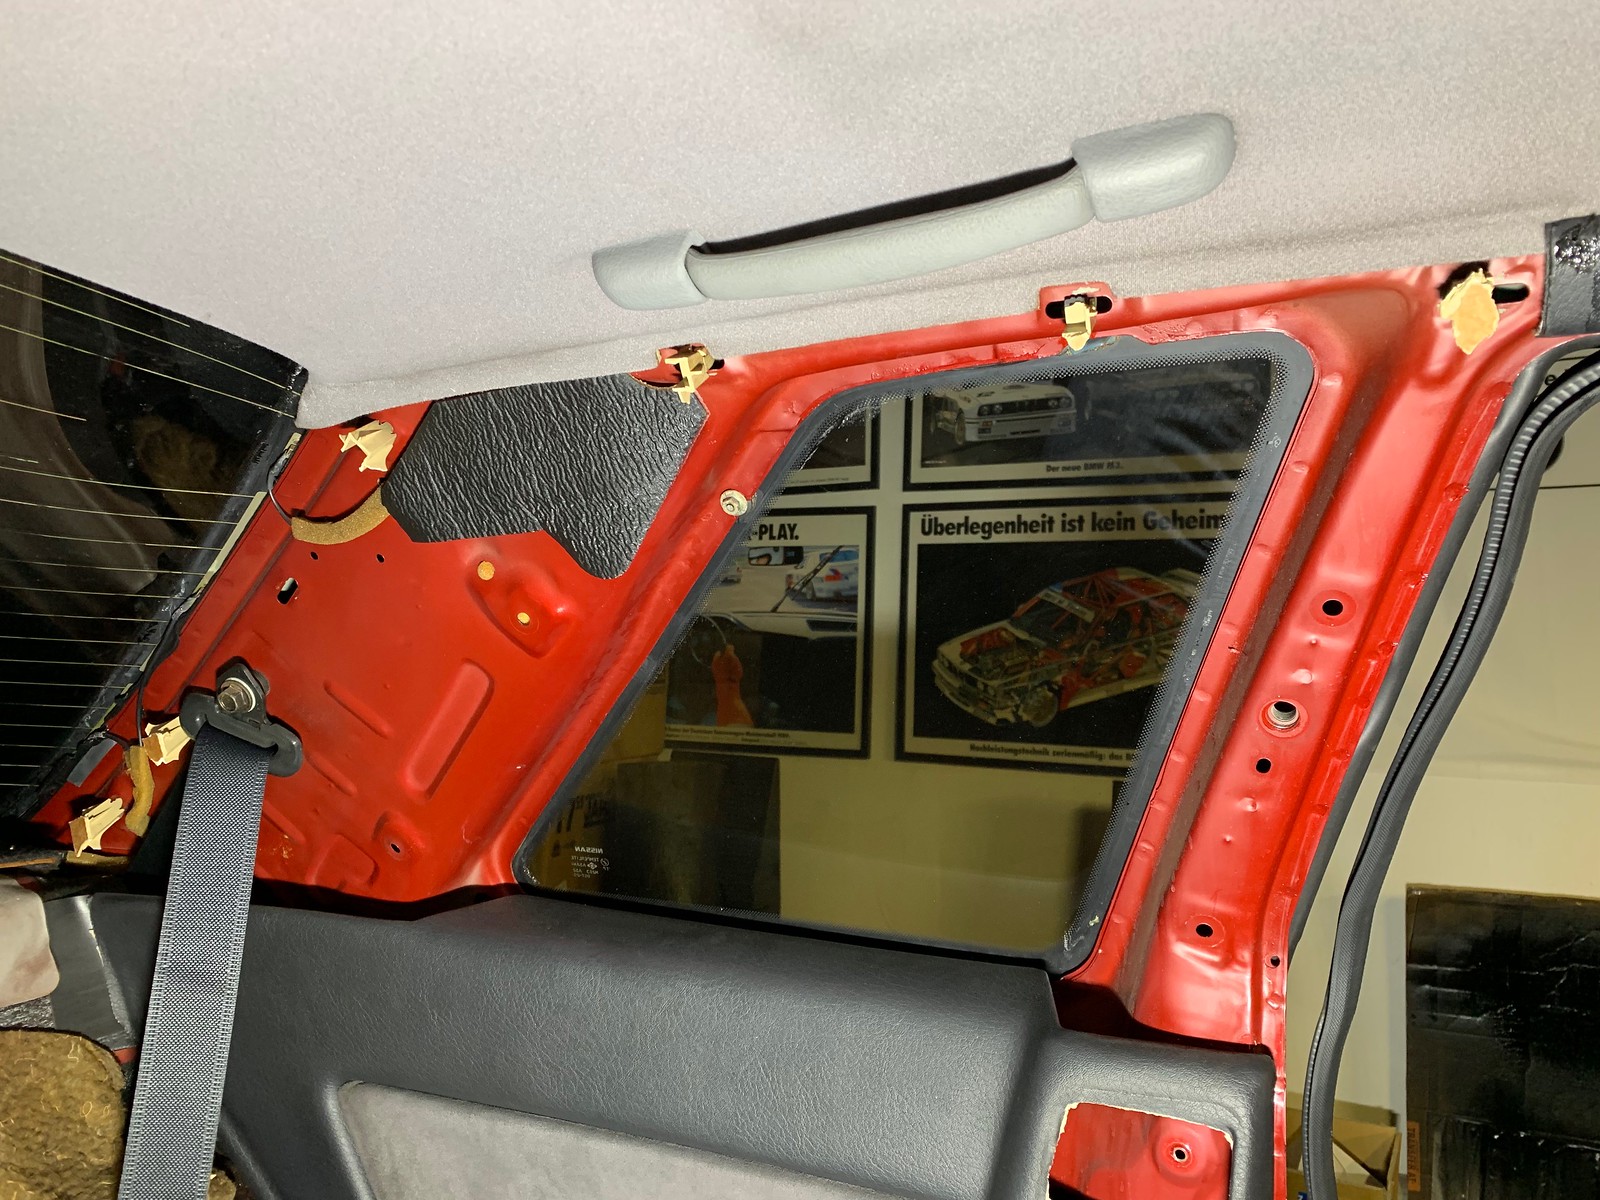


Here's how things look with the old trim piece off. It was full commitment at this point, because the clips were so effective at gripping the body that the doghouses shattered off the plastic substrate of the trim. Some clips were plastic, others (like the one shown above) were metal and pretty gnarly to remove. Don't expect to remove factory-original panels and re-install them... removal was completely destructive.

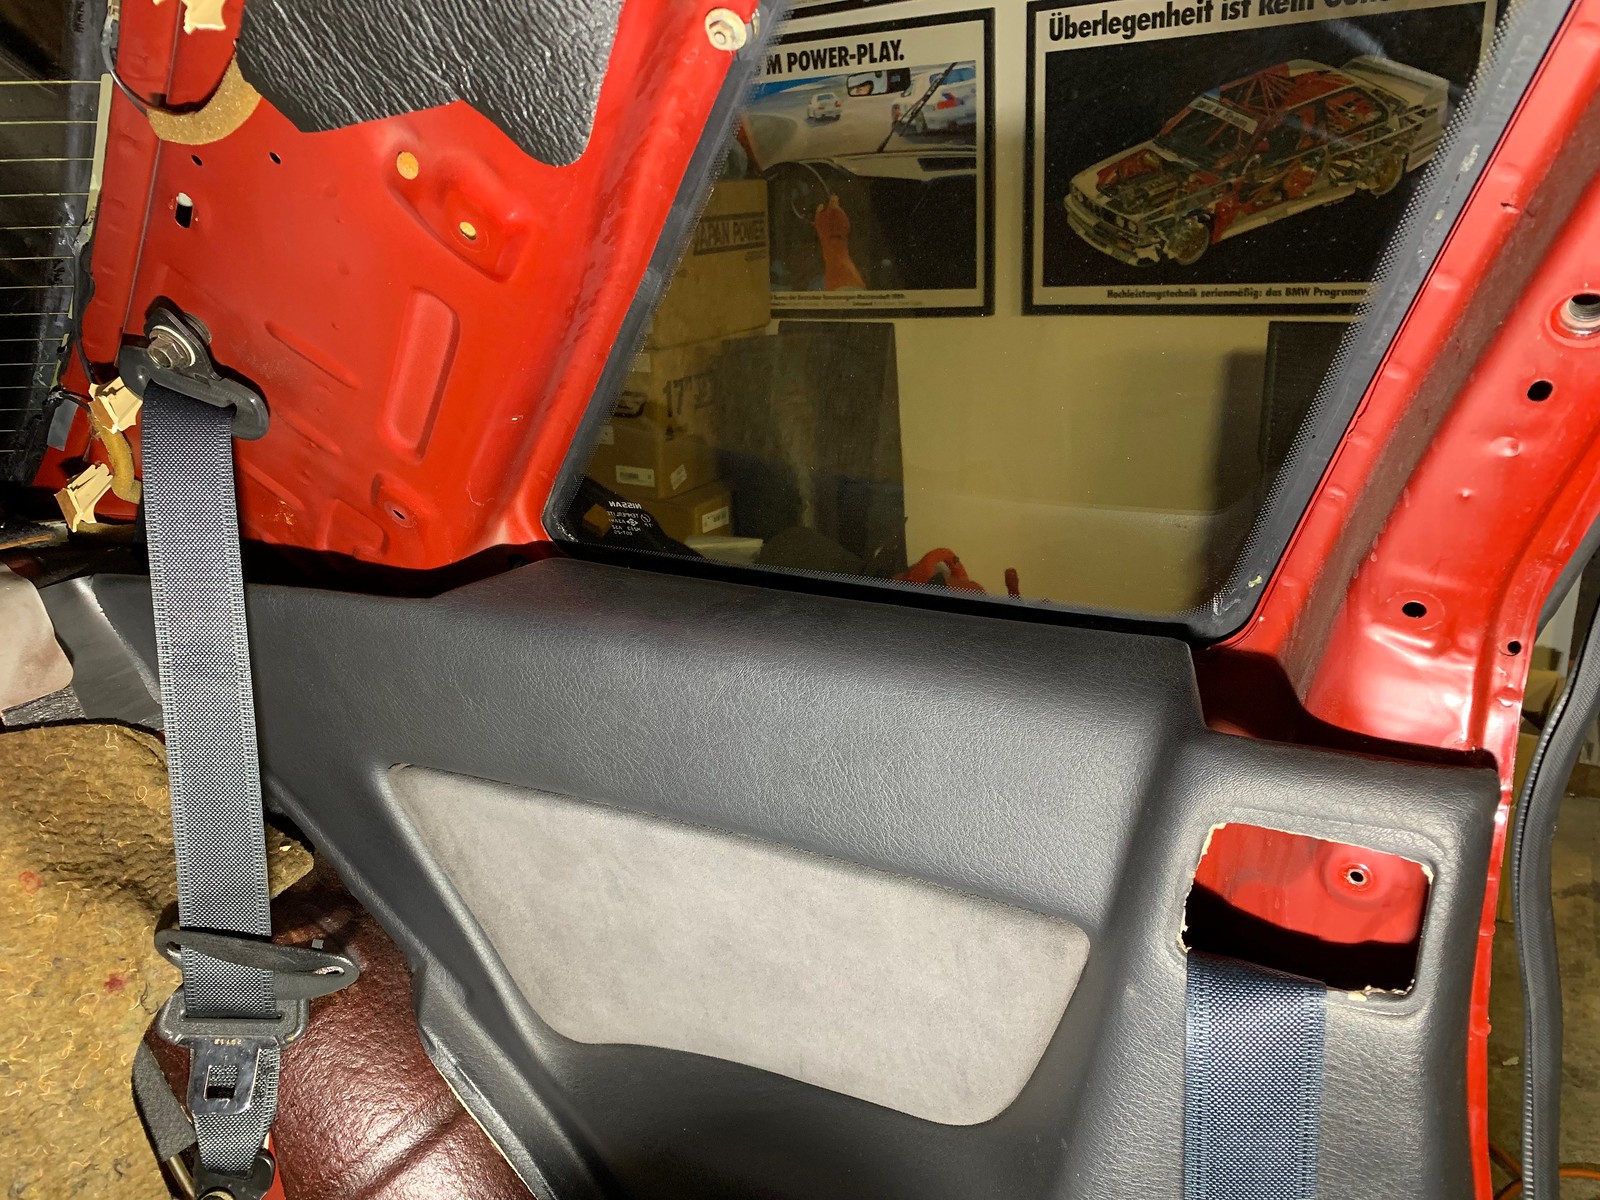
Last look before putting the new one in.
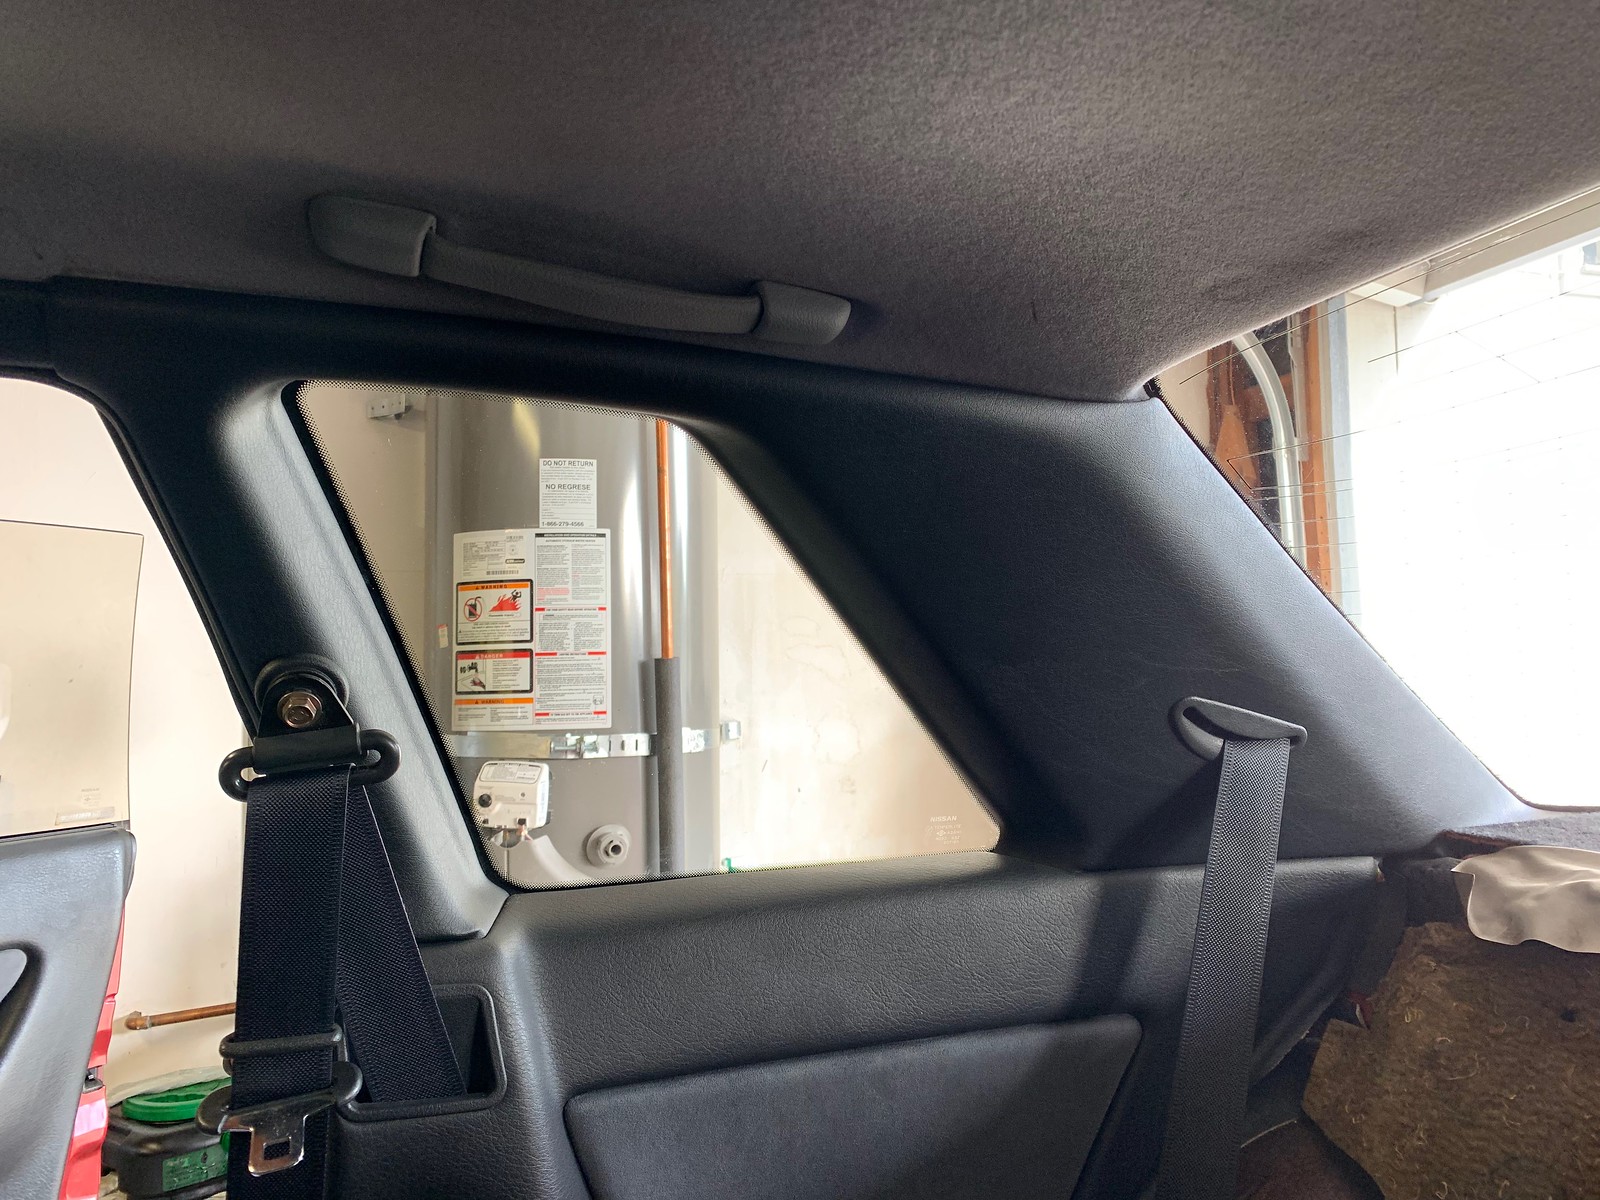
Happy new trim. Much better!

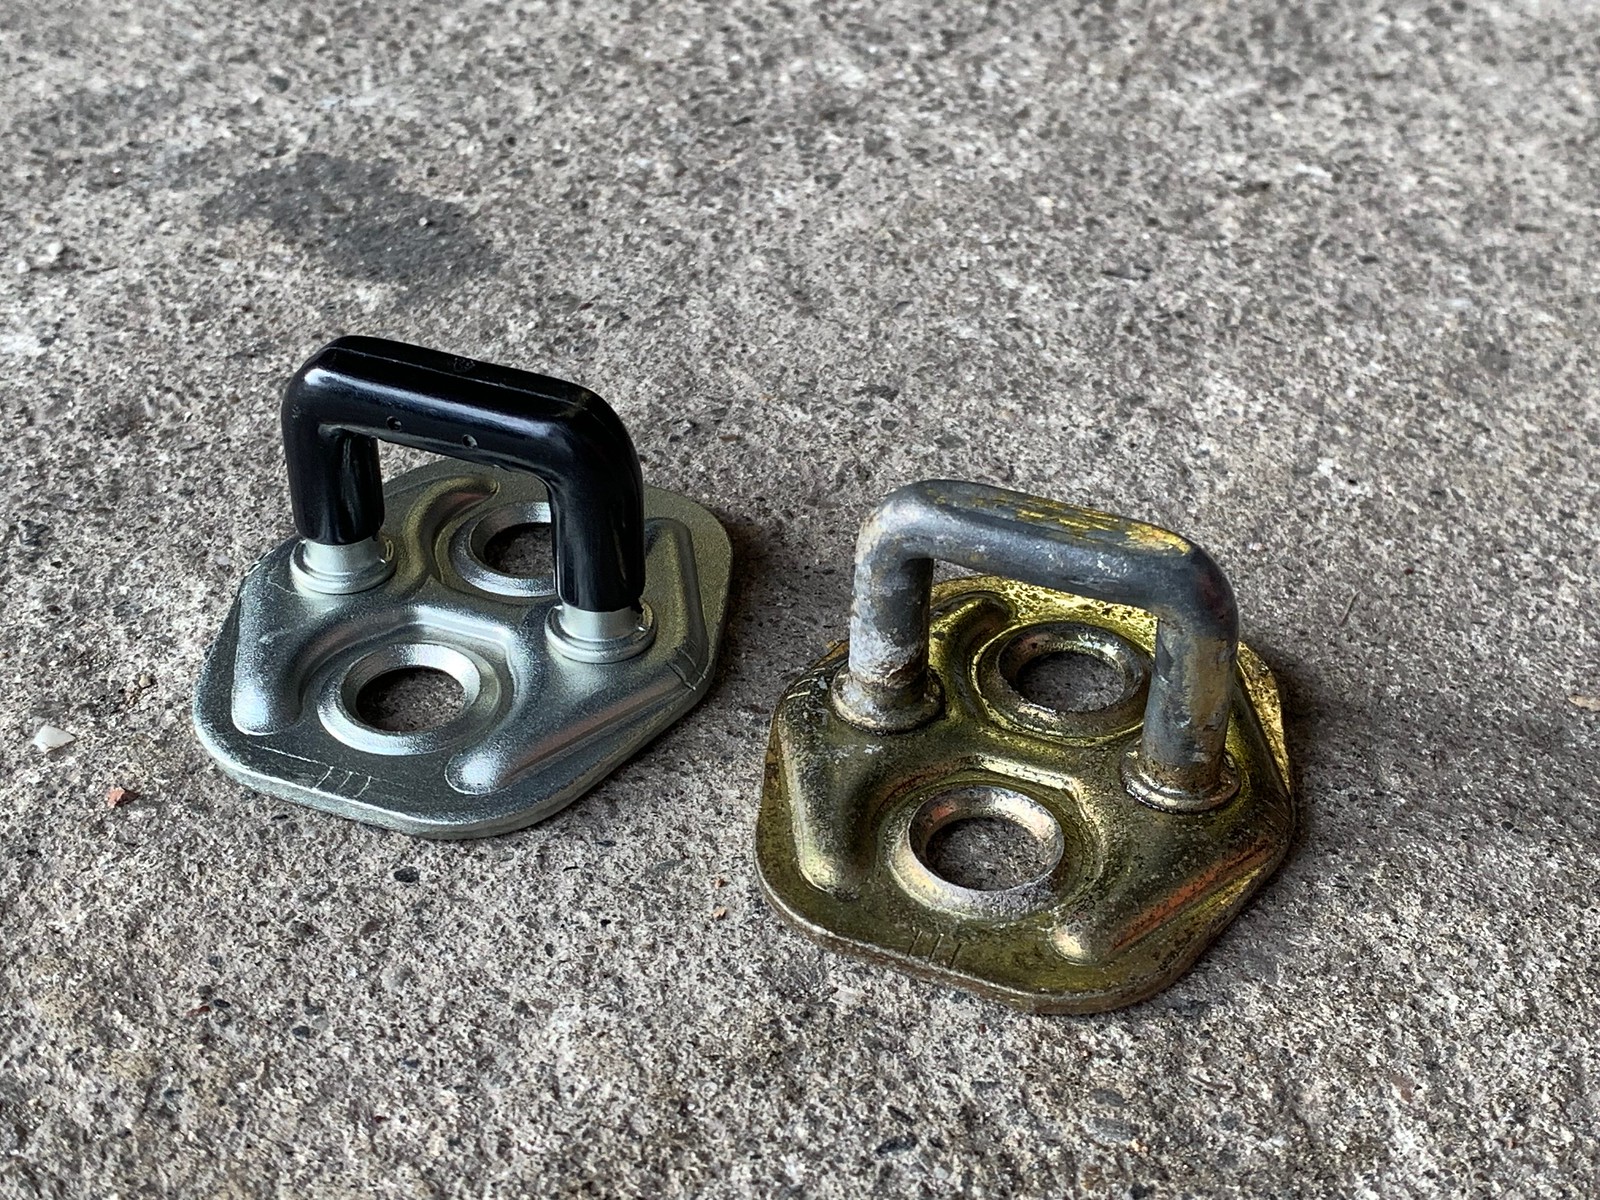
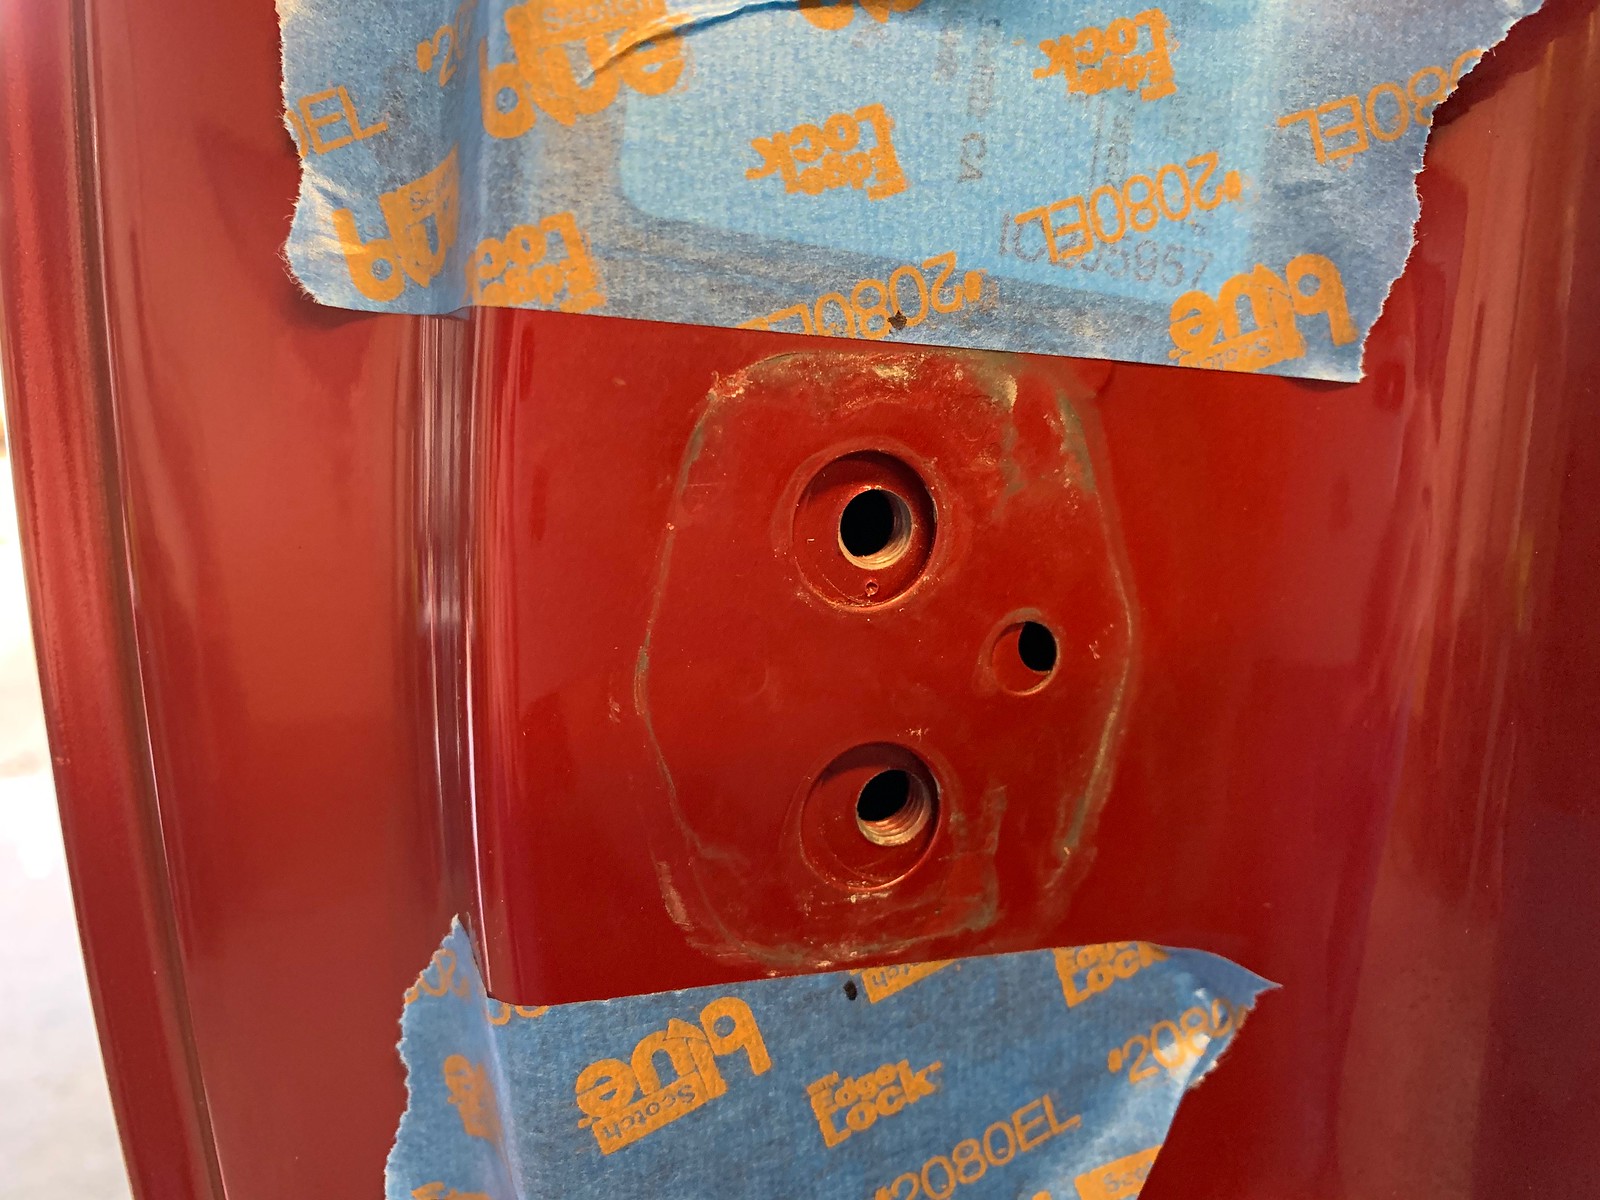
Next up: door strikers. They have a plastic overmold from the factory, mine had broken off long ago. I also used the opportunity to adjust the strikers to have the doors close flush with the bodyside. My car has been repainted so I had to break the floating nut plate loose before adjusting. Like with the badges, it's a good idea to tape off your starting point so you can measure your movement. This is a great bang-for-buck improvement, the body lines are cleaner with the improved fitment and the doors latch more securely when they're closed. Rattle is reduced.

My P1P2 seals were beat down, torn, and pretty much fried, so I replaced those at the same time. I expected this to be a nasty job - I thought the seals would be bonded in - but instead it was pleasantly simple. The seal has some clips at its front and rear but is otherwise retained by the window trim.

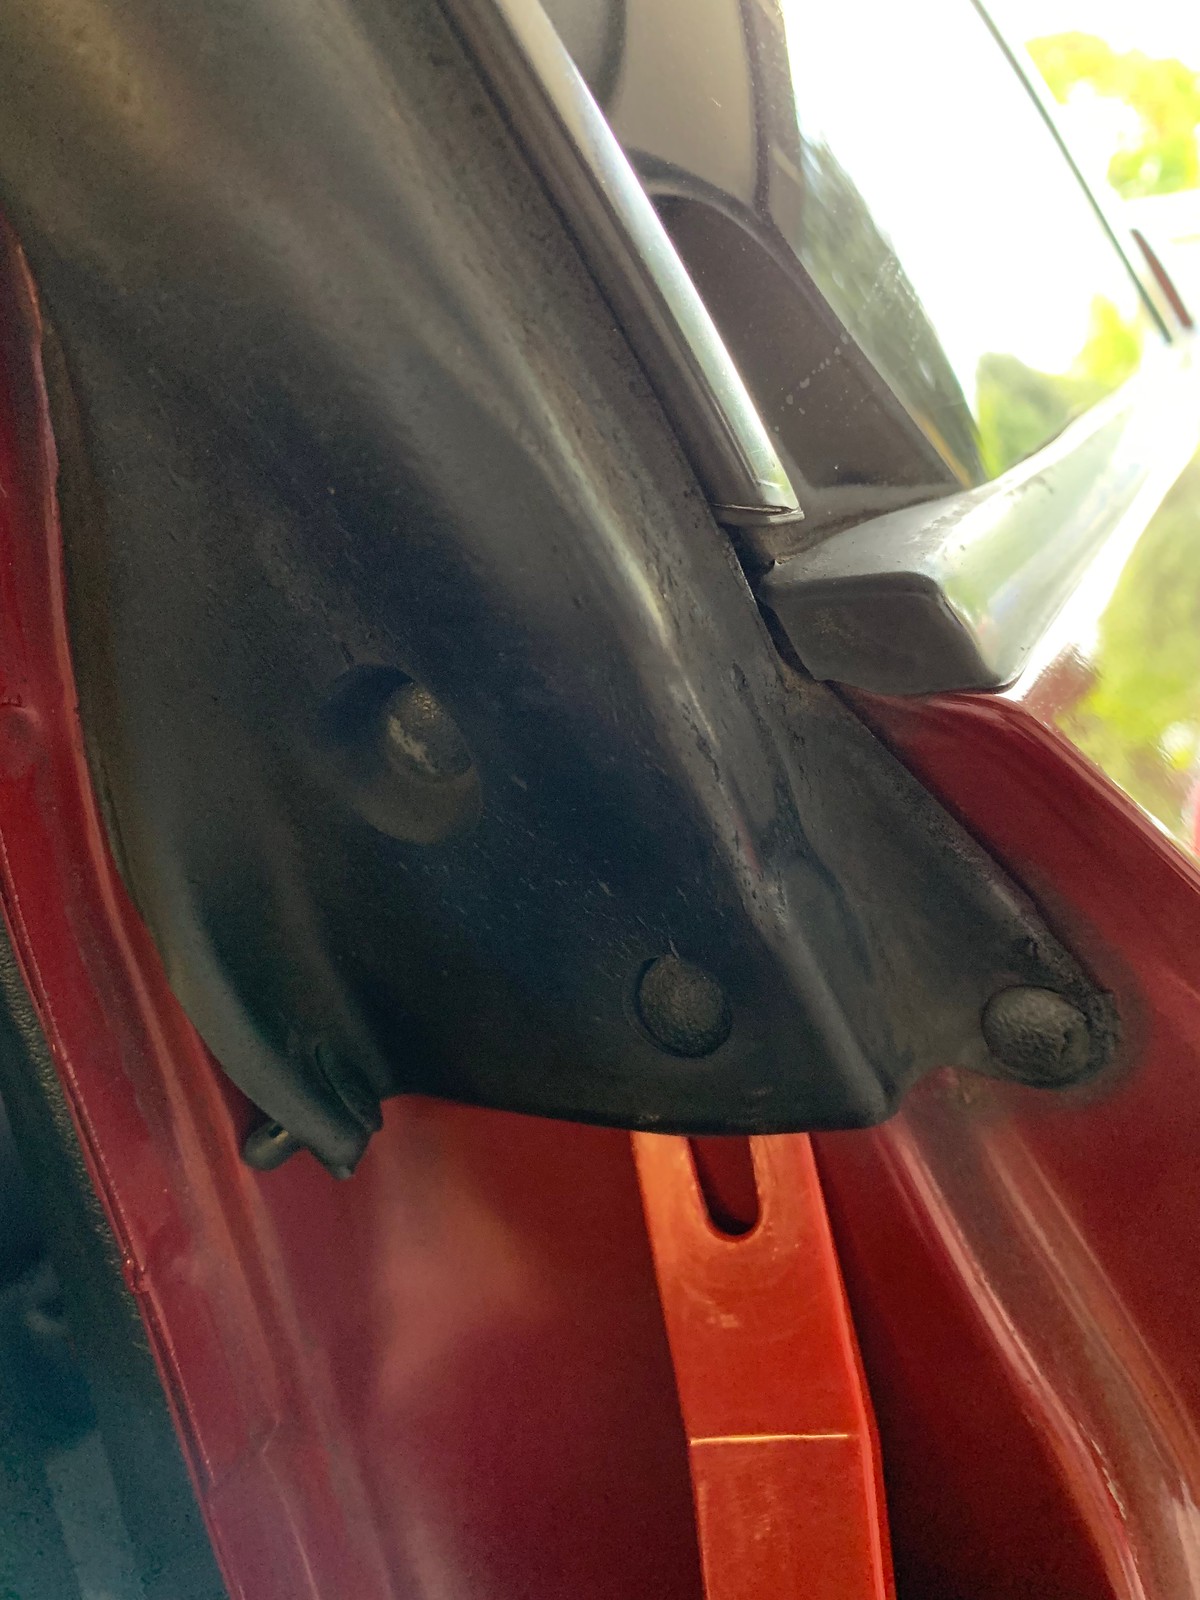
I use my plastic trim tools more than almost anything else in my toolbox. They make these annoying push pins a breeze.


Fasteners exposed if you want to remove the seal carrier too.

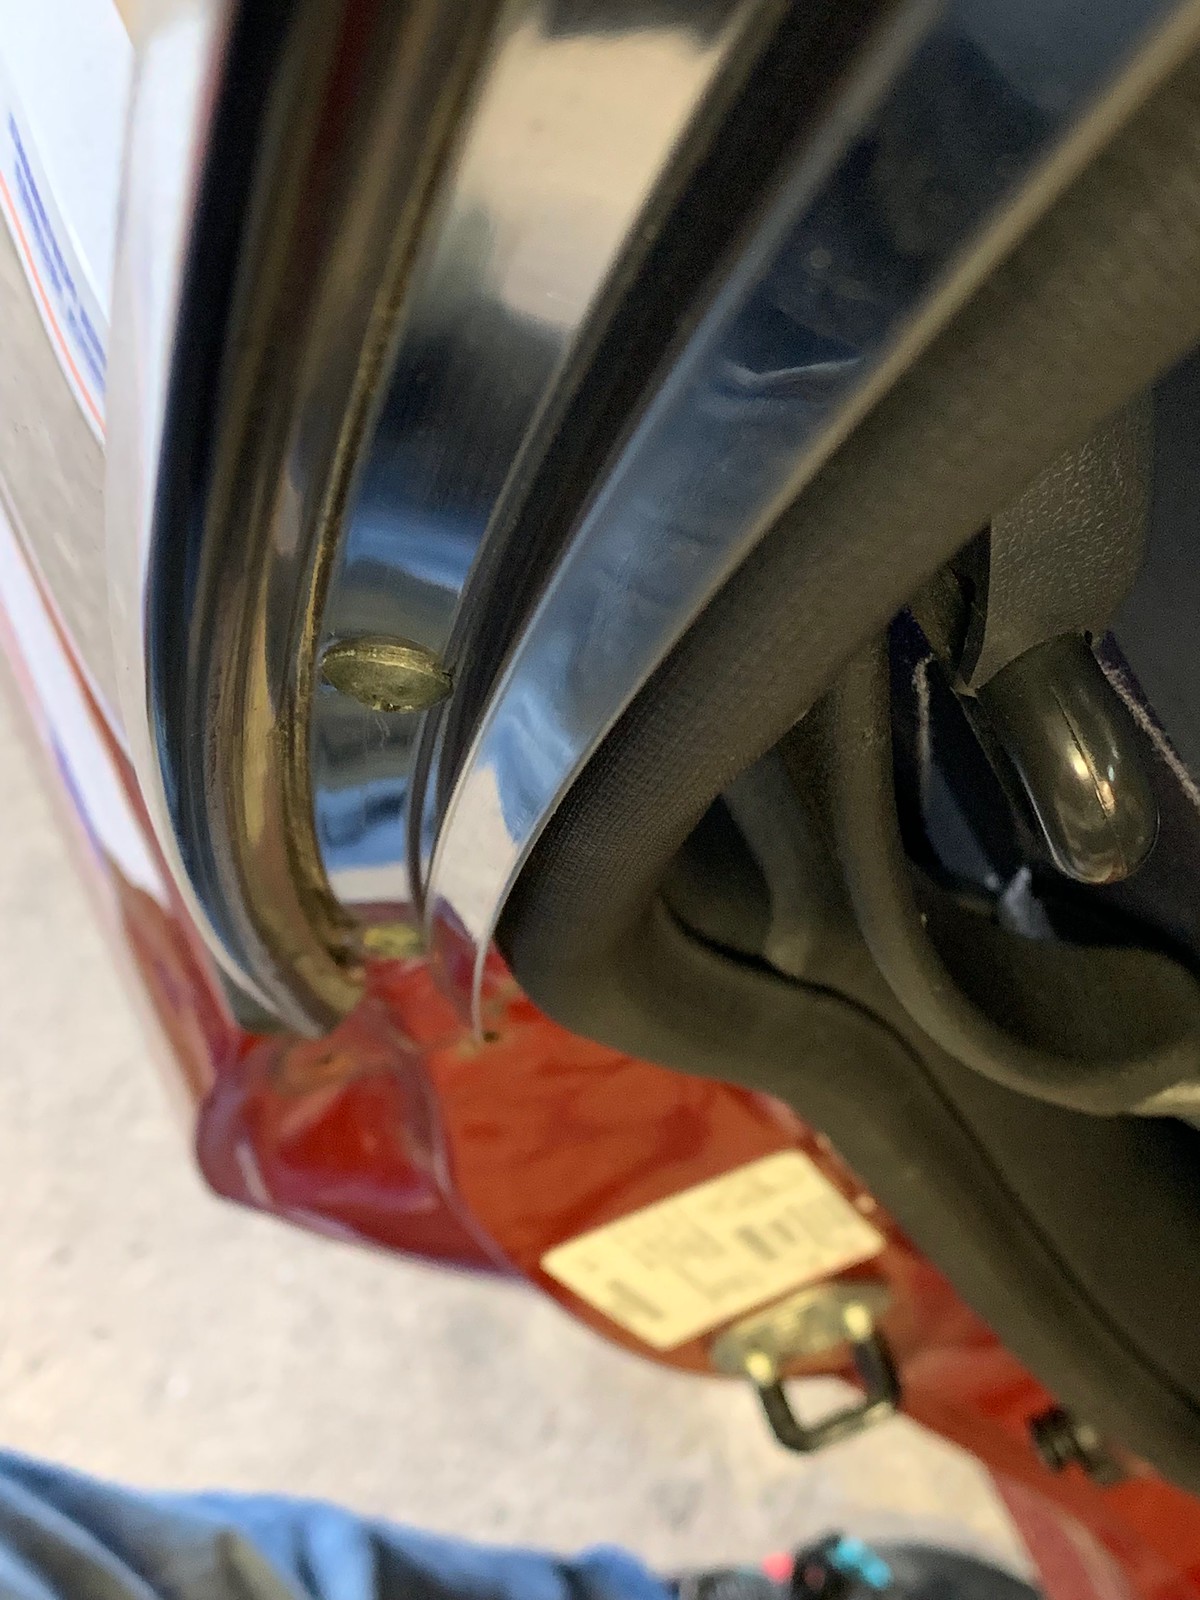
Installing the new one: this part of the seal nests in this part of the track.
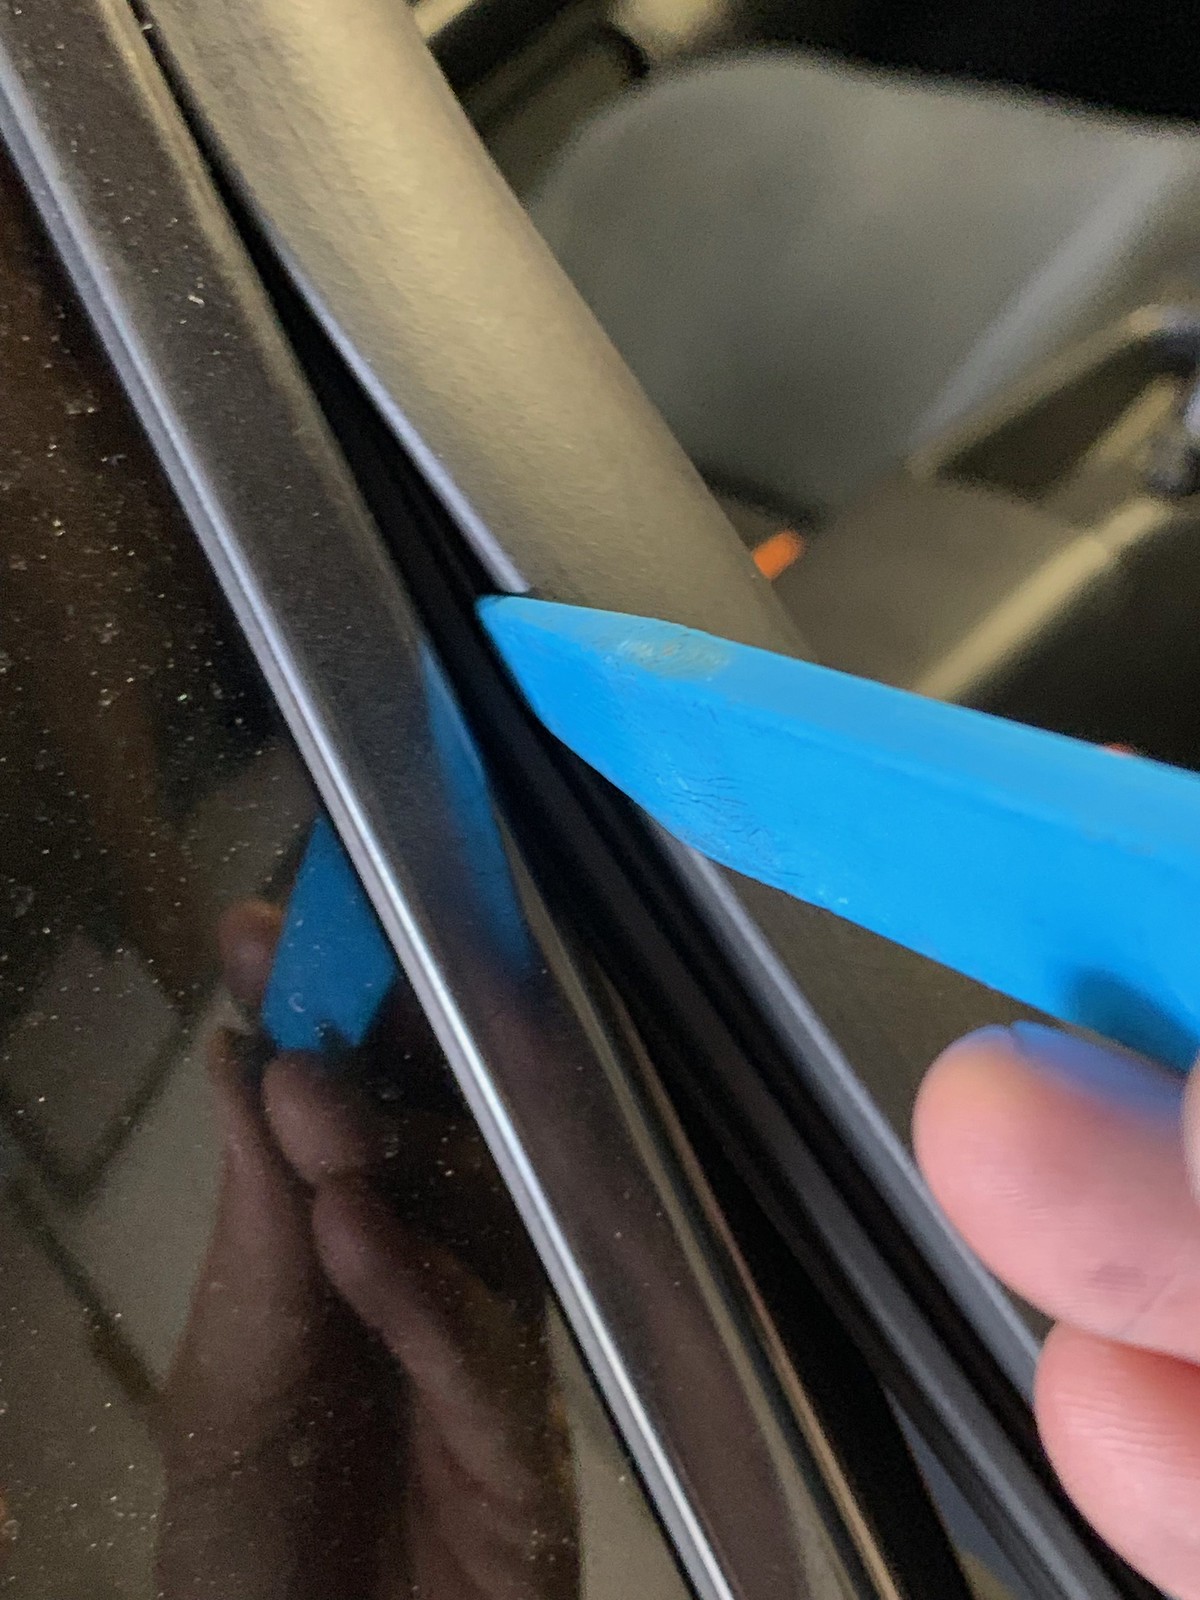
Work the new seal into place with a plastic trim tool. It's easy once you get it started.

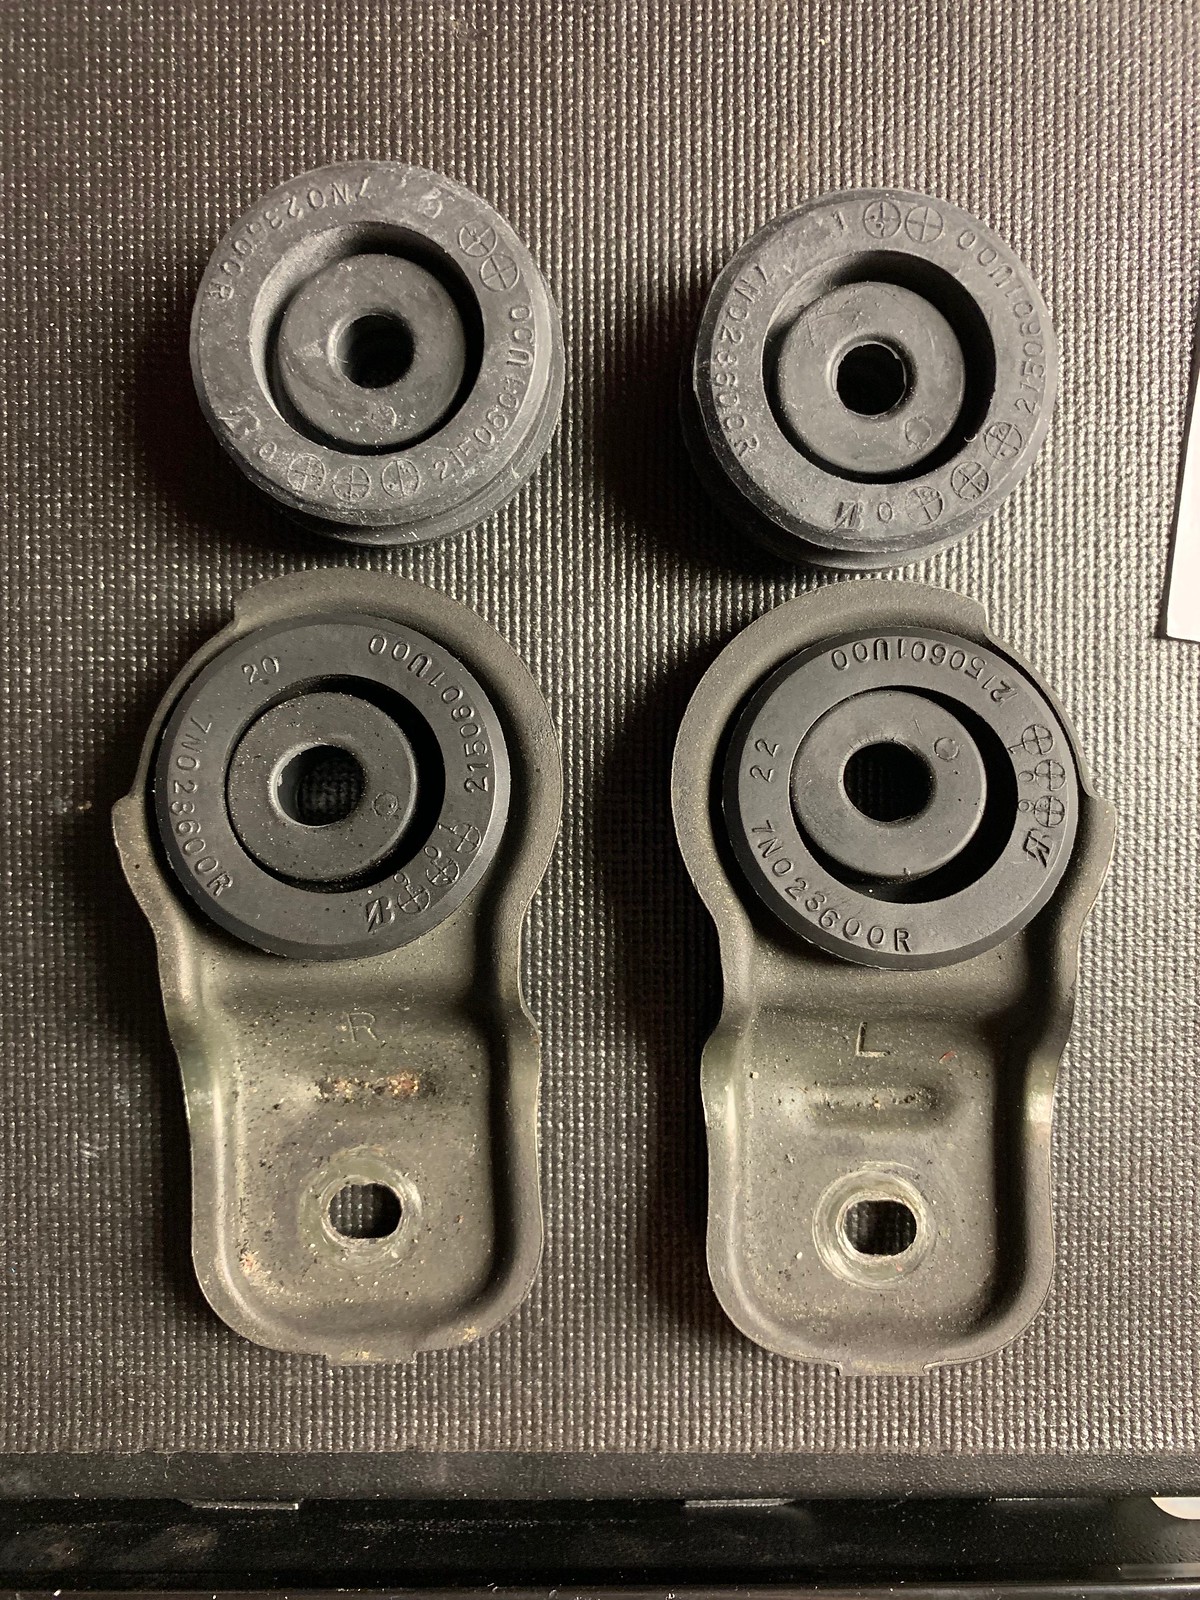
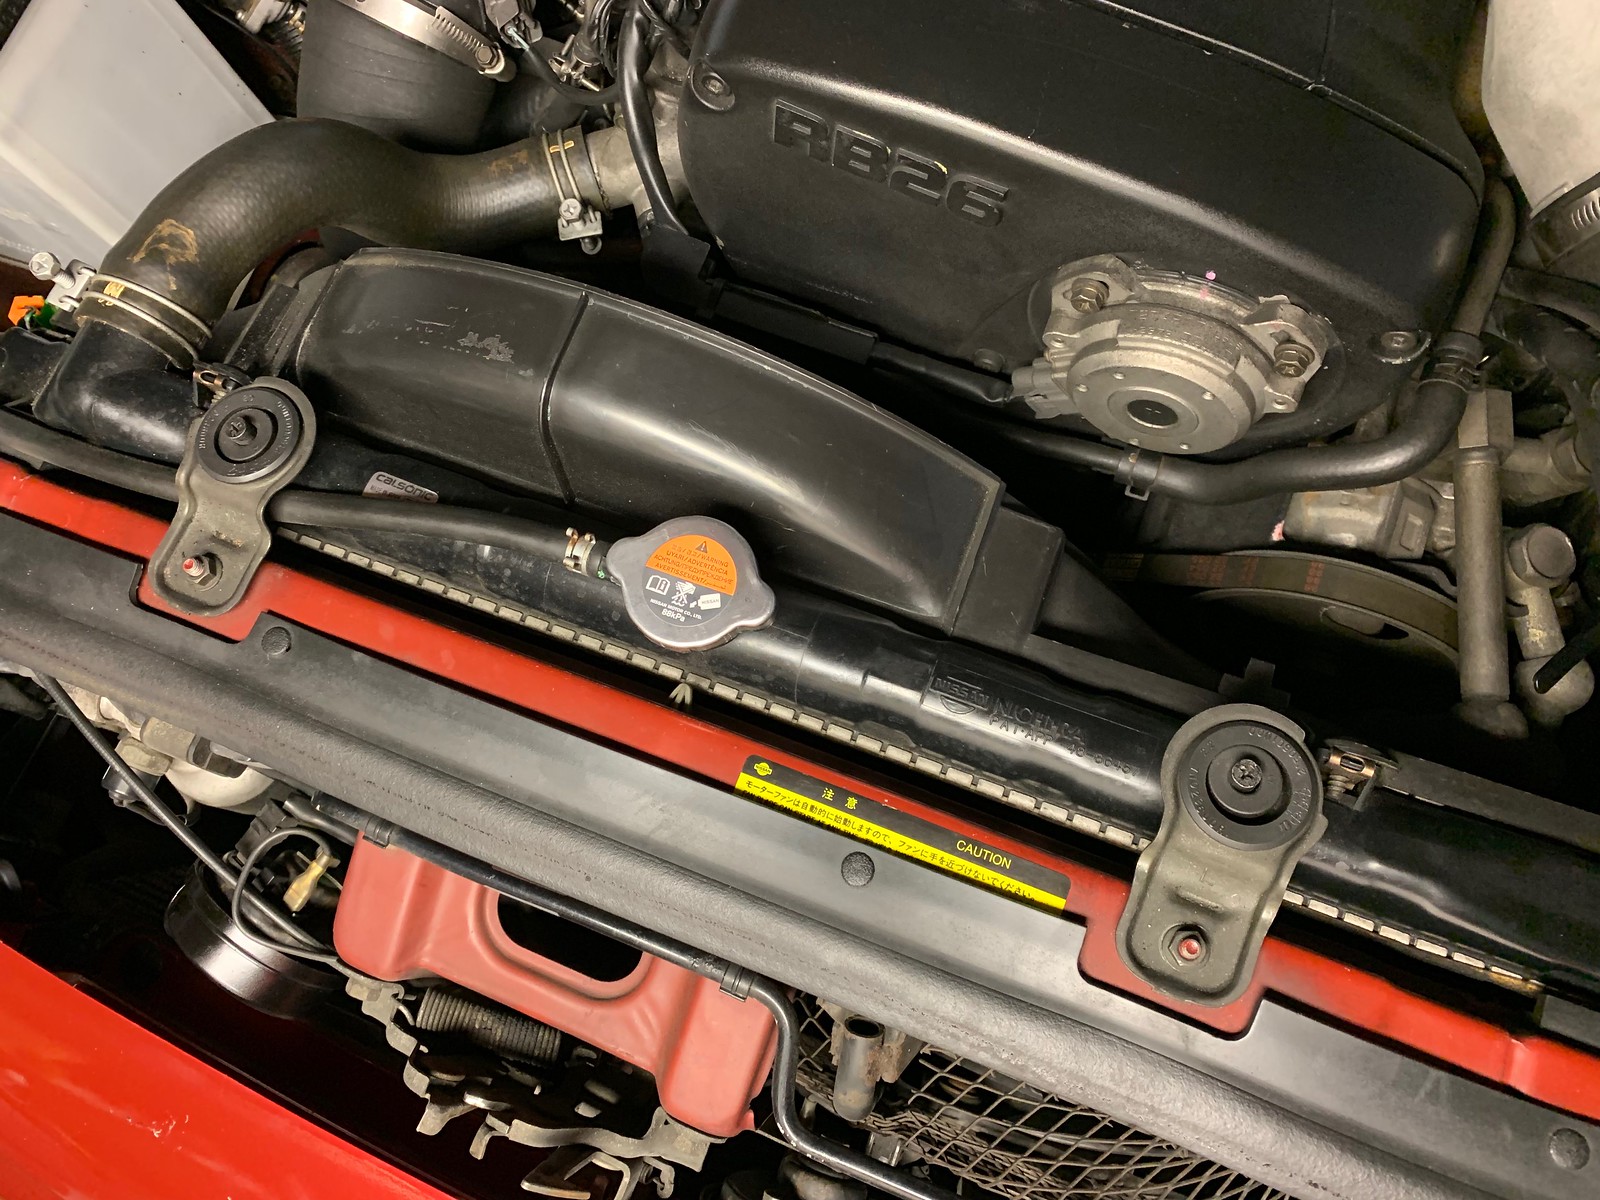
Radiator upper mounts were cooked and letting the top of the radiator flop around, so I replaced those.

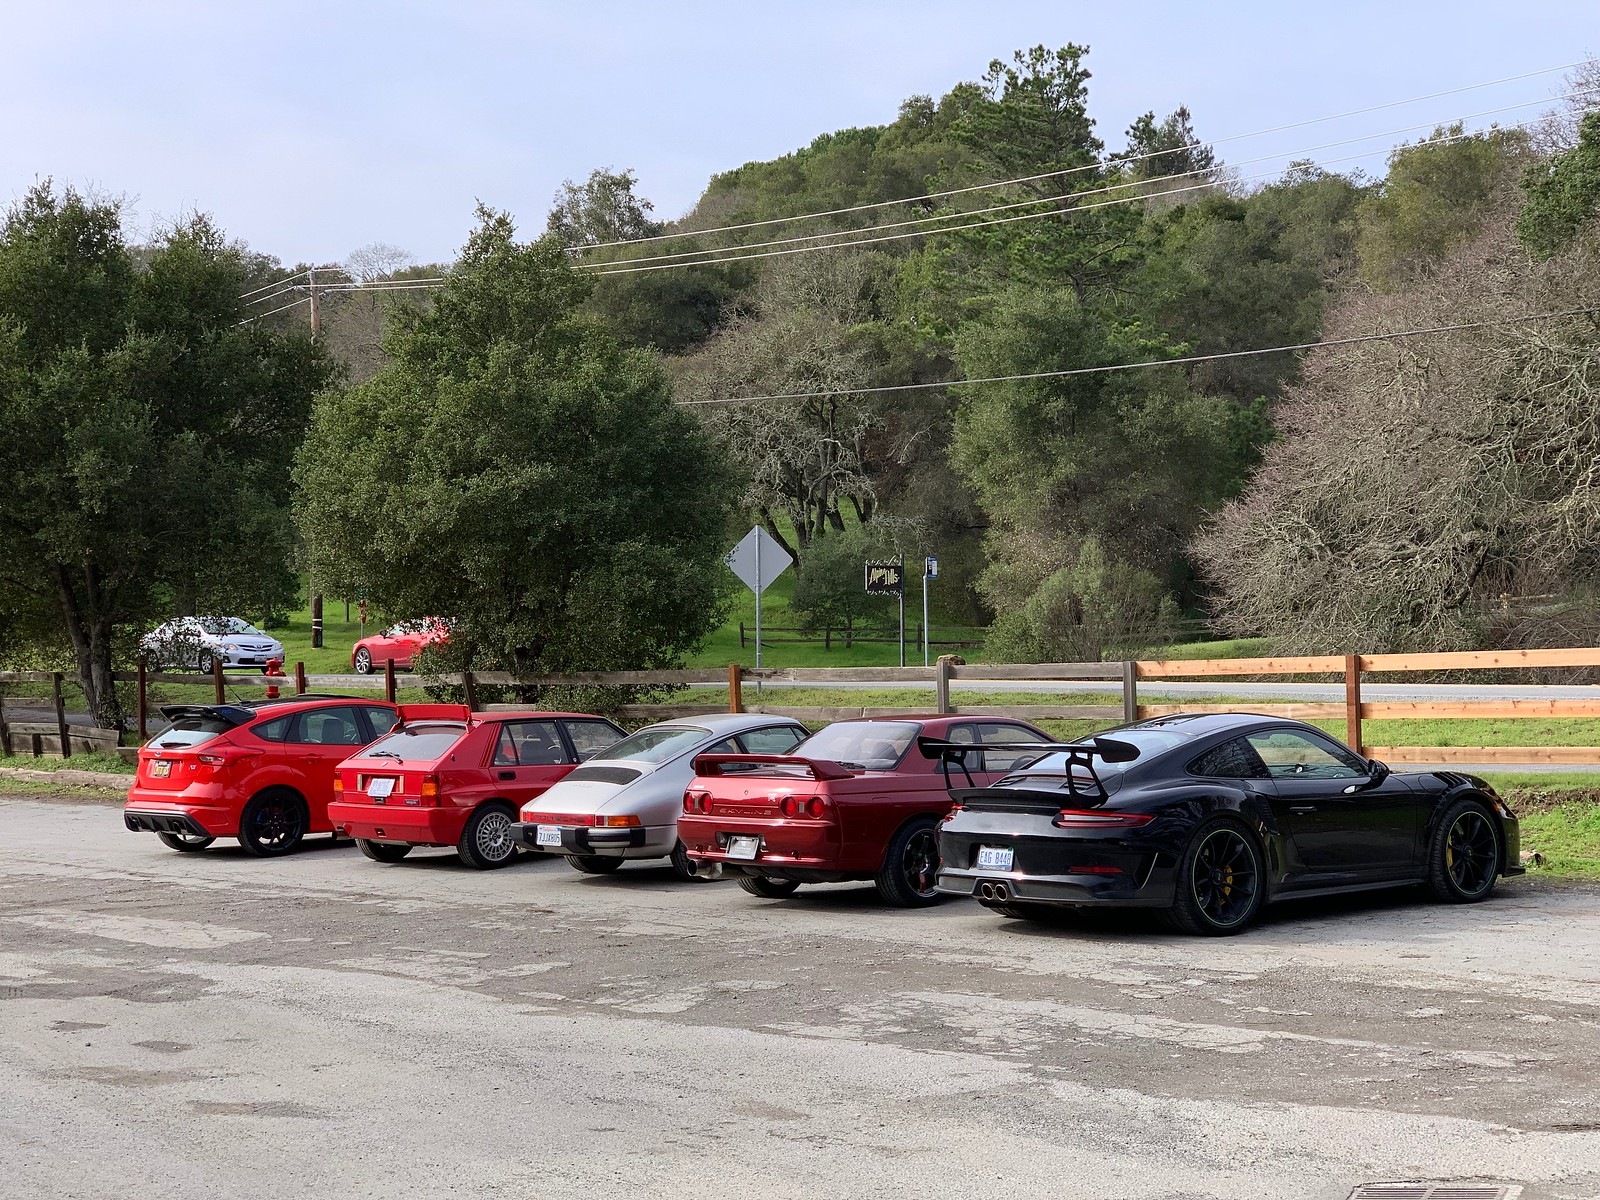
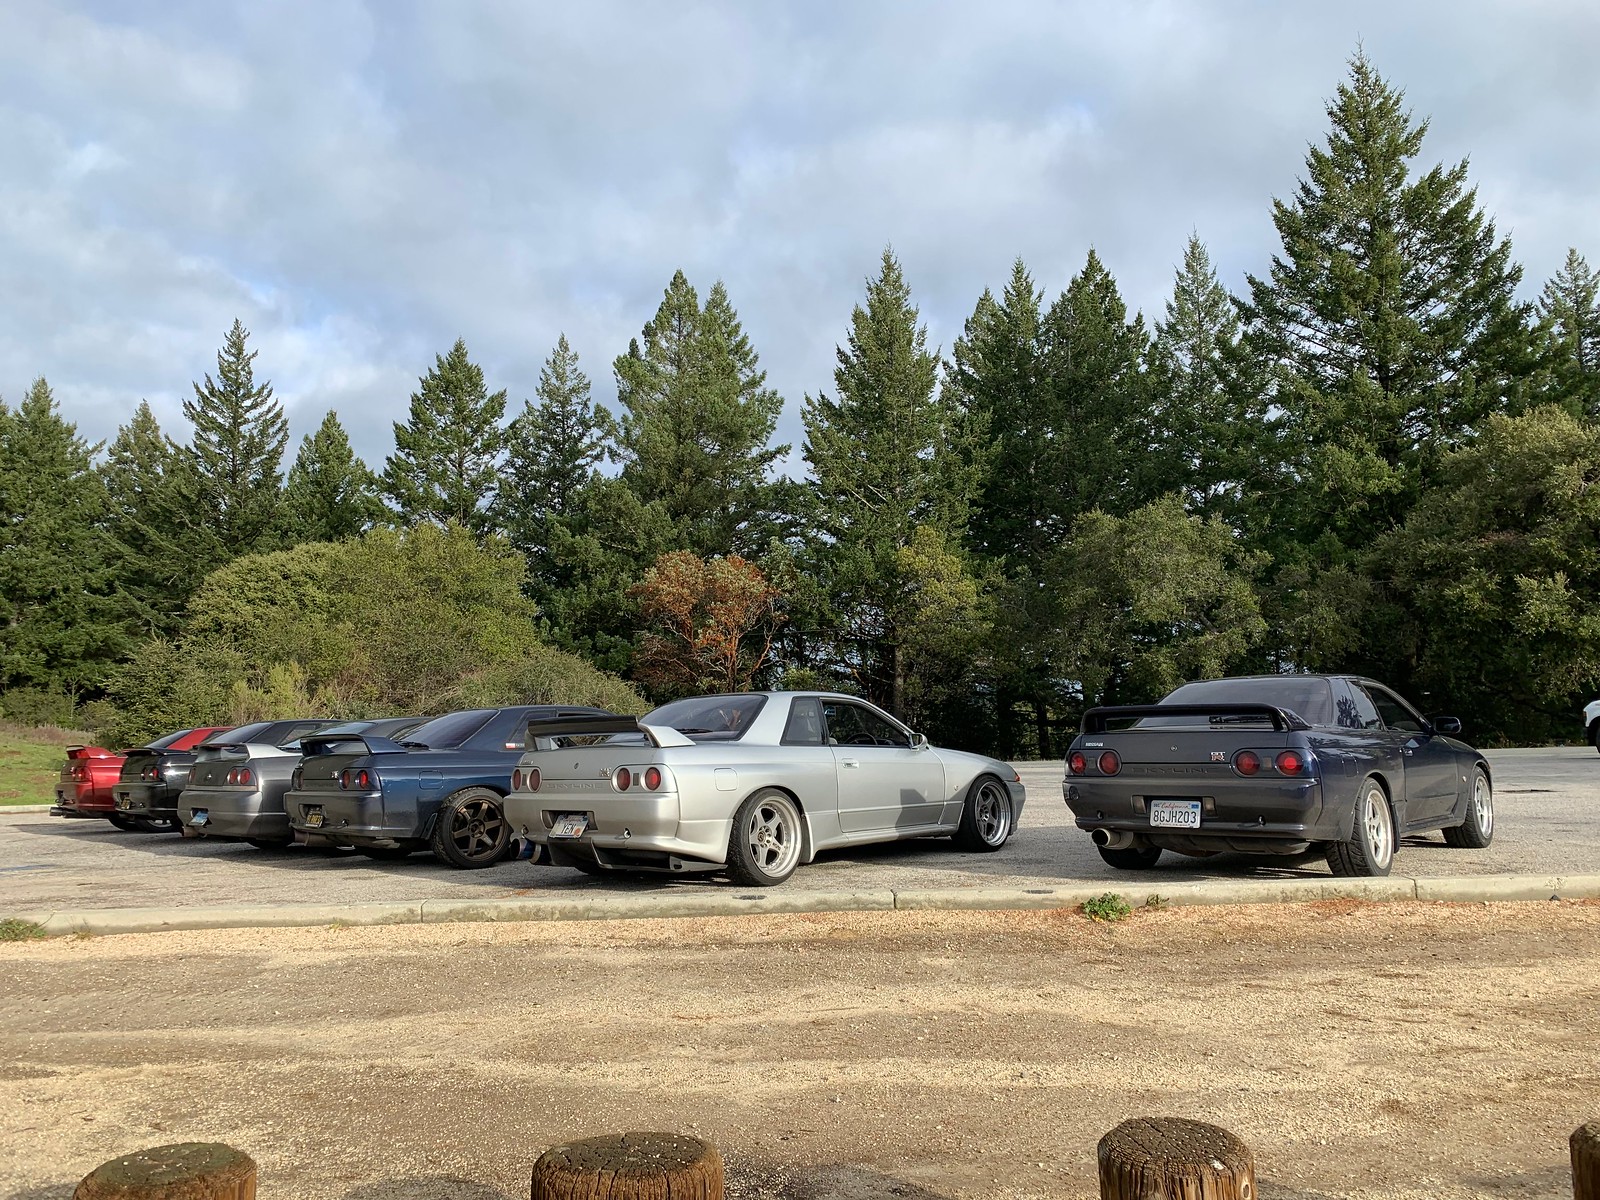
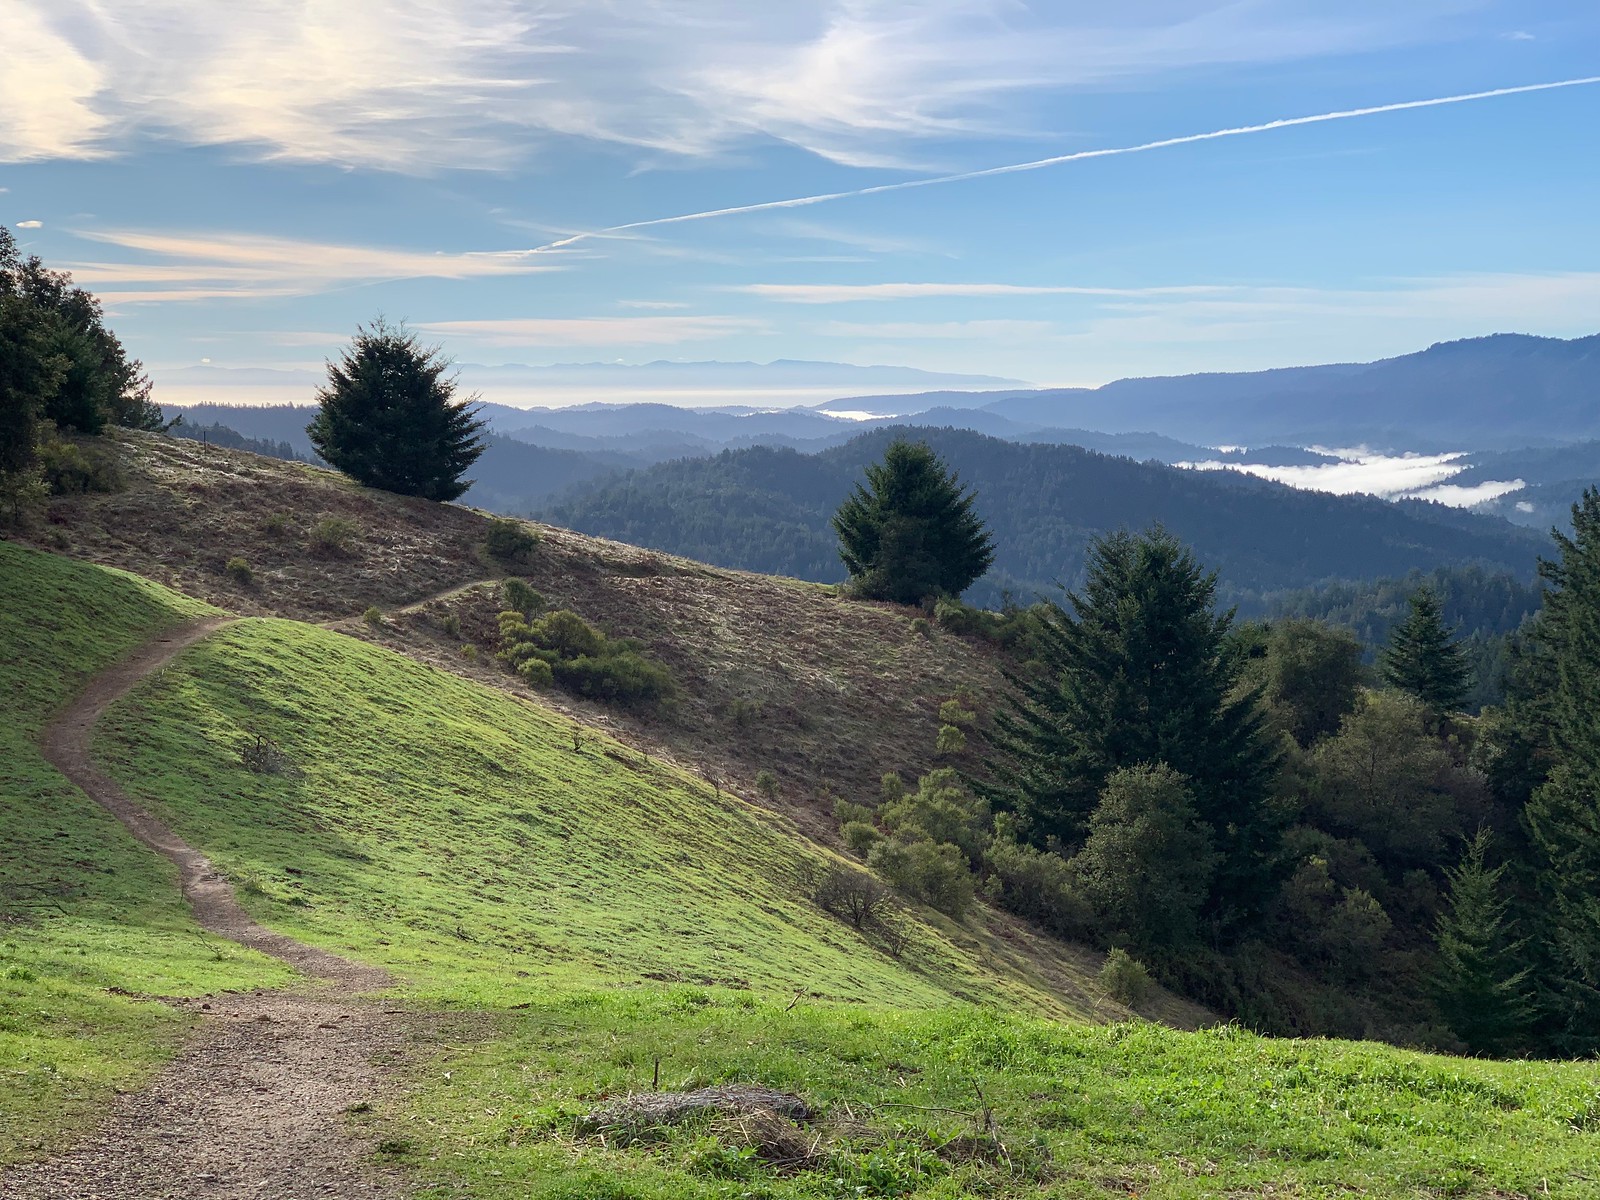
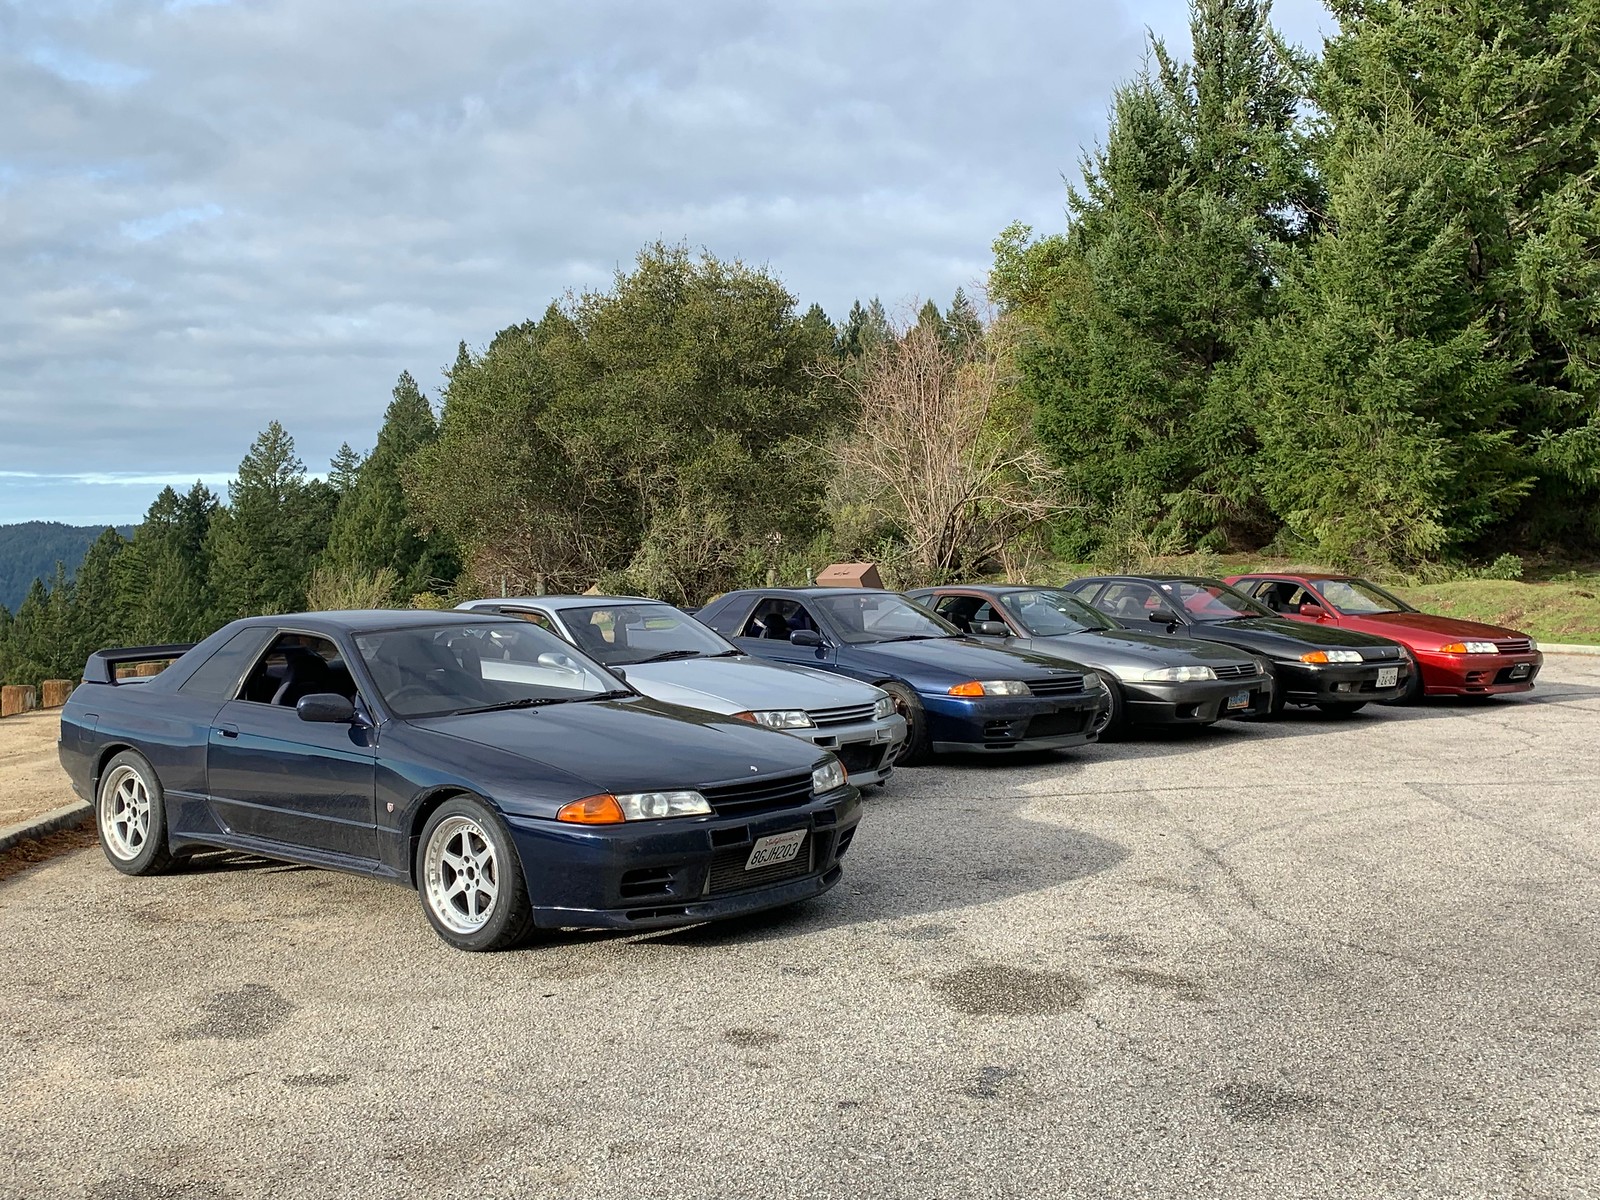
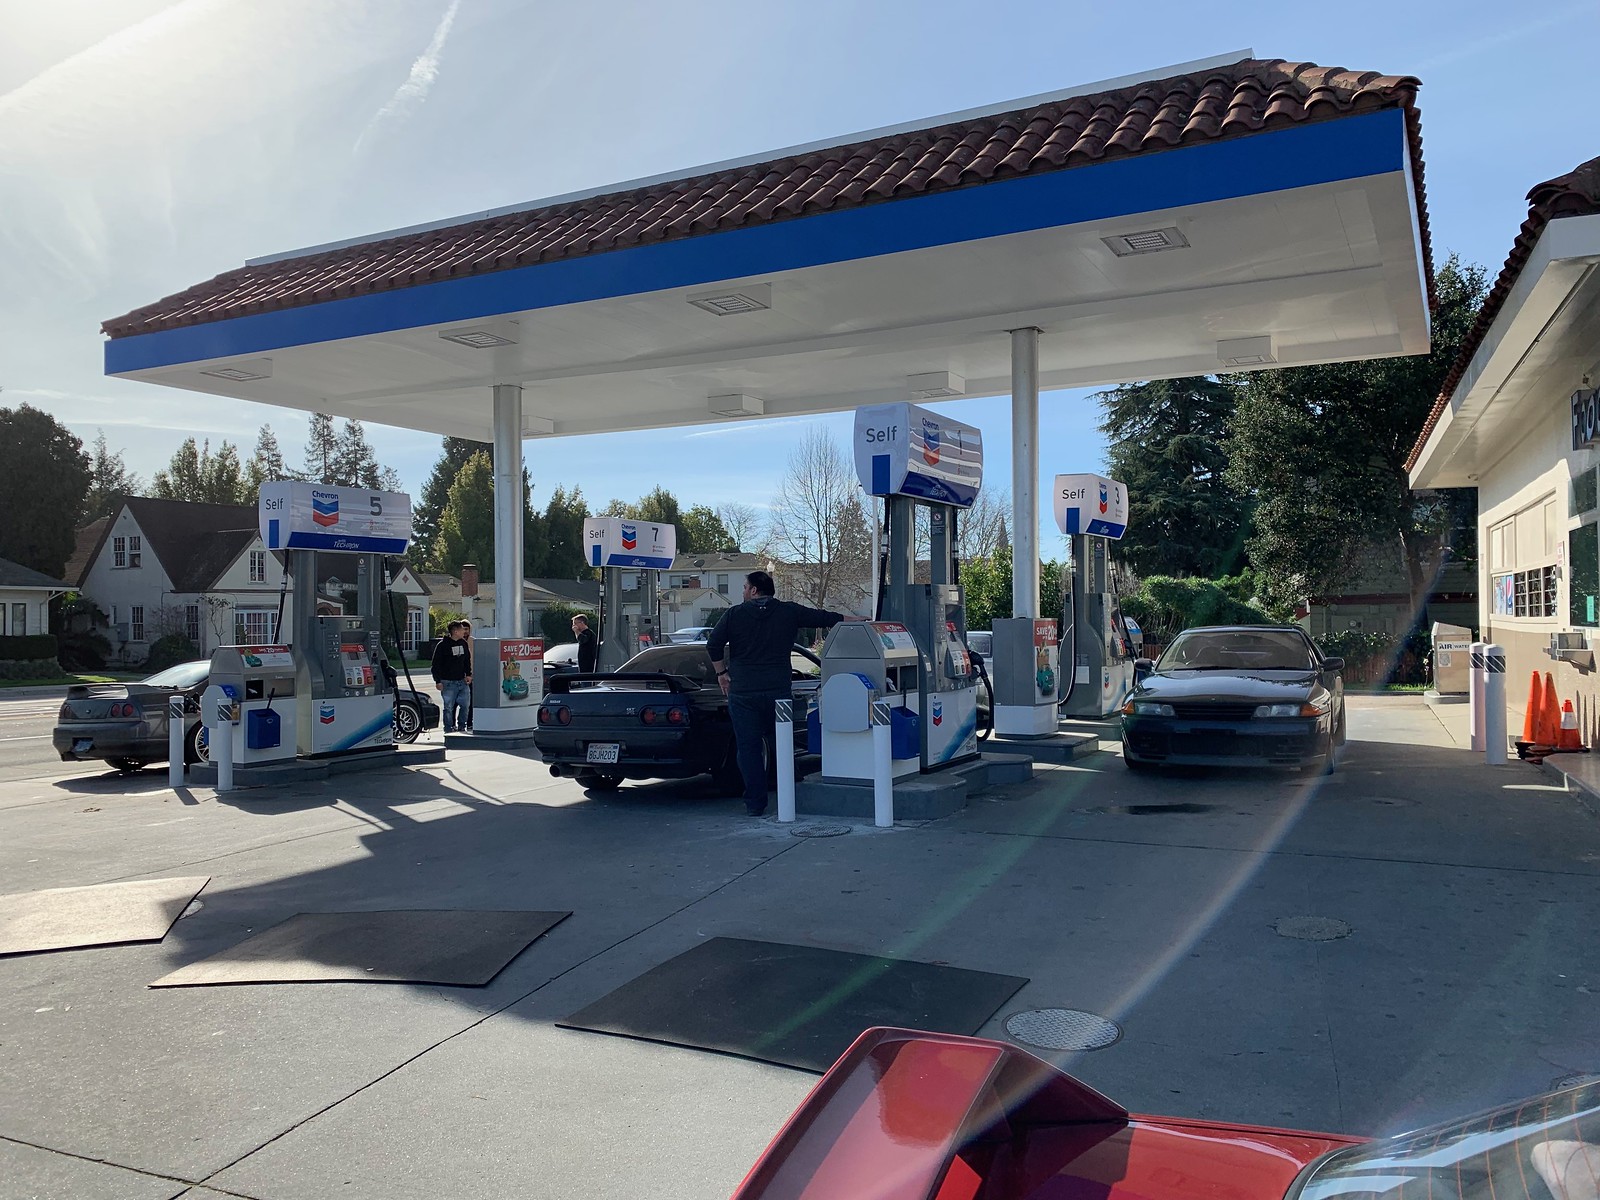
I took the car out for another big drive on Skyline on a Saturday morning, this time with an absolutely enormous convoy of cars. This thing's fast but the others were faster, so I lagged behind and really enjoyed myself! By a stroke of luck I met up with Miles, another new GT-R owner who just got his car back from our emissions friends down in SoCal. Somehow I failed to take a single photo of our cars together but I enjoyed meeting him and comparing notes.
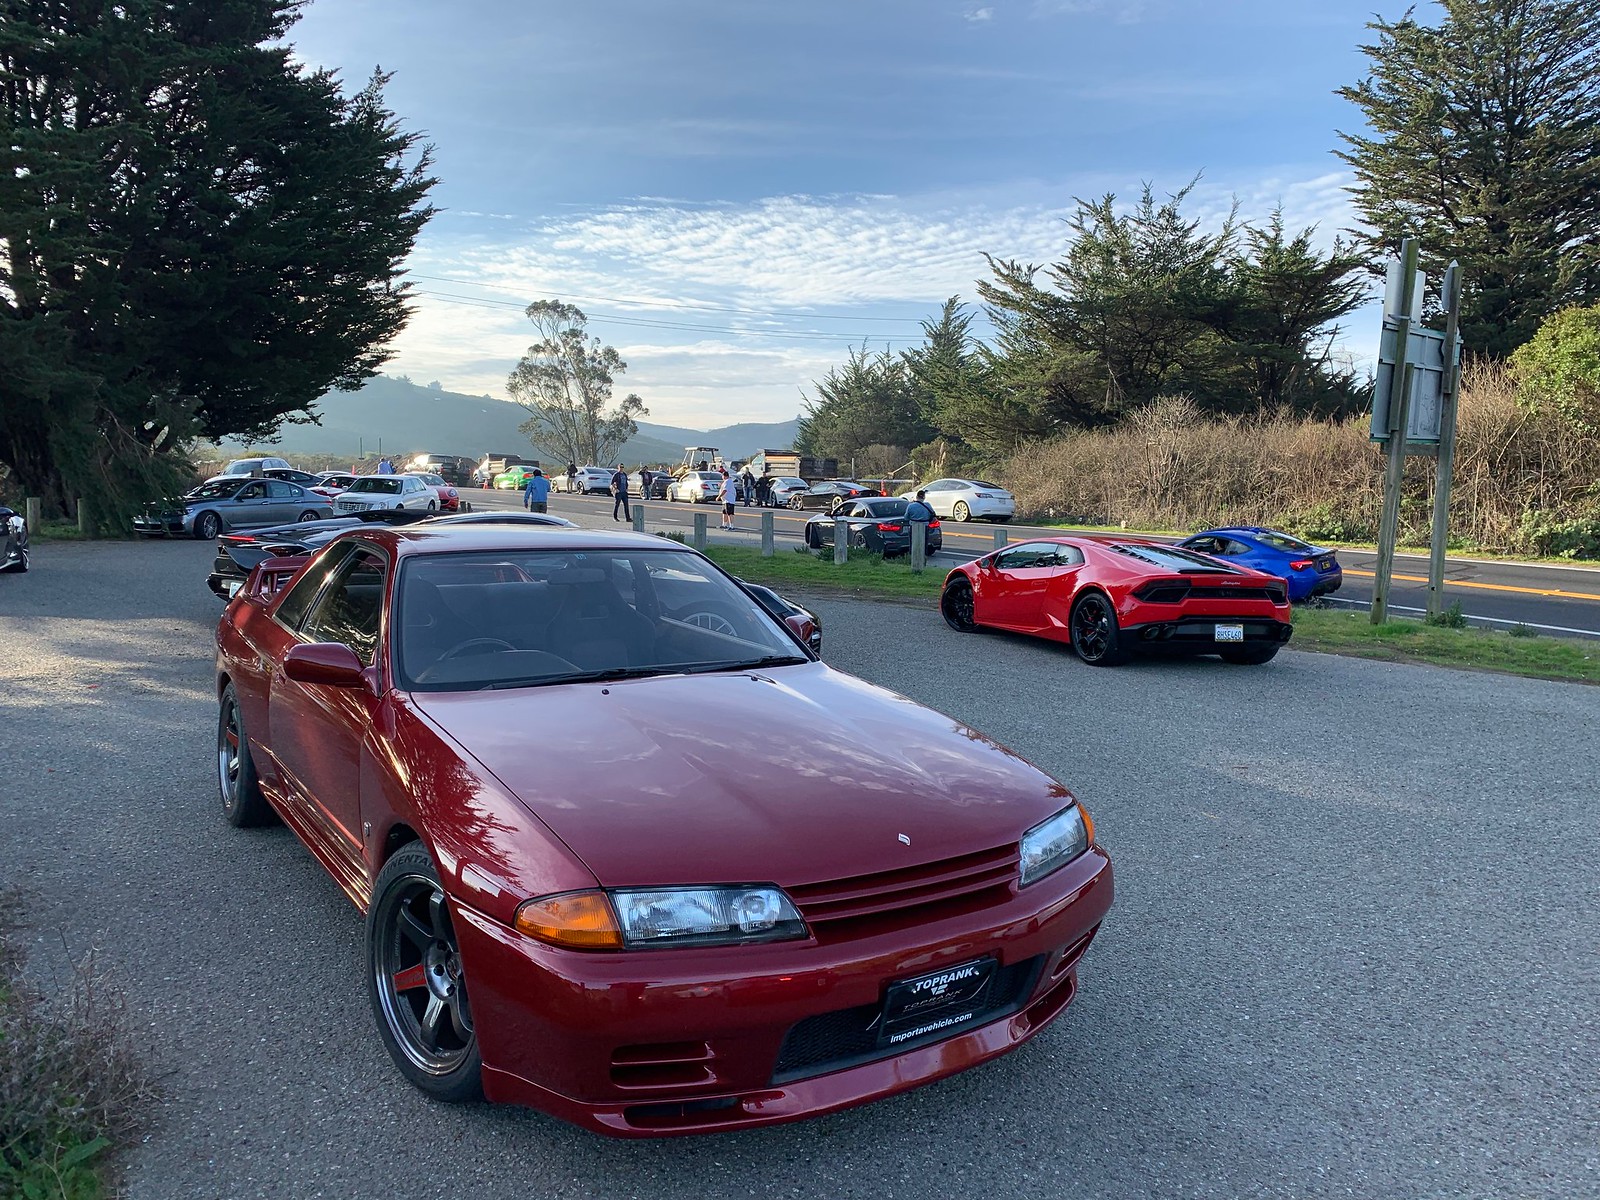

Next time: winging it.

Sunday, February 3, 2019

[Skyline] Ohlins coilovers

I took a break from turning wrenches to actually drive my car.

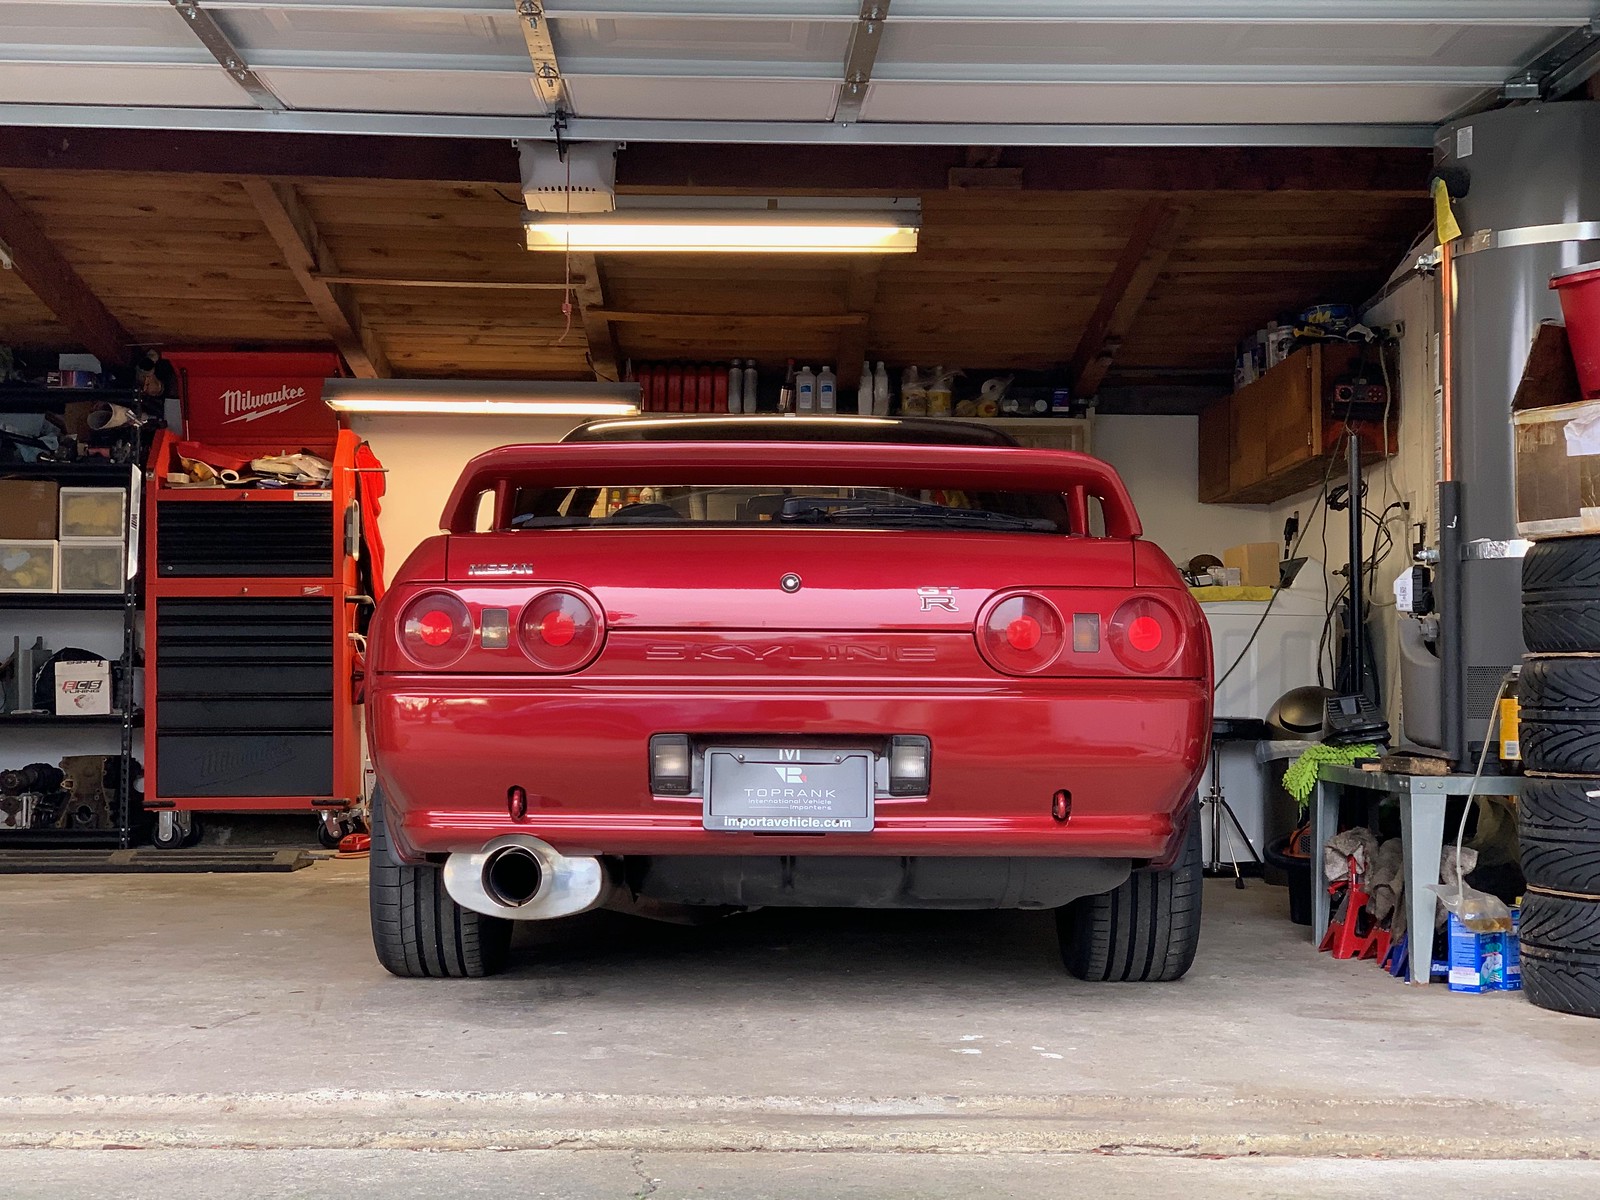
Booty shot with the new wheels.

Nearly smoked my wheels on the first outing to work.

I would have fallen to the ground, shriveled up, and died.

I convinced a couple of coworkers to take a long lunch on Friday and we followed the fun route to Alpine Inn in Portola Valley.


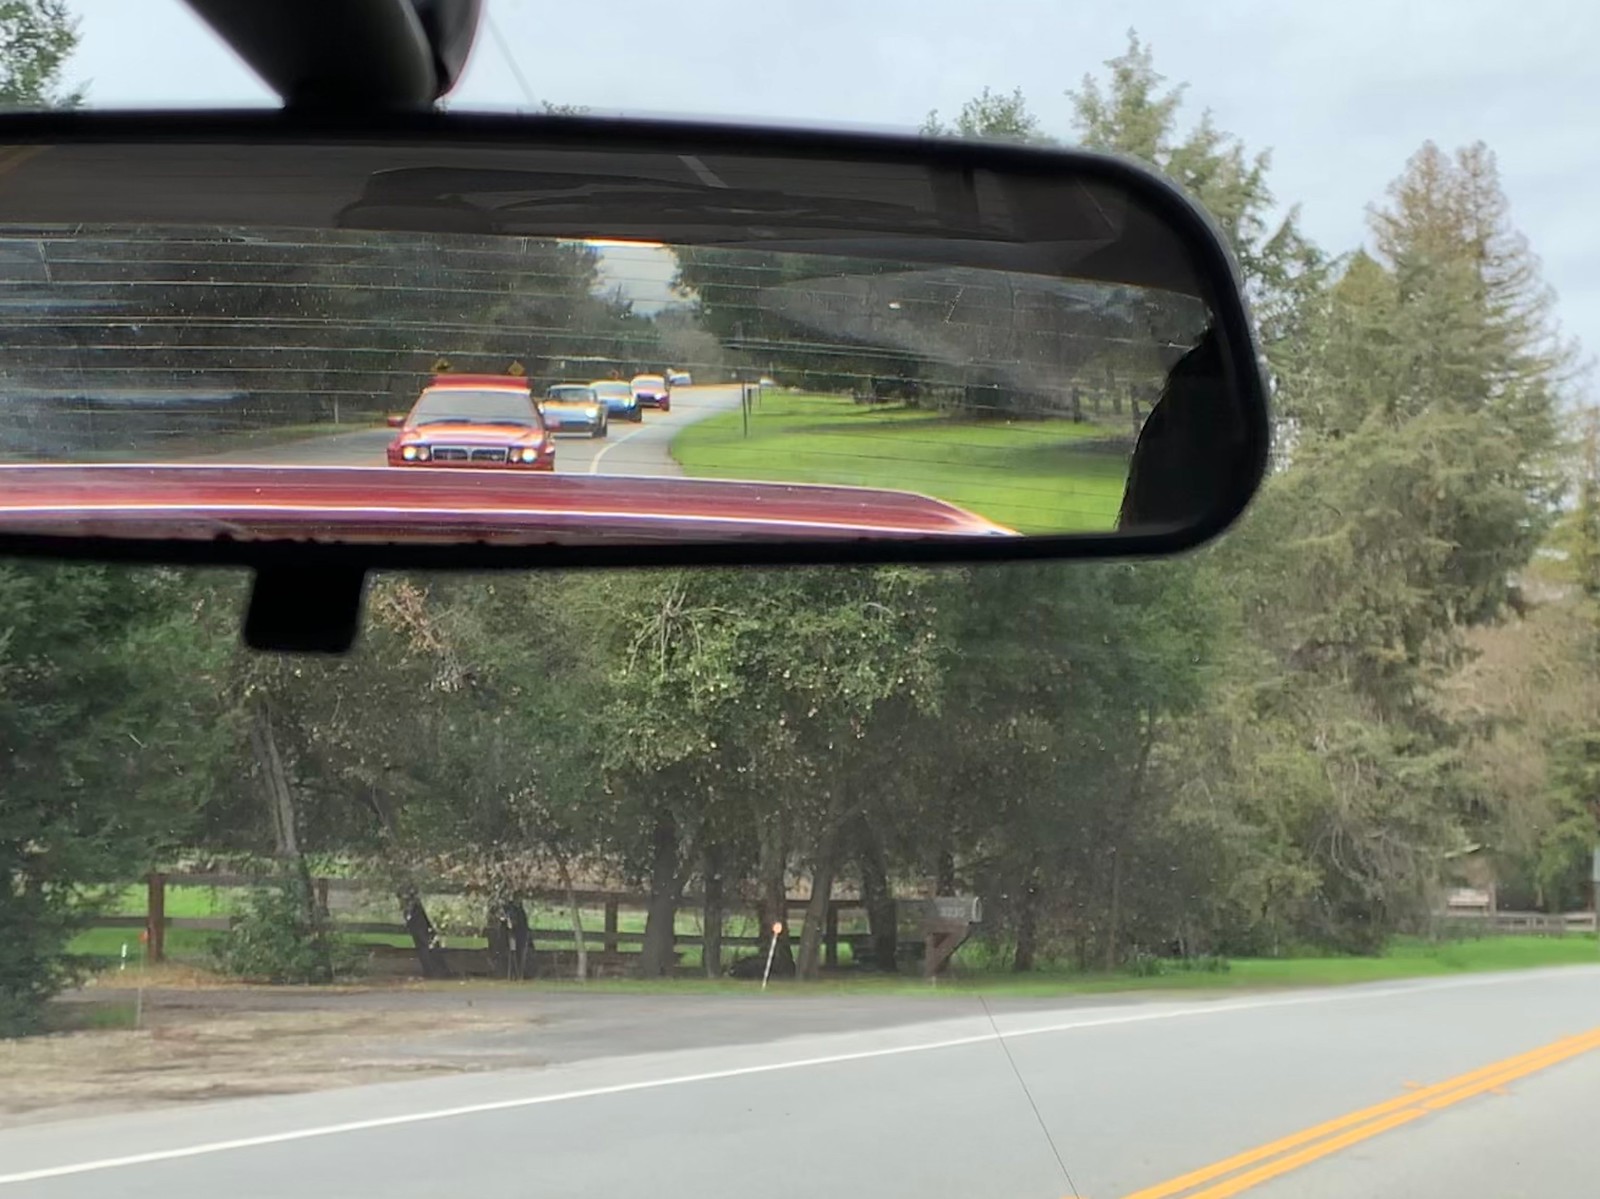
Intimidating sight in the rear view.

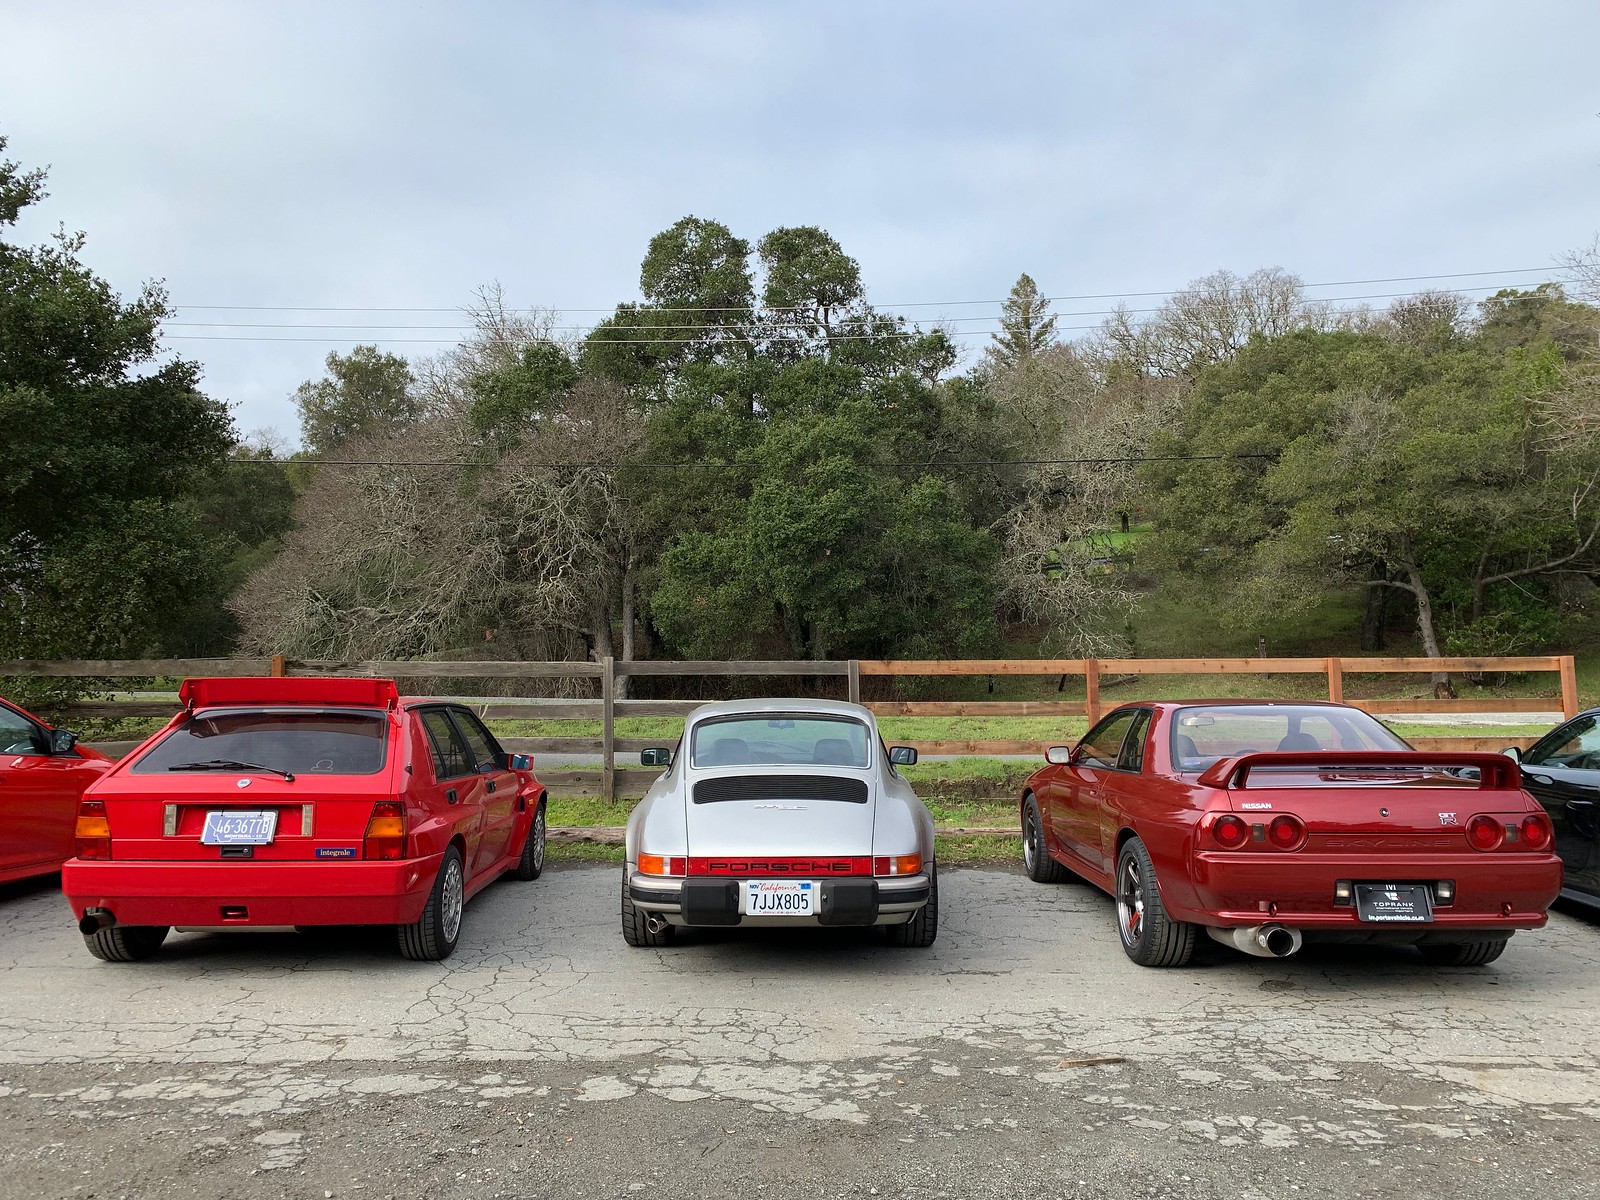
80s shapes.

The next day, I met up with the Norcal Skylines group in Woodside for a big drive. 


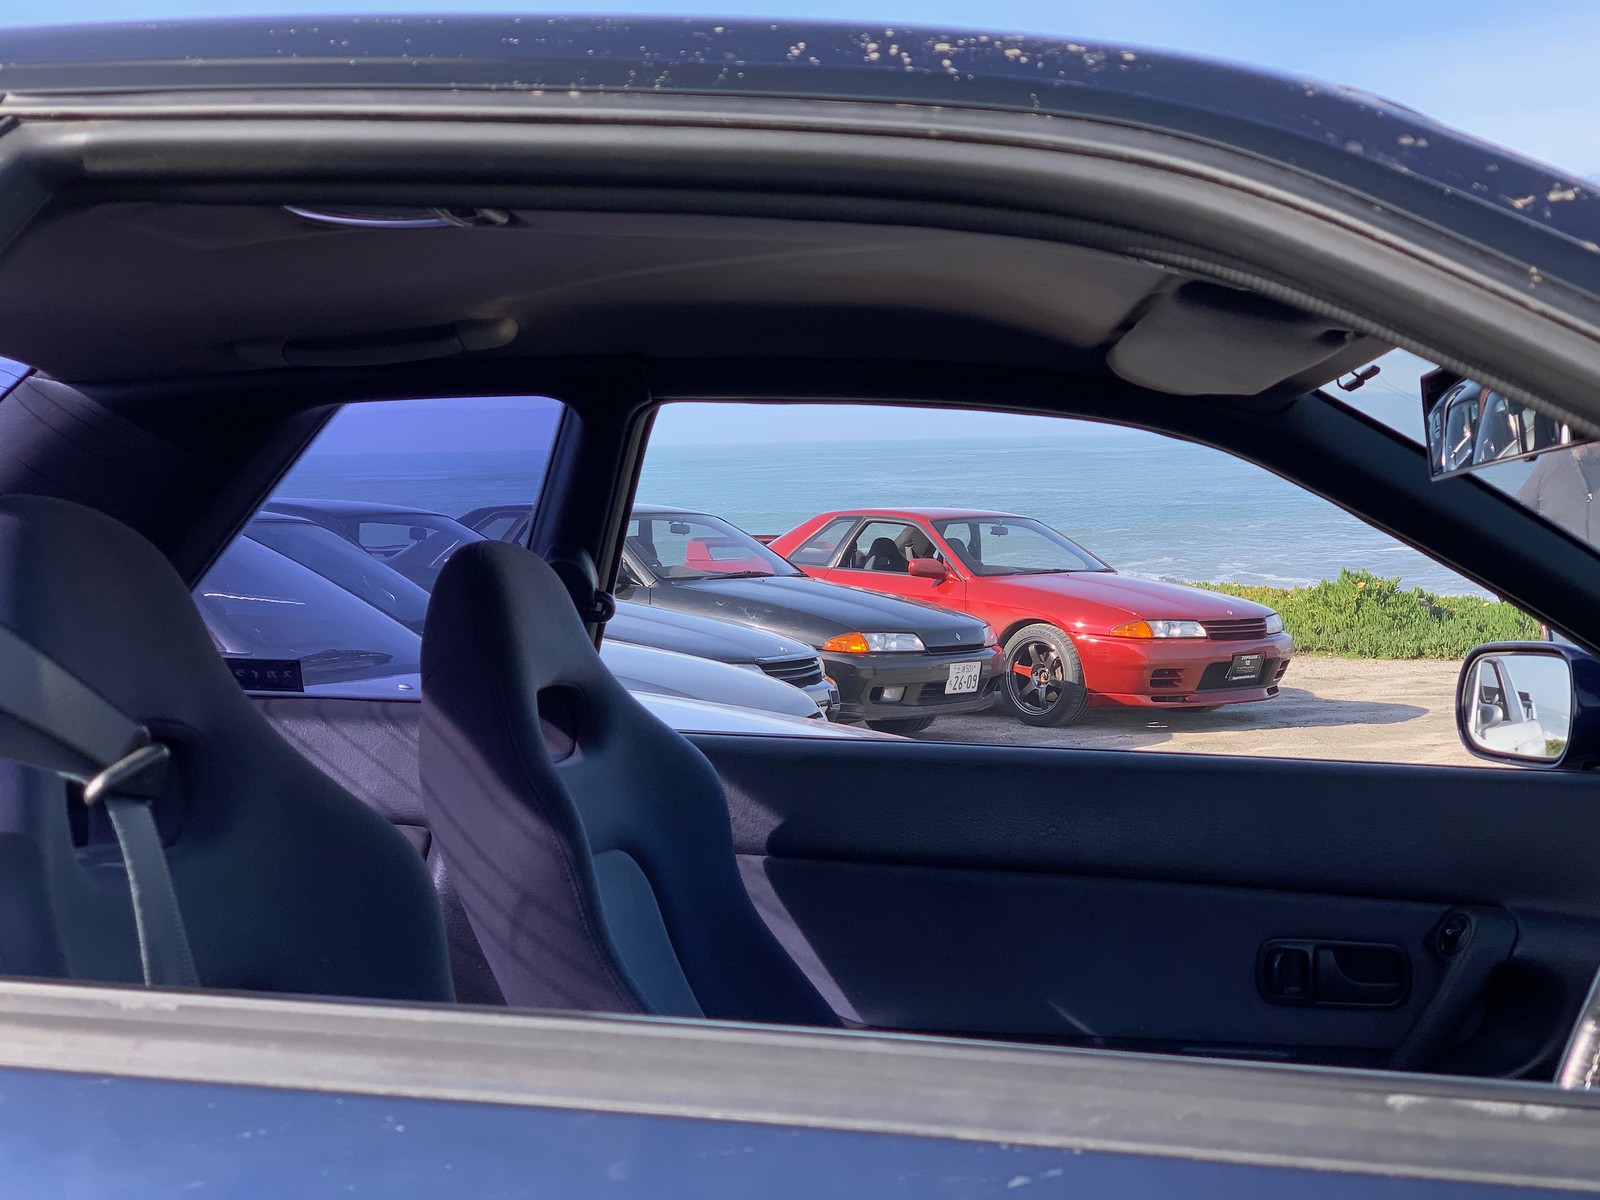
We looped from Woodside up to Skyline, following that south to Highway 9 where we stopped at this lookout.


Thanks to Todd for this photo of me.

The weather was beautiful and clear, but the surface was still a bit wet from a week of off-and-on rain. We followed highway 9 all the way out to the coast, where it hits highway 1 in Santa Cruz. After a stop for gas we turned north, covering about 30 miles of coastline before stopping again in Pescadero.


I used the long drive to get familiar with my new tires. Considering the surface, I was immediately satisfied with my "the road up here is often wet" selection rationale. I stayed in the back of the pack while I built confidence in the car and the footwork. But of course the wheel/tire combination is only a part of the handling package I have in mind. So - back to the garage.


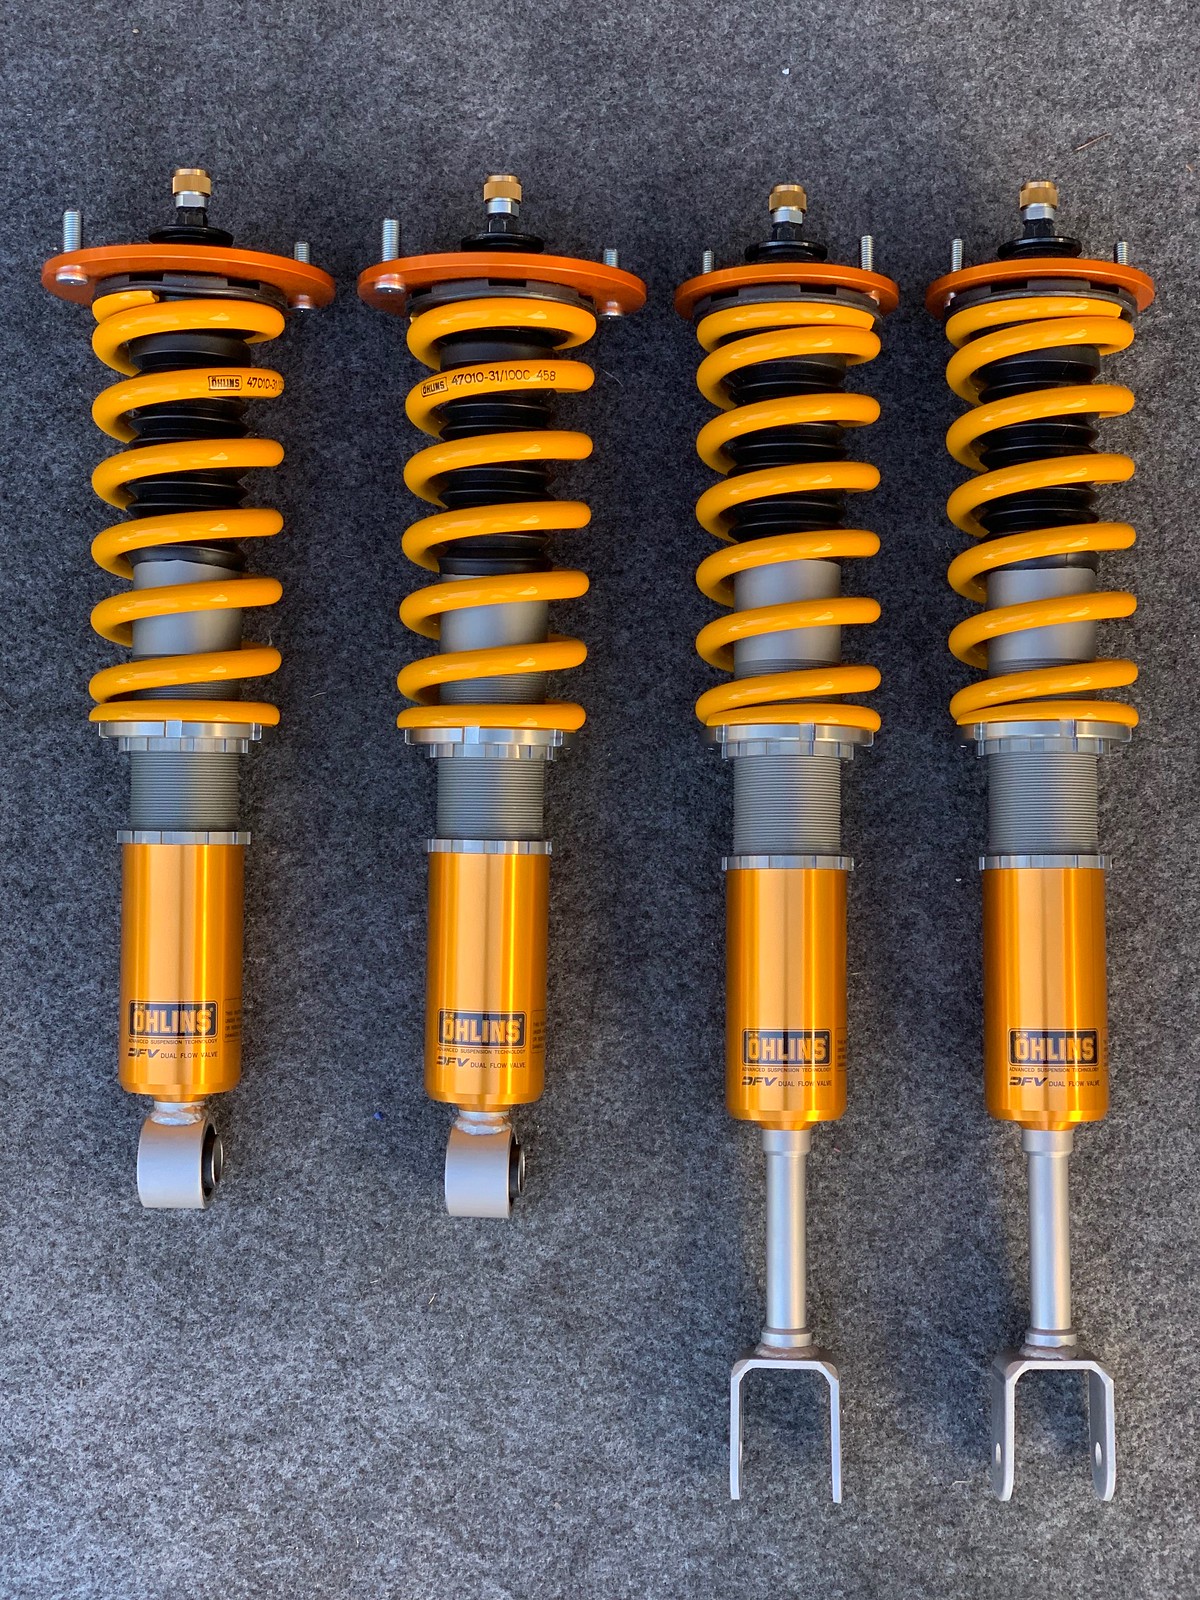
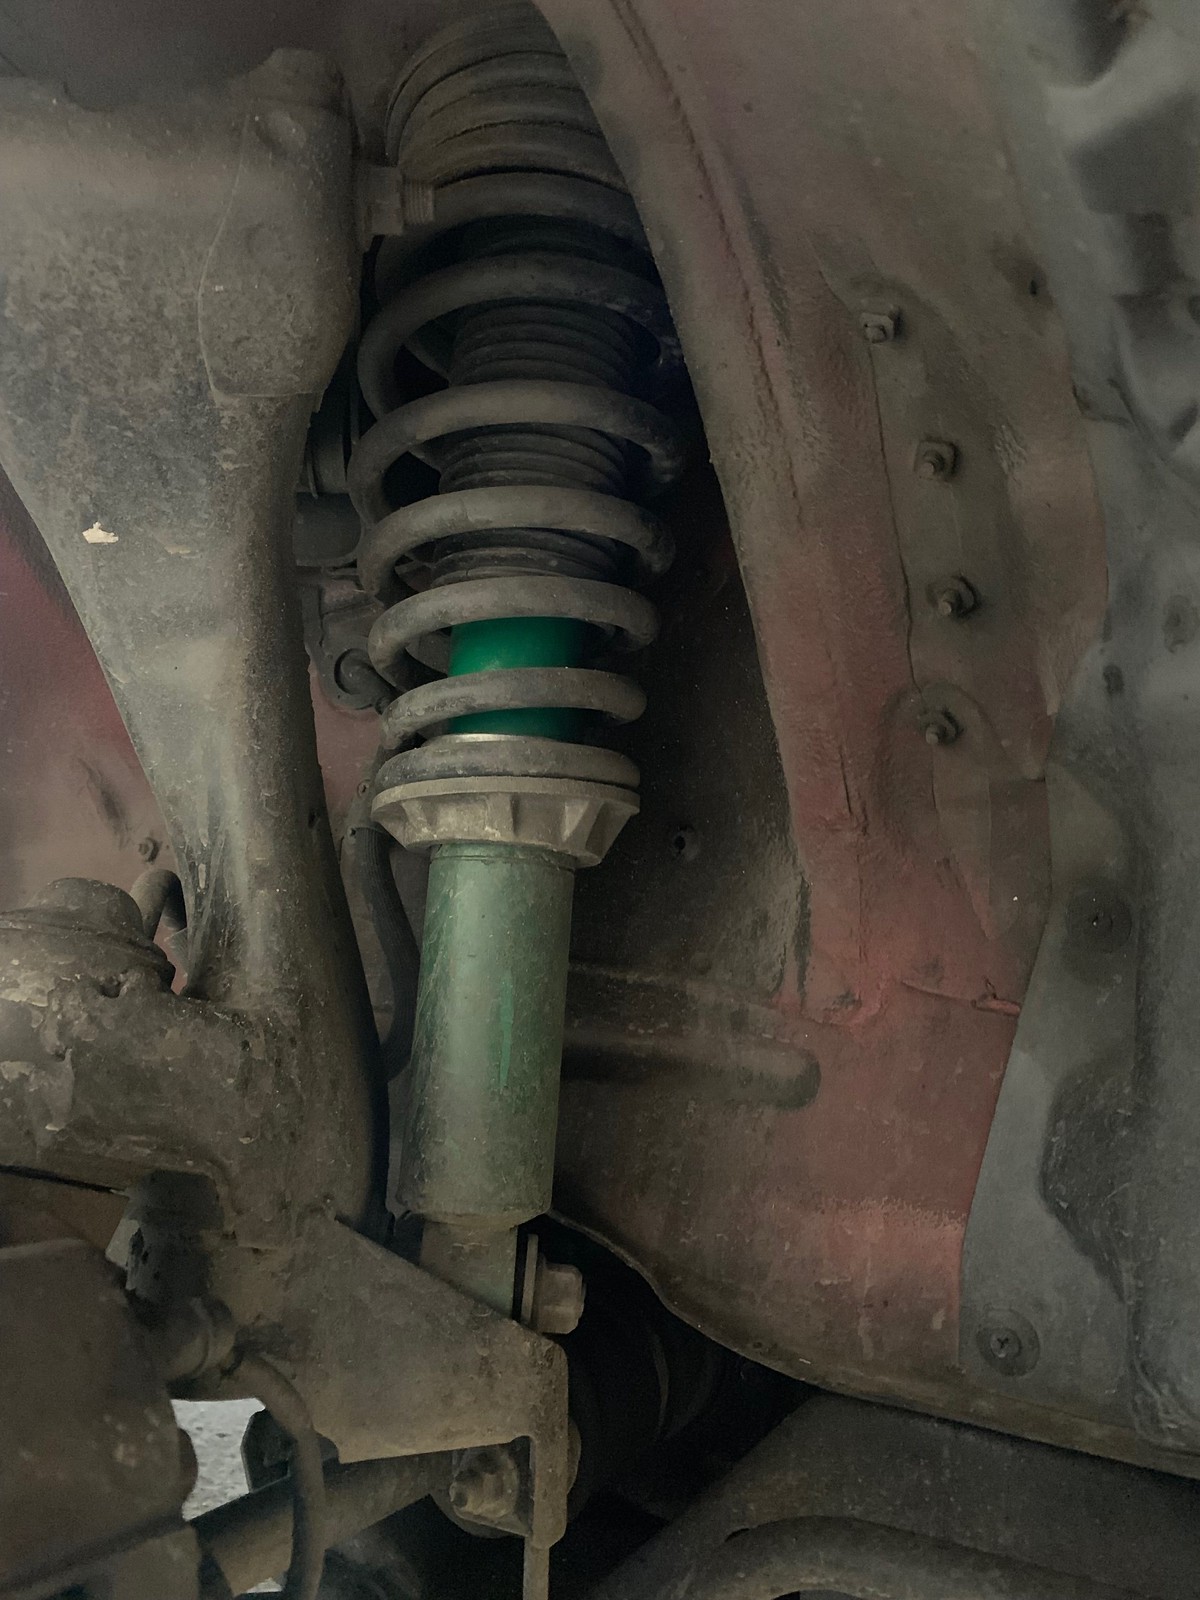
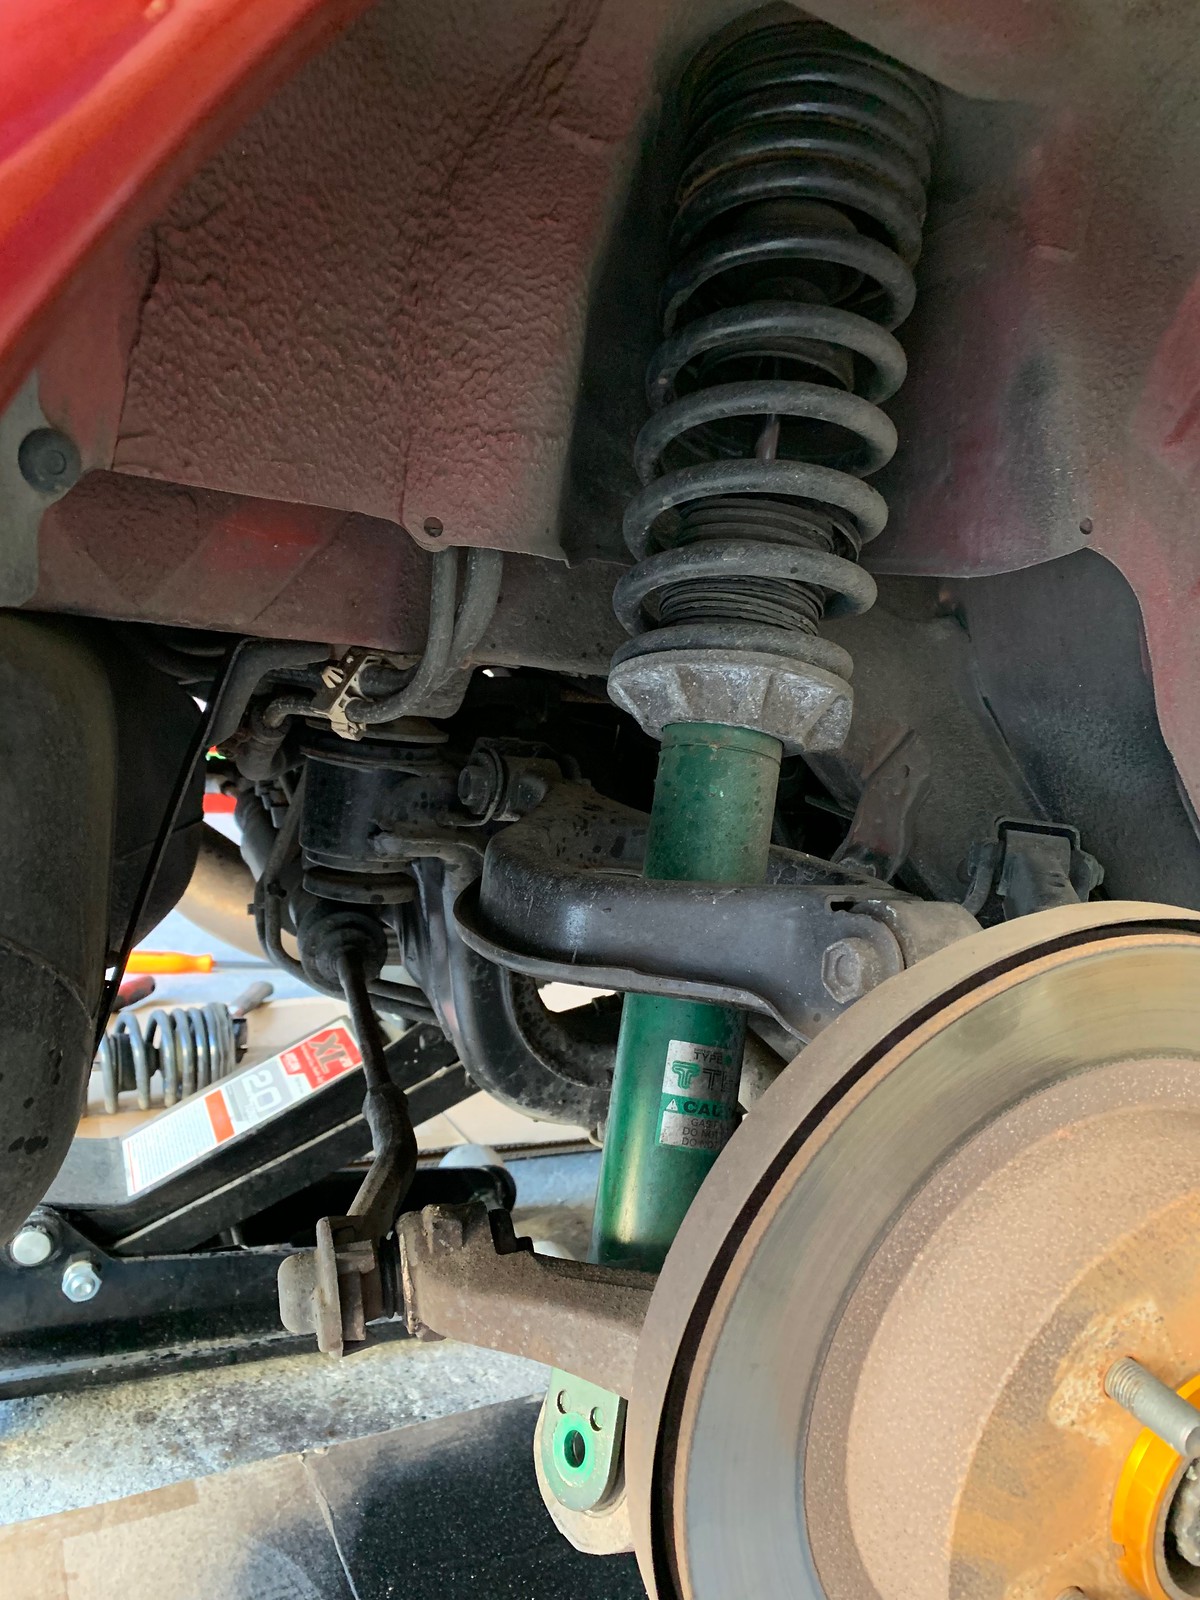
My car came with a Tein Type NR non-adjustable coilover system and RSR springs. The ride wasn't crashy or low-quality, and it may have been okay on the amazingly-smooth Japanese roads, but in California it was just too stiff and busy over imperfections. On sharp bumps my butt would leave my seat, not a good feeling. I wanted to lower the ride height a little bit and improve the ride quality, and the universal consensus for the R32 GTR is Ohlins DFV.


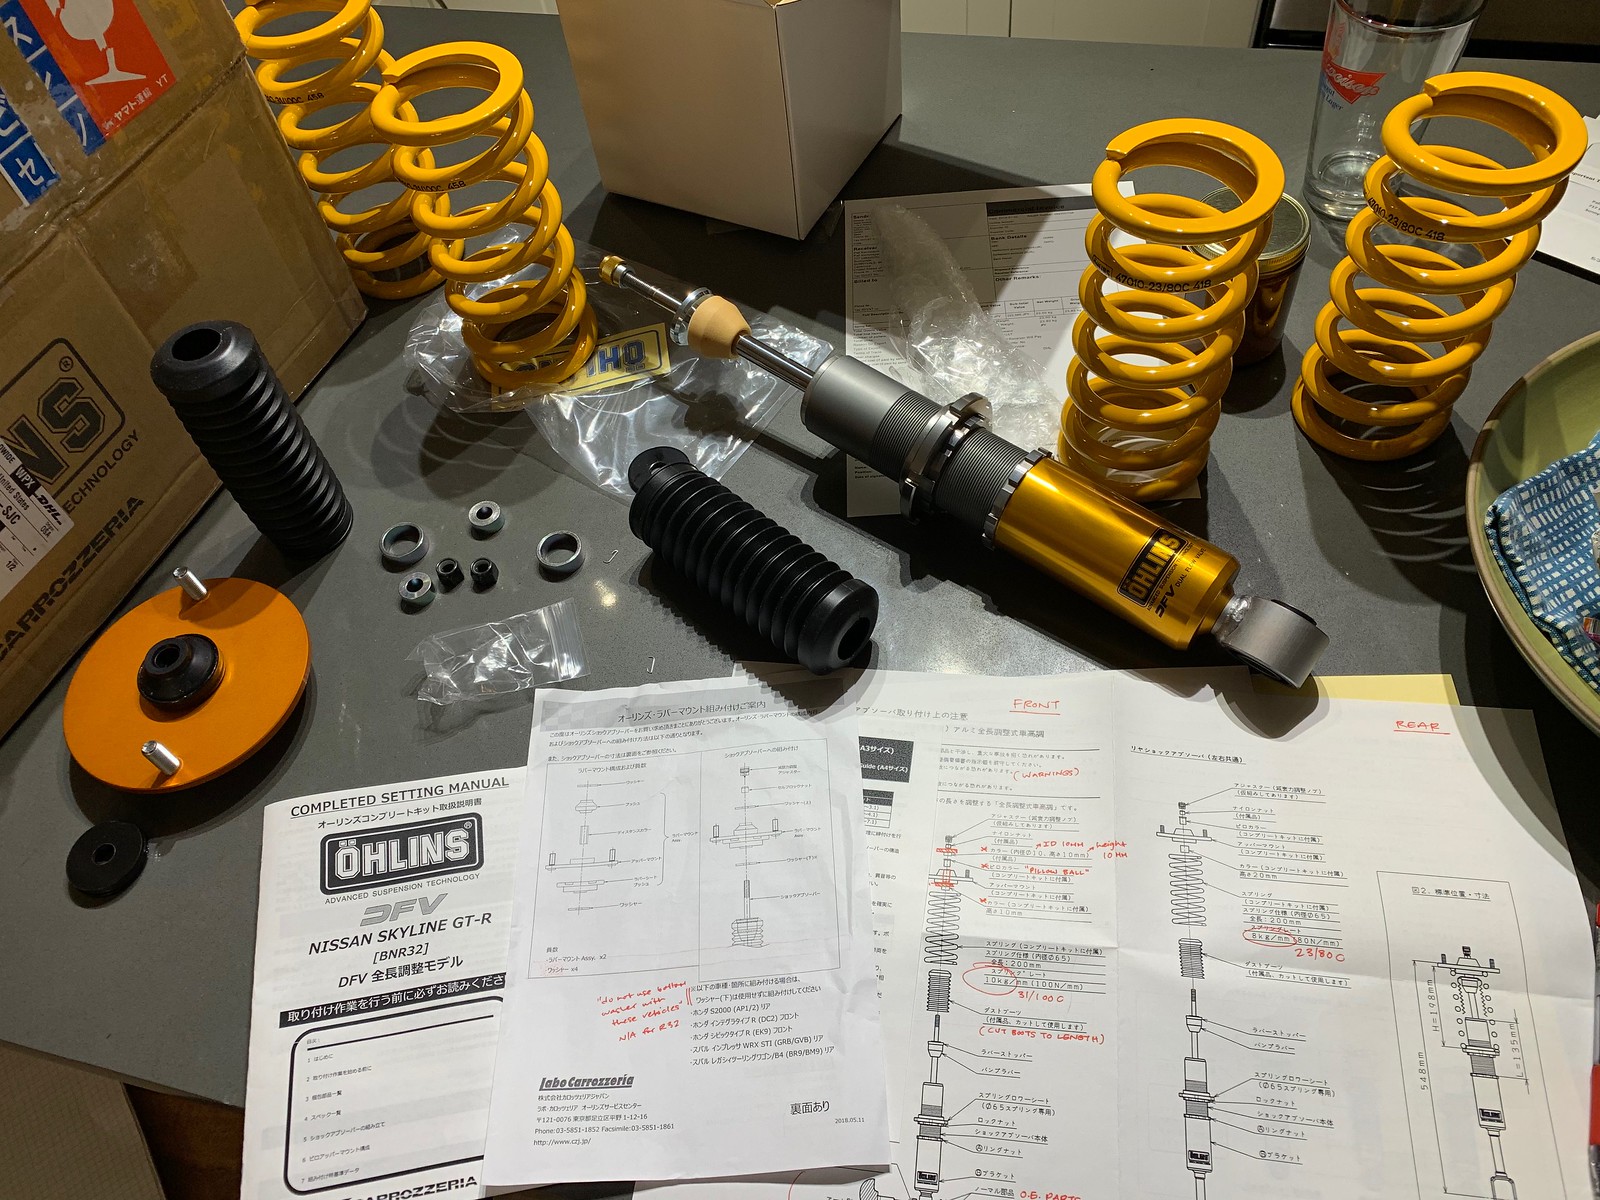
The first hurdle was ordering the parts. Ohlins is a Swedish company and they sell their stuff in the US, but the suspension for the R32 is not offered by any distributor stateside. Strangely, the R34 suspension is available, even though the car is not legal here yet. So, I had to order it all from Japan. And that means that all of the instructions came in Japanese. Before anything else, I had to decipher the instructions with the indispensable Google translate app.


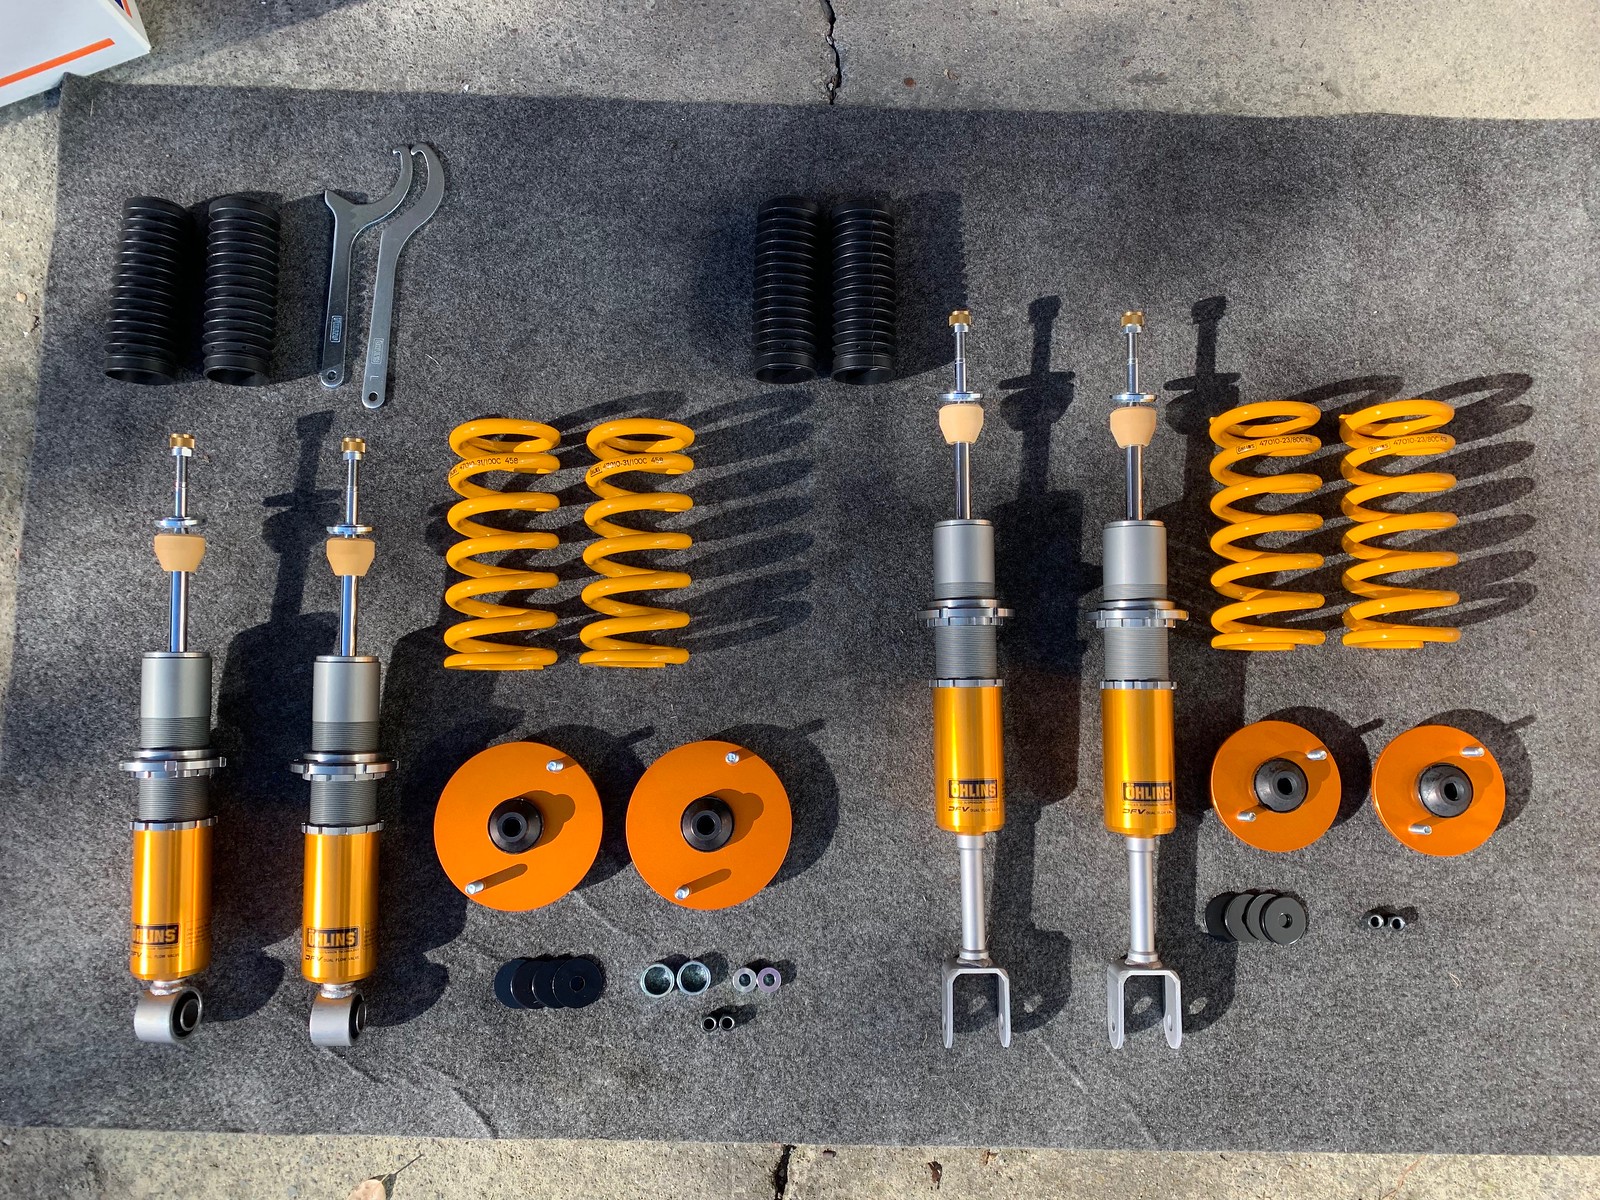
The DFV suspension comes with two choices for the upper mount: pillow ball (spherical bearings, no isolation) and rubber bushing (isolation). The former seems to be the popular choice, but I prefer a bit more NVH isolation so I went with the rubber top mount. I say that pillow ball must be the popular choice because all diagrams in the instructions showed it. The stack-up of parts is a little bit different, so I had some trouble getting it sorted out.


Full disclosure: I'm still not sure that I got it right. The issue is that the rubber bushing is overmolded to the steel sleeve in such a way that there is rubber between elements getting bolted together. You can't have compliance in your bolted joint and take it to any torque... so I tightened the top nut enough so that the damping adjusters could be installed and called it good. The top fastener is a nylon lock nut backed up by essentially a jam nut in the damping adjuster, so I don't believe it can or will back out.


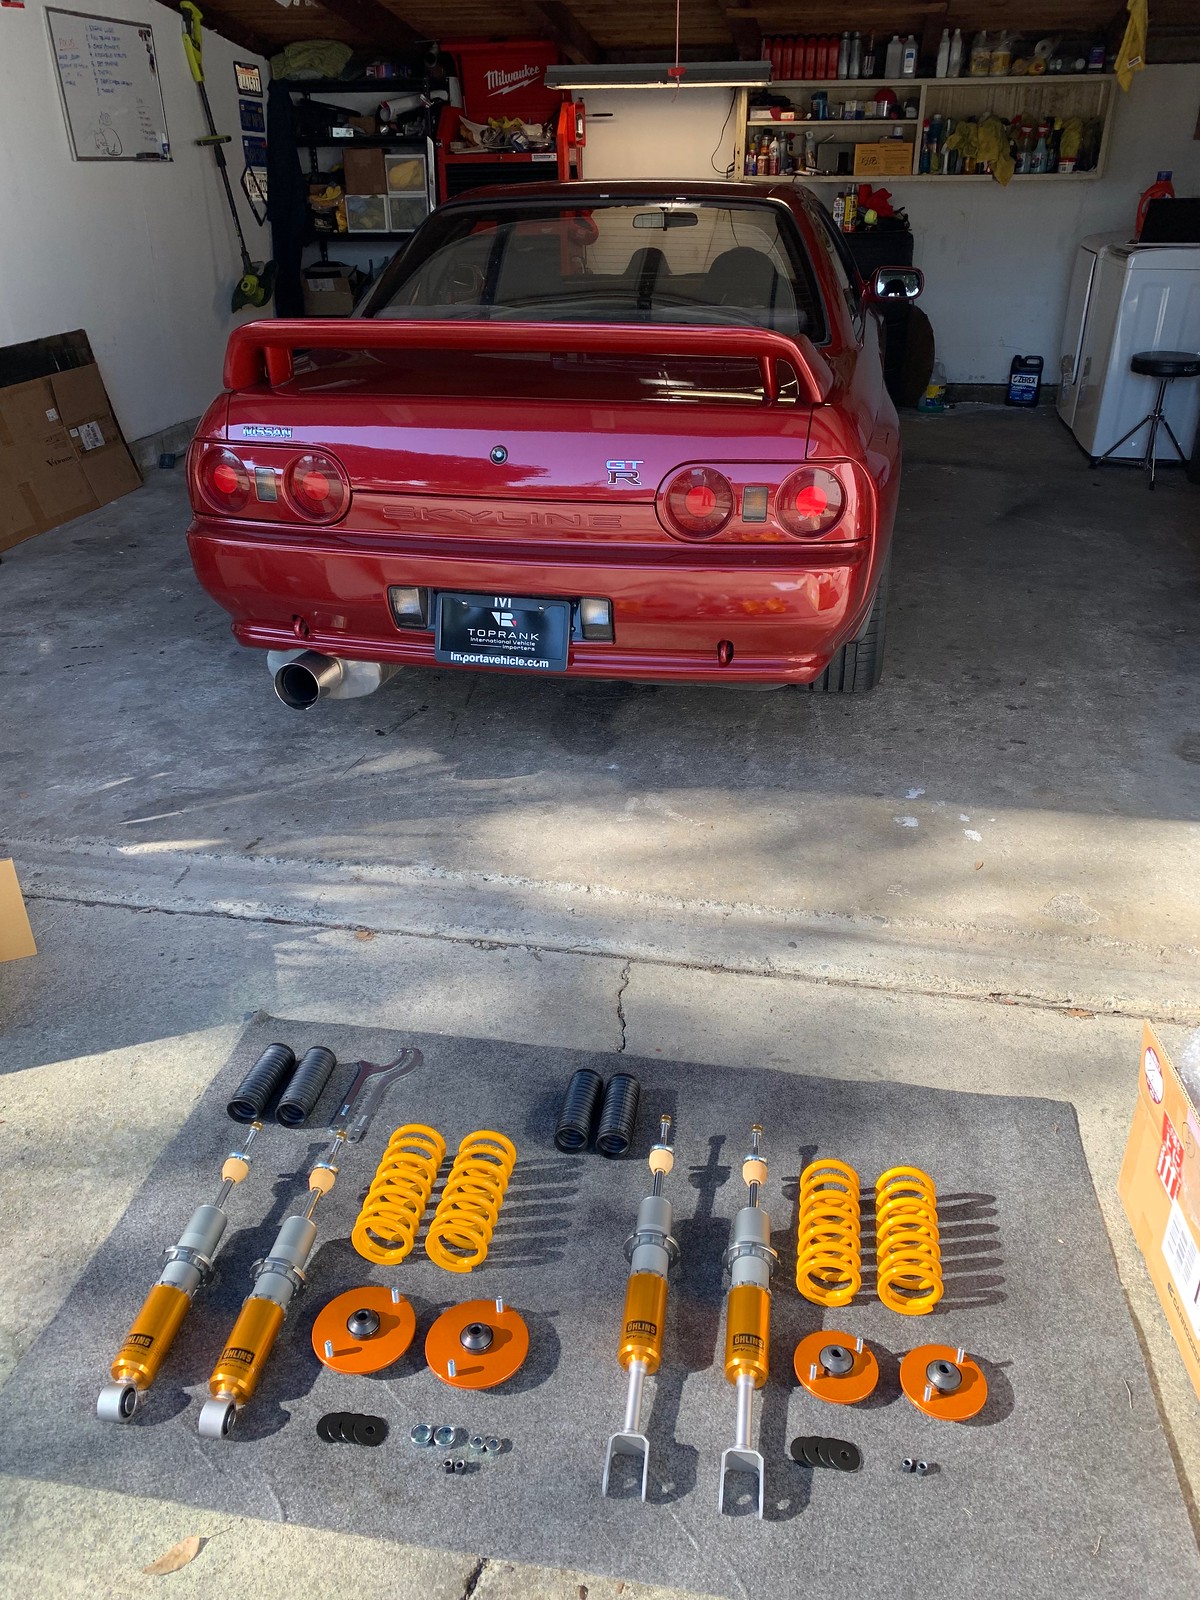
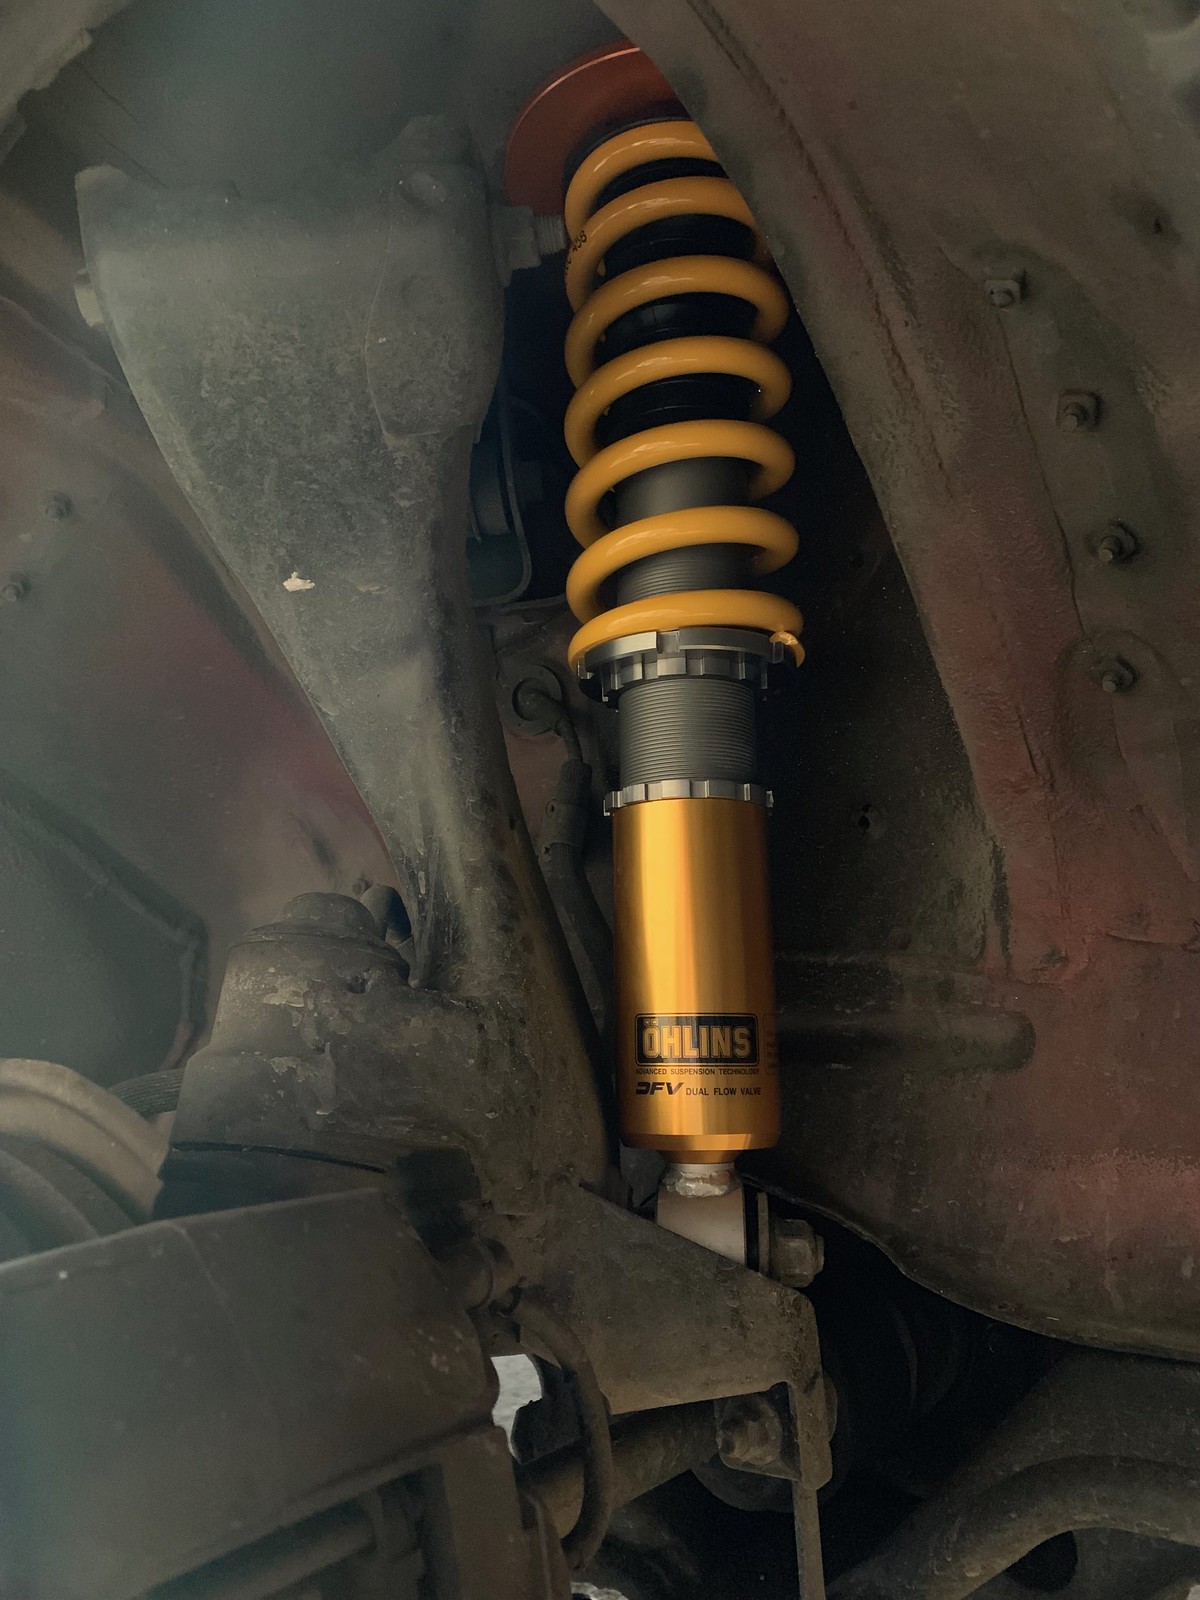
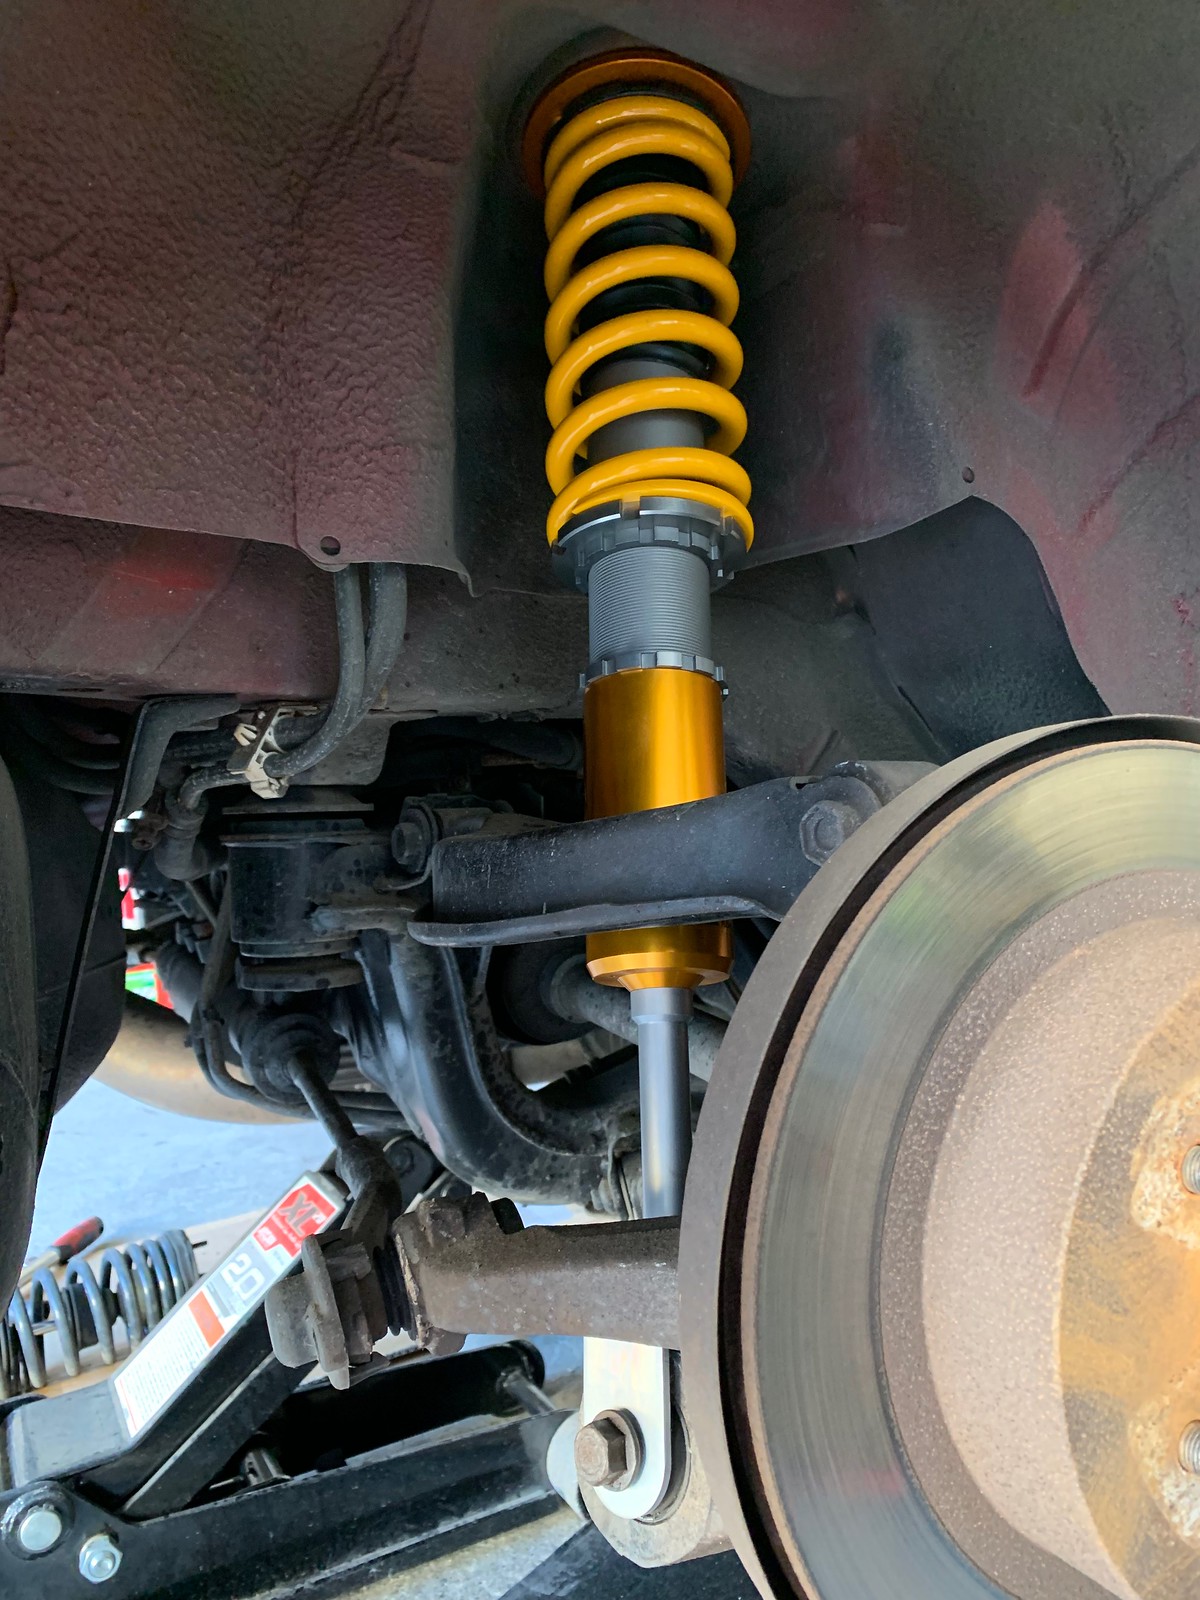
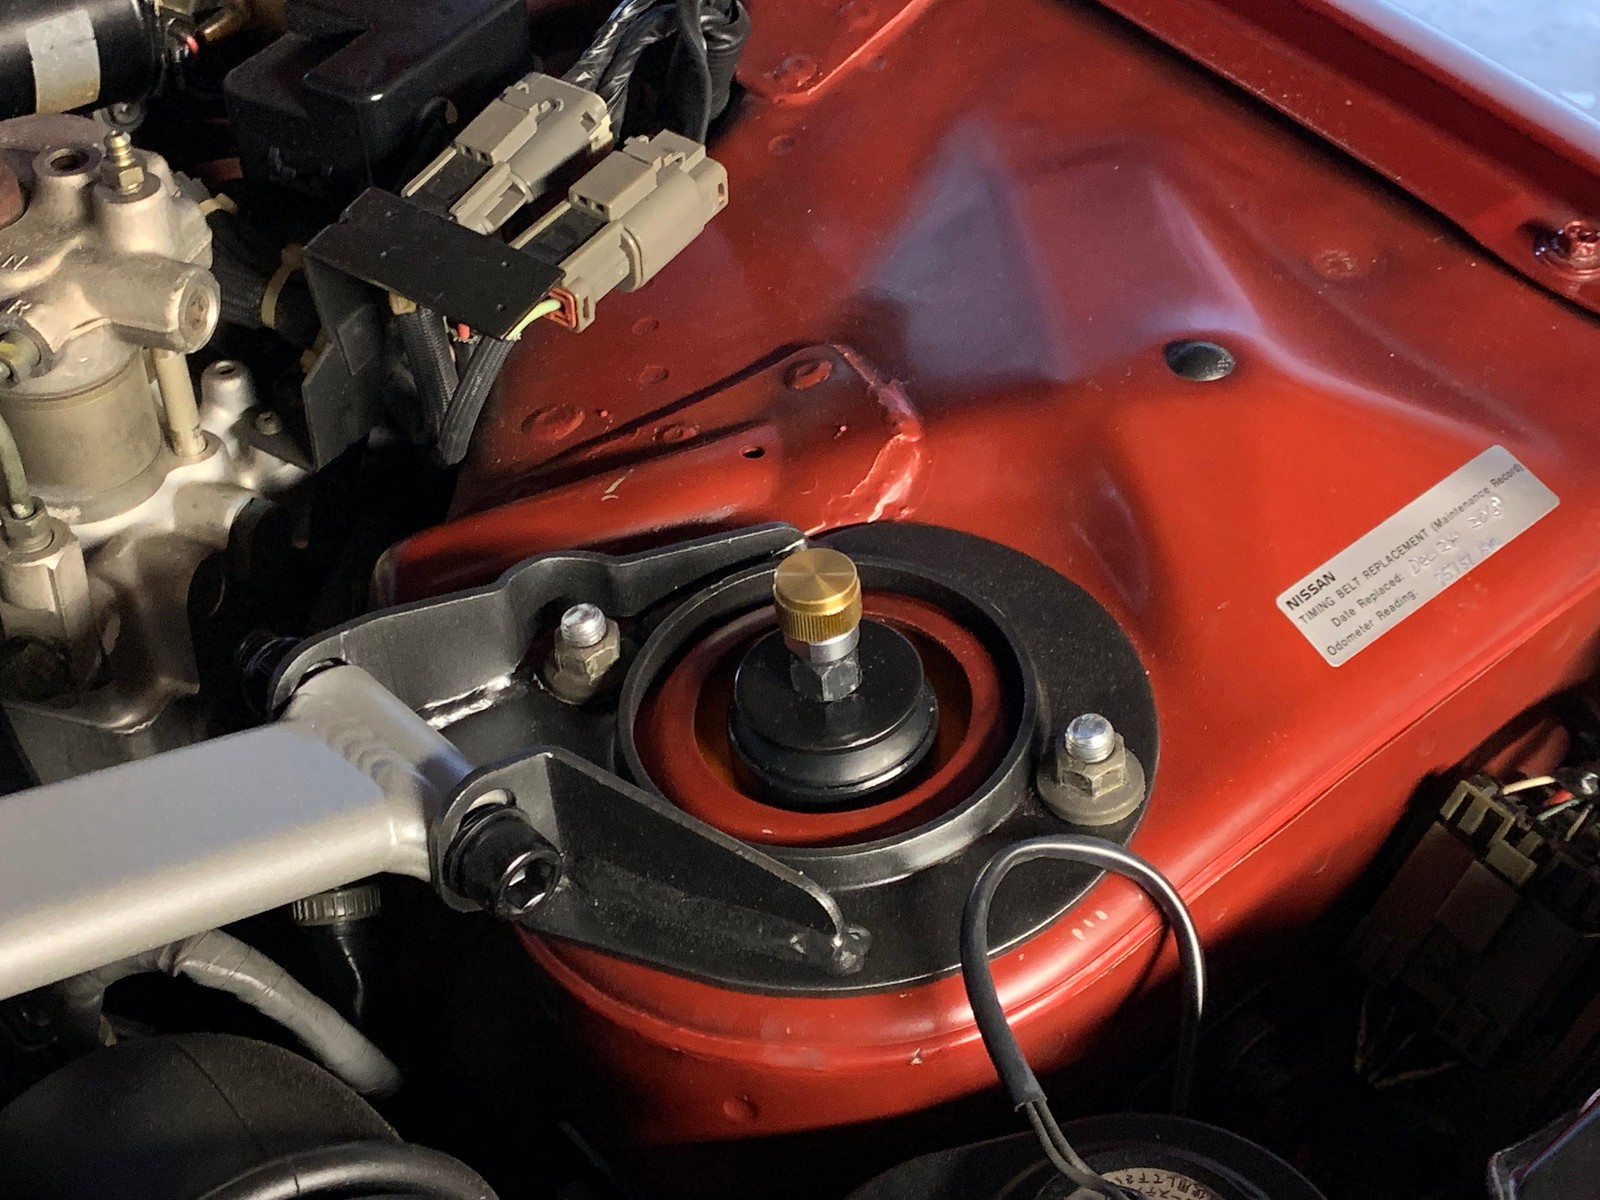
Once the strut assemblies are assembled, installation is a breeze. In the front there are two nuts at the top of the strut and one at the bottom - that's all. Tool access is easy. The Tein assembly made way for the Ohlins.


The Ohlins are cool because ride height adjustment is independent of preload adjustment, which I haven't seen before. The spring seat adjustment is only for preload, adjusting the relationship between the spring seat and the top mount. Ride height adjustment occurs at the lower junction between the threaded body and the female threads of the gold lower body. 


I set preload front and rear to 2mm per the instructions (spring compressed from nominal 200mm length to 198mm).


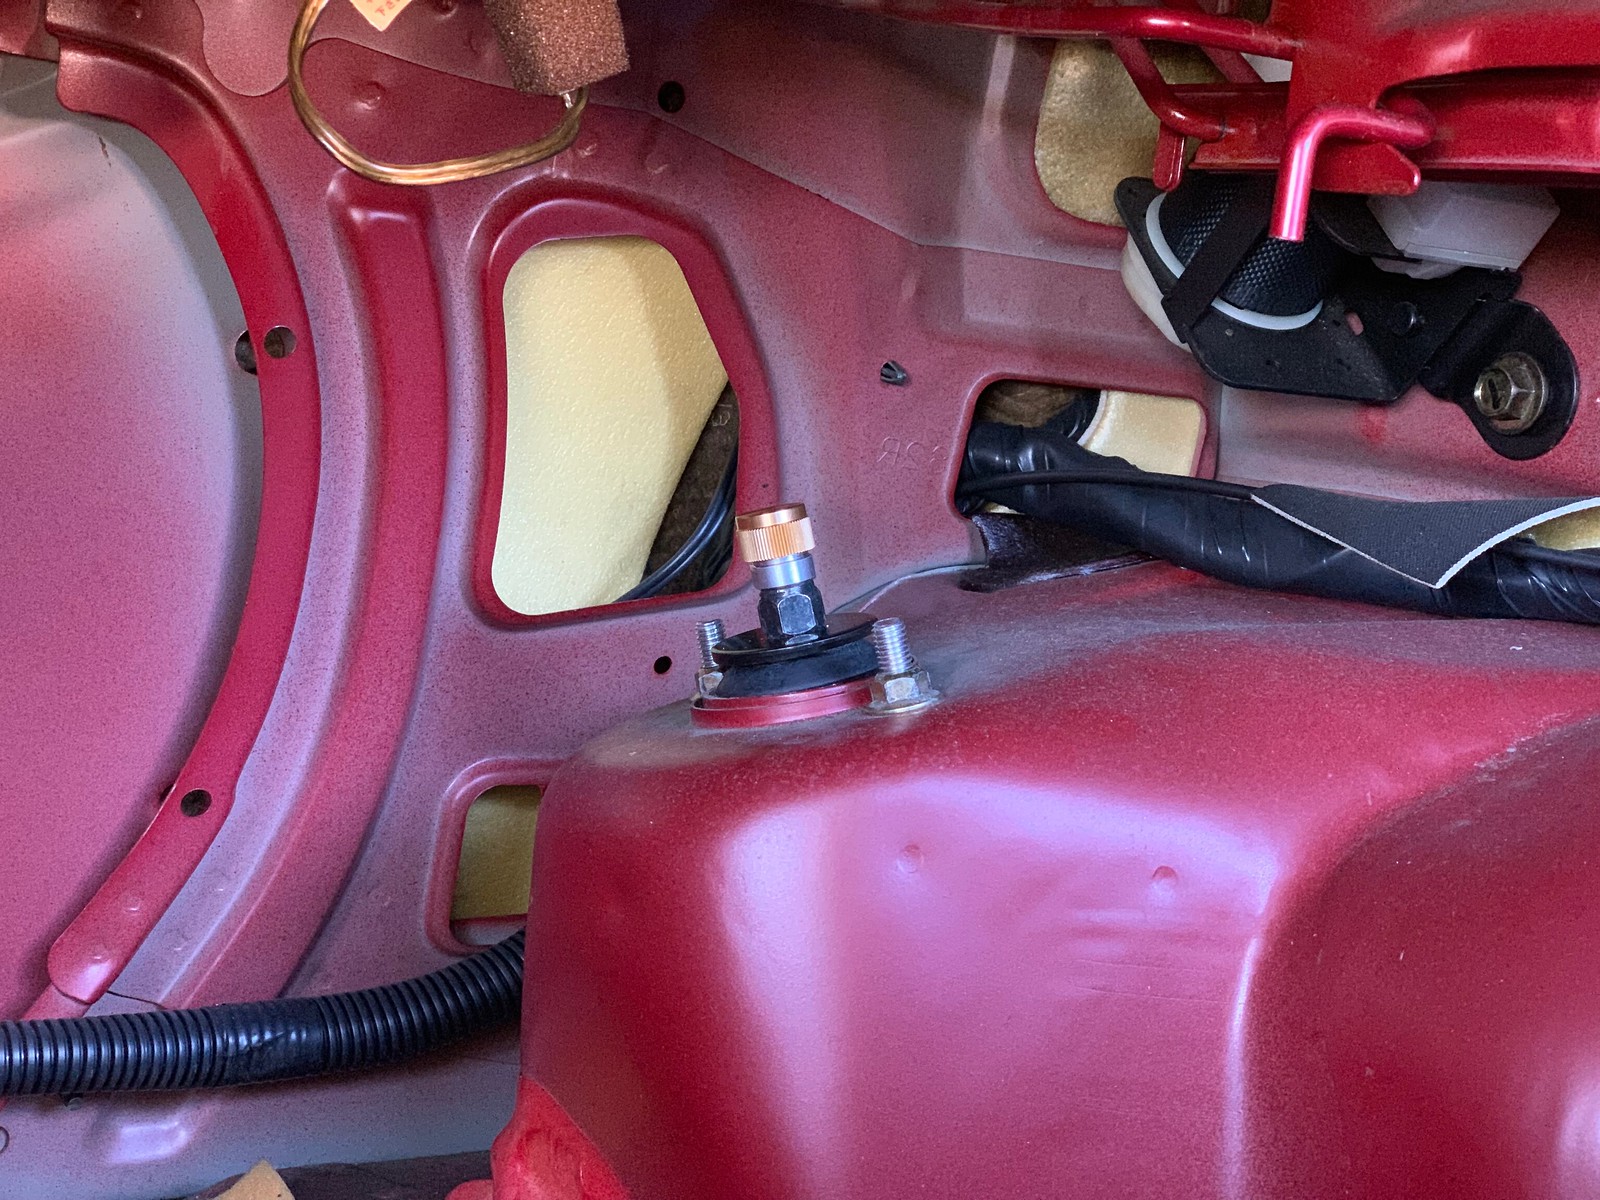
In the rear mounting is the same, complicated only because the trunk side trims must be removed to access the strut top bolts. That's not a lot of work.


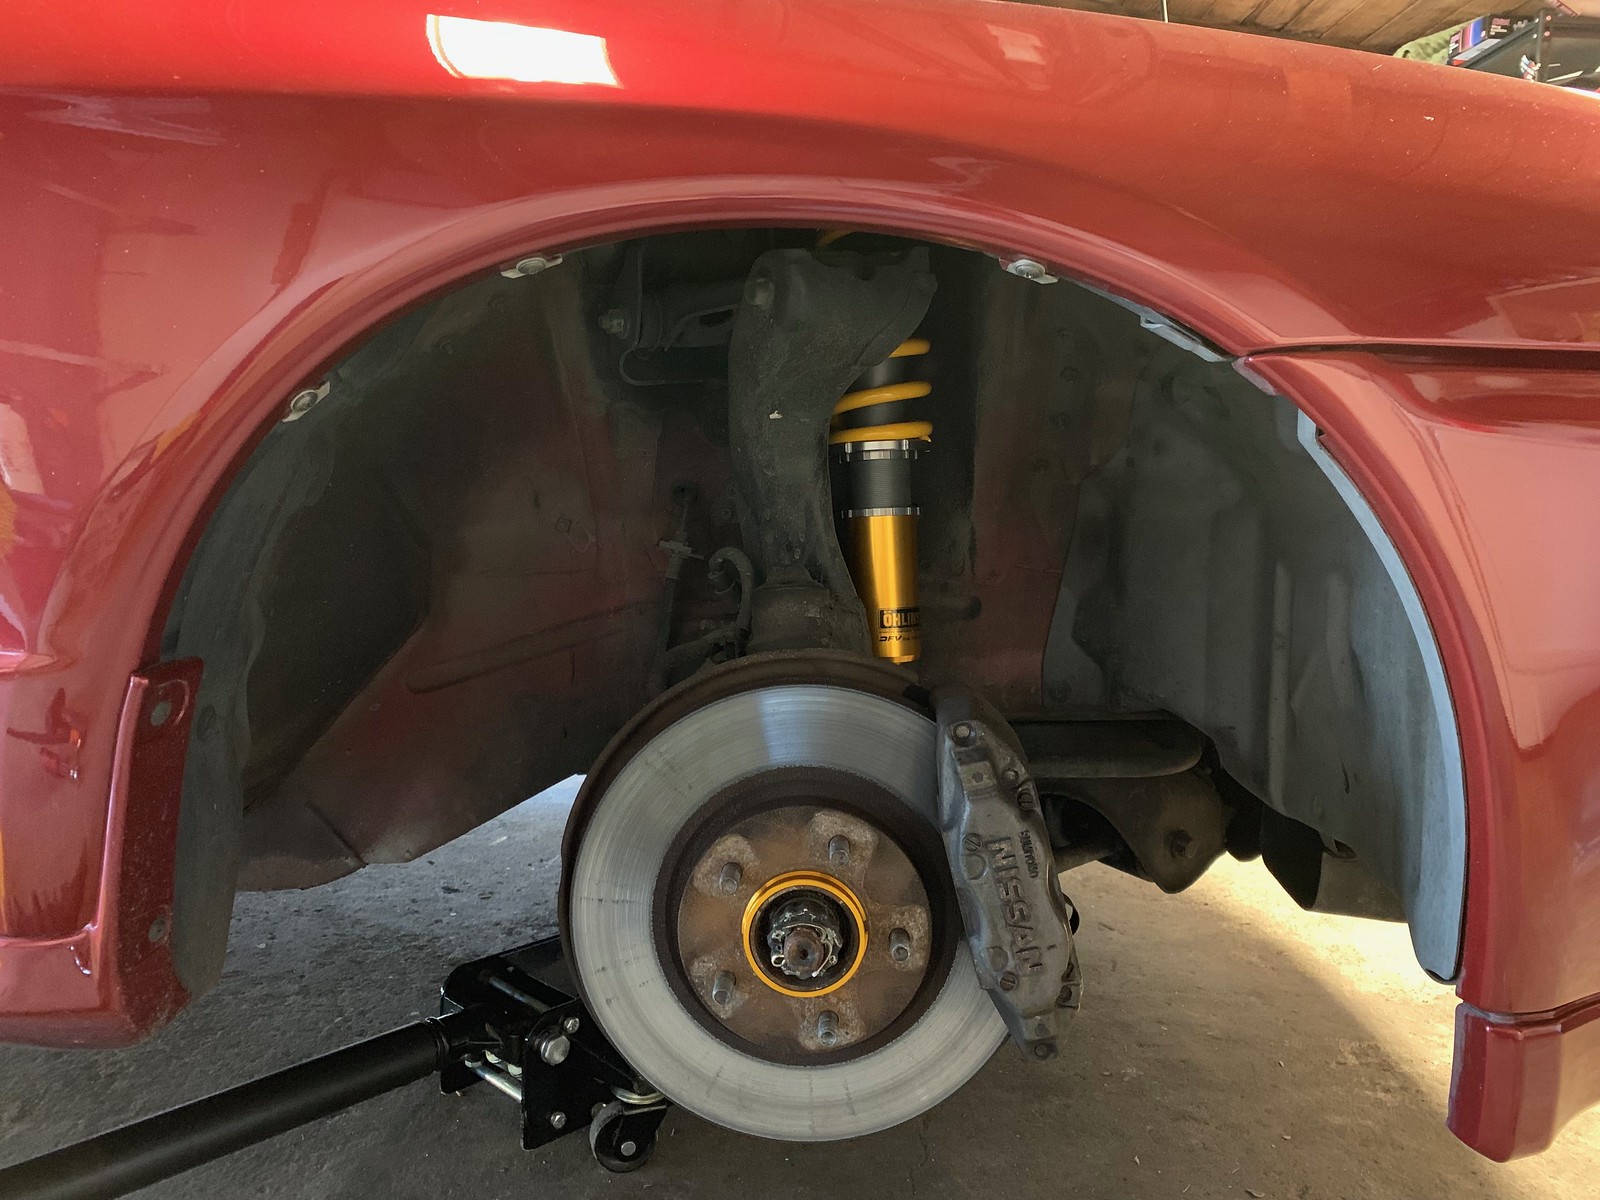
In all of these images, the suspension is set to the default ride height and preload per the manual.


As a starting point for damping, I set the front to 10 clicks from full stiff (fully threaded in) and 8 clicks in the rear. This is generally aligned with the "sport" recommended setting from the instructions, with a total range of adjustment of 0-20 clicks. The 10/8 starting point comes from Supertec Racing's write-up, available here:


The default settings had the ride height a bit tall for my preferences, looking almost identical to the Tein setup I pulled out, so I let the suspension settle for a day and then made some adjustments. Compared to the default settings, I took about 18mm out of the front and 5mm out of the rear. Helpful tip: I found that 1mm of adjustment on the strut equalled about 1mm of change at the wheel/tire gap, which keeps things simple.


This is how the car sits today, and I'm happy with it. A lot of factors are baked into ride height - suspension geometry (sorry chassis engineers: I didn't calculate a thing), appearance, driveability. My first car I lowered way too much, enough that I could have signed on as a surveyor for the county based on my knowledge of every pothole, bump, and angled driveway. I do not want to make that mistake again. So while this isn't an aggressive setup, in my eye it strikes the right balance of athletic looks and adequate clearance for whatever obstacles I'll find out there.


I played around with the damping, going 2 clicks in either direction from the starting setting. At 8/6 (firmer), it felt like the Teins I had pulled out. 12/10 was a bit too floaty. I've come back to 10/8 and may fidget with it further.


Next time: body trim refurb.